


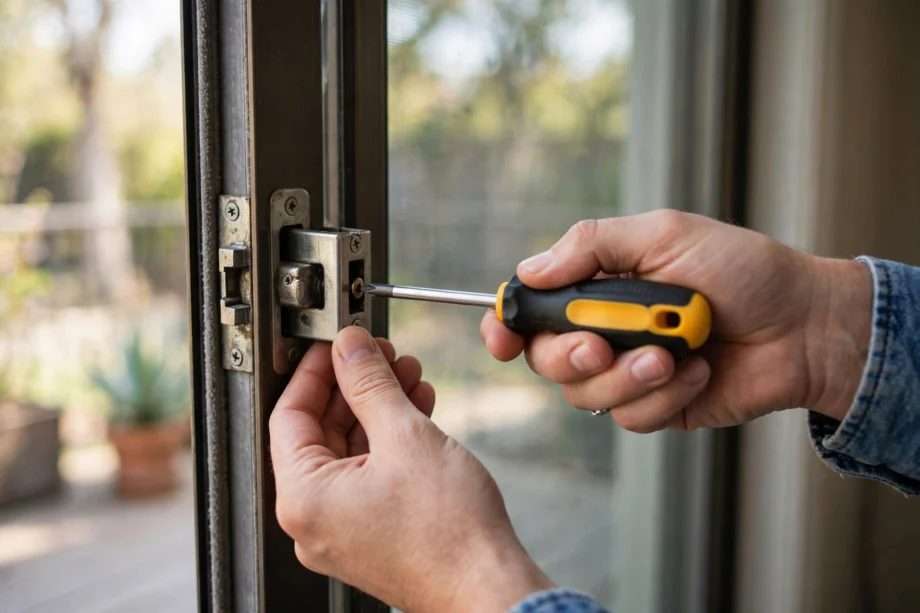
Sliding door lock replacement is a 30 to 45 minute DIY job: remove the handle set, slide the old mortise lock body out of the door edge, match its measurements to a new one, and install in reverse. The only specialty skill is measuring correctly, because sliding door locks are not universal.
Our Mission
Our mission at techinvein.com is to make home repairs feel doable, not intimidating. A sliding door lock replacement looks technical until someone walks you through it. This guide does exactly that: every step, every measurement, and the one trick that prevents the most common disaster.
Signs Your Sliding Door Lock Needs Replacing
Locks rarely die overnight. They warn you first. When these symptoms show up, sliding door lock replacement is the fix, not adjustment. Replace the lock if the hook no longer extends or retracts fully when you flip the lever, if the door can be forced open while “locked,” or if the handle feels considerably loose no matter how you tighten it. A lock that cannot be locked or unlocked reliably is not a lock; it is decoration.
One important distinction: if the door is hard to slide, the problem is usually the rollers or track, not the lock. And if you have a keypad model and simply lost the code, try a door lock code reset before buying parts. A factory reset is free; a new mortise is not.
What You Will Need
Tools: Phillips screwdriver (usually #2 or #3), a pair of locking pliers, a putty knife, and a tape measure or caliper. That is the whole toolkit.
Parts: the replacement mortise lock body. For a sliding door lock replacement, do not buy parts until you have removed and measured the old one. Sliding door mortise locks come in dozens of sizes, and guessing wastes a week of shipping. Common universal replacements like the Prime-Line E2013 cover many doors, but “many” is not “yours.”
Safety: wedge a block of wood in the track to keep the door from sliding while you work. You will be leaning into an open door with the lock removed; an unexpected slide is how fingers get hurt.
Step 1: Identify and Measure Your Lock
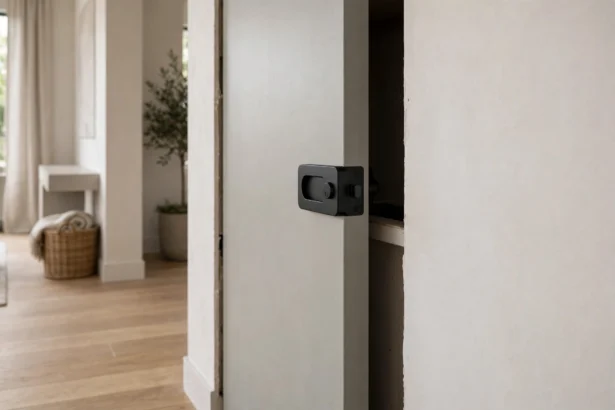
Most sliding patio doors use a mortise lock: a metal box hidden inside the door’s edge with a hook bolt that grabs the strike plate. A few use surface-mounted locks screwed to the door face. This guide covers mortise locks, which account for the vast majority of sliding door lock replacement jobs.
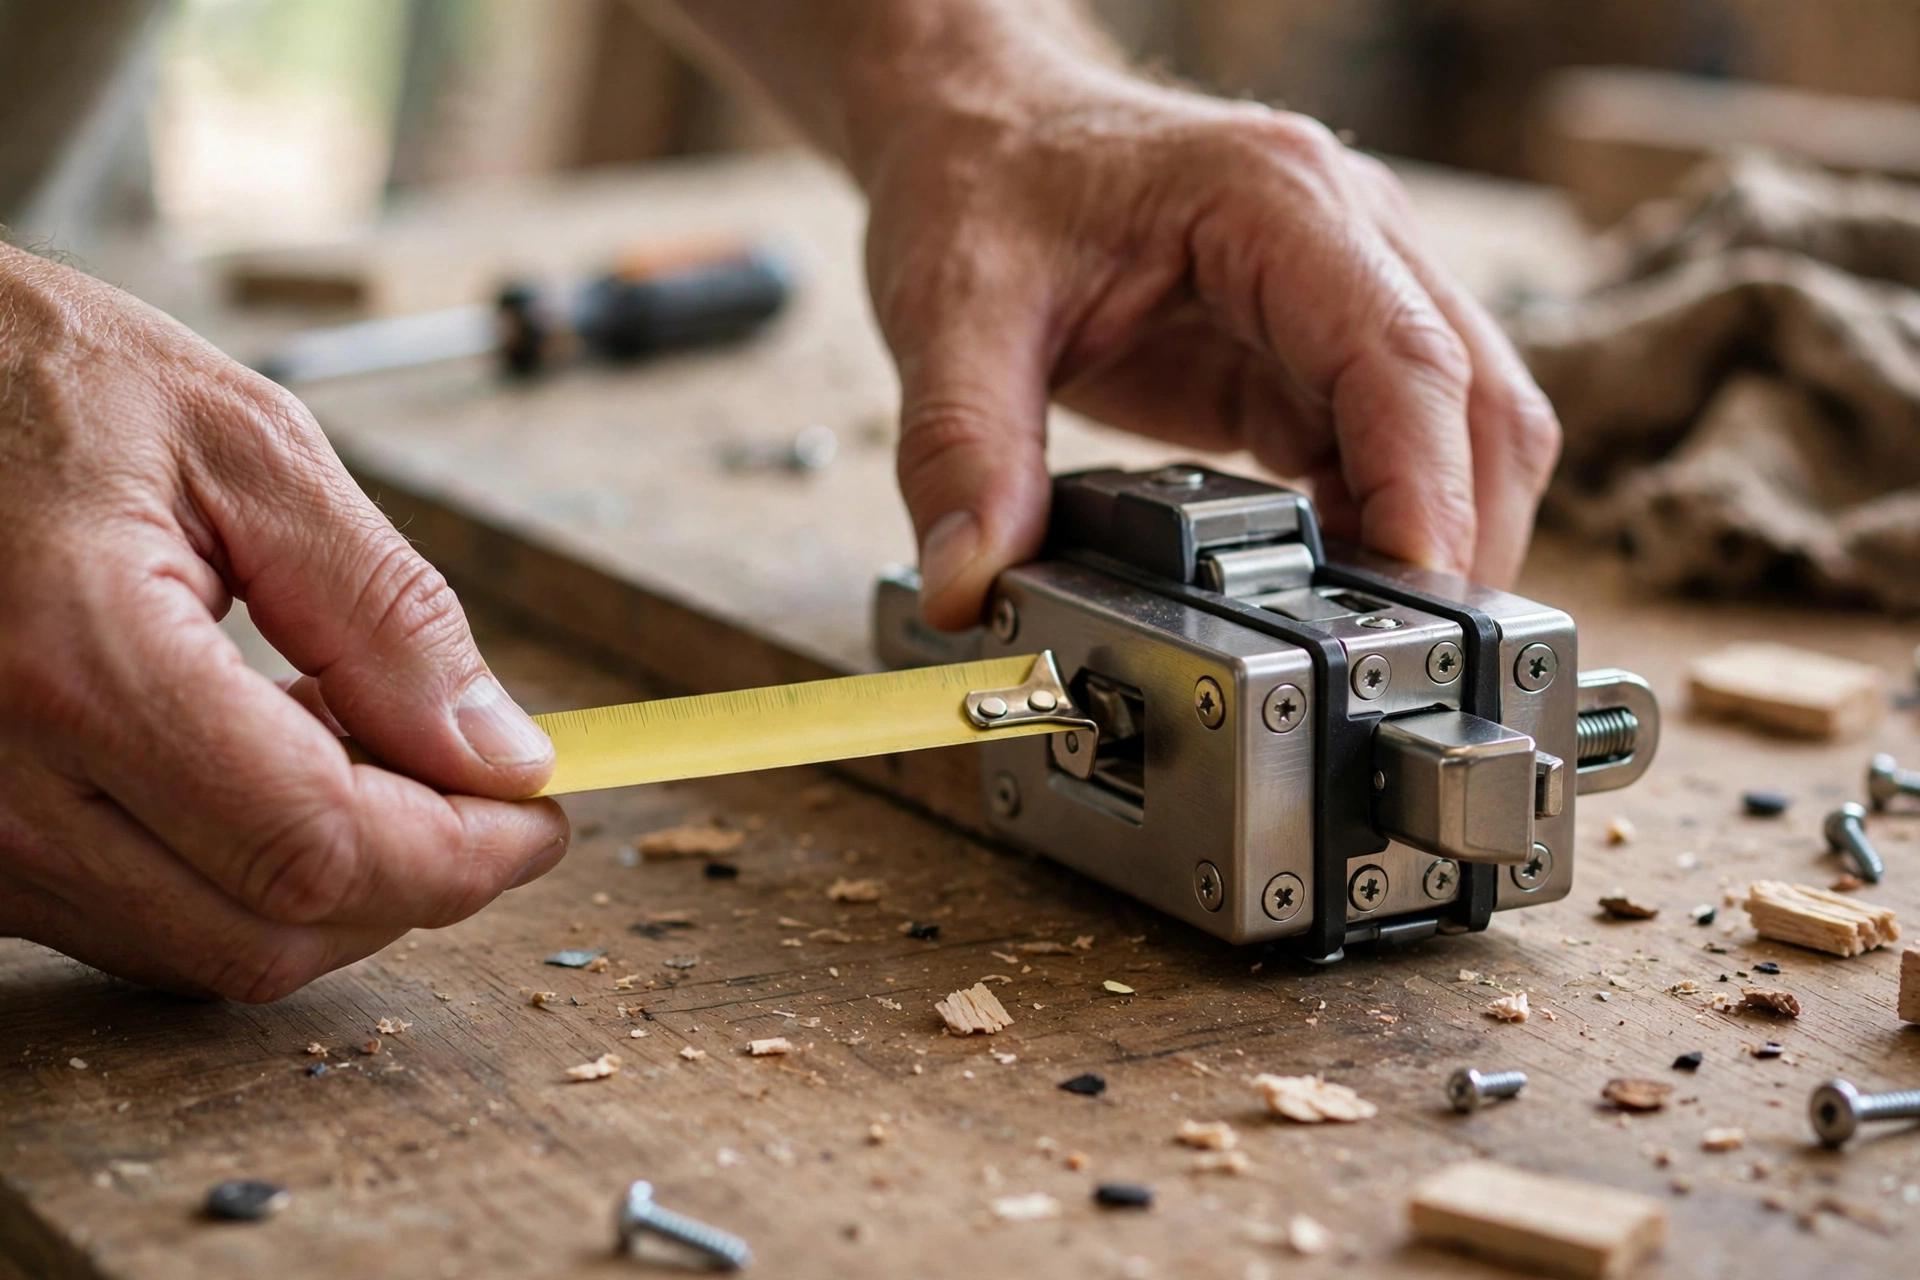
Before ordering anything, remove the old lock (Step 2 below) and measure four things:
1. Backset. The distance from the edge of the faceplate to the center of the handle spindle hole. This is the single most important measurement.
2. Faceplate dimensions. Length and width of the metal plate on the door edge, plus whether its ends are rounded or square.
3. Mounting hole spacing. Center-to-center distance between the faceplate screws. Common spacings include 3-11/16 inch, but verify yours.
4. Keyway position and housing shape. Note whether the keyway sits at a 45-degree angle or vertical when locked, and whether the rear housing corners are square or slanted.
Take a photo of the old lock next to a ruler. Bring the measurements and the photo to the hardware store or parts site. Matching all four points is what separates a 30-minute job from a return shipment.
Step 2: Remove the Old Lock
Here is the sliding door lock replacement removal sequence:
1. Open the door and wedge the track to keep it from moving.
2. On the interior side, remove the two screws holding the handle set. Hold both handle halves as you remove the last screw to keep them from falling. Set the handles, spindle, and any small parts aside in order.
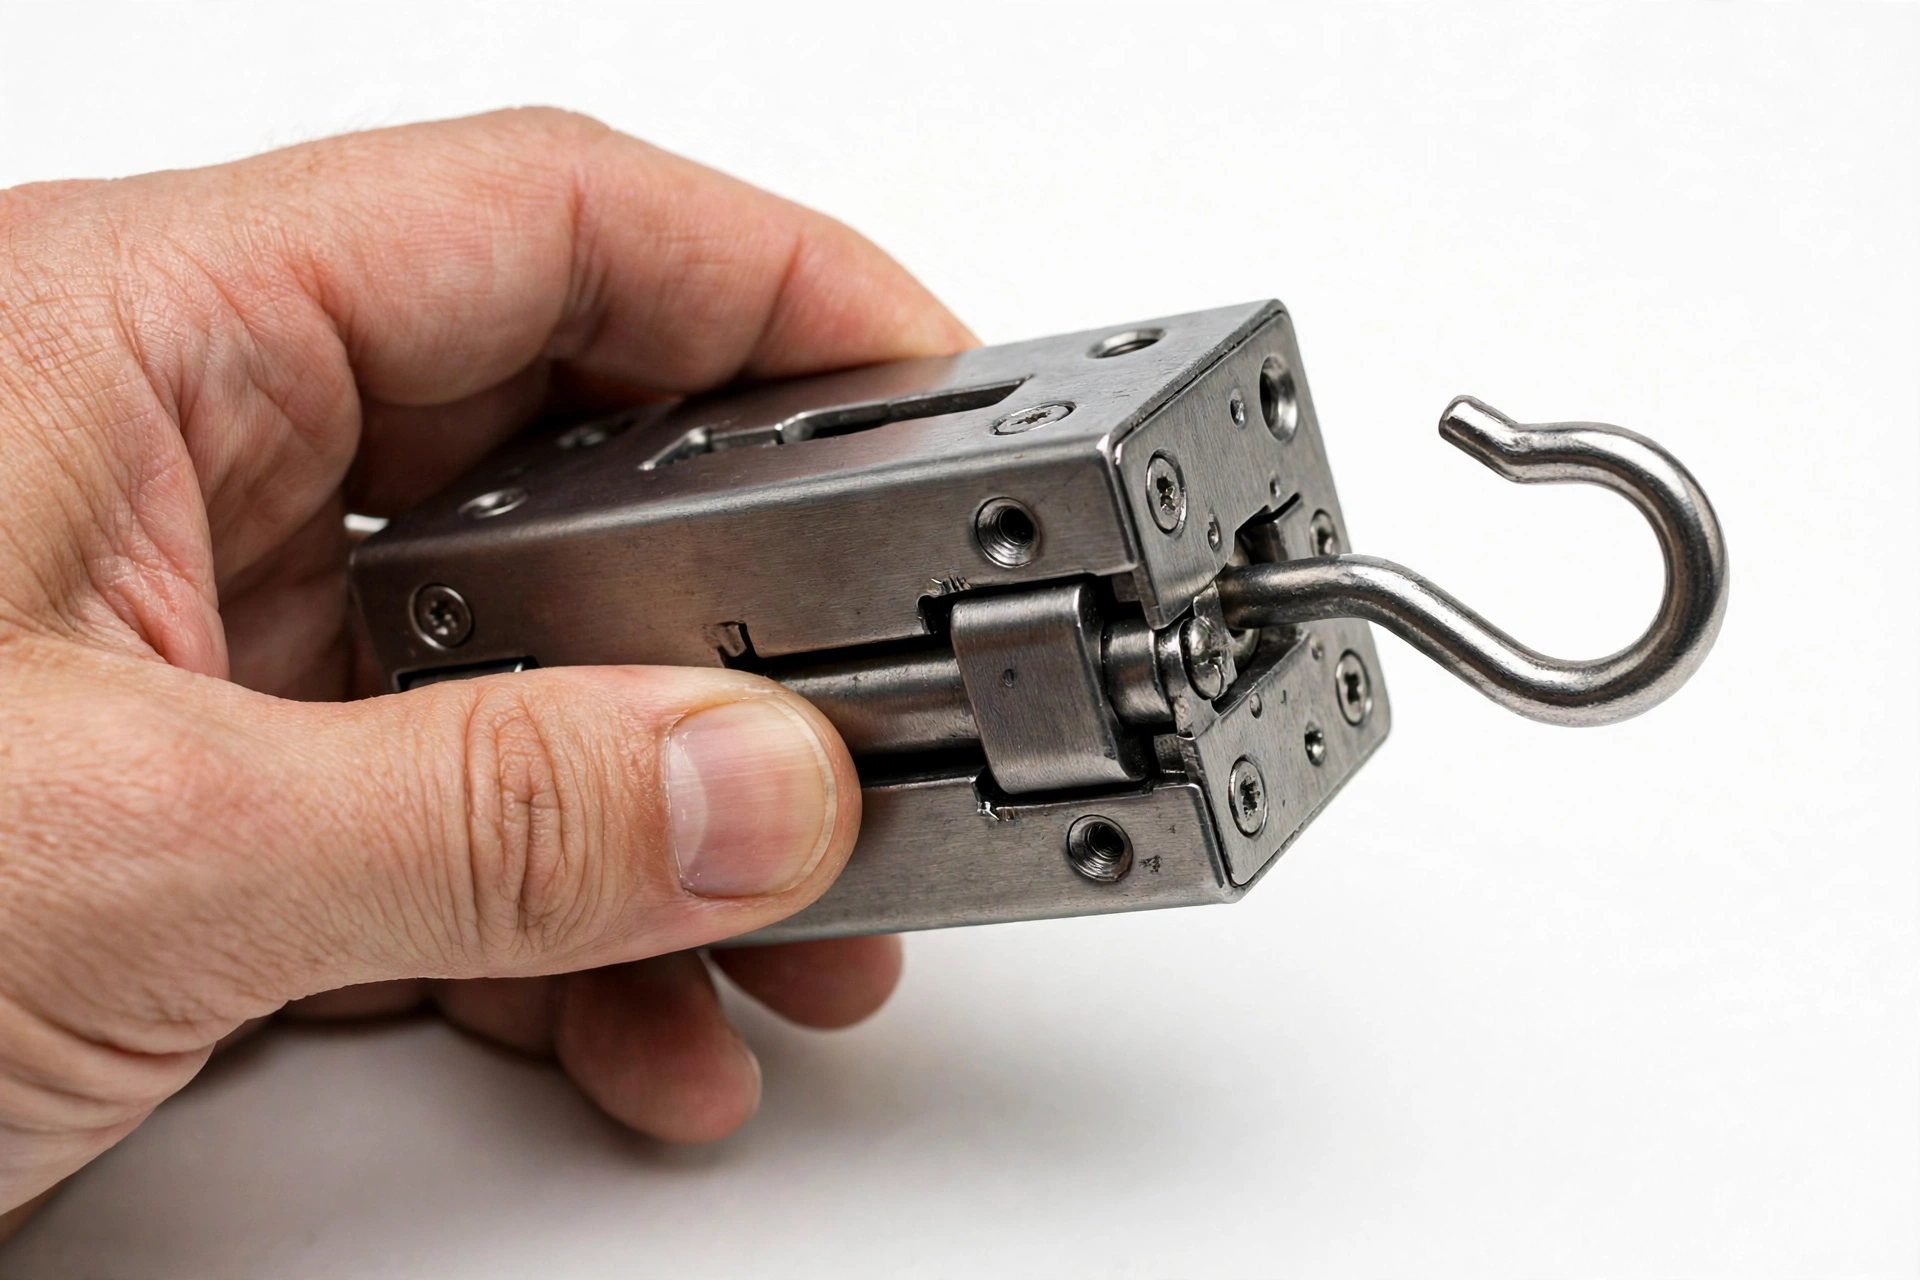
3. Engage the lock so the hook extends from the door edge. Clamp locking pliers onto the hook. This is the critical trick: the mortise body sits loose inside a hollow door stile, and without the pliers it will drop inside the door where you cannot retrieve it.
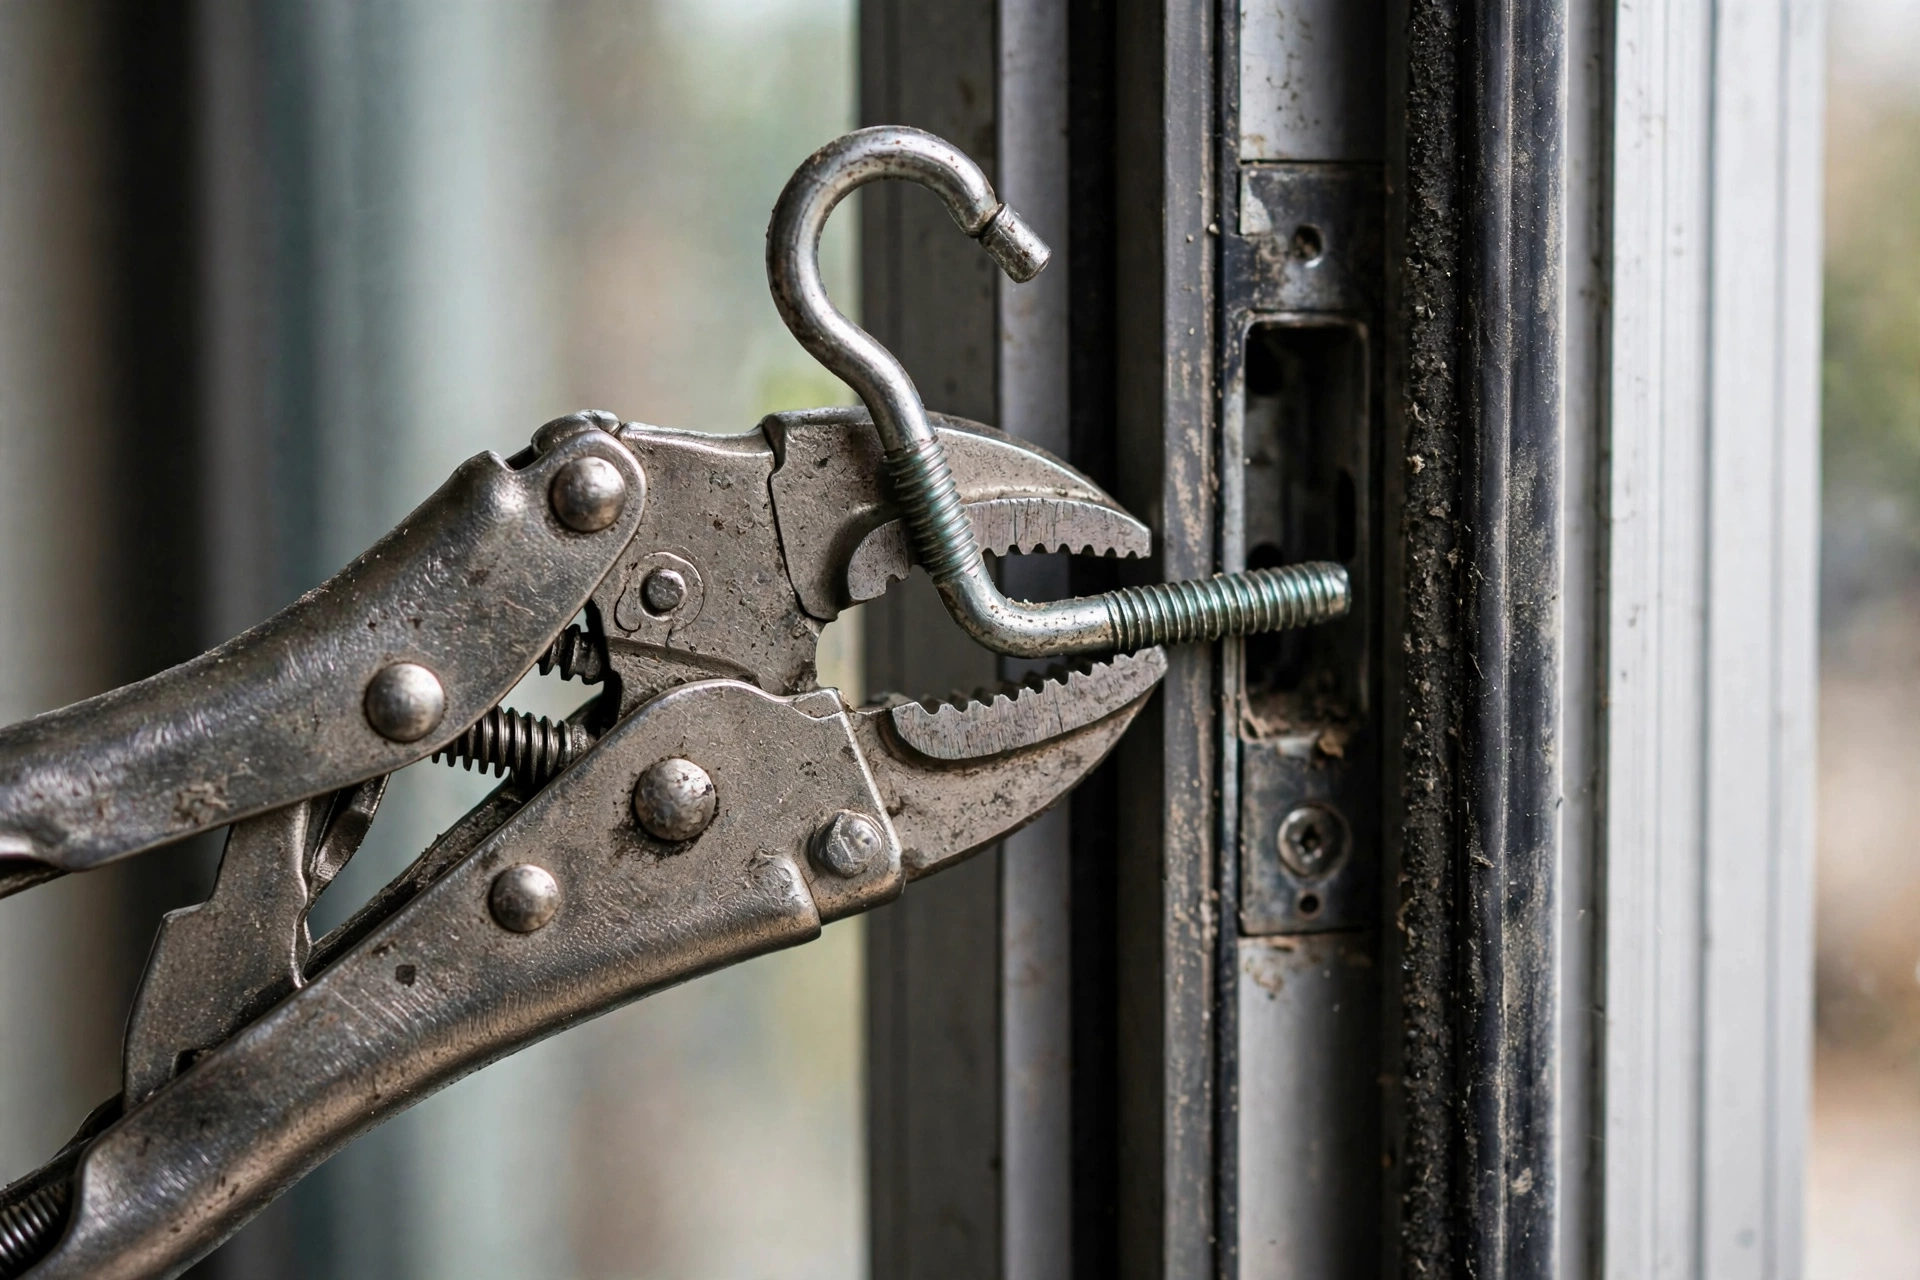
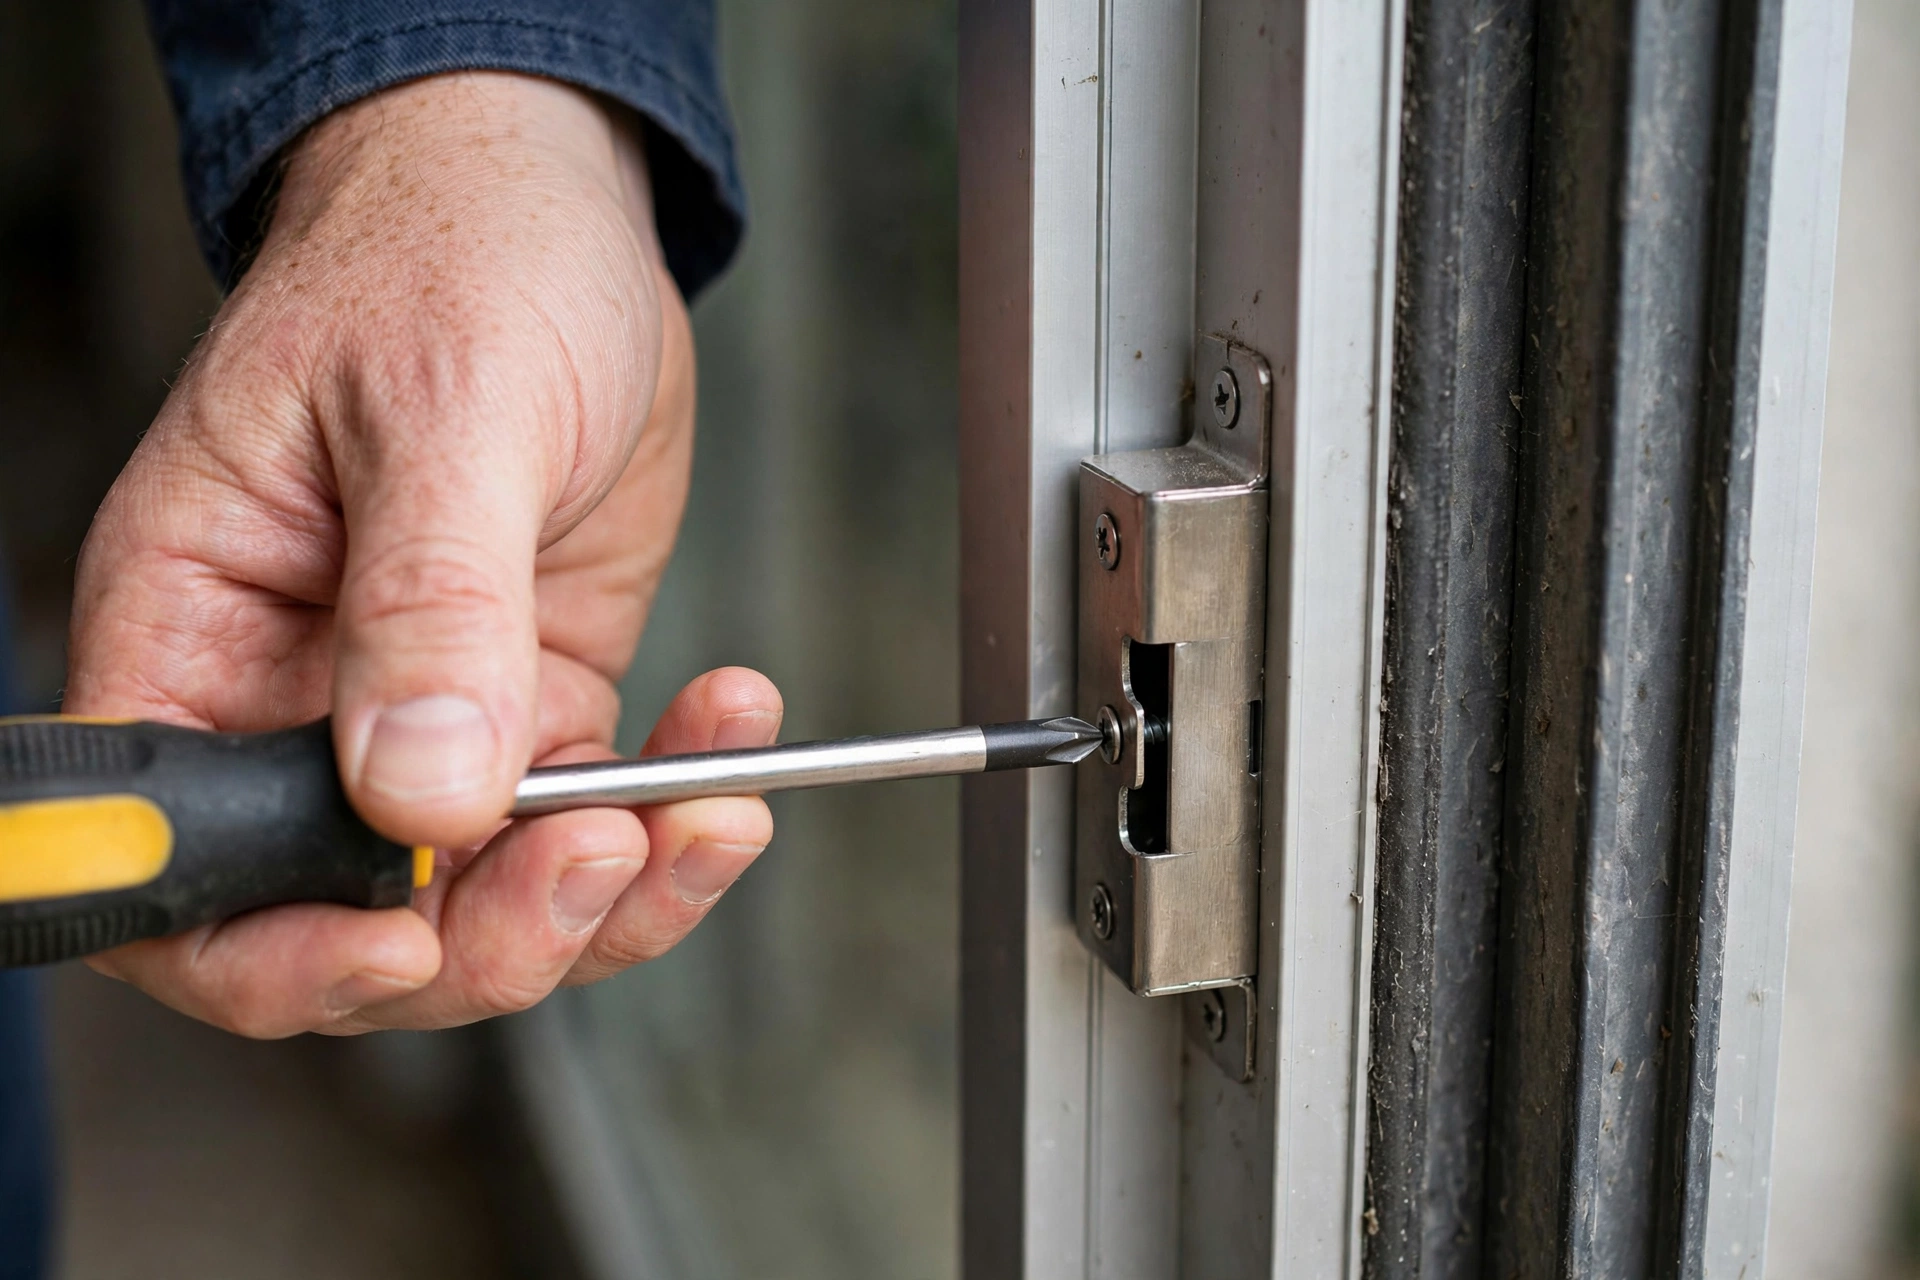
4. Remove the one or two faceplate screws on the door edge. With the pliers still gripping the hook, slide the entire lock body out of the cavity. If it resists, wiggle gently or lever lightly with the putty knife. Never force it.
5. Inspect and clean the cavity. Wipe out dust, old lubricant, and debris to give the new lock a clean seat.
Step 3: Install the New Lock
Sliding door lock replacement installation is removal in reverse, with attention to orientation.
1. Clamp the pliers onto the new lock’s hook and slide the body into the cavity, hook facing the correct direction (usually upward, matching the old one). The faceplate screw holes should align with the existing holes.
2. Drive the faceplate screws in snugly. Firm, not gorilla-tight: overtightening can bind the mechanism.
3. Remove the pliers. Slide the lock lever or spindle through, then reattach the handle halves. Make sure the spindle engages the lock mechanism before tightening the through-screws. Tighten evenly so the handles sit flush.
4. If your new lock came with a new strike plate or keeper, install it on the jamb now, aligning it with the hook’s path.
Step 4: Test and Adjust
Close the door slowly and engage the lock while watching the hook meet the strike plate. It should grab smoothly with light handle pressure. If it misses, grinds, or needs force, the strike plate needs adjusting: loosen its screws slightly, nudge it until the hook seats cleanly, and retighten.
Test from both sides, locked and unlocked, at least five times. Then test with the door under slight pressure, as if someone leaned on it. A lock that works perfectly on a gently closed door but fails under pressure is not finished. This testing step is what separates a professional-feeling sliding door lock replacement from a sloppy one.
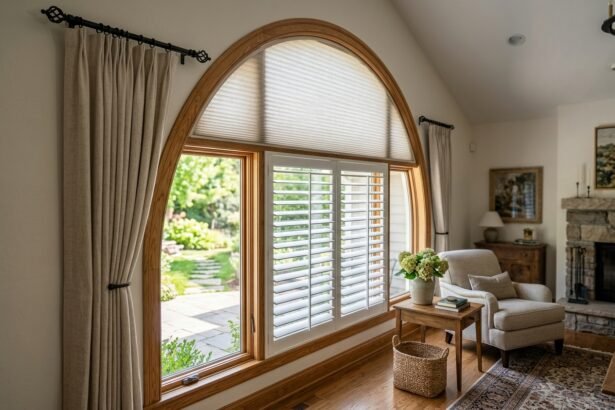
Finally, check the door’s other hardware while you are here. Sliding doors are mostly glass, and window coverings for sliding glass doors are worth considering at the same time: you are already working on the door, and privacy plus security go together.
When to Call a Pro Instead
DIY covers most sliding door lock replacement jobs, but call a locksmith or door professional if the mortise cavity is damaged or corroded, if no replacement matches your measurements (some older doors used proprietary locks), or if the door itself is misaligned so badly that the lock cannot engage regardless of adjustment. A pro visit typically costs $75 to $150 and is cheaper than a ruined door.
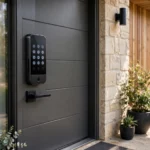
This is also the natural moment to consider an upgrade rather than a like-for-like swap. If you are already replacing the hardware, a sliding door smart lock fits the same mortise footprint on many doors and adds keyless entry. Same job, better result.
FAQs
How much does sliding door lock replacement cost?
The mortise lock body itself typically costs $10 to $75 depending on brand and quality. Universal replacements like Prime-Line models sit at the lower end; brand-specific parts cost more. DIY installation costs nothing but your time. A professional replacement usually runs $75 to $150 in labor plus parts.
Are sliding door locks universal?
No. Mortise locks vary in backset, faceplate size, mounting hole spacing, keyway angle, and housing shape. Always remove and measure the old lock before ordering. “Universal” replacements cover the most common sizes but not all of them, which is why every sliding door lock replacement starts with measuring.
Can I replace just the handle and keep the old lock?
Sometimes. If the mortise body works fine and only the handle is broken or ugly, you can replace the handle set alone as long as the spindle and mounting align. But if the hook mechanism itself is worn, a new handle on a dying lock buys you very little time.
Why does my new sliding door lock not latch?
Almost always a strike plate alignment issue. The hook and keeper must meet precisely. Loosen the strike plate screws, adjust its position until the hook seats smoothly, and retighten. If alignment is correct and it still fails, double-check that you bought the right handing and keyway angle for your sliding door lock replacement.
How long does a sliding door lock last?
A quality mortise lock lasts 10 to 20 years with occasional lubrication. What kills them early is slamming the door with the hook extended, which bends the mechanism, and never cleaning the track, which forces the lock to work against a misaligned door. For households considering cameras too, our smart door lock with camera guide covers keyless options with video.
Quick Takeaways
- Sliding door lock replacement is a 30 to 45 minute DIY job: remove handles, slide out the old mortise body, measure it, and install the replacement in reverse.
- Clamp locking pliers onto the hook before removing faceplate screws. Without this, the lock body drops inside the hollow door stile.
- Measure four things before ordering: backset, faceplate dimensions, mounting hole spacing, and keyway angle. Sliding door locks are not universal.
- After installing, adjust the strike plate until the hook seats smoothly, and test under slight pressure.
- Consider upgrading to a smart lock while the sliding door lock replacement is underway, and call a pro if the cavity is damaged or no part matches.
Disclaimer
This sliding door lock replacement guide is for general information only. Lock designs vary by manufacturer. Verify your measurements and the replacement part’s specifications before buying. If the door or lock cavity is damaged, or you are unsure at any step, consult a qualified locksmith or door professional rather than forcing parts.