


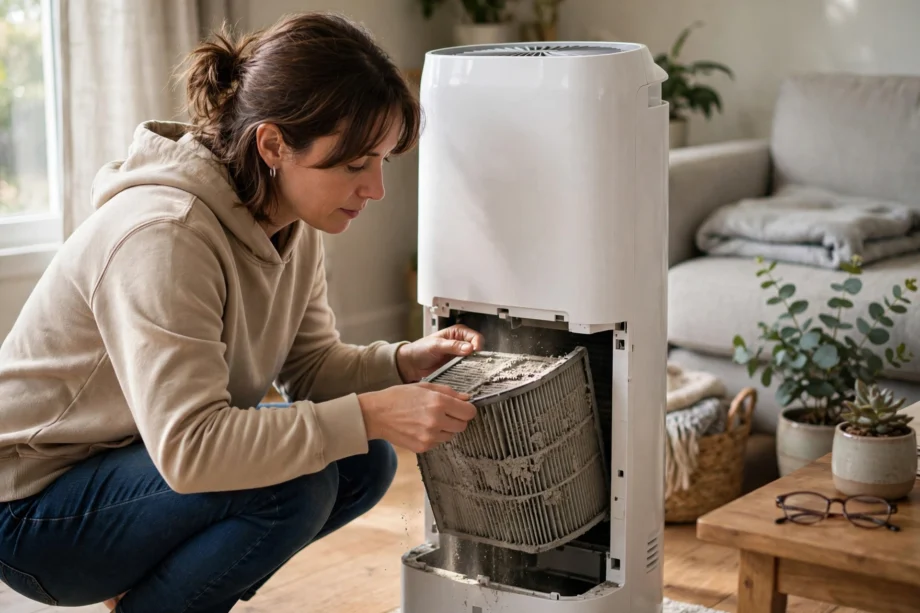
Learning how to clean air purifier filter parts correctly saves you money and keeps your air clean. The short answer: the pre-filter is usually washable, but a True HEPA filter is not. Wash the wrong one and you will destroy it. This guide shows you exactly which parts to clean, which to replace, and how often.
How to Clean Air Purifier Filter: The Quick Answer
Not every filter in your purifier is meant to be cleaned. Most units have three layers, and each one gets different treatment. First, the pre-filter catches hair and large dust, and it is almost always washable. Next, the True HEPA filter traps fine particles, and it should be vacuumed gently, never washed. Third, the activated carbon filter absorbs odors, and it gets replaced, not cleaned.
In short, the golden rule is simple: check your manual before water touches anything. Some budget models use washable “HEPA-type” filters, while true HEPA filters are damaged by water. When in doubt, vacuum only, since a wrong guess with water ruins a filter faster than dust ever could. In other words, a vacuumed filter keeps working, while a washed True HEPA filter does not.
If you are still deciding whether a purifier is worth the upkeep, weigh the real benefits first. The maintenance below is the price of those benefits, and it is smaller than most people expect.
Table: Which filters to clean and which to replace
| Filter | Clean or replace | How often |
|---|---|---|
| Pre-filter (mesh) | Vacuum or wash | Every 2–4 weeks |
| True HEPA filter | Vacuum gently; then replace | Replace every 6–12 months |
| Activated carbon filter | Vacuum lightly; then replace | Replace every 3–6 months |
| Air quality sensor lens | Wipe with dry cotton swab | Every 1–2 months |
| Exterior and vents | Wipe or vacuum | Every 1–2 weeks |
Before You Start: Safety and Prep
Every cleaning session starts the same way. First, turn the purifier off and unplug it. A powered unit is no place for wet hands. This is non-negotiable: a running fan can blow trapped dust straight back into the room, and water near live electronics is a hazard.
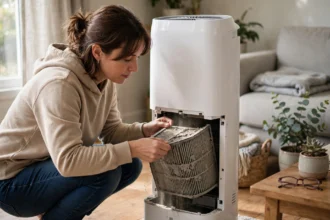
Next, move the unit to a clear, flat surface with good light. Lay down an old towel to catch falling dust. Then open the filter compartment the way your manual shows, which usually means removing a front or back panel. Pull the filters out one at a time and note their order and orientation. For instance, a quick phone photo of the stack saves confusion later.
Finally, inspect what you removed, looking for tears, holes, warping, or heavy discoloration. Therefore, a damaged filter should be replaced, not cleaned; in addition, check whether each filter is labeled washable. If the label is missing, treat it as non-washable.
Step-by-Step: Cleaning the Pre-Filter
The pre-filter is the workhorse you will clean most often. It is a coarse mesh that catches hair, lint, and large dust before they reach the expensive filters behind it. Since it is washable in most models, this is the free maintenance that protects everything downstream.
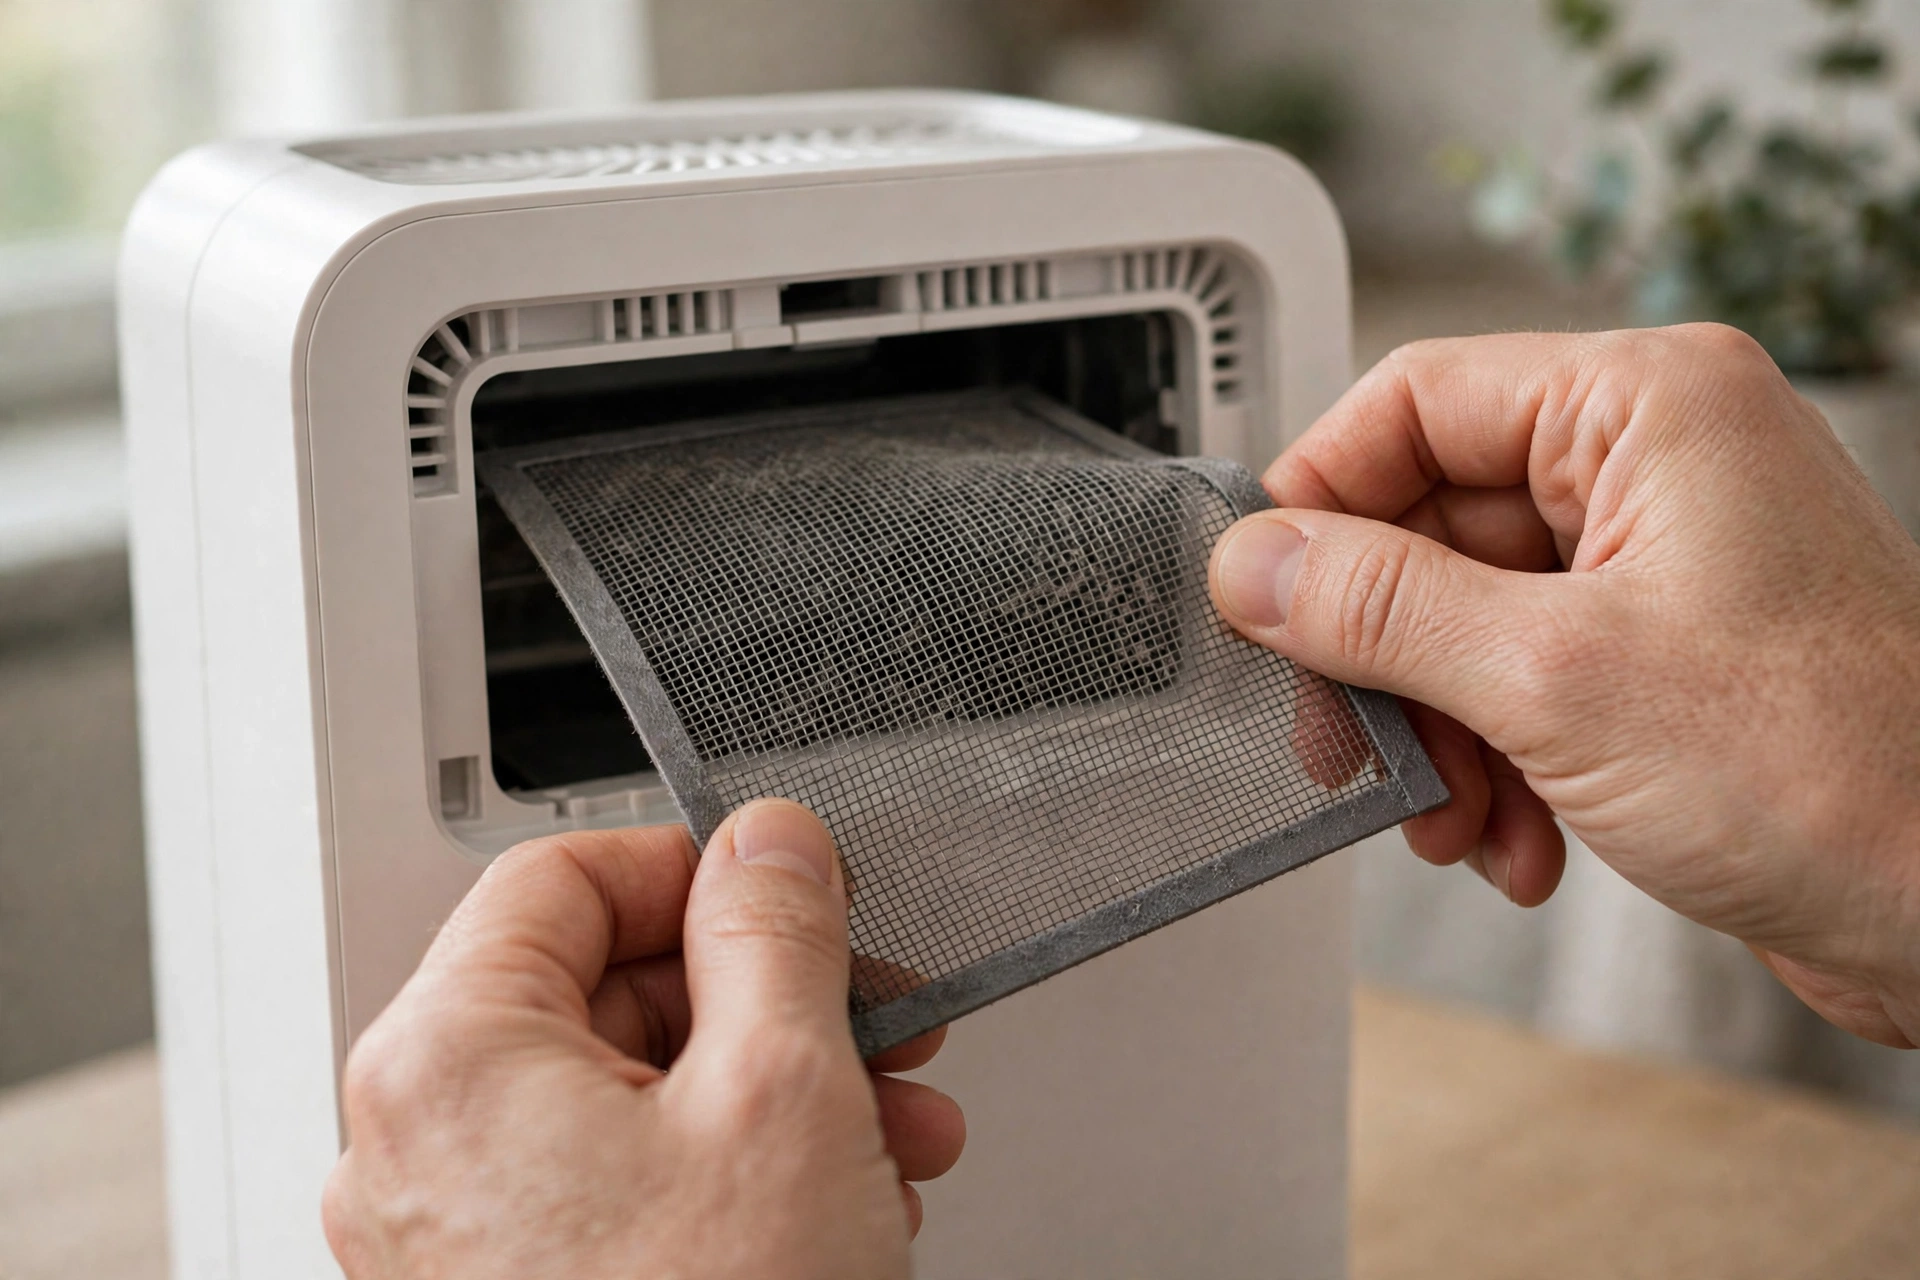
1. Vacuum both sides with a brush attachment to remove loose dust and hair.
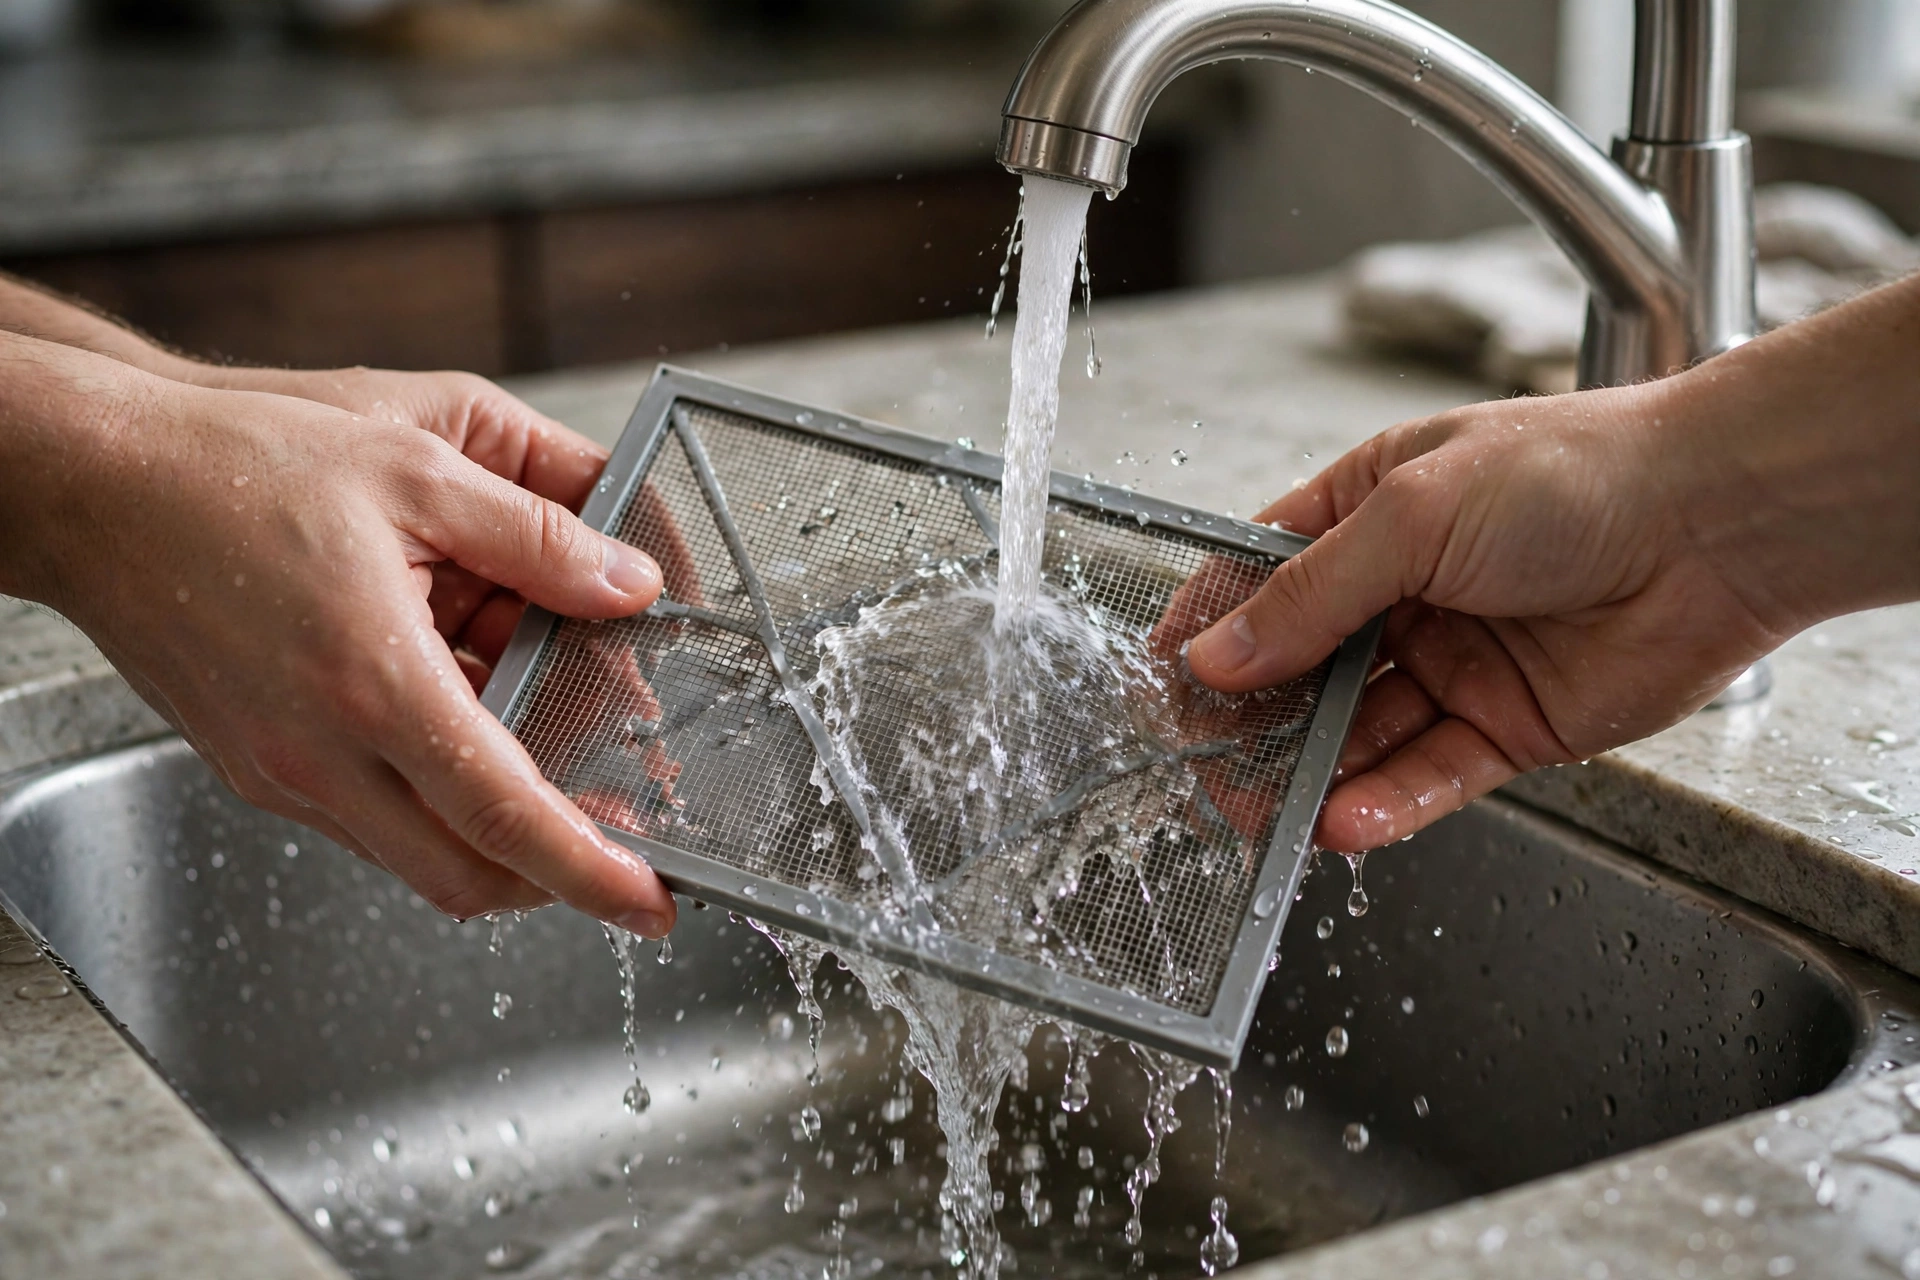
2. If your model allows it, rinse the pre-filter under cool or lukewarm running water until the water runs clear.
3. For heavy buildup, soak it for 10–15 minutes in lukewarm water with a few drops of mild dish soap.
4. Rinse thoroughly to remove every trace of soap; dried residue stiffens the pre-filter mesh and traps less dust.
5. Shake off excess water and let it air dry completely, which takes 12–24 hours.
6. Reinstall only when it is bone dry, which usually means 12 to 24 hours of air-drying. Patience pays.
However, the drying step is where most people go wrong. A damp filter invites mold, which defeats the entire purpose of an air purifier. Therefore, never rush it with a hairdryer or heater.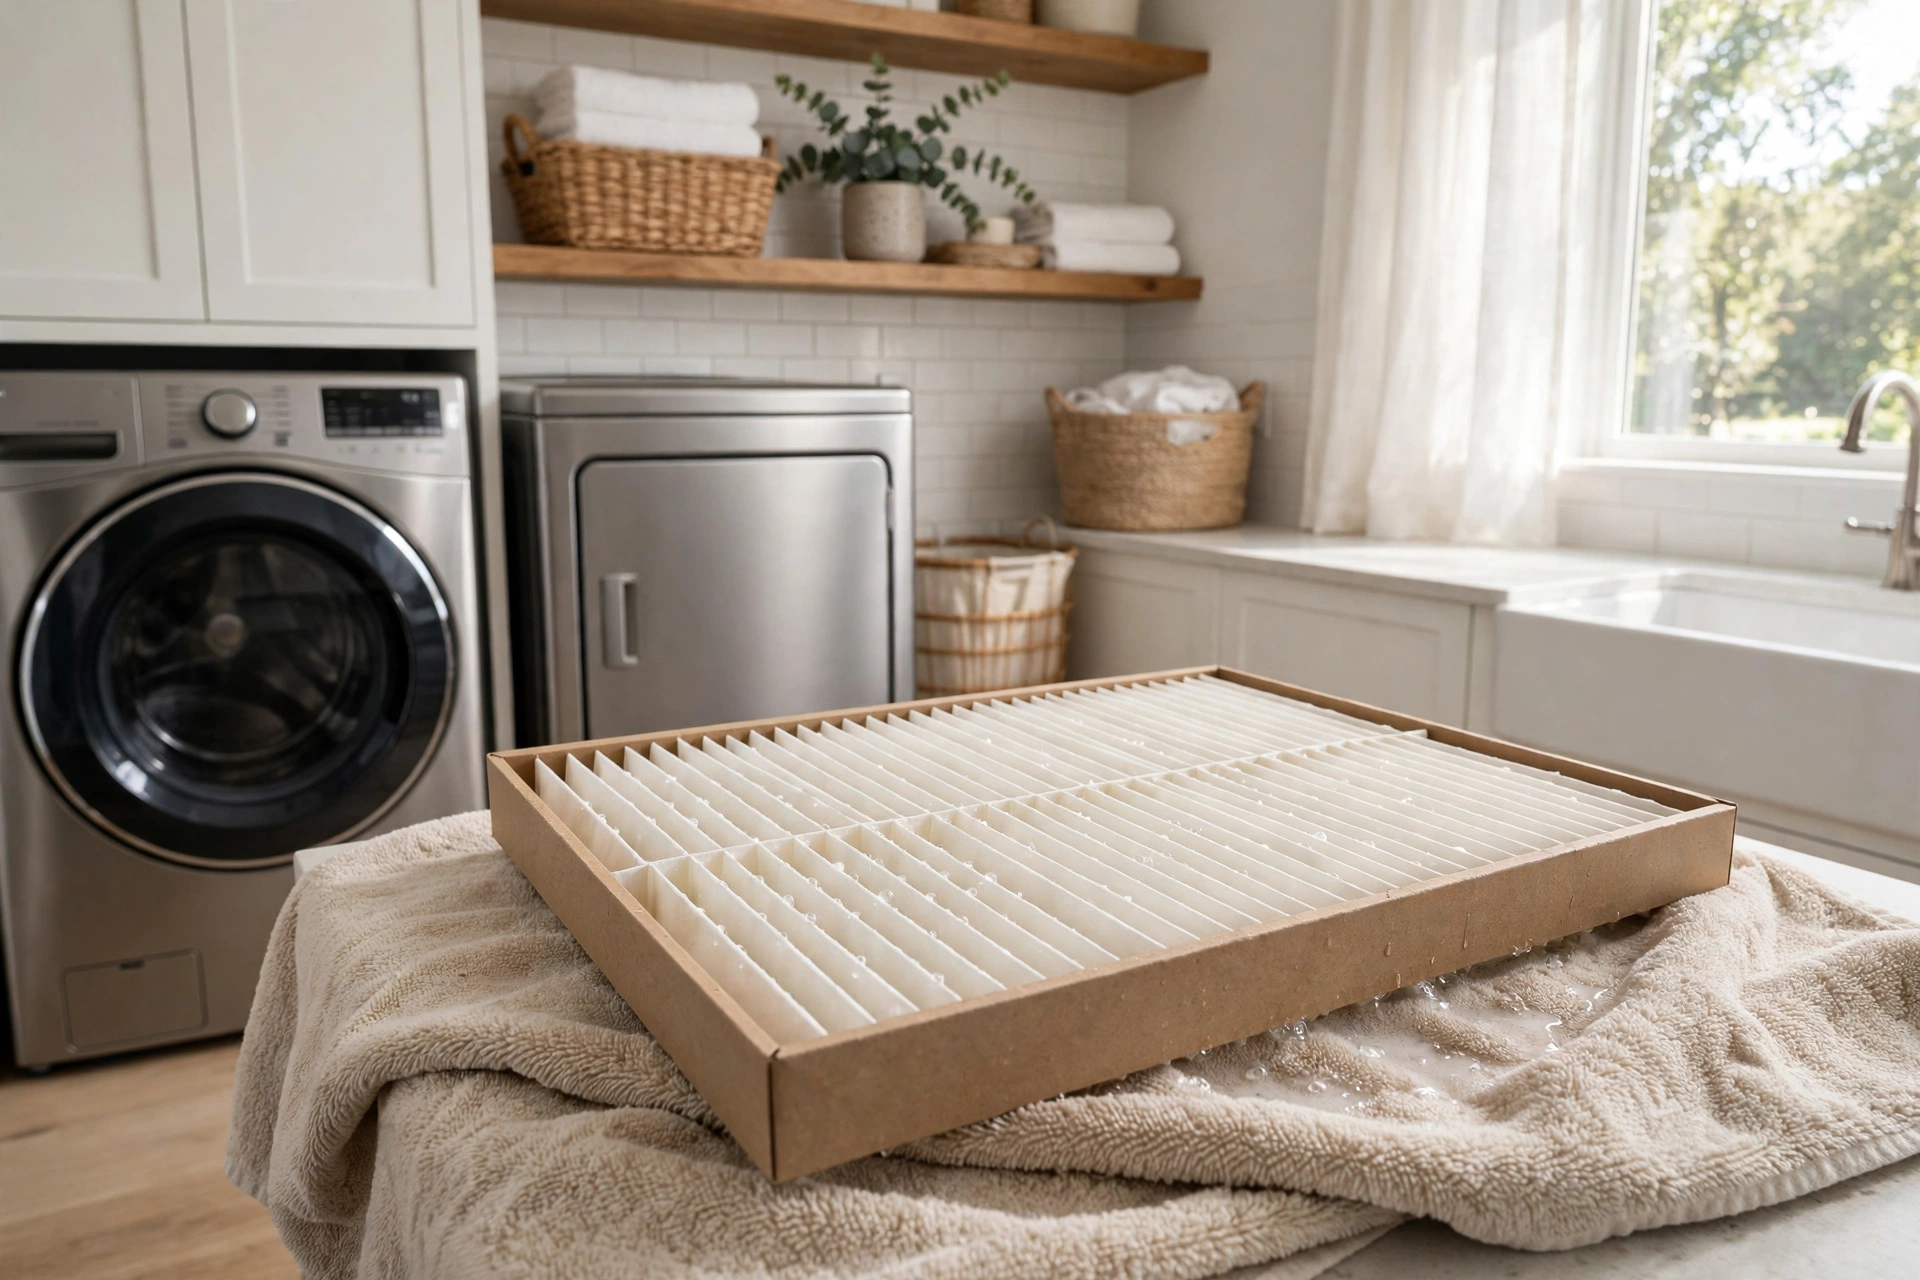 Meanwhile, if you need the purifier running, keep a spare pre-filter on hand so you can swap instead of wait. In addition, never wring or twist a fabric pre-filter. That damages the mesh.
What About the HEPA Filter? Vacuum, Don’t Wash
This is the question behind the whole keyword, so here is the direct answer. A True HEPA filter is generally not washable, because water collapses the fine fiber mat that gives HEPA its rating. Its fibers are engineered to a precise density, and water, soap, or scrubbing breaks that structure down. After washing, it may look clean while filtering far less. As one filtration expert put it, washing a HEPA filter damages the fibers and makes the filter useless.
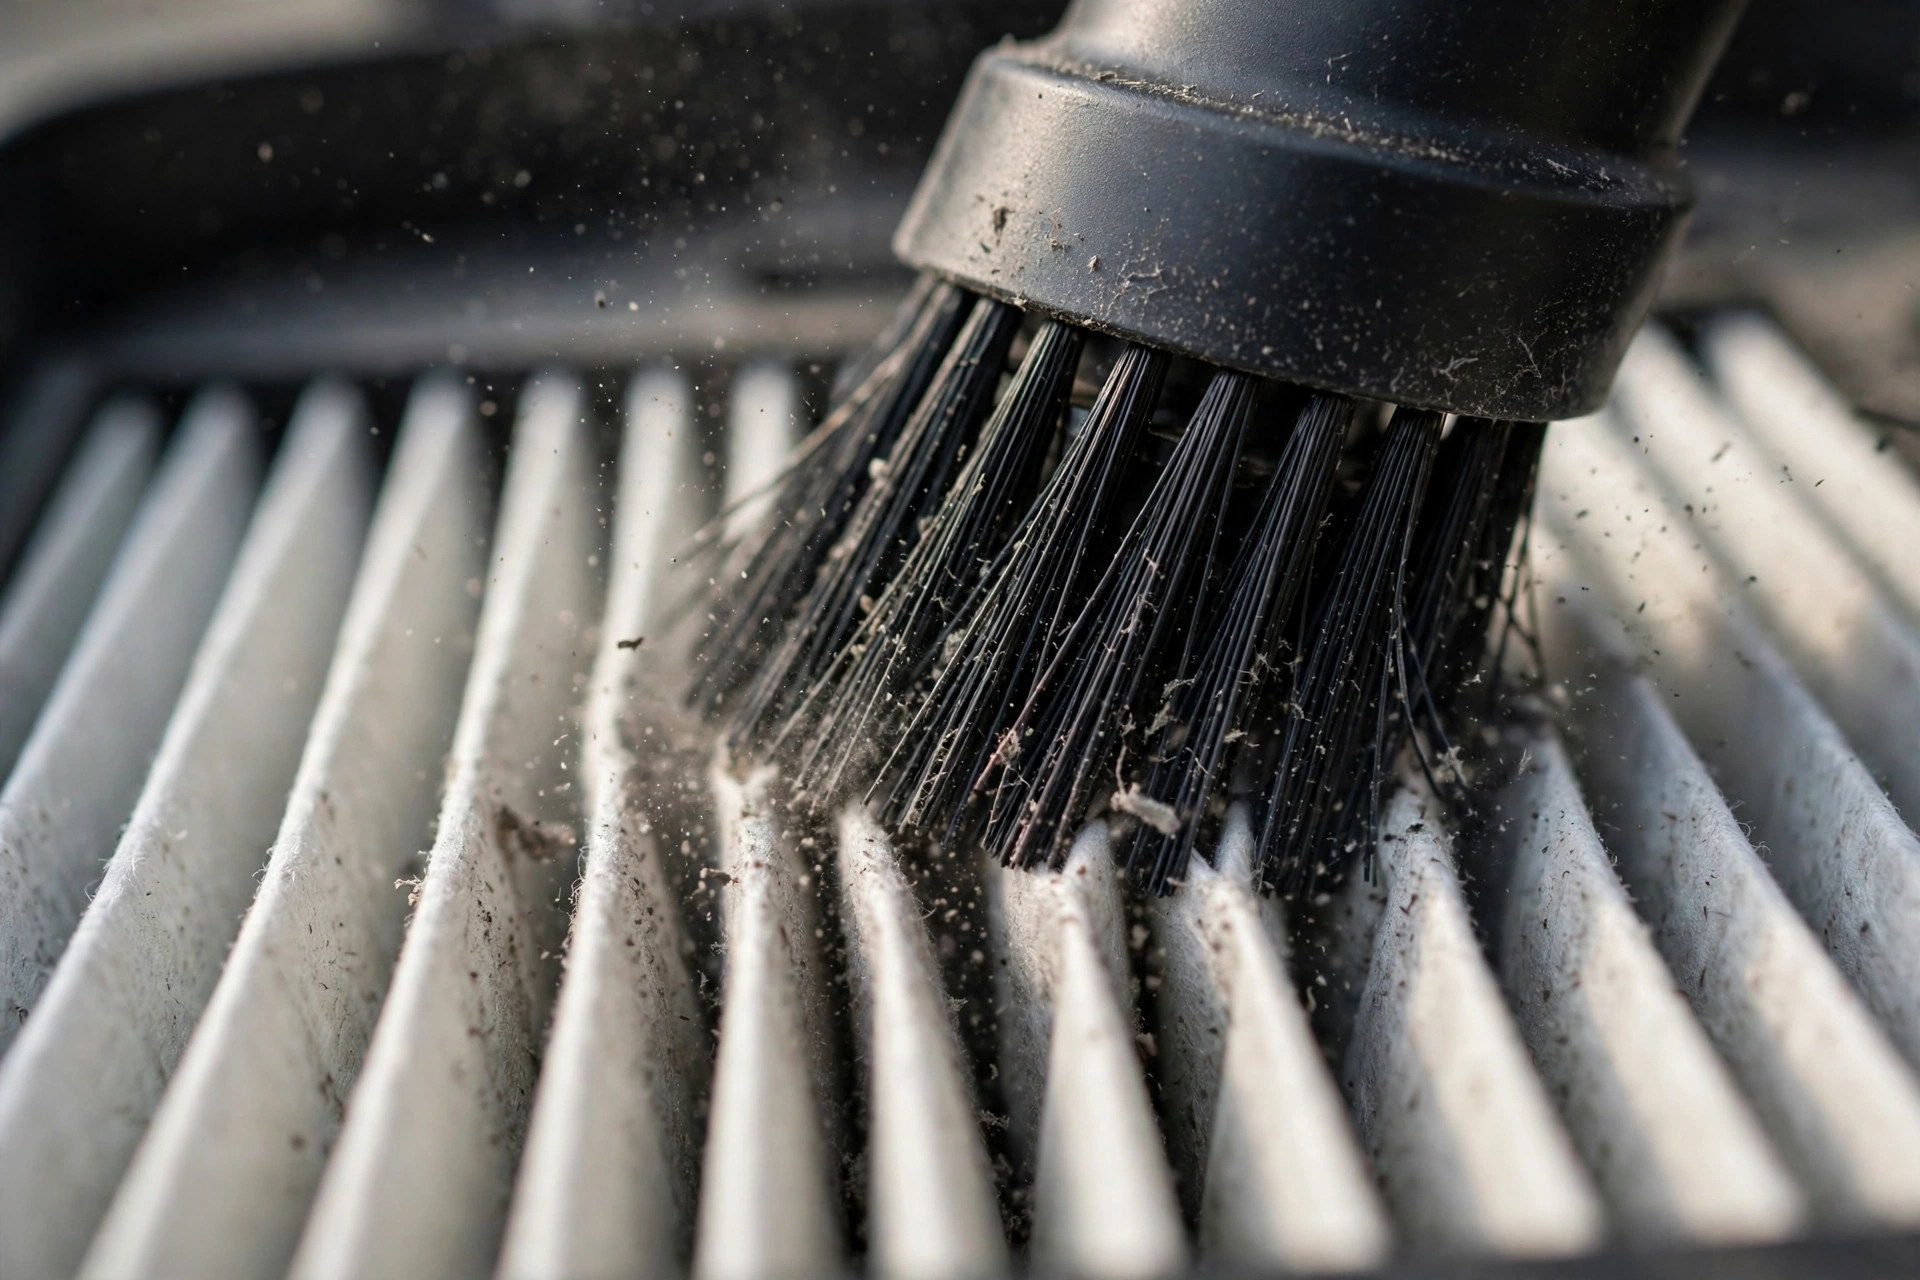
Instead, what you can do is vacuum it. Use a soft brush attachment and go gently over both sides to lift surface dust. This extends the filter’s life between replacements; however, vacuuming is maintenance, not restoration. Once the fibers are loaded deep inside, no amount of surface cleaning brings the filter back.
Therefore, plan on replacement every 6 to 12 months and set a phone reminder; a clogged filter quietly stops cleaning long before it looks dirty. Homes with pets, smokers, or heavy dust need the shorter end of that range. Your purifier’s filter indicator light is a helpful reminder, but it usually runs on a timer rather than measuring actual dirt. Therefore, trust your eyes and nose too: reduced airflow, returning odors, or visible gray discoloration all mean replacement time.
A Tom’s Guide expert roundup on cleaning vs replacing purifier filters confirms this guidance, with specialists advising a vacuum-and-rinse routine for pre-filters and replacement-only for HEPA media.
Carbon Filter and Sensor Care
The activated carbon filter handles smells, cooking odors, and VOC gases. It works by adsorption, which means odor molecules stick to the carbon’s massive surface area. Once that surface is full, the filter is done; however, you cannot wash it back to life.
You can vacuum it lightly to remove surface dust, which helps a little. But plan on replacing it every 3 to 6 months, or sooner if odors return while the purifier runs. In homes with heavy cooking or pets, the carbon filter often dies before the HEPA filter does. As a result, many owners replace carbon twice as often as HEPA.
Do not forget the air quality sensor. A dusty lens makes auto mode misread the room. Many purifiers have a small sensor lens that drives auto mode. When dust films over it, the readings go wrong and the fan behaves erratically. Therefore, every month or two, wipe the lens gently with a dry cotton swab. This takes ten seconds and keeps auto mode honest.
Cleaning the Rest of the Unit
Filters get the attention, but the housing matters too. Dust collects on the intake and outlet grilles, and that buildup chokes airflow just like a dirty filter does. Every one to two weeks, wipe the exterior with a dry or slightly damp cloth. Then vacuum the intake and outlet vents with a crevice tool every two to four weeks.
While you are at it, vacuum the floor around the unit. The area within a few feet of a purifier collects extra dust because the machine constantly pulls room air toward itself. Keeping that zone clean means the pre-filter loads more slowly. In addition, check the fan area for dust buildup every few months if your model allows access.
Placement affects how fast everything gets dirty; a unit near an entryway needs attention twice as often. Units near entryways or open windows load their pre-filters much faster, because outdoor dust streams straight in. Windows and glass doors are among the biggest dust sources in a home. For example, proper window coverings for sliding glass doors cut the dust entering the room, which directly extends the time between filter cleanings.
How Often: The Full Maintenance Schedule
Different homes dirty filters at different rates, so treat this schedule as a starting point. First, clean the pre-filter every 2 to 4 weeks. Next, wipe the exterior and vacuum the vents every 1 to 2 weeks. Then clean the sensor lens every 1 to 2 months. Finally, replace the HEPA filter every 6 to 12 months and the carbon filter every 3 to 6 months.
Adjust based on your reality. Pets, smoking, construction nearby, wildfire smoke, and running the unit 24/7 all shorten every interval. Conversely, a purifier in a rarely used guest room can stretch longer. The filter indicator light helps, but it is only a timer. Your senses are the better judge: weaker airflow, dust returning faster, or smells creeping back all signal action.
One habit multiplies the value of all the rest. Because the pre-filter is free to clean and protects the expensive HEPA filter behind it, skipping pre-filter cleaning is the most expensive mistake in purifier ownership. A clogged pre-filter forces fine particles straight onto the HEPA media, wearing it out months early. Two minutes twice a month is the highest-value maintenance in the entire machine.
5 Mistakes That Ruin Air Purifier Filters
1. Washing a non-washable HEPA filter. Water breaks the fiber structure, leaving a filter that looks clean but filters poorly. Unless your manual explicitly says washable, never do it.
2. Reinstalling a damp filter. Moisture plus trapped organic dust equals mold, which is why you should always wait the full 12–24 hours and confirm bone-dry by touch.
3. Using harsh chemicals. Bleach, strong detergents, and scented cleaners can damage filter media and leave residues that end up in your lungs. Mild dish soap or plain water is enough; anything stronger risks leaving residue that ends up back in your air.
4. Blasting with compressed air. It feels effective, but the pressure can tear HEPA fibers and just relocates dust into your room. A gentle vacuum is safer.
5. Ignoring the pre-filter until the HEPA dies. The cheap washable layer exists to sacrifice itself for the expensive one. Clean it on schedule and your HEPA filter lasts its full rated life.
Replacing Filters: What to Know
Replacement is part of cleaning, not a failure of it. When the time comes, buy the exact filter made for your model. Third-party filters can fit loosely, and even small air gaps let unfiltered air bypass the media entirely. That defeats the purpose of the whole machine.
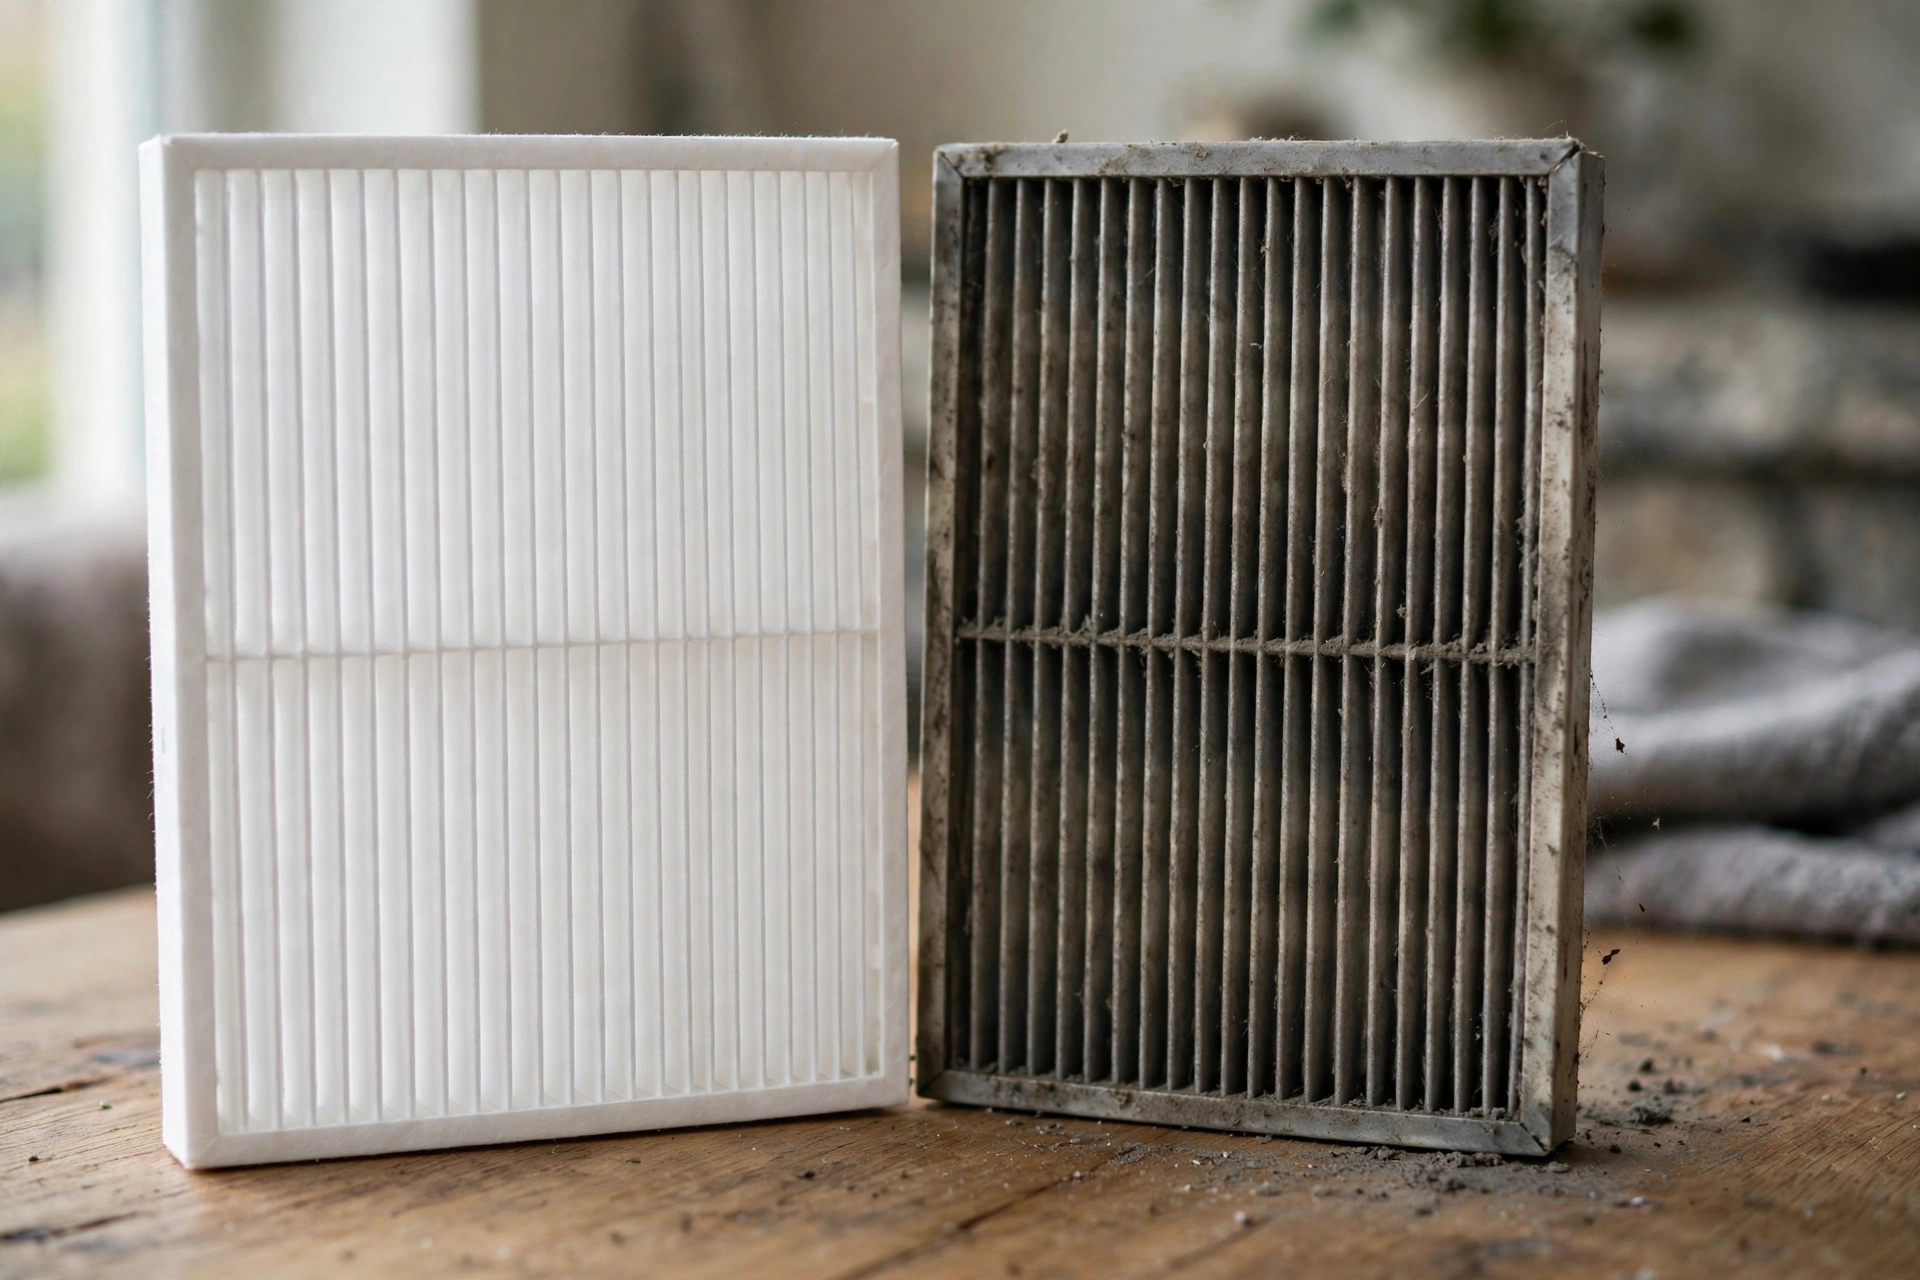
Replacement itself is simple. First, unplug the unit. Next, remove the old filter and bag it immediately so trapped dust does not scatter. Then seat the new filter firmly in the correct orientation, close the compartment, and reset the filter indicator if your model has one. Finally, run the unit for a few minutes and confirm normal airflow. If you buy replacements at a big-box store, it helps to know the checkout situation in advance.
Budget for it. A HEPA replacement every 6 to 12 months plus carbon every 3 to 6 months is the real cost of purifier ownership.
Whole-house purifier owners have one more layer: the HVAC filter itself. A high-MERV furnace filter works alongside any portable unit, and the thermostat runs the fan that drives it all. If your thermostat ever misbehaves, our guide on how to reset a Honeywell thermostat walks through the fix.
FAQs
Can I wash my air purifier’s HEPA filter with water?
Usually no. True HEPA filters are not washable; water damages the fiber structure and reduces filtration. Only wash a HEPA filter if the manufacturer explicitly labels it washable. Otherwise, vacuum it gently with a brush attachment and replace it every 6 to 12 months.
How often should I clean my air purifier filter?
Clean the washable pre-filter every 2 to 4 weeks. Vacuum the HEPA filter lightly at the same time, but plan to replace it every 6 to 12 months. Replace carbon filters every 3 to 6 months. Homes with pets or heavy dust should use the shorter end of each range.
What happens if I never clean my air purifier filter?
Airflow drops, cleaning performance falls, and the motor strains, which shortens the unit’s life and raises energy use. Eventually the purifier just recirculates dirty air. In short, a neglected purifier becomes an expensive fan that does nothing for your air.
Can I use soap to clean a pre-filter?
Yes, a few drops of mild dish soap in lukewarm water is fine for heavily soiled washable pre-filters. Rinse thoroughly until no soap remains, and let the filter air dry completely for 12 to 24 hours. Never use bleach or harsh chemicals, which can damage the media.
How do I know when to replace instead of clean?
Replace when you see tears, holes, warping, or deep discoloration that vacuuming does not fix. Reduced airflow, returning odors, and dust building up faster than before are also replacement signals. A filter past its rated lifespan should be replaced even if it looks okay.
Does cleaning the filter really make a difference?
Yes. A clean pre-filter restores airflow, which restores the CADR the unit was rated for. Owners often notice quieter operation and faster dust reduction after cleaning. With the pre-filter protecting the HEPA filter, regular cleaning also stretches the expensive filter’s lifespan by months.
Conclusion
Knowing how to clean air purifier filter parts comes down to one distinction: wash the pre-filter, vacuum the HEPA, replace on schedule. Clean the pre-filter every few weeks, keep it bone dry before reinstalling, and never let water touch a non-washable HEPA. Do that, and your purifier keeps its rated performance for years instead of months. Finally, set a phone reminder for filter day; the best maintenance schedule is the one you actually follow.