


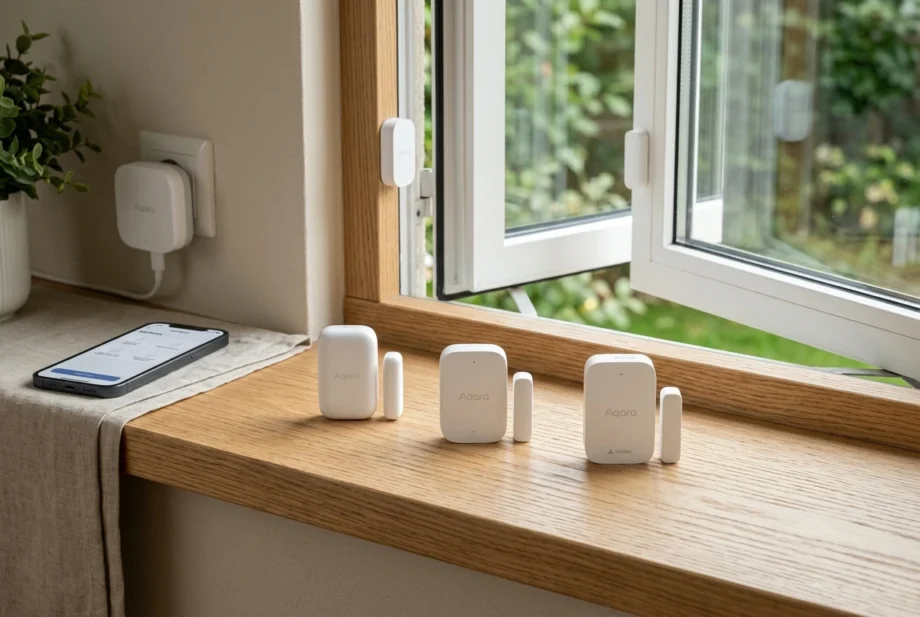
An Aqara door and window sensor can tell your smart home when a door opens, a window closes, or a cupboard gets used. The buying decision is less obvious: the original sensor, T1, and P2 do similar jobs, but they connect differently. Choosing the wrong version can mean buying extra hardware before anything works.
This guide covers those three models, with practical advice on compatibility, installation, useful automations, and troubleshooting. Match the product name and model label before following setup instructions.
Quick answer: The Aqara door and window sensor detects whether its sensor and magnet are together or separated. The original and T1 use Zigbee through a compatible hub; the P2 uses Matter over Thread. Choose the version that fits your existing system, then test alignment before mounting.
What It Detects—and What It Cannot Tell You
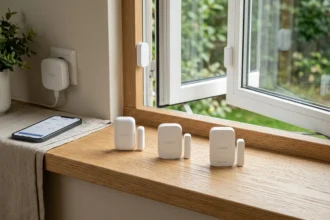
The device has two parts: a battery-powered sensor and a separate magnet. Fit them across the opening so they sit together when it closes and move apart when it opens. The resulting change can trigger a notification or automation through your connected system.
That distinction matters. A “closed” reading means the magnet is close enough to the sensor; it does not prove that a door is locked, a window handle is secured, or nobody is inside. An opening event also cannot identify who entered.
Think of it as an input for your home’s routines. It can help answer “Did the patio door open?” but you must decide what happens next. Simply attaching the sensor does not automatically create phone alerts, lighting rules, or an alarm response.
For security decisions, keep expectations proportionate. Aqara’s T1 manual describes convenience and status uses and explicitly says it should not serve as security equipment. Use it for supplementary awareness rather than relying on it as your only protection.
Aqara Door and Window Sensor Models Compared
Check the listing carefully: “Aqara contact sensor” is not a complete model description.
| Feature | Original Door and Window Sensor | Door and Window Sensor T1 | Door and Window Sensor P2 |
| Model reference | MCCGQ11LM | DW-S03D | DW-S02E / DW-S02D |
| Connection | Zigbee | Zigbee 3.0 | Matter over Thread |
| Battery | CR1632 | CR1632 | CR123A |
| Main sensor dimensions | 41 × 22 × 11 mm | 41 × 22 × 11 mm | 77 × 22 × 22 mm |
| Standard setup route | Compatible Aqara hub | Compatible Aqara hub | Matter controller plus Thread border router |
| Practical starting point | Existing compatible installation | Building around Aqara Zigbee | Building around Matter and Thread |
The dimensions describe the main sensor, not the combined space needed for both pieces. Check clearance on narrow frames, especially with the larger P2. These specifications refer to the model references shown; do not transfer them to differently labelled regional products.
Choose T1 when you already have a compatible Aqara Zigbee hub and want to keep setup within that system. An existing original sensor does not need replacing simply because a newer model exists.
Consider P2 when your home already has the required Matter and Thread equipment. Its attraction is the connection route, not a guarantee that every app offers identical notifications or automation options.
Compare the complete purchase: sensors, any missing hub or controller, replacement batteries, and mounting needs. A lower sensor price is less useful if it requires hardware you otherwise would not buy.
Which Hub or Smart Home System Do You Need?
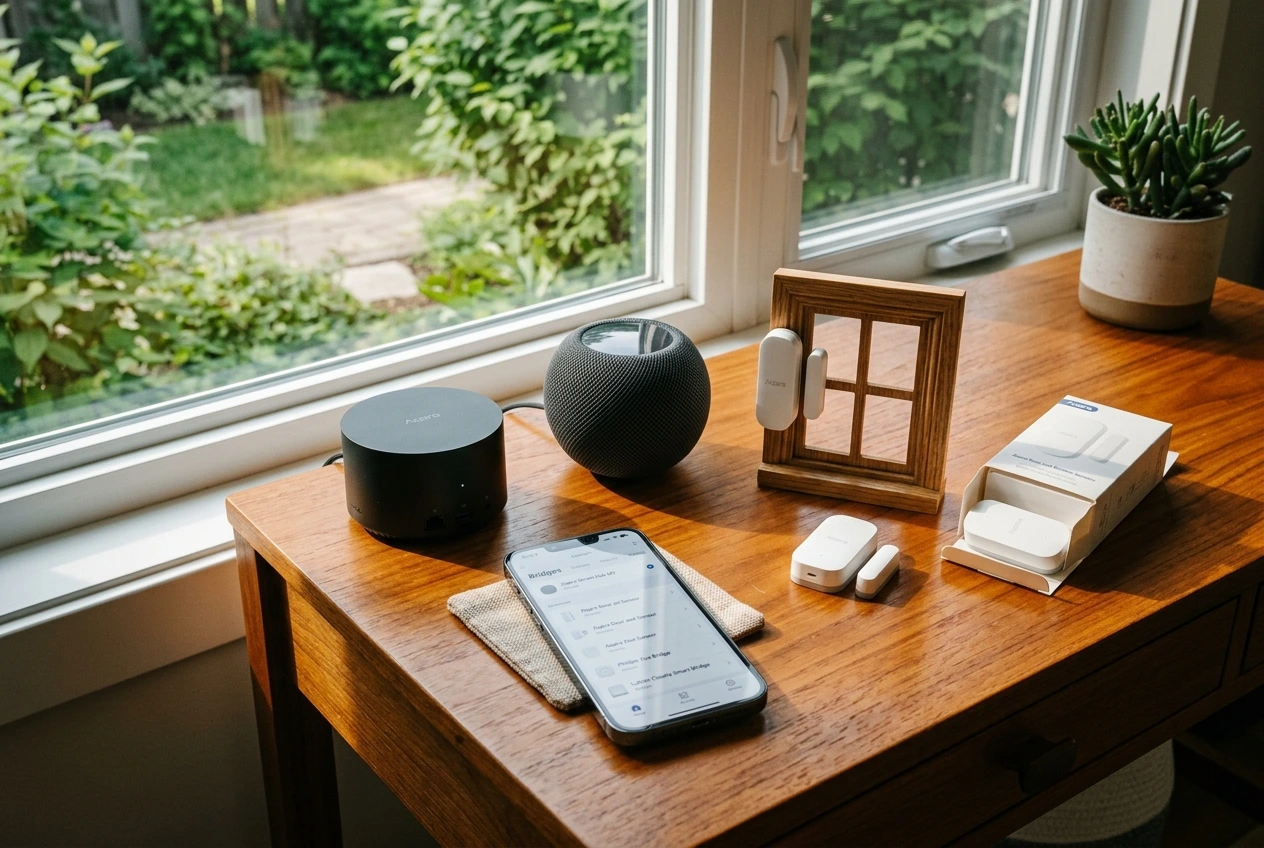
Original and T1: understand the bridge
For the standard Aqara setup, the Zigbee sensor connects to an Aqara hub. A compatible hub can then make supported sensor functions available to another ecosystem. The original model’s Apple Home support, for example, depends on the Aqara hub.
A Matter bridge is different from a native Matter sensor. Aqara lists the original and T1 among devices supported through its M2 Matter bridging update. Their radio connection remains Zigbee; a bridge update does not turn them into Thread devices. Check your exact hub and its installed firmware before choosing that route.
P2: Matter and Thread perform different jobs
Matter provides the common device language. Thread carries the sensor’s wireless traffic. A Matter controller manages it within your chosen platform, while a Thread border router connects the Thread network to your home network. One product can perform both roles.
Aqara’s P2 compatibility and controller requirements list examples including HomePod mini, Nest Hub second generation, and Echo fourth generation. Do not assume every HomePod, Nest, or Echo product provides the same capabilities. Aqara Home support also requires suitable Aqara equipment, such as Hub M3.
For an Apple-based home, our guide to how Apple Home works and what hardware it needs explains the distinction between the app, accessories, and home hub.
Home Assistant needs a deliberate connection choice
For P2, follow Home Assistant’s Matter setup requirements, including working Thread connectivity. For Zigbee models, investigate support for the exact device in your chosen integration and coordinator setup. Home Assistant’s ZHA documentation warns that some devices need device-specific handling; sharing the Zigbee label alone is not a compatibility guarantee.
Whichever system you choose, confirm the feature you actually need. Seeing open/closed status, sending a phone notification, and detecting that a door stayed open are separate capabilities to check.
How to Set Up and Mount the Sensor
Pair and test the device before committing the adhesive. This makes it easier to distinguish a connection problem from a poor mounting position.
Pair a new T1 with Aqara Home
- Set up your compatible Aqara hub and install Aqara Home first.
- Open the app’s Home screen, tap +, and select Door and Window Sensor T1 from the accessory list. Labels may vary with app version.
- Follow the pairing prompt. The T1 manual specifies holding its button for five seconds to reset or connect to the network.
- Assign a clear name, such as “Kitchen window,” and check that moving the magnet away changes the displayed status.
These button instructions are specific to T1. Follow the matching guide for an original sensor rather than assuming every generation behaves identically.
Pair a new P2 with a Matter platform
- Make sure your chosen platform’s Matter controller and Thread border router are ready.
- Remove the battery insulating tab. For initial setup, if the indicator does not pulse, the P2 manual directs you to hold the button for five seconds until it blinks, then release.
- Use the platform’s add-device flow to scan the Matter QR code on the packaging or manual, or enter the numeric setup code.
- Name the sensor and verify both open and closed readings before mounting.
Keep the setup code somewhere accessible. Follow your platform’s current instructions for permissions and phone requirements.
Position both pieces before peeling the backing
For T1, Aqara recommends the main unit on the fixed frame and the magnet on the moving surface, aligned with the mounting marks. Keep their closed-position separation below 22 mm without letting them strike each other. Its installation and troubleshooting FAQ also warns that metal surfaces can affect the signal.
Do not treat 22 mm as a target to reach. Leave practical margin for movement and alignment. For P2, use its own alignment instructions and supplied magnet options rather than copying another model’s maximum gap.
Before fixing either piece permanently:
- Hold or temporarily secure both parts in their intended positions.
- Open and close the door slowly, then normally, while watching the app.
- Check that handles, hinges, blinds, and curtains cannot knock them.
- Confirm that you can access the battery compartment later.
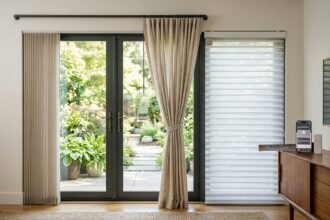
With sliding doors, inspect the whole travel path. The second panel must not scrape off the sensor when it passes. If you are also planning shades, consider the clearances discussed in our sliding glass door window covering guide.
Clean and dry the mounting surface before applying the adhesive. After mounting, repeat the status check at the actual location; successful pairing beside the hub does not establish reliable operation across the house.
Useful Automations Without Unnecessary Alerts
Start with one rule that solves a daily annoyance. The examples below are suggested designs; available triggers, delays, and actions depend on your platform.
Turn on an entrance light after dark
Use the door-opening event with a nighttime condition. Choose a comfortable brightness and decide separately when the light should switch off.
Closing the door is often a poor off-trigger: you might still be removing shoes or carrying shopping. A suitable timer or another occupancy input can make the routine less frustrating.
Remind yourself about a window left open
If your platform supports duration conditions, notify only after the window remains open for your chosen interval. This avoids an alert every time someone briefly airs the room.
Test the cancellation case: open the window, close it before the interval ends, and confirm no reminder arrives. A simple delayed message is not necessarily the same as checking that the window is still open.
Use a window event to inform heating control
A window-open reminder is a sensible starting point before automating a thermostat. If you add automatic changes, decide how the previous setting will be restored and how manual changes should take priority.
Use supported thermostat controls and retain protective functions. Do not build a rule that repeatedly interrupts power to heating or cooling equipment. The sensor supplies an event; it does not calculate energy savings or know the room’s heating needs.
Troubleshooting: Follow the Failed Step
The app says “open” when the door is closed
Bring the magnet closer and check alignment. If the reading changes, investigate the mounting gap, slipped adhesive, or uneven frame. Reposition before resetting anything.
If the state never changes, repeat the test near the hub with the pieces loose. A successful nearby test points toward placement or connection conditions at the doorway. Aqara identifies both magnet spacing and hub distance as relevant T1 checks.
The sensor is offline or updates intermittently
Check whether other devices on the same hub or controller are also unavailable. A group failure suggests you should investigate shared equipment before removing individual sensors.
For an isolated sensor, inspect its battery and mounting position. Move it temporarily nearer the hub or border router, and test repeated openings. Record whether the problem follows the sensor or stays with the location; that is useful evidence for support.
Status changes, but the automation does nothing
Check the rule’s enabled state, time conditions, and selected device. Then try controlling the intended light or other accessory directly. If direct control fails too, work on that accessory’s connection first.
For missing phone alerts, inspect notification permissions and any restrictions within the rule. Test delivery with your phone away from home Wi-Fi before depending on remote reminders.
Reset only after simpler checks
Before resetting a paired T1, record its automation settings: factory reset means it must be paired again, and dependent rules may need repair. Aqara specifies holding the button for five seconds until the indicator flashes three times. Use the correct model’s procedure; do not apply this as a universal P2 reset instruction.
If faults persist, give support the model, hub/controller, app version, battery details, and the results of your nearby test.
Battery Care and Outage Expectations
The original model’s advertised battery life is over two years under normal use, not a replacement schedule you can rely on. P2 battery life also varies with its connected platform and border router. Respond to low-battery warnings and investigate missed events even if the displayed percentage looks reassuring.
Keep replacement and used batteries away from children. Fit the specified battery type and follow the device’s opening instructions. Do not keep using a sensor whose battery compartment will not close securely.
Matter supports local communication, but an entire automation works offline only when all its required parts do. Cloud-dependent actions and remote notifications have additional dependencies. A power outage can also stop the hub or controller despite the sensor retaining battery power.
After an outage, physically open and close each important monitored opening and check the current reading. Do not assume every event that occurred while equipment was unavailable will be replayed.
Frequently Asked Questions
Does it connect directly to Wi-Fi?
The three models covered here do not. The original and T1 use Zigbee; P2 uses Thread for its network connection. Changing your Wi-Fi password is therefore not a direct sensor setup step, although connected hub equipment may need attention.
Can I install it on an outdoor gate?
Do not assume it is weatherproof. The T1 and P2 manuals specify indoor use and warn against outdoor or humid environments. A sheltered gate can still experience rain, condensation, and unsuitable conditions. Choose equipment explicitly rated for that location.
Can P2 connect to more than one platform?
Matter supports sharing a device between platforms. Once it belongs to one platform, follow that platform’s sharing flow to generate a new pairing code for the additional controller. Do not reset a working sensor simply to add another app.
Can it replace a garage door safety sensor?
No. A contact sensor reports separation from its magnet; it does not provide the obstruction-detection function of the opener’s safety system. For a door that reverses or refuses to close, use our garage door sensor troubleshooting guide and the opener manufacturer’s instructions.
Which Model Makes Sense for Your Home?
Choose an Aqara door and window sensor around the equipment and features you actually need. T1 is a sensible starting point for an existing compatible Aqara Zigbee system; P2 suits a home prepared for Matter over Thread.
Buy one first if you are unsure about the frame, radio coverage, or app behavior. Confirm the mounting position, notification delivery, and one useful automation before equipping every opening. Those checks tell you more about suitability than a compatibility logo alone.