

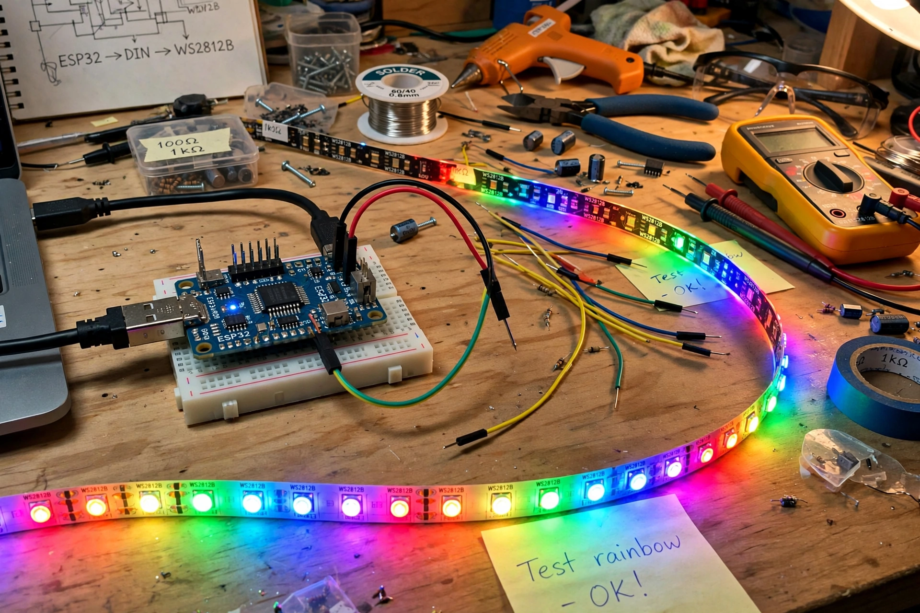
To setup WLED on ESP32 for LED strips, flash the WLED firmware using the web installer at install.wled.me, connect your WS2812B strip’s data wire to GPIO16 through a 330-ohm resistor, power the strip separately for longer runs, then configure your LED count and type in the WLED web interface. You’ll have animated effects running in under 30 minutes.
- What You Need
- Step 1: Flash WLED Firmware
- Step 2: Wire the LED Strip
- Step 3: Configure WLED
- Exploring Effects and Controls
- Power Injection for Long Strips
- Home Assistant Integration
- Alexa and Google Voice Control
- Adding a Physical Button
- Choosing the Right LED Strip
- Safety Considerations
- Advanced: Syncing Multiple Controllers
- FAQs
- Which ESP32 board should I buy for WLED?
- How many LEDs can one ESP32 control?
- Why are my LEDs the wrong color?
- Can WLED sync to music?
- Does WLED work without WiFi?
- How do I update WLED firmware?
- Can I control multiple strips with one ESP32?
- Final Thoughts
WLED turns a cheap ESP32 board into one of the most capable LED controllers available. We’re talking 180+ built-in effects, phone app control, Alexa integration, music sync, and Home Assistant support. All from a $5 microcontroller and free open-source firmware. Let’s build it.
What You Need
- ESP32 development board (any variant with USB works)
- WS2812B or compatible addressable LED strip (5V)
- 5V power supply (sized for your LED count)
- 330-ohm resistor (for the data line)
- Jumper wires or soldering equipment
- Computer with Chrome or Edge browser
- Micro USB cable for the ESP32
About power: each WS2812B LED draws up to 60mA at full white brightness. A 300-LED strip can pull 18A. Your ESP32’s USB port can’t supply that. For strips longer than about 30 LEDs, use a separate 5V power supply wired directly to the strip. This is the number one mistake beginners make.
Step 1: Flash WLED Firmware
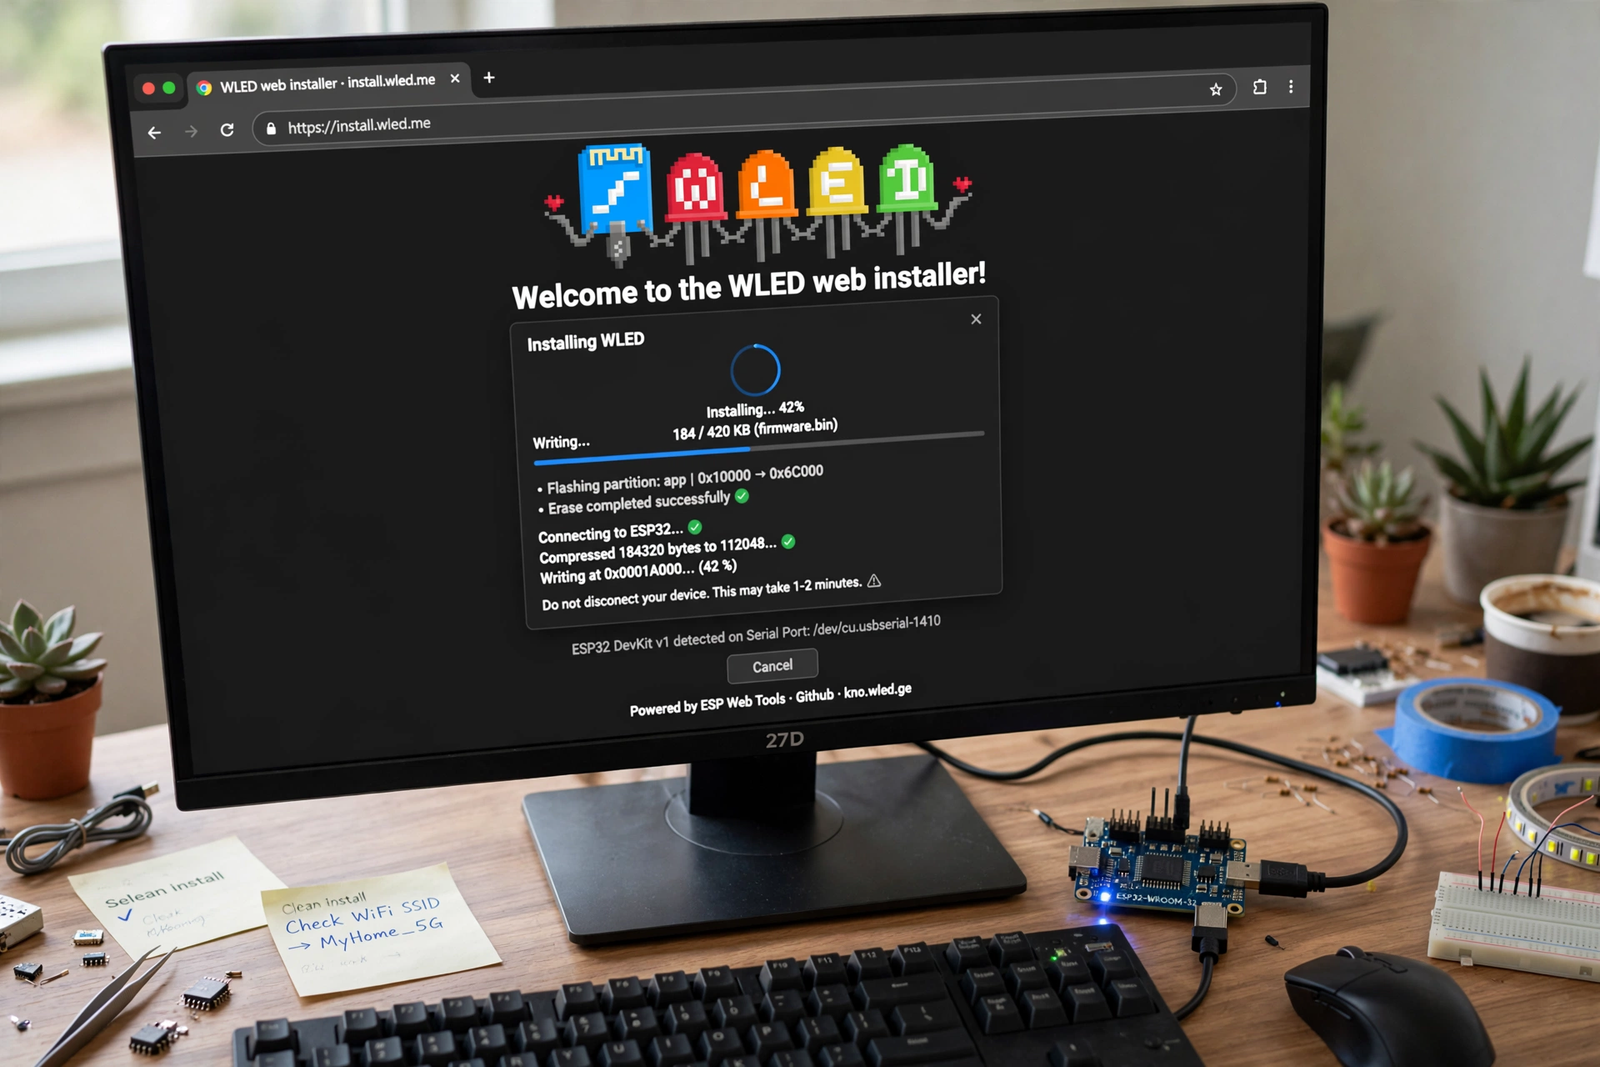
The easiest method is the web installer. Connect your ESP32 to your computer via USB, open Chrome or Edge, and go to install.wled.me. Click install, select your ESP32’s COM port, and let it flash. The whole process takes about two minutes.
Don’t have Chrome? You can also use ESPHome Flasher or esptool from the command line, but the web installer is by far the simplest for beginners. It handles everything automatically.
After flashing, the ESP32 creates a WiFi network called “WLED-AP.” Connect to it from your phone or computer, then open 4.3.2.1 in your browser. This takes you to the WLED setup page where you’ll configure your home WiFi credentials.
Step 2: Wire the LED Strip
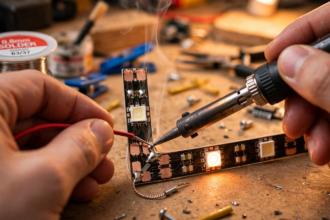
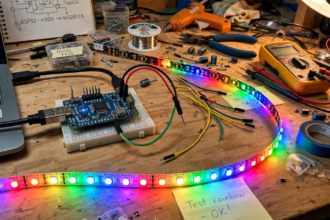
Disconnect everything from power before wiring. You need three connections between the ESP32 and the LED strip:
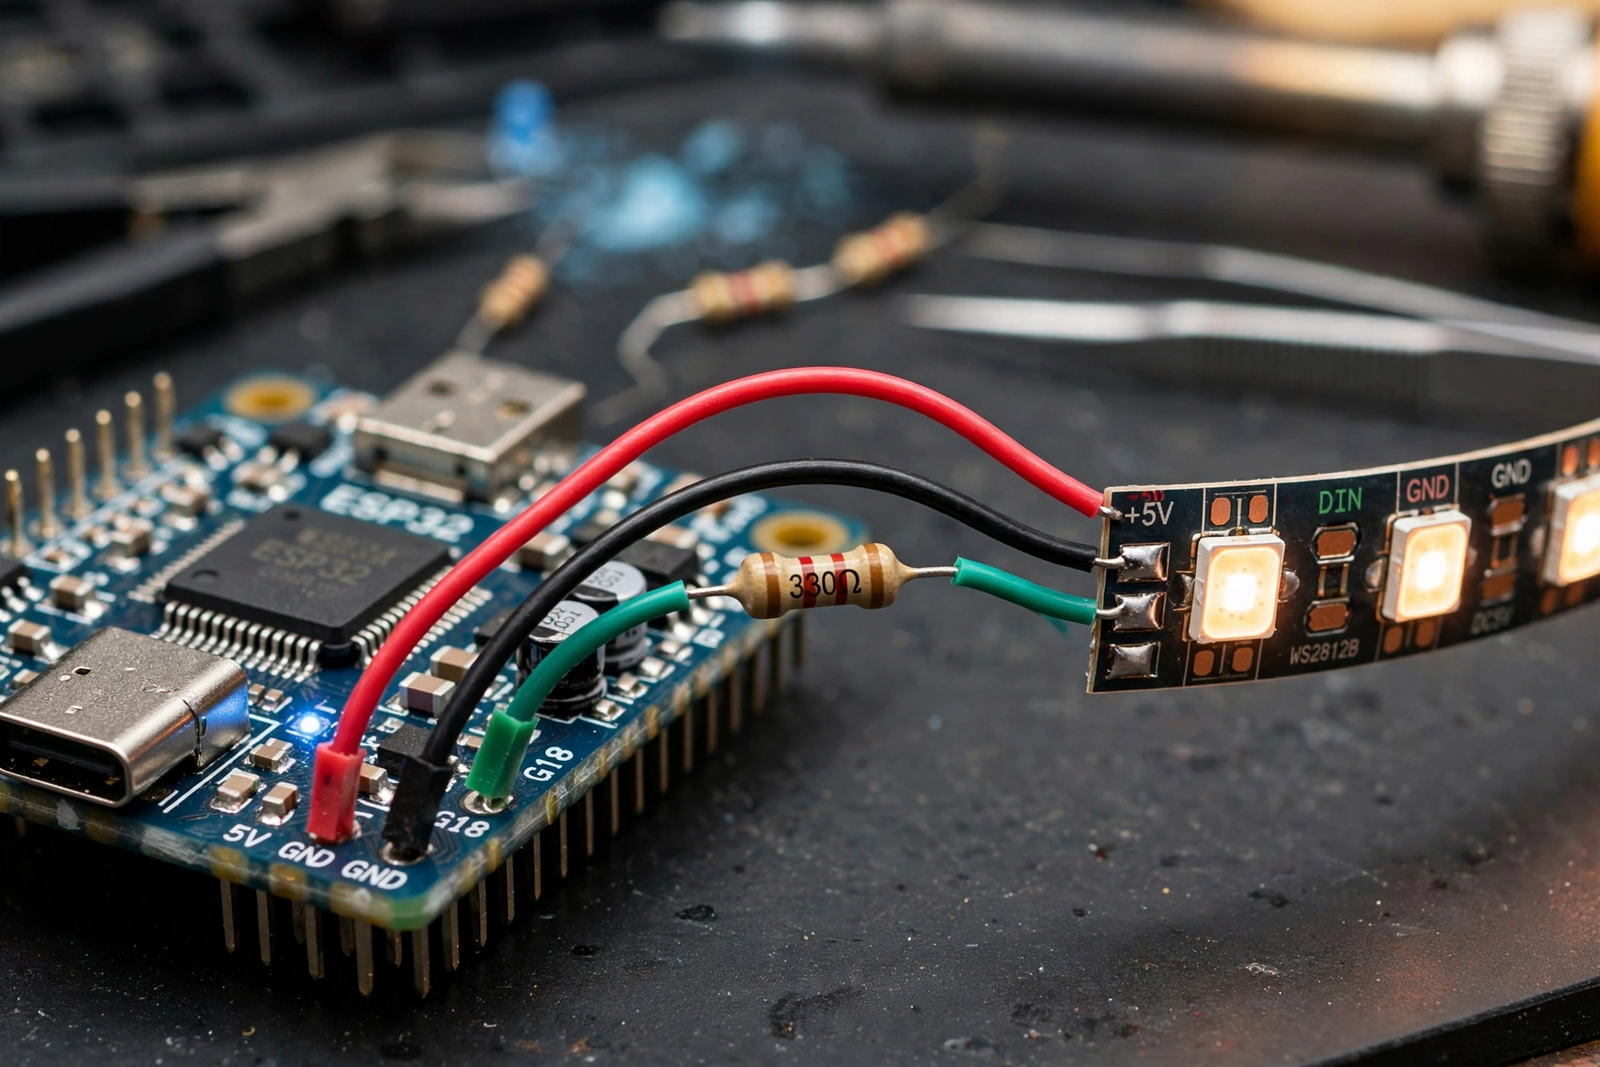
- Ground (GND): ESP32 GND to strip GND. This is critical. Without a common ground, nothing works.
- Data: ESP32 GPIO16 to strip DIN, with a 330-ohm resistor in series. The resistor protects the ESP32’s data pin from voltage spikes.
- Power: For short strips (under 30 LEDs), you can power from the ESP32’s VIN pin. For longer strips, connect a separate 5V supply directly to the strip’s 5V and GND.
The resistor goes as close to the LED strip as possible, not near the ESP32. This placement absorbs signal reflections most effectively. Any value between 220 and 470 ohms works fine.
If you’re using a separate power supply, connect its ground to both the ESP32 ground and the strip ground. All grounds must be common. Connect the 5V output only to the strip, not to the ESP32 (the ESP32 gets power from USB).
Step 3: Configure WLED
Once your ESP32 is on your WiFi network, find its IP address from your router or the WLED app. Open that IP in a browser to access the full WLED interface.
Go to Config, then LED Preferences. Here you set:
- LED type: WS2812B (or whatever strip you’re using)
- GPIO pin: 16 (or whichever pin you wired to)
- LED count: the exact number of LEDs on your strip
- Color order: usually GRB for WS2812B
Click Save, and your strip should light up. If it doesn’t, double-check your wiring, especially the ground connection and the LED count. An incorrect LED count is the most common configuration mistake.
Exploring Effects and Controls
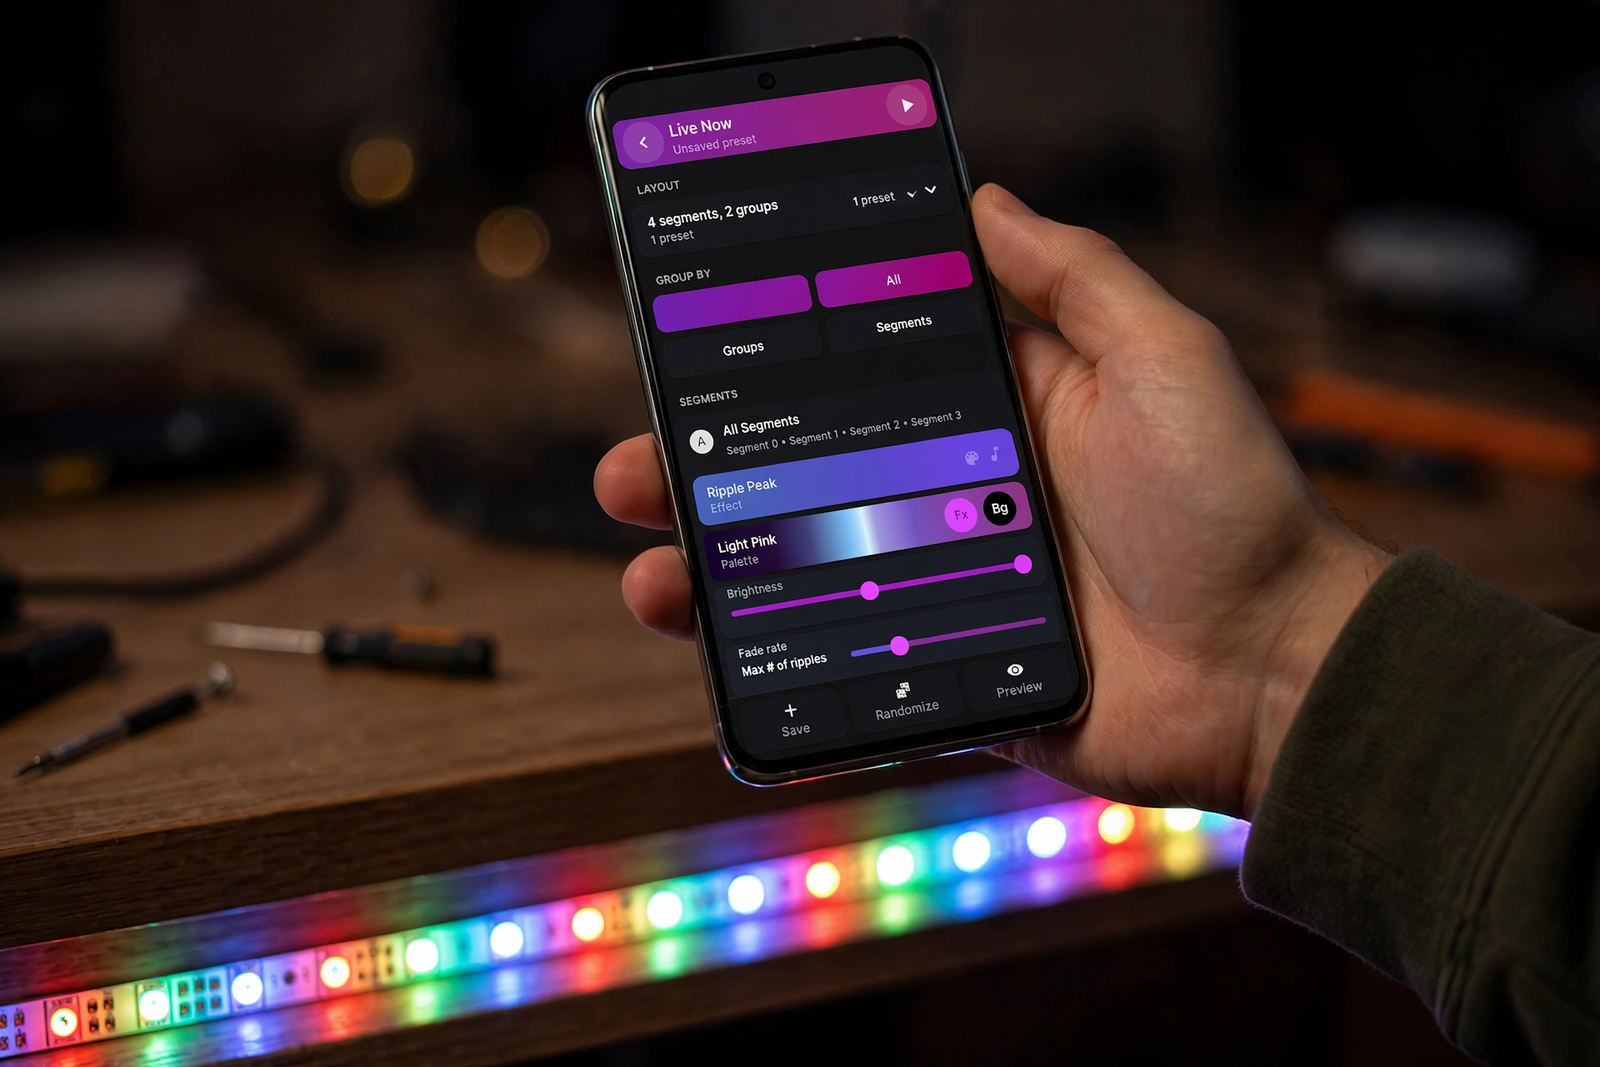
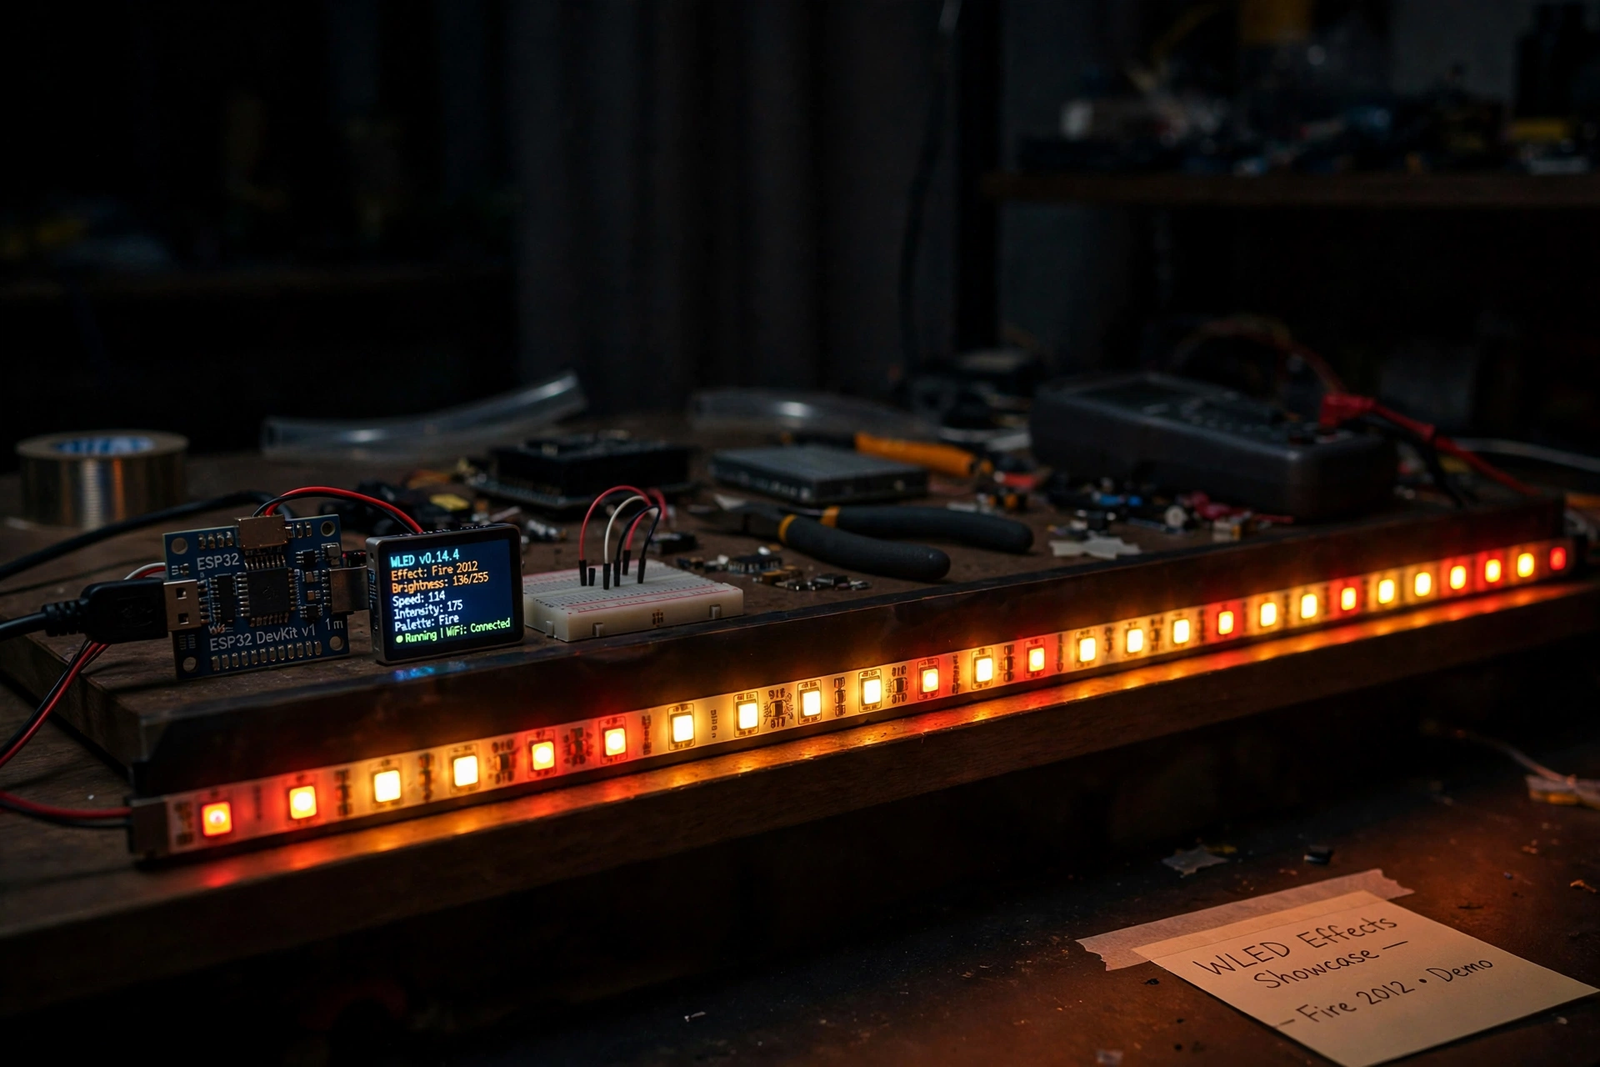
This is the fun part. WLED comes with over 180 built-in effects, from simple color wipes to complex fire simulations and audio-reactive patterns. Open the Effects tab and start trying them. Each effect has adjustable speed and intensity sliders.
The Segments feature lets you divide your strip into zones. Want the first 50 LEDs blue and the rest running a rainbow effect? Create two segments and assign different effects to each. This is incredibly powerful for creative installations.
Save your favorite combinations as Presets. You can then trigger them from the app, from Home Assistant, or on a schedule. I have a “movie night” preset that sets my TV backlight to a dim warm glow, and a “party” preset with fast color cycling.
Power Injection for Long Strips
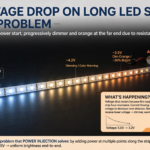
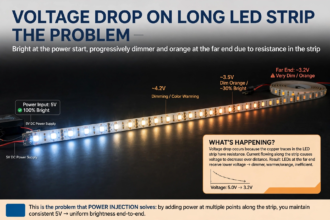
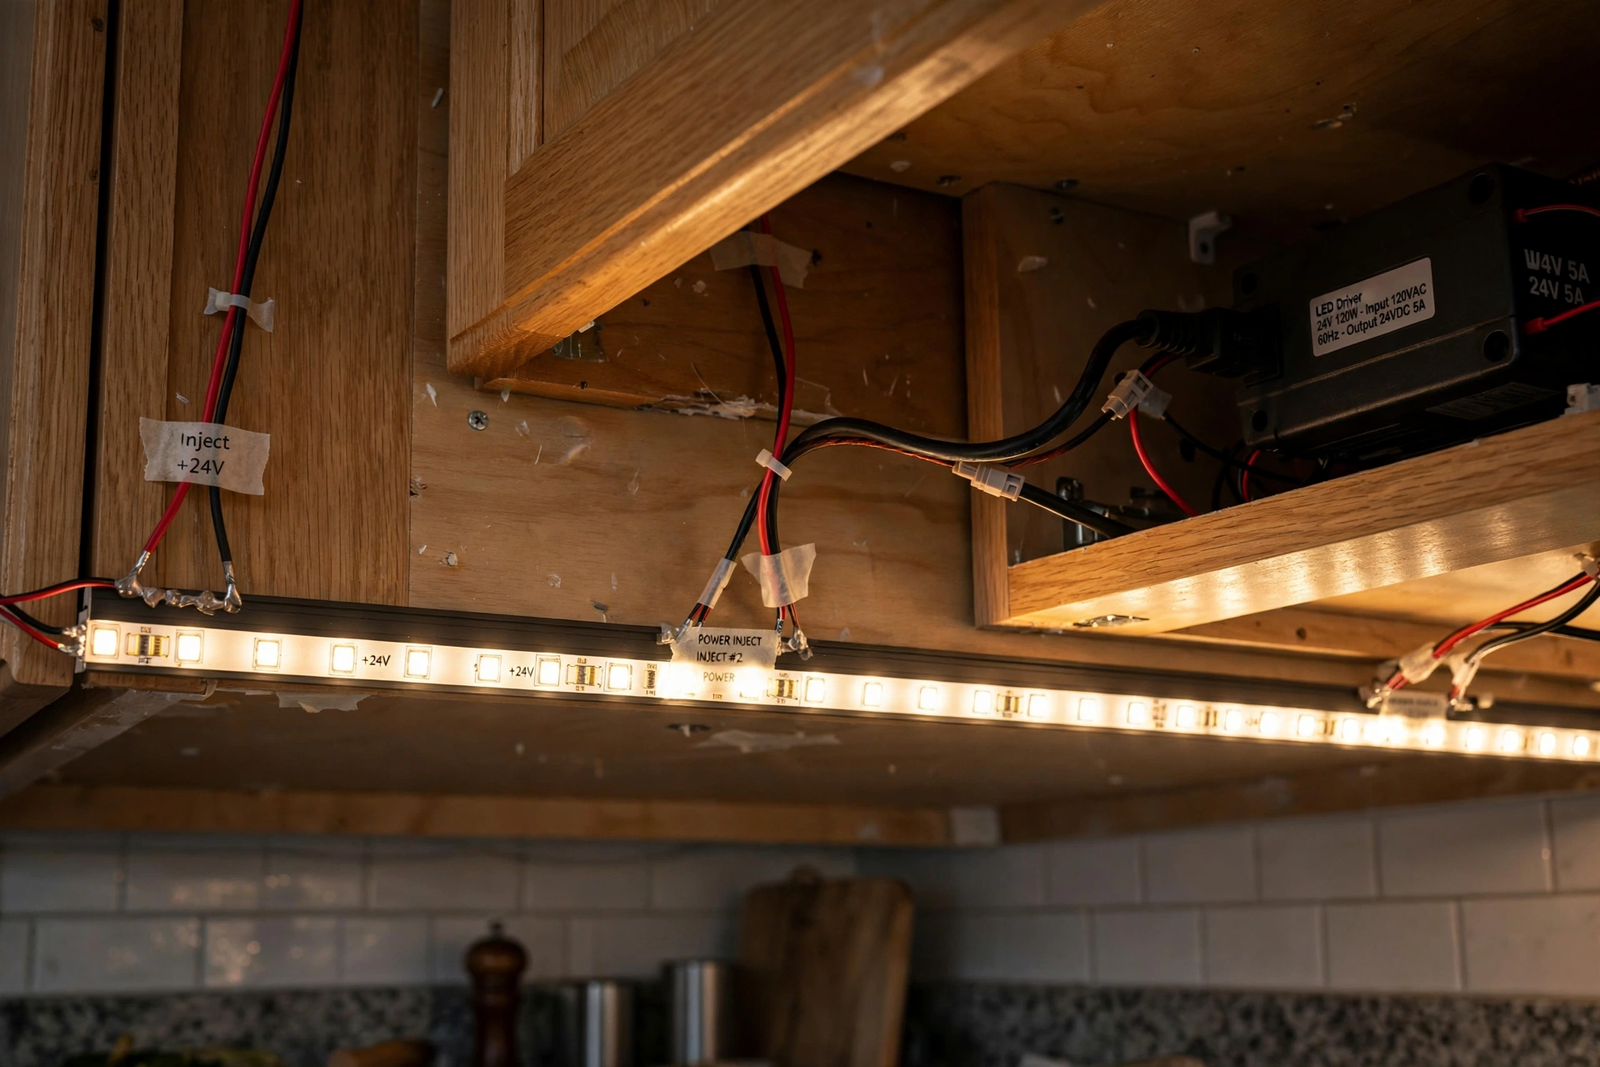
If your strip is longer than about 5 meters, you’ll notice the far end looks dimmer or more orange than the start. This is voltage drop. The thin copper traces on the strip can’t carry enough current over long distances.
The fix is power injection: run additional power wires from your supply to the middle and end of the strip. You don’t need to cut the strip. Just solder or clip power wires to the 5V and GND pads at injection points every 2-3 meters. For a detailed walkthrough, see our LED strip power guide.
Home Assistant Integration
WLED has excellent Home Assistant support. Once your ESP32 is on the network, Home Assistant usually discovers it automatically. If not, add it manually through the WLED integration.
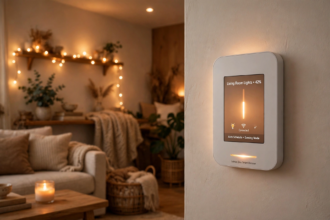
From Home Assistant, you can control on/off, brightness, color, effects, and presets. You can also create automations: turn on the LEDs at sunset, flash them when the doorbell rings, or sync them with your Apple Home scenes. The local API means everything works without cloud dependency.
Alexa and Google Voice Control
In WLED settings, go to Sync Interfaces and enable Alexa emulation. Your ESP32 will appear as a smart light in the Alexa app. You can then say “Alexa, turn on the LED strip” or “Alexa, set the LED strip to blue.”
Google Home integration works through Home Assistant or through third-party bridges. It’s not as seamless as Alexa’s built-in emulation, but it’s functional. For most users, the WLED app itself is faster than voice for changing effects.
Table: ESP32 GPIO Pins for WLED
| GPIO Pin | Recommended Use | Notes |
|---|---|---|
| GPIO16 | Primary LED data | Default in most guides |
| GPIO2 | Secondary strip | Has onboard LED, avoid if confusing |
| GPIO4 | Button input | Good for physical controls |
| GPIO0 | Boot button | Don’t use for LEDs |
Adding a Physical Button
You don’t need your phone for basic control. Wire a momentary pushbutton between GPIO4 and ground, then configure it in WLED settings under “Button 0.” A short press toggles on/off, a long press cycles through presets. It’s perfect for installations where you want manual control without opening an app.
Choosing the Right LED Strip
Not all addressable strips are equal. The WS2812B is the most popular and best supported by WLED. Each LED has its own controller chip, allowing individual control. They’re 5V, which simplifies power supply selection.
The SK6812 is a step up, offering better color accuracy and a separate white channel (RGBW). This gives you true warm white instead of the bluish white you get from mixing RGB. If accurate whites matter for your project, consider SK6812.
For outdoor or long runs, consider 12V strips like the WS2811. Each controller chip drives 3 LEDs as a group, so you lose individual LED control, but the higher voltage means less voltage drop over distance. It’s a trade-off between granularity and practicality.
Density matters too. Strips come in 30, 60, or 144 LEDs per meter. Higher density gives smoother effects but draws more power and costs more. For ambient lighting behind a TV, 30 LEDs/m is plenty. For a statement wall installation, 60 or 144 LEDs/m looks dramatically better.
Safety Considerations
High-current LED projects demand respect for electrical safety. A 300-LED strip at full white draws 18A at 5V. That’s enough to melt thin wires and start a fire if you’re careless.
Always use a power supply rated for at least 20% more than your calculated maximum draw. If your strip needs 15A, get a 20A supply. Undersized supplies overheat and fail prematurely.
Use appropriately thick wire for power injection. For runs carrying more than 5A, use at least 18 AWG wire. Thinner wire heats up under load. When in doubt, go thicker.
Add a fuse on the power supply output. A simple inline blade fuse rated slightly above your expected draw protects against short circuits. It’s cheap insurance that many beginners skip.
Never power LED strips while they’re still coiled on the reel. The concentrated heat can melt the strip and damage LEDs. Always unroll before testing.
Advanced: Syncing Multiple Controllers
For large installations spanning multiple rooms, you can sync several ESP32s running WLED. In Sync Settings, enable UDP sync and set one controller as the master. The others follow its effects in real time.
This is perfect for whole-house holiday lighting or synchronized room accents. Each controller handles its own strip, but they all dance together. The sync is remarkably tight, with less than 50ms delay between units on a good WiFi network.
For even larger setups, WLED supports DDP (Distributed Display Protocol) for integration with xLights, the software used for professional Christmas light shows. This opens the door to precisely choreographed displays across thousands of LEDs. The official WLED documentation has detailed guides for these advanced configurations.
FAQs
Which ESP32 board should I buy for WLED?
Any ESP32 dev board with USB works. The ESP32-WROOM-32 is the most common and well-supported. Avoid the ESP32-S2 for WLED as it has some compatibility quirks. The standard ESP32 with 4MB flash is plenty. You don’t need the more expensive variants with extra RAM for basic WLED use.
How many LEDs can one ESP32 control?
The practical limit is around 1000-1500 LEDs per ESP32, depending on the effect complexity and frame rate you want. For most home projects under 300 LEDs, a single ESP32 handles everything smoothly. Beyond 500 LEDs, consider using multiple ESP32s synced together or a more powerful controller.
Why are my LEDs the wrong color?
Check the color order setting in LED Preferences. WS2812B strips are usually GRB, but some are RGB. If red and green are swapped, change the color order. Also verify you’re using the correct LED type. WS2811, WS2812B, and SK6812 have slightly different timing requirements.
Can WLED sync to music?
Yes, with an additional microphone module. WLED supports audio-reactive effects through an I2S digital microphone like the INMP441. Wire it to the ESP32, enable audio in WLED settings, and your LEDs will dance to music. It’s a popular upgrade for party setups and gaming rooms.
Does WLED work without WiFi?
WLED needs WiFi for initial setup and app control, but once configured, your saved presets and physical button controls work without an active WiFi connection. However, you’ll lose app control and Home Assistant integration until WiFi is restored. For permanent installations, ensure good WiFi coverage.
How do I update WLED firmware?
Go to Config, then Security & Updates. Click “Manual OTA Update” and upload the latest .bin file from the WLED GitHub releases page. The ESP32 will reboot with the new firmware. Your settings and presets are preserved. Always back up your configuration before major version updates.
Can I control multiple strips with one ESP32?
Yes. WLED supports multiple output pins. In LED Preferences, add additional LED outputs on different GPIO pins. Each output can have its own LED type and count. You can then control them as separate segments or sync them together. This is great for under-cabinet lighting with separate zones.
Final Thoughts
WLED on ESP32 is one of the best value propositions in smart home tech. For under $10 in parts, you get a controller that rivals commercial products costing ten times more. The effects are stunning, the app is polished, and the Home Assistant integration is rock solid. Whether you’re adding accent lighting behind a TV or building an elaborate holiday display, WLED gives you professional results on a hobbyist budget.
Start simple: one strip, basic wiring, default effects. Once that’s working, explore segments, presets, and automations. Before you know it, you’ll be planning your next three LED projects. For power planning on larger installs, check our smart lighting guide. If you’re also interested in permanent outdoor installations, our smart outdoor lighting overview covers weatherproof options.