


For LED strip adhesive peeling off wall fix, clean the surface with isopropyl alcohol, then reattach using 3M VHB tape, mounting clips, or an aluminum channel. Factory adhesive is weak and fails within months on textured walls or warm rooms. A proper remount takes 30 minutes and lasts years.
- Why LED Strip Adhesive Fails
- LED Strip Adhesive Peeling Off Wall Fix: Quick Reattach
- The Permanent Fix: Mounting Clips
- The Best Fix: Aluminum Channels
- Surface Preparation: The Step Everyone Skips
- Fixes by Surface Type
- What Not to Do
- How Long Should a Proper Mount Last?
- Preventing Peeling on New Installs
- FAQs
- Can I reuse the original adhesive after it peels?
- Will 3M VHB tape damage my wall when removed?
- How often should mounting clips be spaced?
- My strip peels only in summer. Why?
- Can I staple or nail LED strips to the wall?
- What’s the cheapest reliable fix?
- Should I just buy better strips with stronger adhesive?
- Conclusion
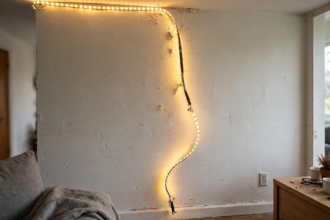
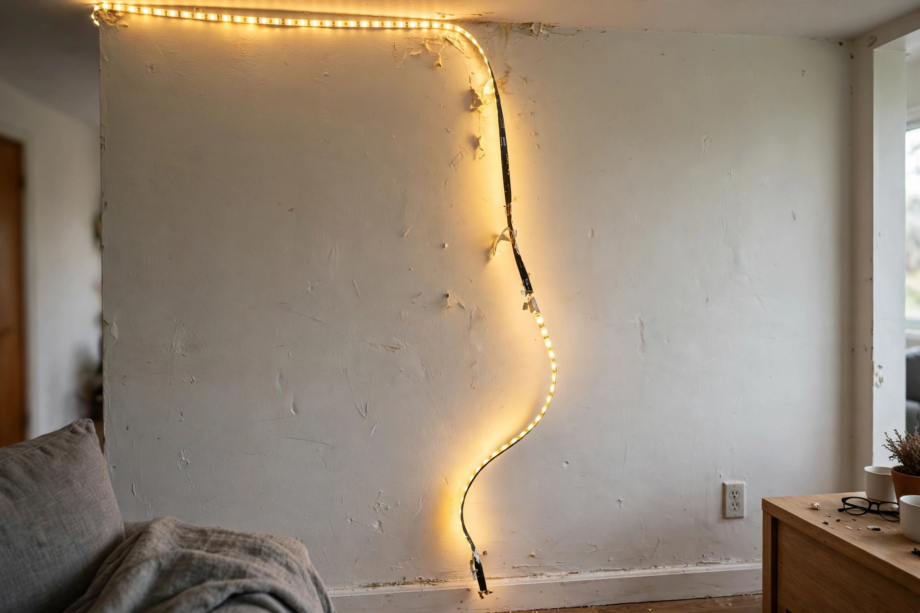
Almost everyone hits this problem. You stick up your LED strips, they look great for a few weeks, then one morning you find a section drooping off the wall. It’s not your fault. The adhesive backing that ships on most LED strips is the cheapest part of the product, and manufacturers know it.
Why LED Strip Adhesive Fails
First, understanding why it peels helps you fix it properly instead of repeating the same mistake. The factory adhesive is usually a thin acrylic tape chosen for cost, not holding power. It works fine on perfectly smooth, clean surfaces in cool rooms. Real walls are rarely any of those things.
Specifically, heat is the biggest killer. LED strips generate warmth, and that warmth softens cheap adhesive over time. Gravity does the rest. Textured walls are the second culprit: the adhesive only contacts the high spots, so the actual bond area is a fraction of what it should be.
In addition, dust, grease, and moisture on the surface before installation also ruin the bond. If you stuck the strip straight onto a wall without cleaning it first, the adhesive bonded to a layer of dust, not to the wall. That layer lets go eventually, always.
LED Strip Adhesive Peeling Off Wall Fix: Quick Reattach
Meanwhile, if only a small section is peeling, you can fix it without redoing the whole run. Pull the loose section gently away from the wall. Clean both the wall and the back of the strip with isopropyl alcohol and let them dry completely.
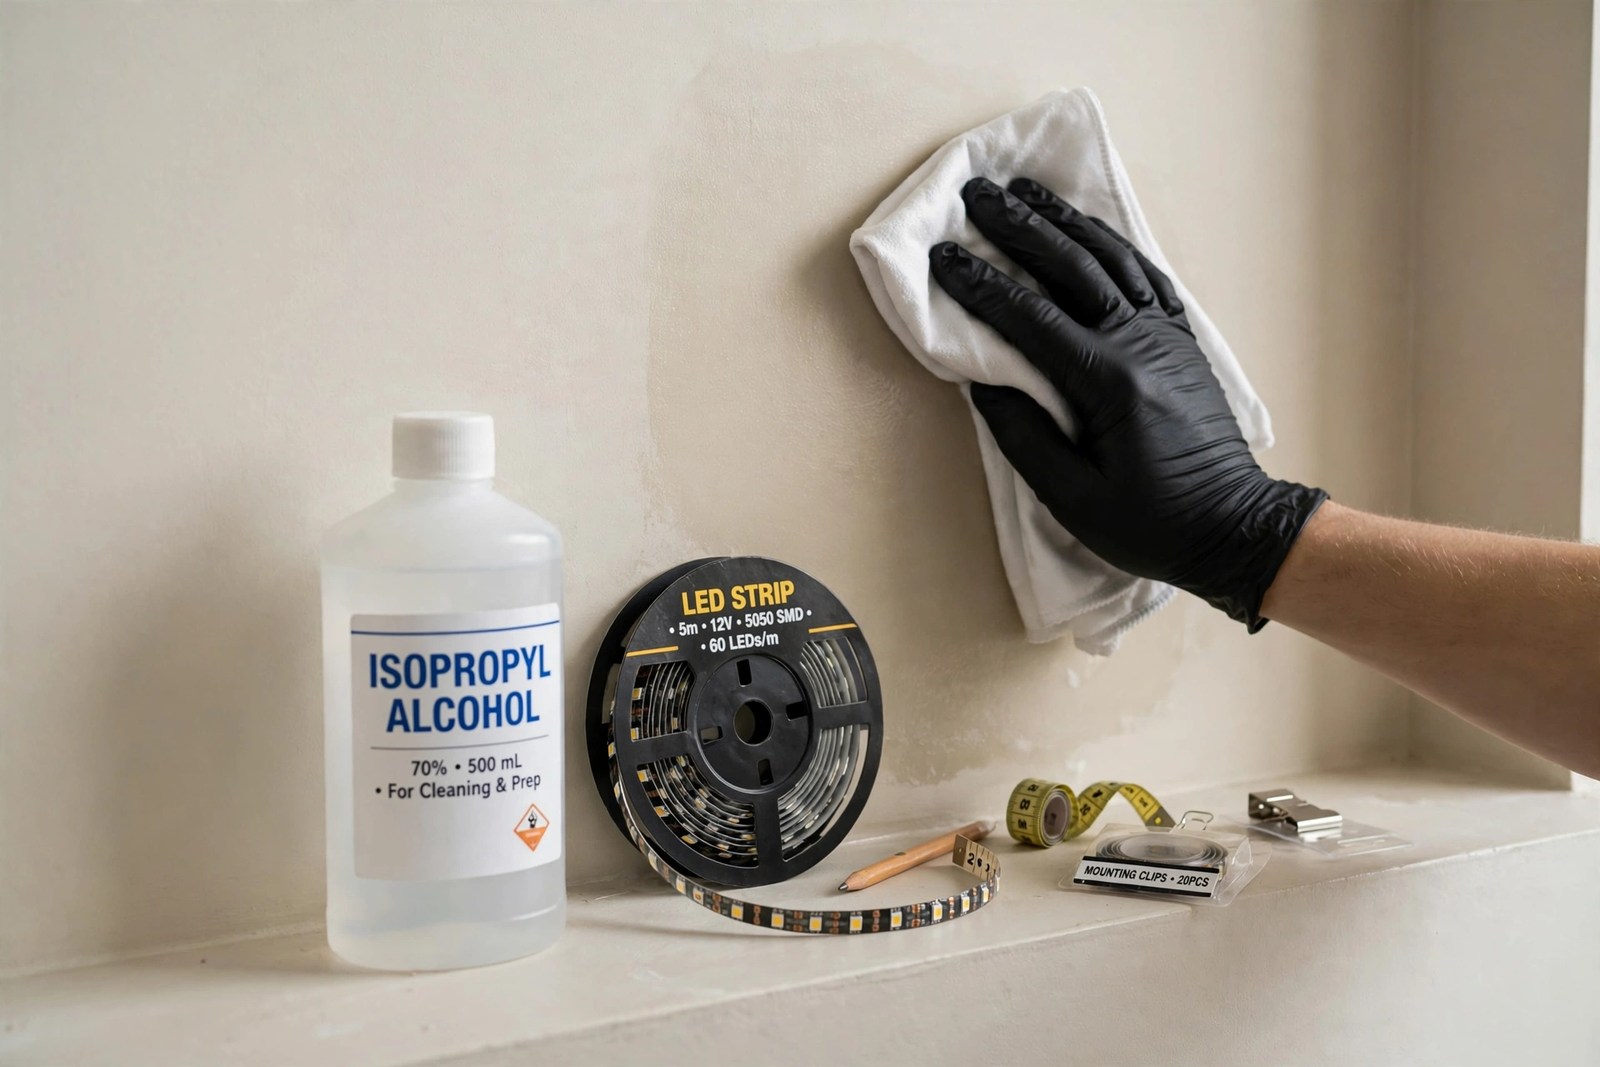
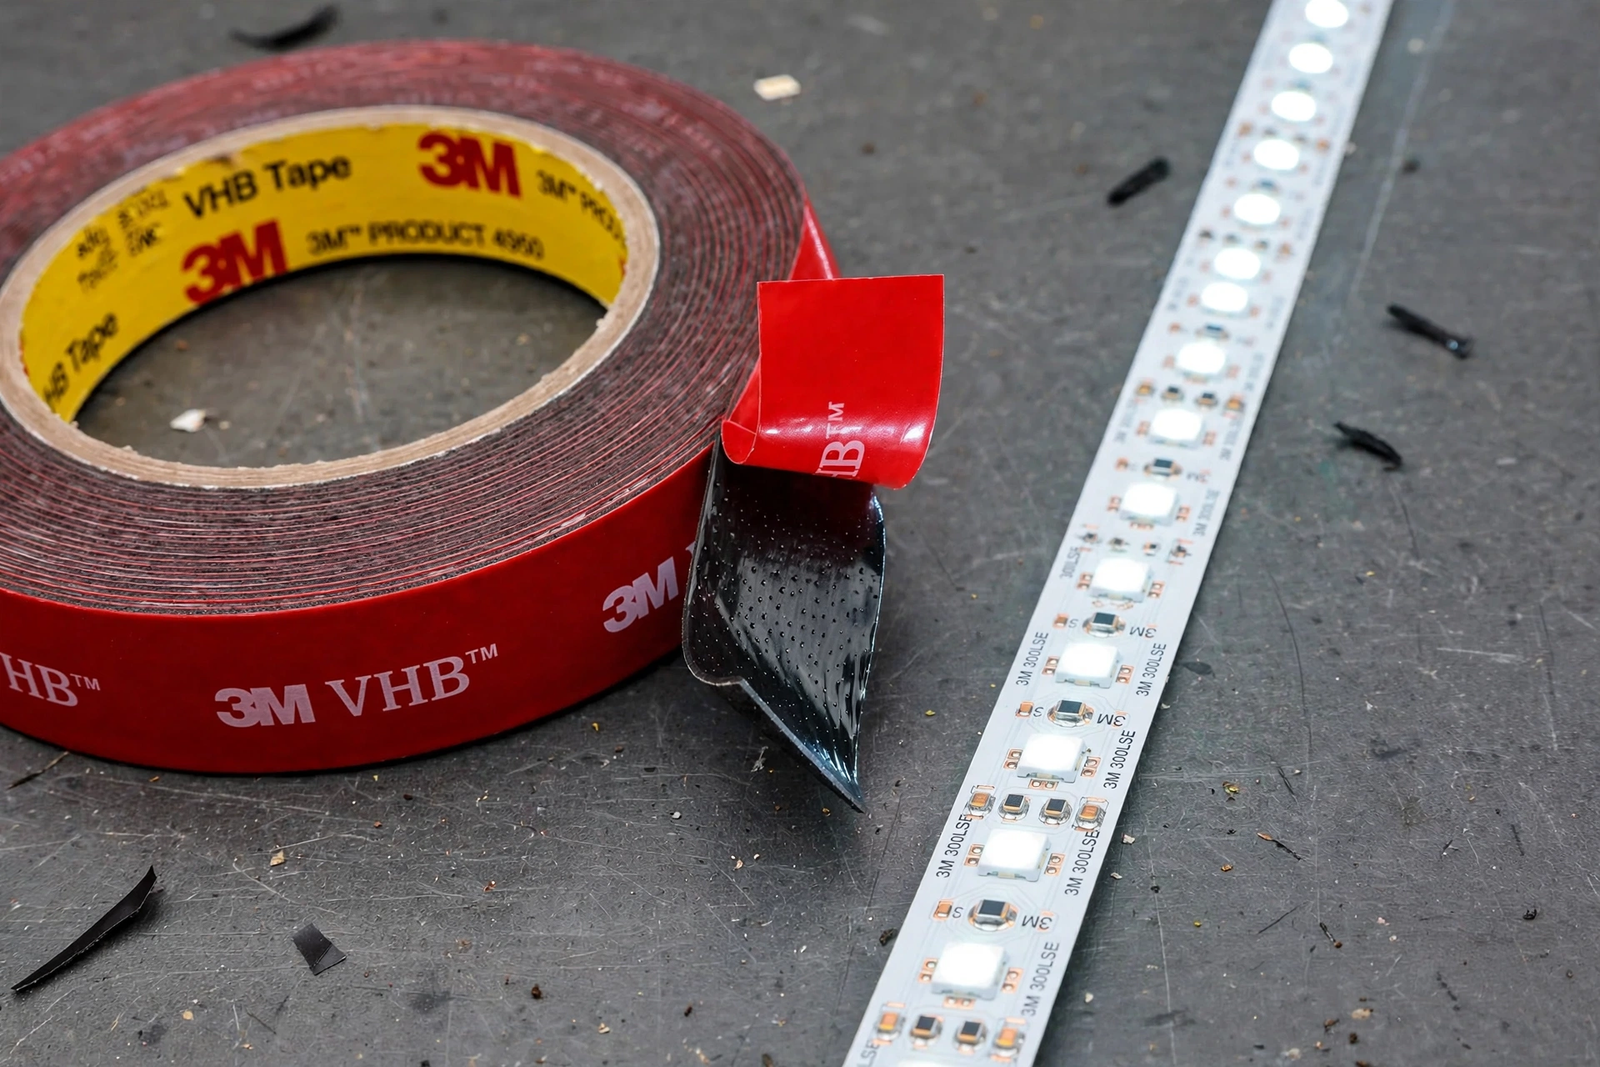
Next, apply new adhesive. Don’t reuse the old backing; it’s done. Cut strips of 3M VHB tape (the 5952 series works well for this) and press them onto the back of the LED strip. Remove the liner, press the strip firmly to the wall, and hold for 30 seconds per section.
As a result, VHB tape is in a different league from factory adhesive. It’s what holds trim panels on cars. Once it cures for 24 hours, that section isn’t coming off without a fight. For more on why strips fail, see this breakdown of common causes.
The Permanent Fix: Mounting Clips
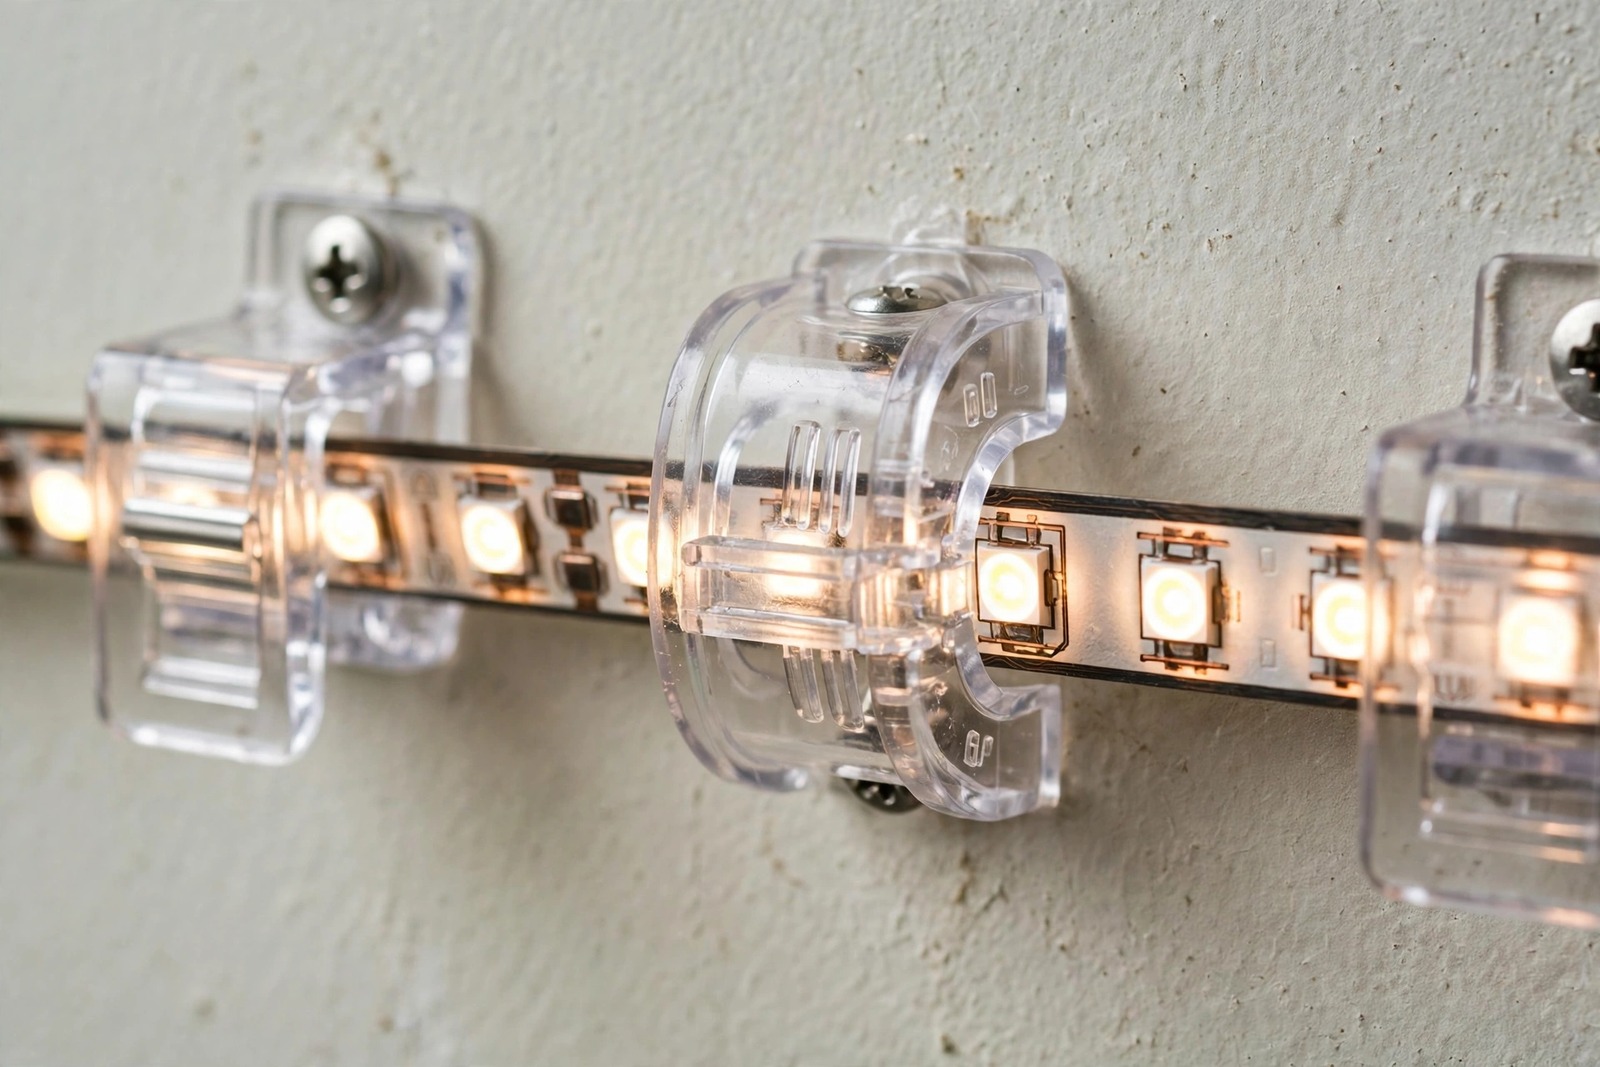
However, for strips that keep peeling no matter what tape you use, mounting clips are the answer. These are small plastic or metal brackets that screw or stick to the wall, and the strip snaps into them. The adhesive becomes irrelevant.
Therefore, space the clips every 12 inches or so. On straight runs, you can stretch to 18 inches, but corners and curves need closer spacing. The clips hold the strip mechanically, so heat, humidity, and texture don’t matter anymore.
In fact, clear silicone clips are nearly invisible once installed. If your strip is in a visible spot, spend the extra dollar on clear ones instead of white. The difference in how clean the install looks is noticeable.
The Best Fix: Aluminum Channels
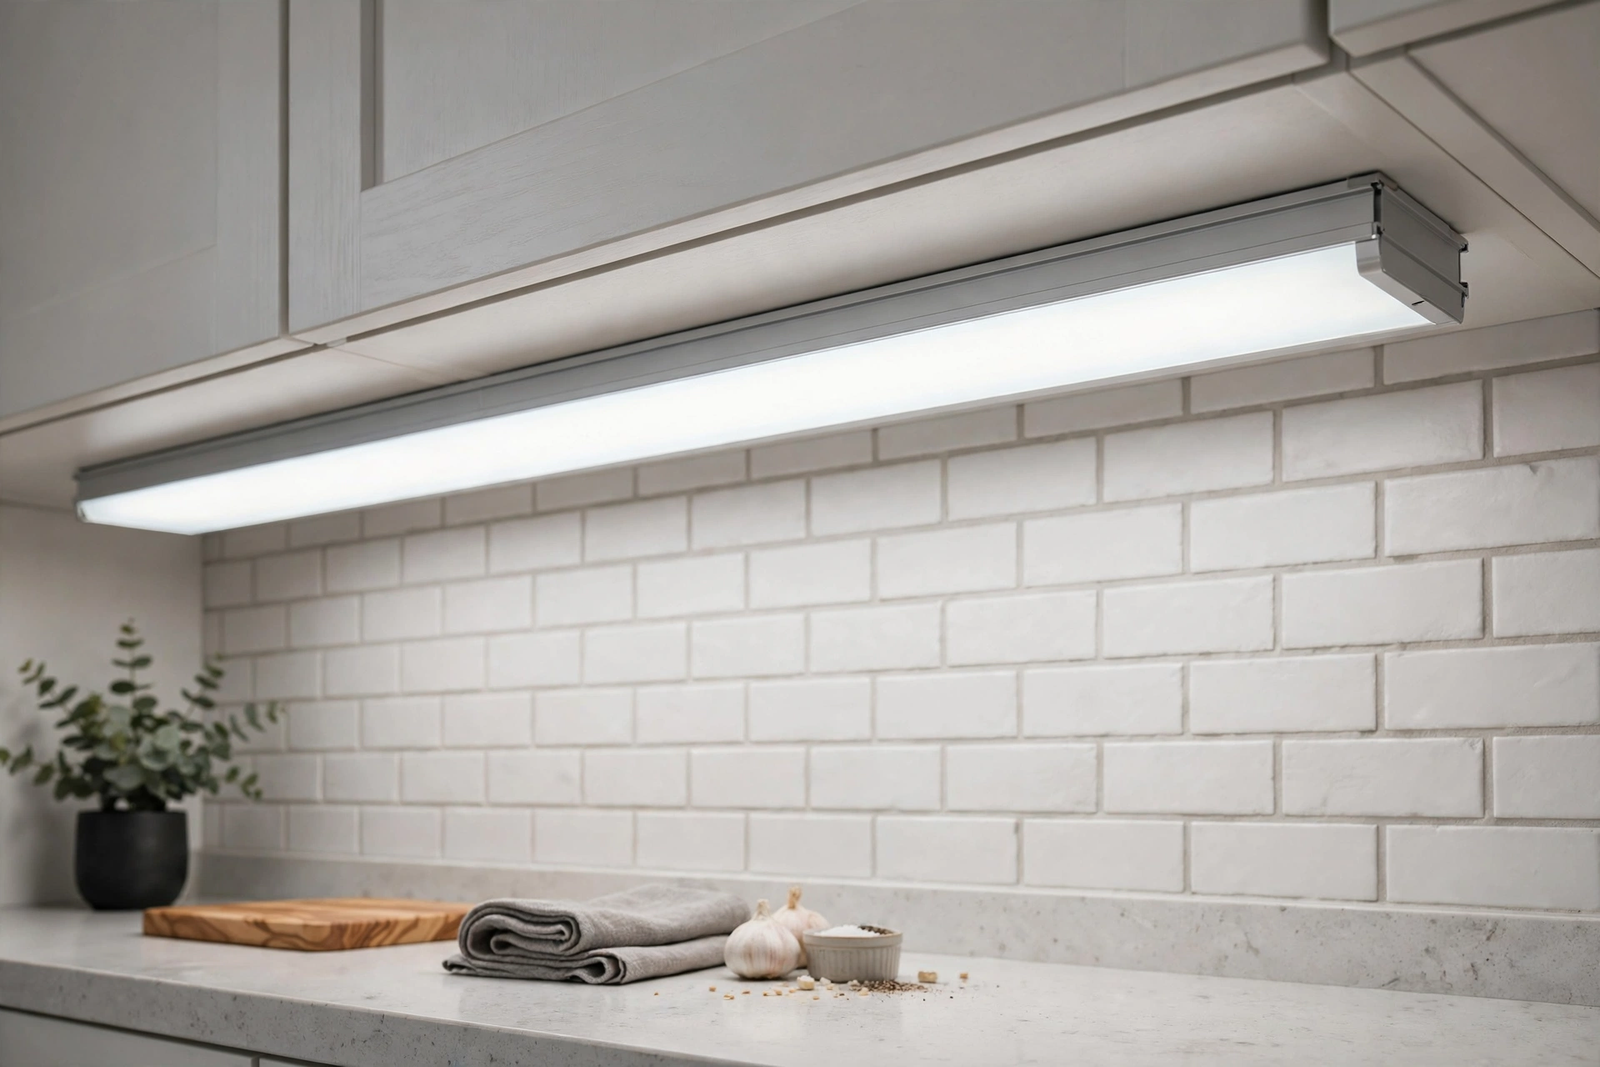
On the other hand, if you want the job done once and done right, mount the strip inside an aluminum channel. The channel screws or sticks to the wall, the strip sticks inside the channel, and a diffuser cover snaps on top. This solves the peeling problem permanently and makes the lighting look dramatically better.
Moreover, channels also solve the heat problem that caused the peeling in the first place. Aluminum pulls heat away from the strip, which extends LED life. And the diffuser turns harsh individual dots into a smooth, even line of light.
Then again, yes, it costs more than tape. A basic channel kit runs a few dollars per foot. But compare that to re-sticking your strips every six months, and it’s cheap. For any install you care about, channels are worth it. For more on getting rid of visible LED dots, the diffuser does most of the work.
Surface Preparation: The Step Everyone Skips
Because of this, whatever mounting method you choose, surface prep decides whether it lasts. Wipe the mounting surface with isopropyl alcohol on a clean cloth. This removes dust, grease, fingerprints, and whatever else is sitting there invisibly.
Subsequently, let the alcohol dry completely before mounting. Don’t rush this. Trapped moisture under the adhesive is just as bad as dirt. On a clean, dry surface, even mediocre adhesive holds far better than on a dirty one.
Also, for painted walls, check that the paint is fully cured. Fresh paint can take up to 30 days to cure completely. Sticking strips to uncured paint is asking for trouble: the adhesive bonds to soft paint, and when it lets go, it takes the paint with it.
Fixes by Surface Type
Second, different surfaces need different approaches. What works on smooth drywall won’t work on brick.
Table: Best Fix by Surface Type
| Surface | Best Fix | Notes |
|---|---|---|
| Smooth painted drywall | 3M VHB tape | Clean with alcohol first |
| Textured drywall | Mounting clips or channel | Tape can’t grip texture well |
| Wood or cabinet | VHB tape or small screws | Wood holds adhesive well when clean |
| Tile or glass | VHB tape | Excellent bond on smooth hard surfaces |
| Brick or concrete | Screw-mounted clips or channel | Adhesive won’t hold; drill and anchor |
| Metal | VHB tape or magnetic channel | Clean off any oil first |
Thus, when in doubt, go mechanical. Screws and clips don’t care about surface chemistry. They just hold.
What Not to Do
First, don’t use superglue on the strip. It works, but you’ll never get the strip off again without destroying it, and the fumes can fog the LED lenses. Don’t use hot glue either; it softens with the strip’s own heat and lets go within weeks.
Second, don’t just press the peeling section back up and hope. The old adhesive is contaminated now. It will peel again, probably within days. Take the ten minutes to clean and apply fresh adhesive or clips.
Finally, don’t ignore a peeling strip. A drooping section puts stress on the rest of the run and on the solder joints at the cut points. Fix it now while it’s a small job.
How Long Should a Proper Mount Last?
Here’s a realistic expectation: a strip mounted with VHB tape on a properly cleaned smooth surface should hold for three to five years indoors. Mounting clips last indefinitely; the plastic might yellow after five years but the hold doesn’t weaken. An aluminum channel screwed to the wall is permanent.
Compare that to factory adhesive, which typically fails within three to twelve months. The difference isn’t subtle. When I remounted my living room strips with channels two years ago, I stopped thinking about them entirely. That’s the goal: install it and forget it.
Outdoor installs are harsher. UV, rain, and temperature swings attack every mounting method. For outdoor strips, screw-mounted channels are the only approach I’d trust long-term. VHB tape works outdoors but degrades faster; expect two to three years instead of five. Check outdoor mounts every spring and re-secure anything that’s loosening.
It’s also worth noting that the strip itself may not last as long as the mount. LEDs dim gradually over time, and after 25,000 to 30,000 hours, you’ll notice the difference. A good mount outlasts the strip, which means when you eventually replace the LEDs, the channels or clips are ready for the new strip. That’s another argument for investing in proper mounting hardware upfront. Furthermore, quality mounting protects your wall from damage during future strip replacements. Consequently, spending a little more now saves significant hassle later.
Preventing Peeling on New Installs
Starting fresh? Do it right the first time. Clean every surface with isopropyl alcohol. If you’re mounting to a wall, consider whether you even want adhesive touching the paint. Mounting inside a channel or on clips means the strip never contacts the wall directly.
For renters, this matters double. A channel mounted with removable Command strips gives you great lighting with zero wall damage when you move out. If you’re building out a full smart lighting setup, check whether your LED strips work with Apple Home before committing to placement. The strip lives in the channel, the channel hangs on removable strips, and the wall stays pristine.
Temperature matters too. Don’t run high-power strips in enclosed spaces without ventilation. Heat softens adhesive and shortens LED life. If the install location gets warm, aluminum channels aren’t optional; they’re necessary.
FAQs
Can I reuse the original adhesive after it peels?
No. Once the factory adhesive has failed, it’s contaminated with dust and has lost its tack. Trying to re-stick it is a waste of time. Peel off the old adhesive layer if you can, clean the back of the strip with alcohol, and apply fresh 3M VHB tape or switch to clips. The new bond will be far stronger than the original ever was.
Will 3M VHB tape damage my wall when removed?
It can, on delicate paint. VHB is strong stuff. To remove it safely, warm it with a hairdryer on medium heat, then peel slowly at a sharp angle back on itself. For painted drywall you care about, use 3M Command strips instead. They hold well enough for LED strips and pull off cleanly with the stretch tab.
How often should mounting clips be spaced?
Every 12 inches is the safe rule for straight runs. Go closer, every 8 inches, around corners and curves where the strip wants to spring away. For ceiling mounts where gravity is working against you the whole time, don’t stretch past 12 inches. A $5 bag of clips is cheaper than redoing a fallen install.
My strip peels only in summer. Why?
Heat softens the acrylic adhesive that most strips ship with. In summer, the combination of warm room air and the strip’s own heat pushes the adhesive past its limit. The fix is mechanical mounting: clips or a channel. Tape alone, even good tape, struggles in hot locations. An aluminum channel also cools the strip, attacking the root cause.
Can I staple or nail LED strips to the wall?
Don’t. Staples and nails will pierce the copper traces or short adjacent pads, killing sections of the strip or the whole run. If you want mechanical fastening, use proper mounting clips designed for your strip width. They’re cheap, they don’t damage anything, and they hold better than improvised fasteners.
What’s the cheapest reliable fix?
A roll of 3M VHB tape and a bag of clear mounting clips together cost under $15 and will fix most peeling problems permanently. Clean the surface with isopropyl alcohol you probably already own. Skip the cheap no-name double-sided tape; it’s barely better than the factory adhesive that already failed you.
Should I just buy better strips with stronger adhesive?
Stronger factory adhesive helps but doesn’t solve the underlying issue. Even good adhesive struggles on textured or dirty surfaces and in heat. The strips with genuinely good 3M backing do hold better, but for a permanent install, clips or channels still win. Spend the money on mounting, not on hoping the next strip’s glue is better.
Conclusion
LED strip adhesive peeling off the wall is normal, not a sign you did something wrong. The factory glue is weak by design. Clean the surface, then remount with 3M VHB tape for a quick fix, mounting clips for a solid fix, or an aluminum channel for the best fix. Do it once, do it right, and you’ll never think about it again.
Next step: check which sections are peeling, order clips or a channel kit, and plan a 30-minute remount this weekend. In the meantime, if a section is barely hanging on, use painter’s tape as a temporary hold. It won’t damage the wall and it buys you time until the proper fix. Just don’t leave it for weeks; painter’s tape also fails eventually, and then you’re back where you started.