


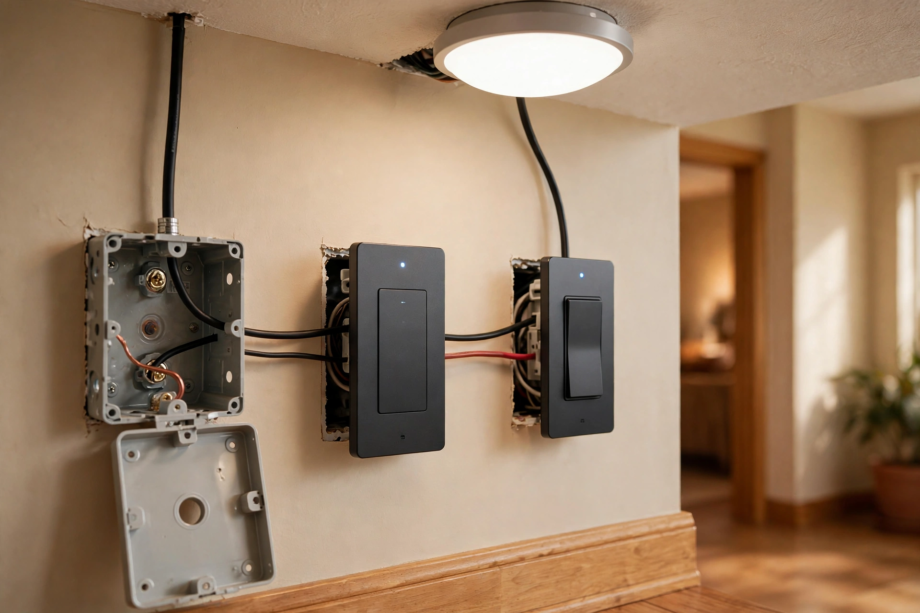
Yes, you can wire a 3-way smart switch with no neutral wire. The trick is a no-neutral switch like Lutron Caseta or Inovelli Blue, which draws a tiny current through the bulb to stay powered. Below is the wiring diagram approach, how to identify your wires, and the mistakes to avoid.
- How a 3-Way Switch Actually Works
- Why No-Neutral Boxes Make Smart Switches Tricky
- Your Options for No-Neutral 3-Way Wiring
- Option 1: Lutron Caseta With a Pico Remote
- Option 2: Inovelli Blue 2-in-1 in No-Neutral Mode
- Option 3: Smart Switch on the Line Side Only
- Option 4: Have an Electrician Run a Neutral
- Step-by-Step Wiring Diagram Walkthrough
- Step 1: Identify Your Wires
- Step 2: Wire the Smart Switch (Line Side)
- Step 3: Handle the Second Location
- Step 4: Restore Power and Configure
- Common Mistakes That Cause Headaches
- What About Smart Bulbs in a 3-Way No-Neutral Setup?
- When to Call an Electrician
- FAQs
- Can I install a 3-way smart switch with no neutral wire?
- Do I need a neutral wire for a 3-way smart switch?
- Which wire is the common wire in a 3-way switch?
- Can I use two smart switches in a 3-way setup?
- Why does my no-neutral smart switch flicker the lights?
- Is it safe to wire a smart switch myself?
- Conclusion
How a 3-Way Switch Actually Works
Before touching any wire, you need to understand what a 3-way circuit does. Two switches control one light. That’s it. The magic happens through two wires called travelers that run between the switches.
Each 3-way switch has three terminals: one common (usually a dark-colored screw) and two travelers (brass screws). Flipping either switch changes which traveler carries power, and the light turns on or off depending on whether both switches agree. Got it? Good, because the smart version works the same way, just with a radio inside.
Line vs Load: The Two Wires That Matter Most
In a 3-way setup, power enters at one switch (the line side) and leaves toward the light at the other switch (the load side). The travelers connect the two switches together. The neutral wire, when present, goes straight to the light fixture and never touches the switches.
Here’s the part most guides skip: in older homes, you may find the power comes into the light fixture first, then a 3-wire cable runs down to the switches. This is called a “power at light” configuration, and it changes which box has the hot wire. Always test before you assume.
Why No-Neutral Boxes Make Smart Switches Tricky
A regular dumb switch just breaks the hot wire. It needs no power of its own. A smart switch is different. It has a radio, a processor, and an LED. Those need constant power, even when the light is off.
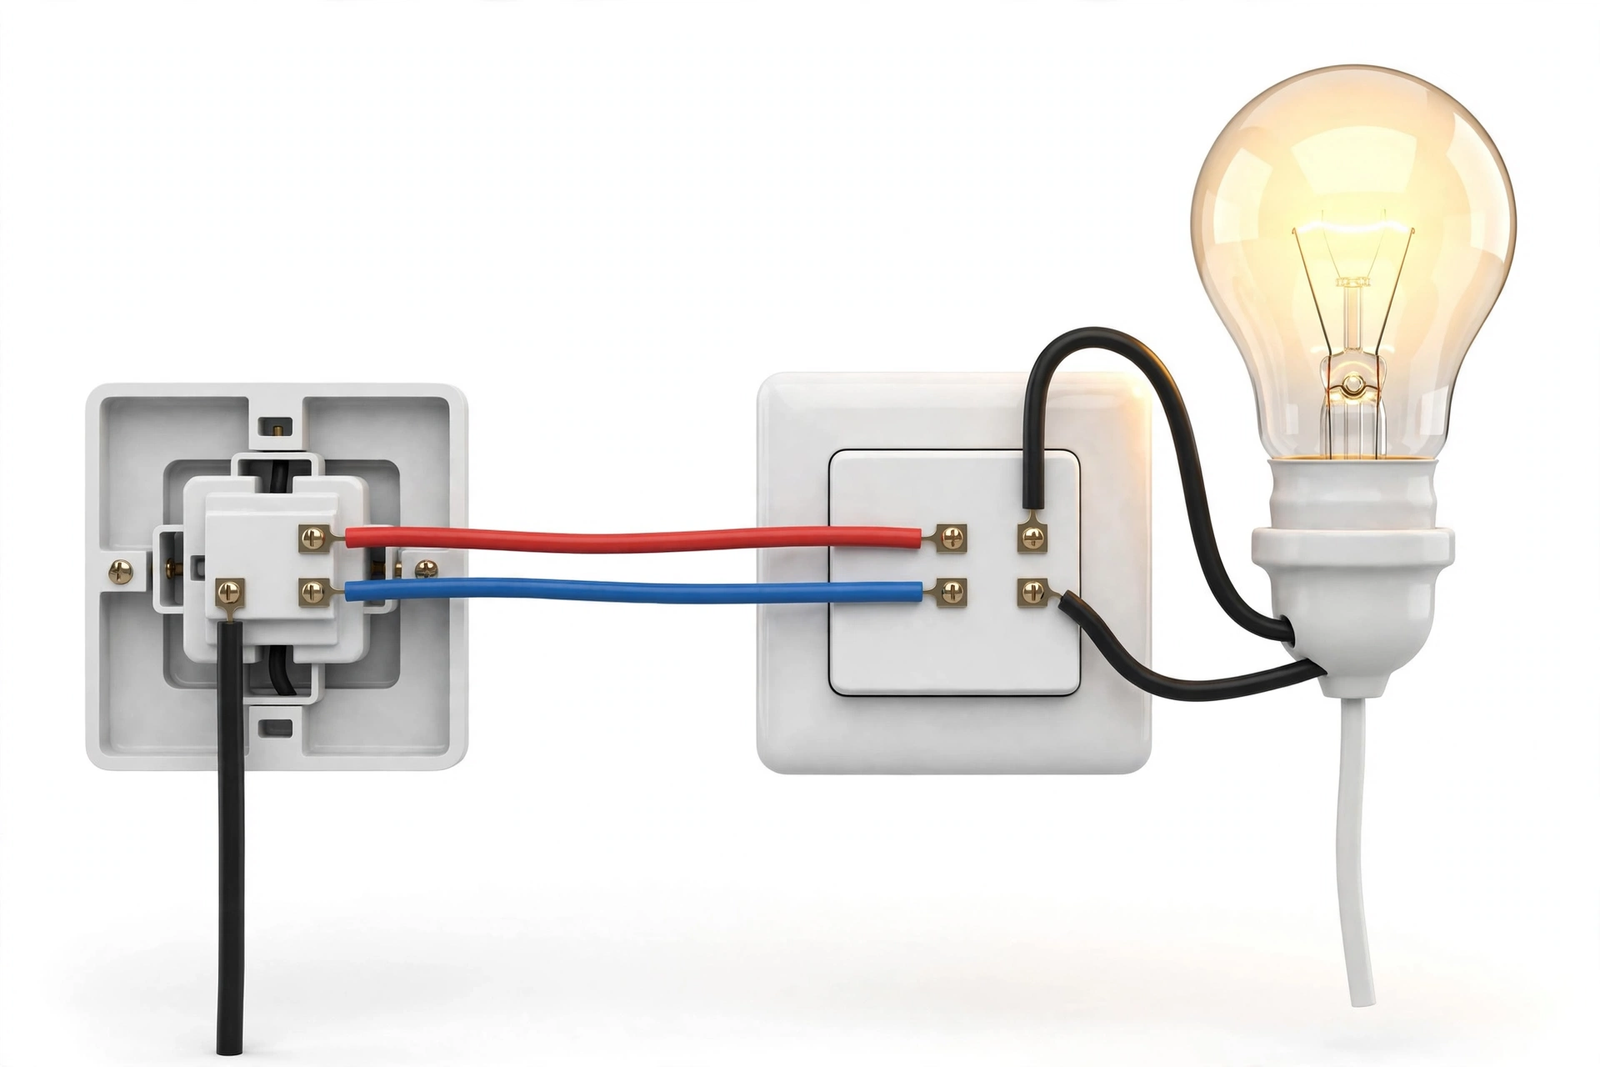
Normally the switch gets that power between the hot (line) and the neutral wire. No neutral in the box means no easy power source. No-neutral smart switches solve this by leaking a tiny current through the bulb itself. The current is so small the bulb doesn’t light up, but it’s enough to keep the switch’s radio alive.
That’s also why no-neutral switches can be picky about bulbs. If the bulb’s driver doesn’t play along, you get flickering, buzzing, or a switch that drops off the network at 2 a.m. More on that later.
Your Options for No-Neutral 3-Way Wiring
You have four realistic paths. Each has trade-offs.
Table: No-neutral 3-way smart switch options compared
| Option | How it works | Difficulty | Best for |
|---|---|---|---|
| Lutron Caseta + Pico remote | Smart dimmer in one box, wireless Pico remote in the other | Easy | Beginners, renters, old wiring |
| Inovelli Blue 2-in-1 | One smart switch, other side keeps a dumb switch or aux switch | Medium | Zigbee / Home Assistant users |
| Keep one dumb switch | Smart switch on the line side, existing 3-way switch stays | Medium | Cheapest upgrade path |
| Run a neutral wire | Electrician pulls new cable with neutral to both boxes | Hard | Full remodels, future-proofing |
Option 1: Lutron Caseta With a Pico Remote
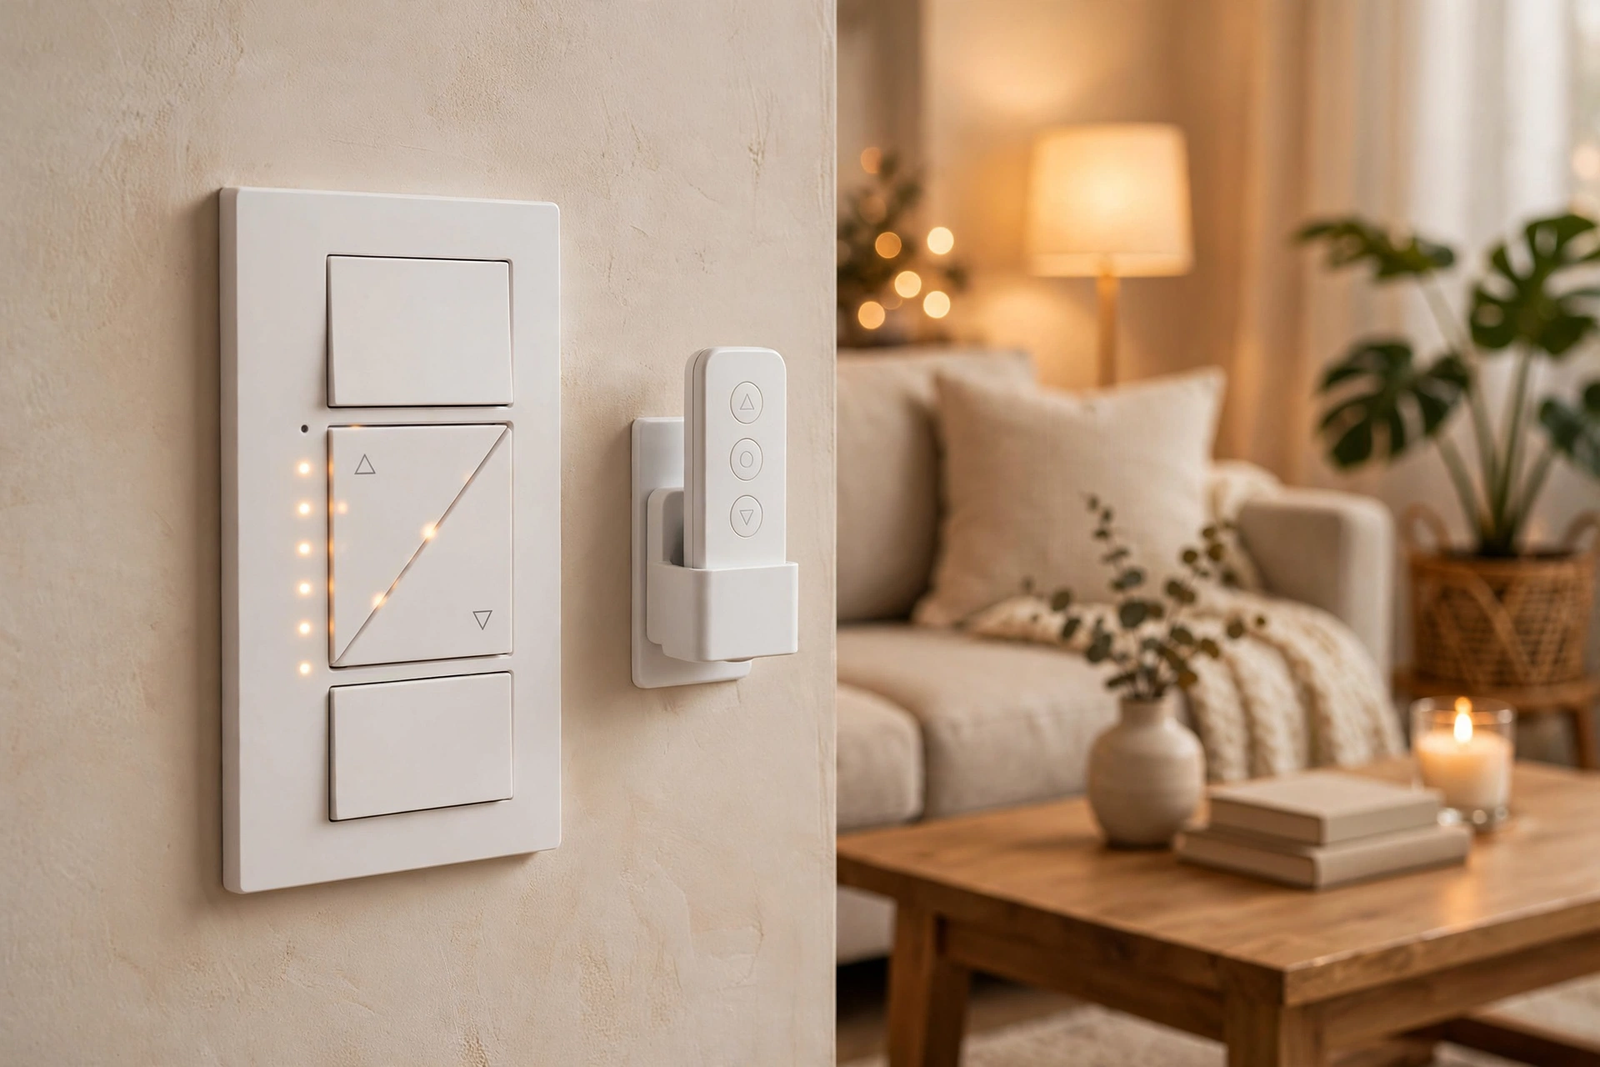
This is the easiest route and the one I’d recommend to most people. You install the Caseta dimmer in the box that has the line (hot) wire, wire the travelers as instructed, and then replace the second switch with a Pico remote. The Pico looks like a switch, mounts in the same spot, but talks to the dimmer wirelessly.
The beauty of this setup: no traveler wiring headaches at the second location. The Pico needs no wires at all. It runs on a coin battery that lasts years. Lutron’s system is famously reliable, and it works with Alexa, Google Home, and Apple HomeKit through the Caseta Smart Bridge. Check Lutron’s official support site for the wiring diagram for your exact dimmer model.
One thing to know: the Caseta dimmer handles up to 150W of dimmable LED or CFL bulbs. Check your bulbs are dimmable and on Lutron’s compatibility list before you buy.
Option 2: Inovelli Blue 2-in-1 in No-Neutral Mode
The Inovelli Blue is a Zigbee switch that works with or without a neutral. In no-neutral 3-way mode, you install the Blue switch on the line side and either keep your existing dumb 3-way switch on the other side or add an Aux add-on switch.
You configure the wiring mode on the switch itself: hold the up paddle and tap the config button 5 times for multi-way with a dumb toggle, or 5 times on the up paddle for Aux mode (the LED bar flashes white to confirm). The switch needs to know its wiring type or it won’t behave correctly.
With smart bulbs in the mix, you can also enable Smart Bulb Mode (hold up, tap config 4 times, yellow LED confirms). This keeps full power to the bulbs at all times so they never lose their connection. I use this exact setup in my hallway and it fixed every dropout I had.
Option 3: Smart Switch on the Line Side Only
Some smart switches, including the Inovelli Blue, support keeping a standard dumb 3-way switch at the second location. The smart switch goes in the box with the line wire. The dumb switch stays wired to the travelers as before.
This works, but there’s a catch: the dumb switch physically cuts power when flipped, which can confuse the smart switch or cut power to smart bulbs. It also means dimming from the dumb side isn’t possible. It saves money, but the Pico or Aux route gives a better experience.
Option 4: Have an Electrician Run a Neutral
If your walls are open or you’re already doing electrical work, pulling a new 14/3 or 12/3 cable with a neutral to both boxes is the cleanest long-term fix. It opens up every smart switch on the market, not just the no-neutral models. It costs more upfront but removes all the compatibility guesswork.
Step-by-Step Wiring Diagram Walkthrough
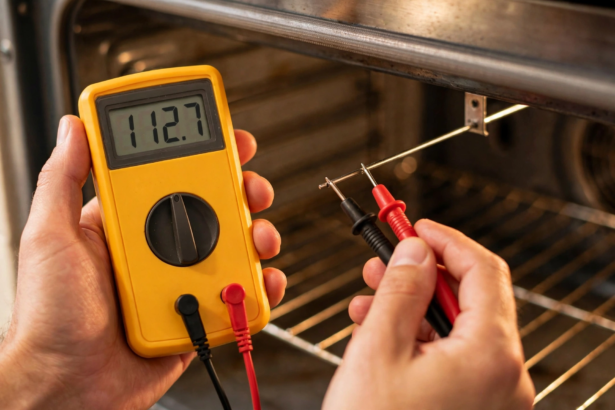
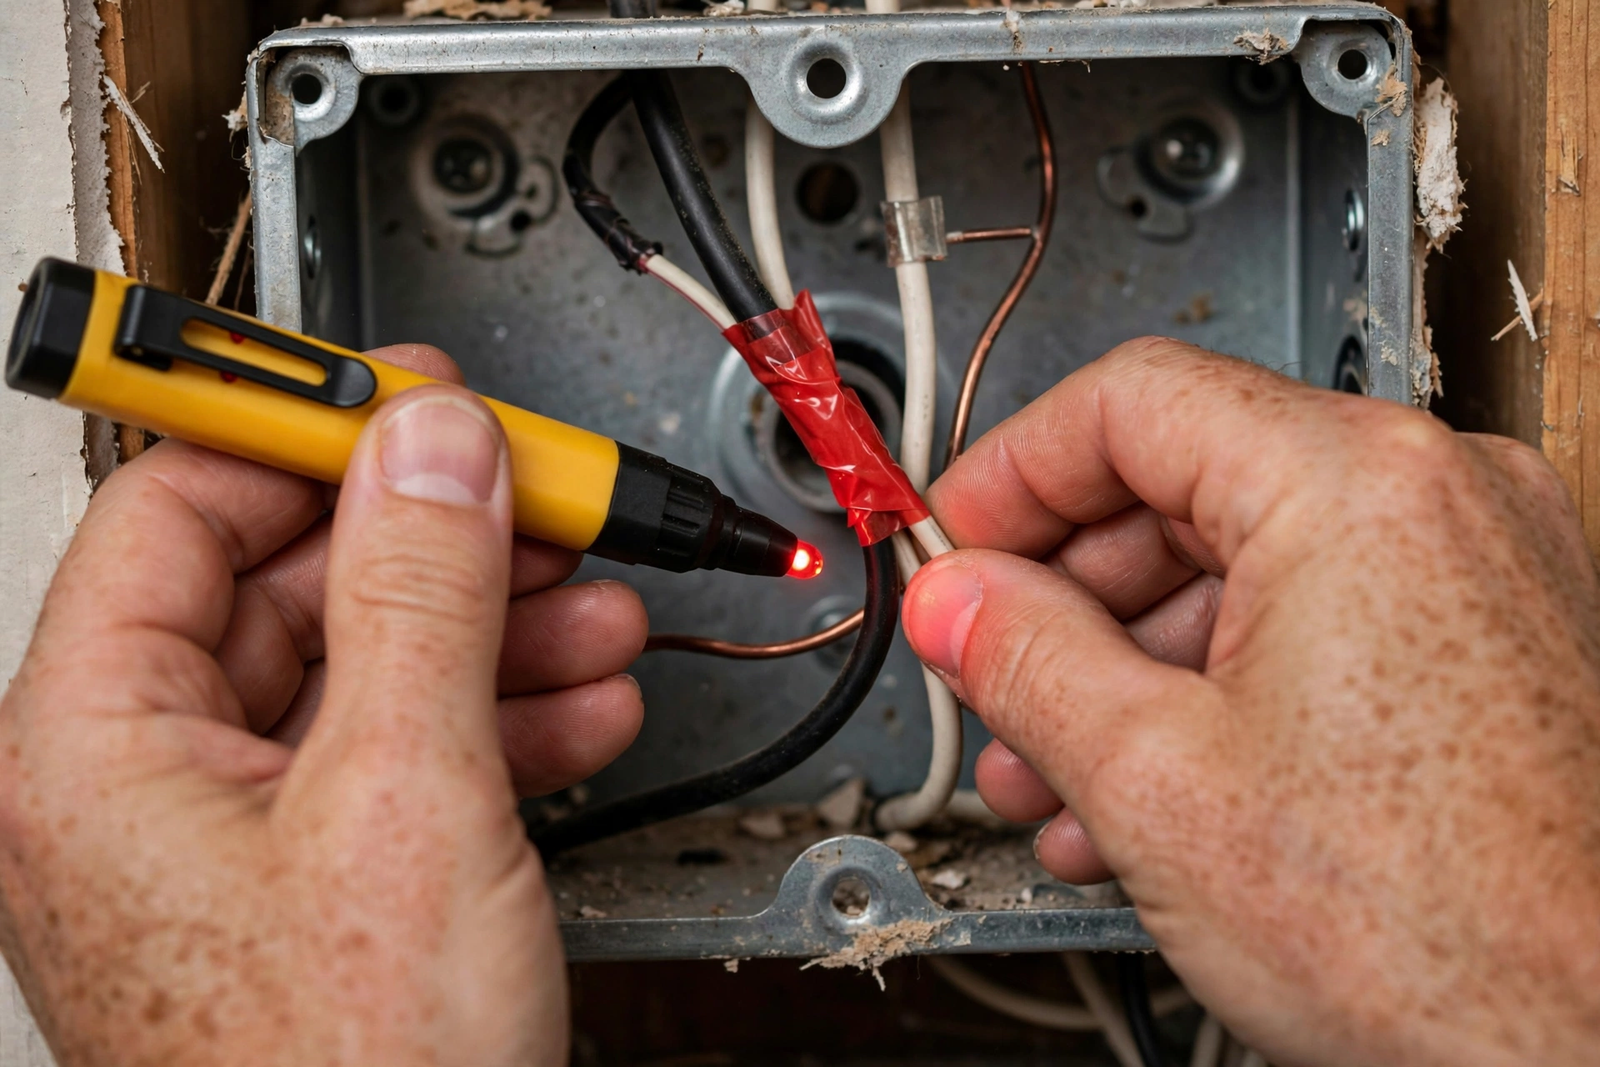
Turn off the breaker first. Not the switch, the breaker. Then verify with a non-contact voltage tester that both boxes are dead. I’ve seen too many “the switch was off” stories end badly.
Step 1: Identify Your Wires
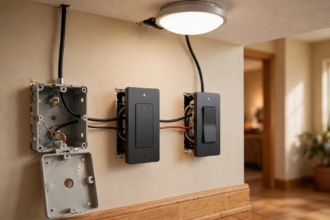
Open both switch boxes and the light fixture box if you can. You’re looking for:
- Line (hot): the wire that has power when the breaker is on. Usually black. Mark it with red electrical tape.
- Load: the wire going to the light fixture. Usually black.
- Travelers: two wires (often black and red, or black and white-taped-black) running between the two switches.
- Neutral: white wires bundled together with a wire nut, not connected to the old switches. If you see this, you don’t have a no-neutral box. Lucky you.
- Ground: bare copper or green wire. Always connect it.
My time-saving trick: test and label the line wire before disconnecting anything. Take a photo of the original wiring too. Future you will be grateful.
Step 2: Wire the Smart Switch (Line Side)
- Connect the line (hot) wire to the smart switch’s line terminal.
- Connect the load wire to the load terminal. In a 3-way Caseta install, the second traveler position gets capped or wired per the manual.
- Connect the traveler wire(s) to the traveler terminal(s) per your switch’s diagram.
- Connect the ground wire to the green ground screw.
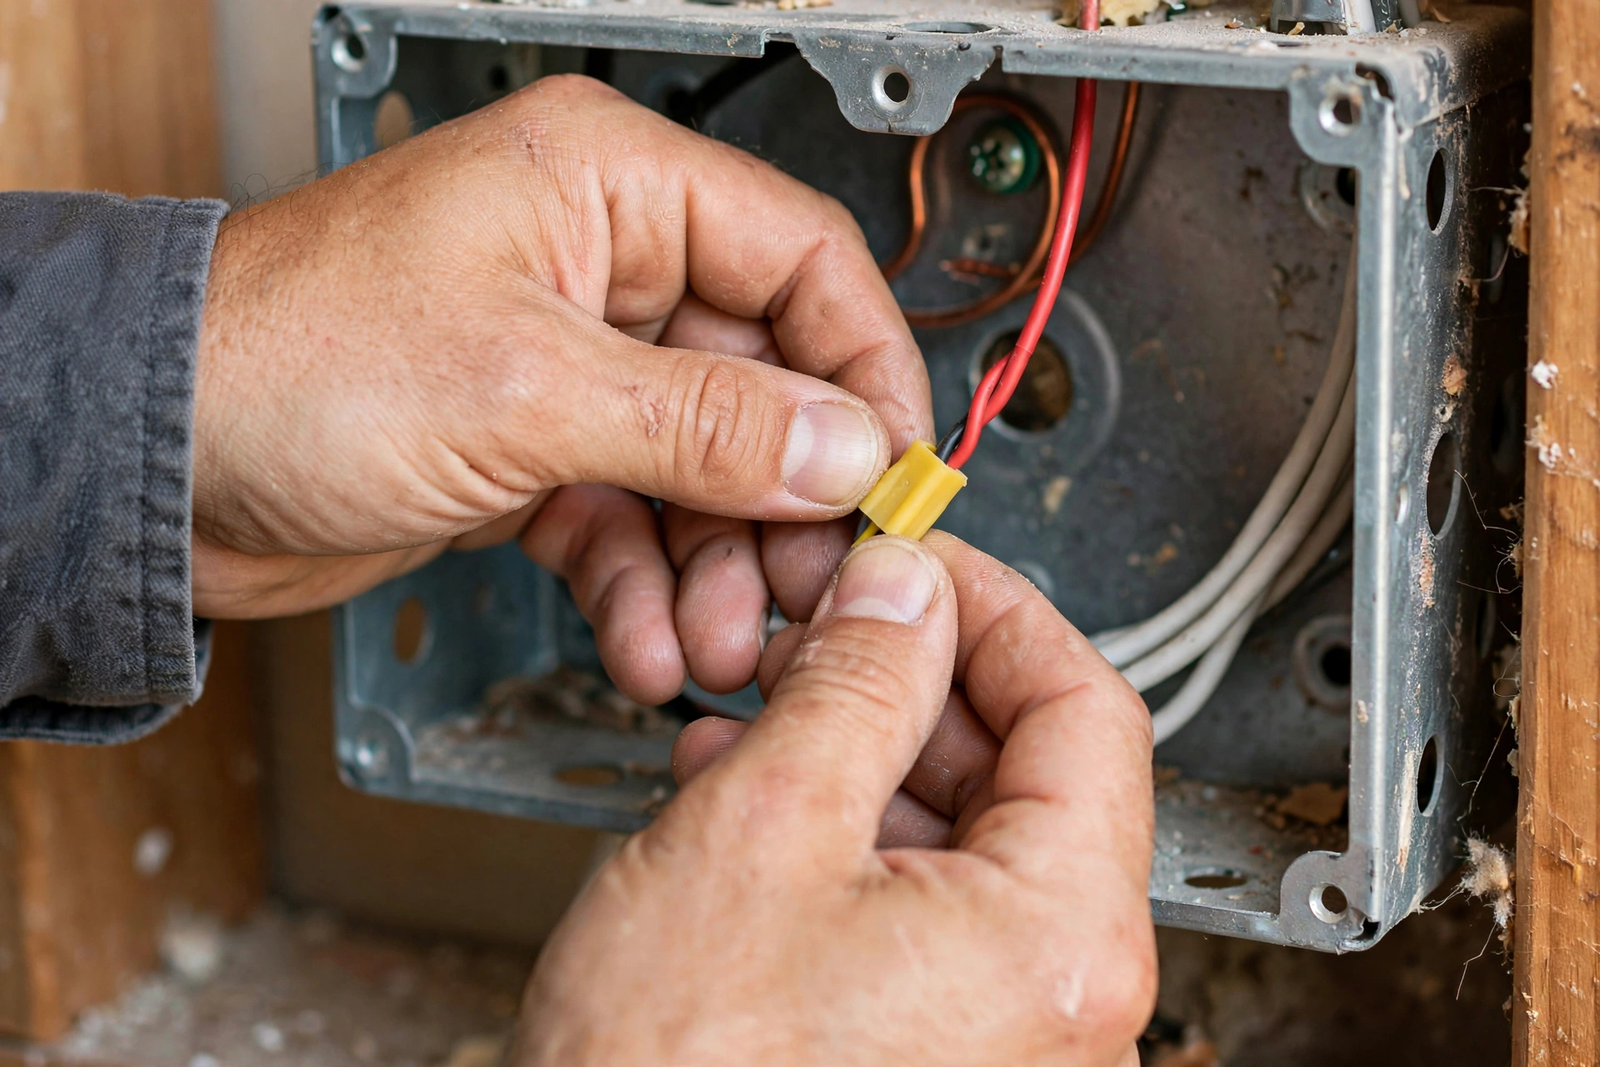
- Cap any unused wires with wire nuts. Never leave bare copper exposed.
For the Inovelli Blue in no-neutral 3-way mode, follow the wiring diagram for your exact configuration (line/load in same box vs separate boxes). The manual has diagrams for both. Using the wrong one is the number one cause of “it doesn’t work” posts in the forums.
Step 3: Handle the Second Location
If you’re using a Pico remote: remove the old switch, cap the traveler wires with wire nuts, and mount the Pico in a wallplate bracket. Done. No wires needed.
If you’re keeping a dumb switch or adding an Aux switch: wire the travelers to the corresponding terminals, connect ground, and make sure the common terminal goes to the load wire heading to the light. The Aux switch wires differently than a dumb switch, so follow the add-on’s instructions, not the old switch’s layout.
Step 4: Restore Power and Configure
- Turn the breaker back on.
- Test both switch locations. The light should respond from each.
- For Inovelli: set the switch type (hold up paddle, tap config 3x for dimmer or on/off) and wiring mode (hold up, tap config 5x for Aux or dumb toggle) using the tap sequences. Watch the LED bar for confirmation colors.
- Pair the switch with your hub or app (Zigbee pairing for Blue, Lutron app for Caseta).
- Test dimming range. If LEDs flicker at low brightness, adjust the minimum dim level in the app or add a bypass capacitor.
Common Mistakes That Cause Headaches
Mixing up line and load is the classic one. If the switch powers on but the light won’t respond, you probably swapped them. Swap them back with the breaker off.
Another common mistake: using non-dimmable LED bulbs with a no-neutral dimmer. The bulb’s driver fights the dimmer’s electronics and you get flicker or buzz. Always use dimmable bulbs, and check the manufacturer’s compatibility list.
People also forget the minimum load requirement. A single 4W LED bulb may not draw enough for the switch’s power-stealing circuit to work reliably. If the switch reboots randomly or drops off the network, try a higher-wattage bulb or add a compatible smart bulb with more draw. A bypass capacitor across the load can also stabilize things.
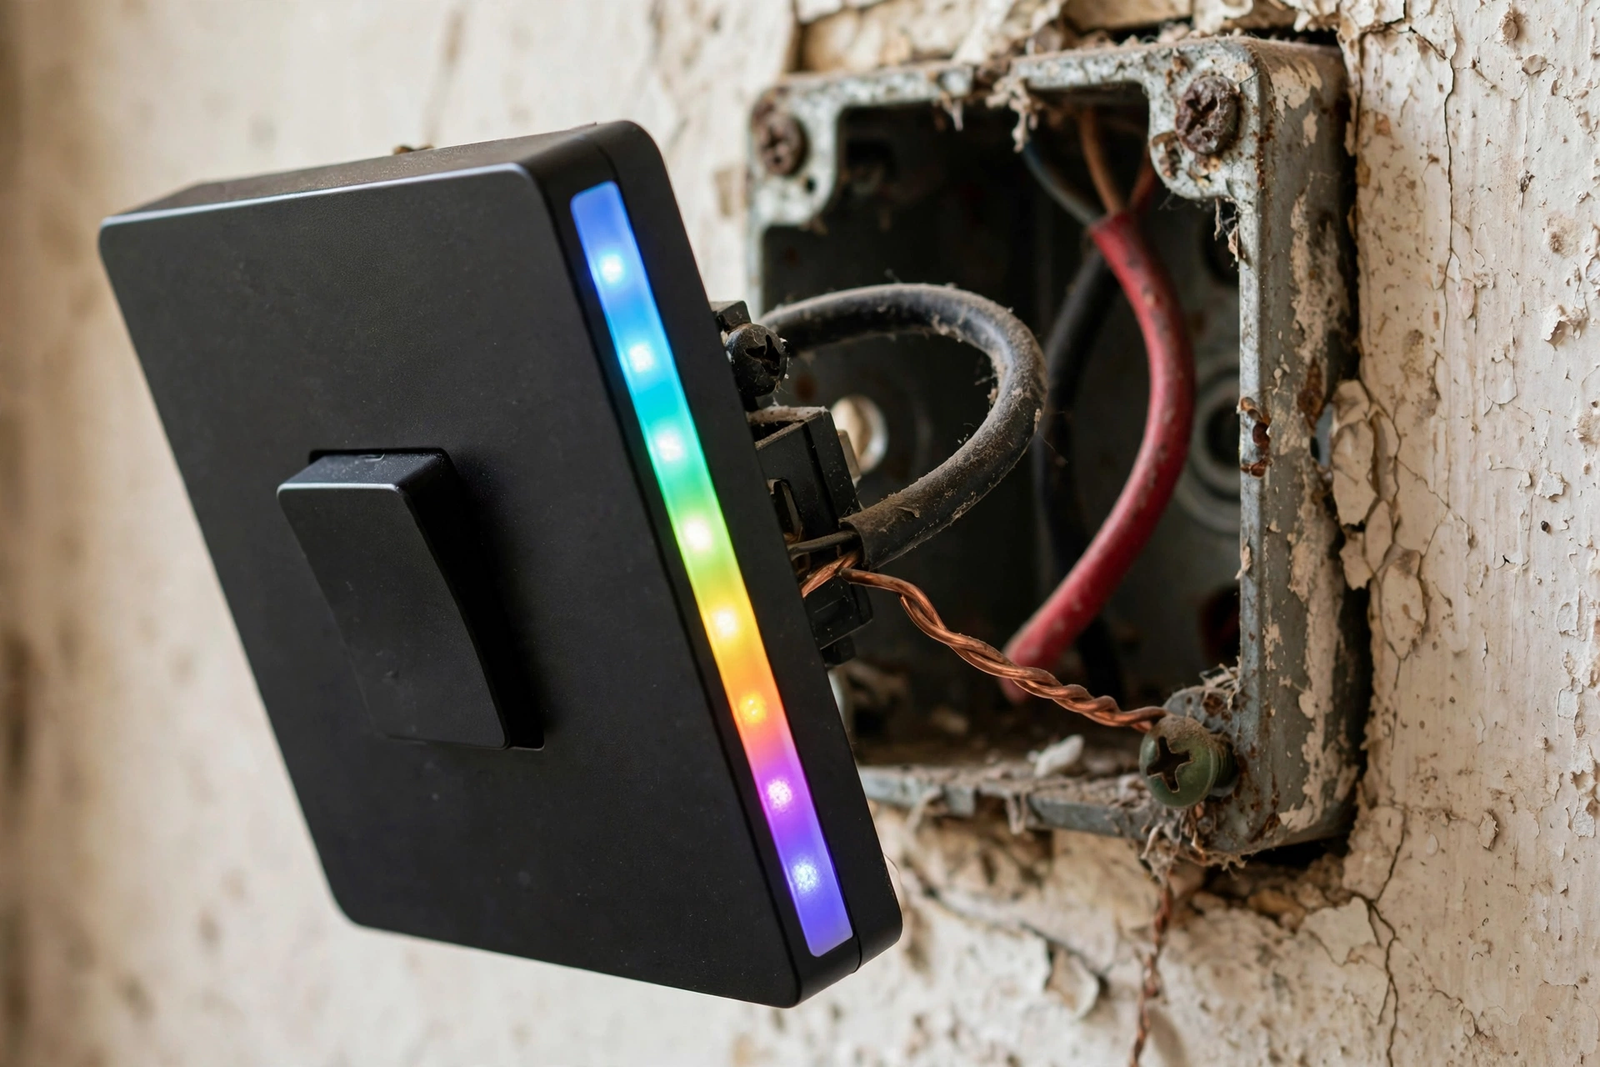
Finally, don’t skip the ground wire. It’s not optional. In metal boxes especially, a missing ground is a safety hazard, not just a code violation.
What About Smart Bulbs in a 3-Way No-Neutral Setup?
Smart bulbs need constant power to stay connected. A 3-way circuit where someone flips the dumb switch and cuts power will knock the bulbs offline. The fix is Smart Bulb Mode on switches that support it (Inovelli Blue does, Caseta dimmers don’t in the same way).
In Smart Bulb Mode, the switch keeps full power flowing to the bulbs at all times. The paddle becomes a scene controller: tap up to turn the bulbs on via Zigbee binding or automation, tap down to turn them off, without ever cutting the circuit. Your bulbs stay online and responsive. Inovelli’s official help center has the tap sequences for every switch generation.
If you go this route, make sure the bulbs are always powered and control them through the switch’s smart features or your hub’s automations, never by cutting power at the switch.
When to Call an Electrician
DIY is fine for a straightforward swap, but call a pro if you find aluminum wiring, a box stuffed so full you can’t fold the wires safely, no ground wire at all, or anything that looks melted or scorched. And call one if your home has knob-and-tube wiring. That’s a whole different conversation.
Electrical work done wrong can start fires. A $150 service call is cheap insurance compared to the alternative. No shame in it.
FAQs
Can I install a 3-way smart switch with no neutral wire?
Yes. Use a no-neutral smart switch like the Lutron Caseta dimmer or Inovelli Blue 2-in-1. The Caseta pairs with a wireless Pico remote at the second location, while the Inovelli can work with your existing dumb switch or an Aux add-on switch. Both steal a small amount of power through the bulb to stay connected.
Do I need a neutral wire for a 3-way smart switch?
Not always. Many smart switches require a neutral, but no-neutral models exist specifically for older homes. Lutron Caseta dimmers and the Inovelli Blue work without one. If you buy a switch that requires a neutral and your box doesn’t have one, you’ll need an electrician to run new cable or you must choose a different switch.
Which wire is the common wire in a 3-way switch?
The common wire connects to the dark-colored screw on a traditional 3-way switch, while travelers use the brass screws. On the line-side switch, the common carries incoming power. On the load-side switch, the common goes to the light fixture. Mark it with tape before disconnecting anything so you don’t mix them up.
Can I use two smart switches in a 3-way setup?
Usually you only need one smart switch plus a companion device. With Lutron Caseta, the second location uses a Pico remote. With Inovelli, the second location uses a dumb switch or Aux add-on. Wiring two full smart switches in one 3-way circuit generally doesn’t work and isn’t supported by the manufacturers.
Why does my no-neutral smart switch flicker the lights?
Flickering usually means the bulb and switch aren’t compatible, the load is below the switch’s minimum wattage, or you’re using non-dimmable bulbs. Try dimmable LED bulbs from the manufacturer’s compatibility list, raise the minimum dim level, or install a bypass capacitor across the light fixture to stabilize the circuit.
Is it safe to wire a smart switch myself?
A simple switch swap is a common DIY project if you’re comfortable working with electricity and your local code allows it. Always turn off the breaker, verify with a tester, and follow the manufacturer’s diagram exactly. Call an electrician for aluminum wiring, missing grounds, overcrowded boxes, or anything that looks damaged.
Conclusion
Wiring a 3-way smart switch with no neutral is very doable once you identify your line, load, and travelers. Pick the right switch for your setup, follow the diagram for your exact configuration, and test everything before you close up the boxes. Next step: check whether your boxes have a neutral before you buy anything. That one check determines your whole plan.