



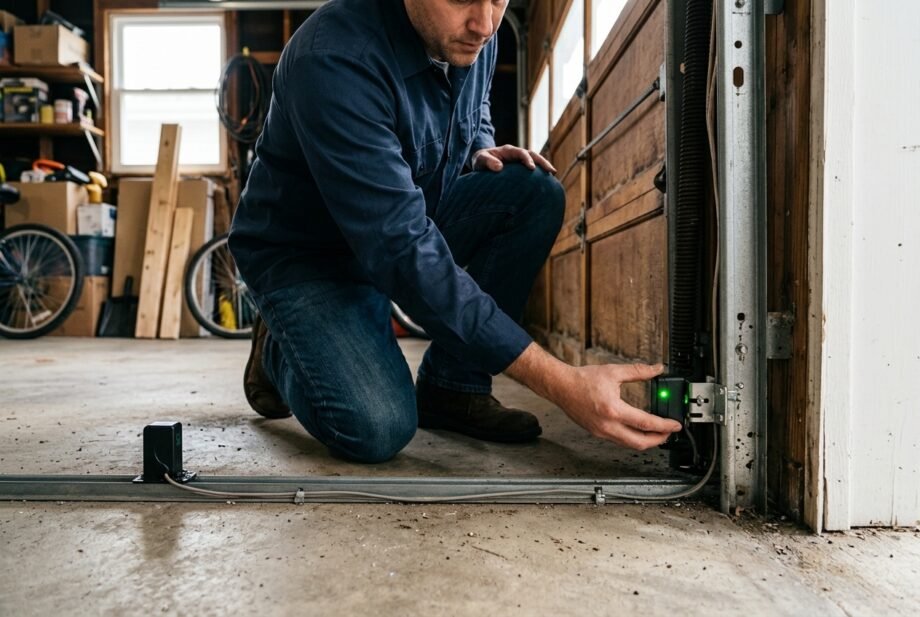
If you’re searching for how to reset garage door sensor problems, your door probably refuses to close, reverses halfway down, or leaves you staring at a blinking light. The useful first question is which sensor you have and what its lights are telling you.
For common safety photo-eyes, the fix often involves clearing the beam, cleaning the lenses, or restoring alignment. Restarting the opener has a place in some troubleshooting procedures, but it cannot straighten a bracket or repair a broken wire. Work through the checks below before erasing settings or buying replacement parts.
Quick Takeaway
To understand how to reset garage door sensor faults, identify the sensor, clear obstructions, clean its lens, and check alignment and wiring. Restart only as your model’s instructions advise. Confirm normal indicators, then perform the manufacturer’s beam and contact-reversal tests before returning to regular use.
What Does Resetting a Garage Door Sensor Mean?
Identify the sensor first
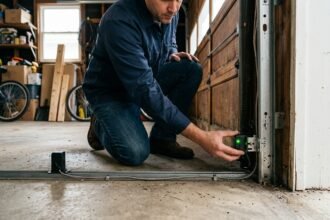
Safety photo-eyes are the paired devices mounted low on opposite sides of the garage opening. A transmitter sends an infrared beam to a receiver. When that beam is interrupted during closing, the opener’s safety system responds.
A separate smart-controller sensor may attach to a door panel and report whether the door is open or closed. For example, the myQ Smart Garage Control uses a battery-powered door-position sensor. That device has different troubleshooting requirements from wired photo-eyes.
Restarting, realigning, and erasing memory
Learning how to reset garage door sensor faults starts with separating three actions:
- Restarting: interrupting and restoring the opener’s power according to its manual.
- Realigning: adjusting the photo-eyes so their beam reaches the receiver reliably.
- Erasing memory: removing stored accessories or settings.
Do not treat the Learn button as a universal sensor-reset button. Chamberlain’s remote and keypad erasure instructions use that button for clearing access devices. Erasing them creates extra setup work without correcting a blocked beam.
Safety Checks Before You Begin
Keep children, pets, and other people away from the doorway. Tell everyone not to operate the door, and pause scheduled closing routines.
Before touching wiring, disconnect opener power and any backup battery as the manual directs. Unplugging alone may leave a battery-backed opener active. Restore power only for checks that require it, with hands and tools clear.
Do not open the motor housing, adjust springs or cables, or release a raised door with suspected mechanical damage. Never disable the safety sensors or increase closing force to overcome a fault.
How to Reset Garage Door Sensor: Step-by-Step Checks
-
Record the model and symptoms
Find the opener’s model number and locate its manual. Note which sensor lights are steady, flickering, or off. Record any repeating code on the opener separately: its light is not the same indicator as the sensor LED.
Before deciding how to reset garage door sensor errors, observe when the failure occurs. Does it happen immediately, only during movement, or at a particular time of day? A short video of the indicators can help a technician interpret an intermittent problem.
-
Clear the beam and clean the lenses
Remove objects from the opening and the invisible line between the sensors. Check for a broom handle, stored box, hanging cable, or loose material that could enter the beam as the door moves.
Gently wipe the lenses with a clean, soft cloth. Avoid abrasive cleaners and spraying liquid into the housing. Visible water inside a sensor needs further assessment.
If cleaning restores the expected indicators, proceed to safety testing. Knowing how to reset garage door sensor faults does not mean every repair needs a reboot.
-
Restore alignment
Follow your model’s adjustment procedure. On common Chamberlain designs, this involves loosening the receiving sensor’s wing nut and aiming the lenses toward each other until the receiving indicator stays steady.
Make small adjustments, then secure the fastener without shifting the sensor. Keep the sensors at the installation height required by the manual; raising them to avoid an obstruction defeats their intended coverage.
The manufacturer’s alignment guide provides the reference for supported Chamberlain models. If alignment fails as soon as you release the bracket, the mounting needs attention rather than another reset.
-
Inspect accessible wiring
Disconnect power, including backup power where fitted, before checking connections. Look along exposed sensor cables for cuts, crushed insulation, tight staples, and loose connections. Photograph existing connections before any permitted work.
For anyone checking how to reset garage door sensor wiring faults, remember that restarting cannot reconnect a broken conductor. Use the model’s wiring diagram; terminal colors and arrangements are not universal.
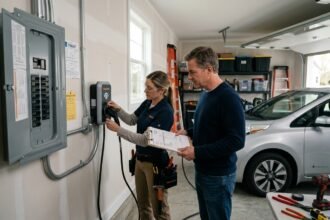
Leave damaged wiring, uncertain connections, and internal electrical diagnosis to a qualified technician. Do not jump terminals together or relocate both photo-eyes beside the motor as a workaround.
-
Restart only when the diagnosis calls for it
Check the manual before interrupting power. Genie’s diagnostic guidance includes removing and restoring power for a particular light combination associated with interrupted power; other patterns call for different checks.
There is no single waiting period that establishes how to reset garage door sensor electronics across every brand. Follow the specified sequence, including backup-battery handling. Restore power and compare the indicators with the manual.
If the same fault returns, stop repeating resets and investigate its cause.
-
Test the safety functions
Keep everyone clear and use objects, never a person or pet, for testing.
For applicable Chamberlain models, the photo-eye test starts with the door open and an object blocking the beam. A remote closing command should leave the door open or produce only a short movement followed by reversal. If it closes despite the blocked beam, stop using it and arrange service.
Remove that obstruction before the separate contact-reversal test. Chamberlain specifies a 2×4 laid flat, centered beneath the open door. The door must reverse upon contact. Follow your exact model’s procedure and stop use if it fails.
Sensor Lights and Reset Advice Differ by Model
Do not assume both lights should be green. Common Chamberlain/LiftMaster photo-eyes use an amber sending light and a green receiving light. Genie’s published Safe-T-Beam chart identifies steady red and green lights as normal.
When checking how to reset garage door sensor lights, record both sides. One blinking light without the other sensor’s state may not identify the fault.
| Sensor example | Indicator pattern | What to investigate |
| Common Chamberlain/LiftMaster photo-eyes | Amber steady; green off or flickering | Beam obstruction or alignment; follow model diagnostics |
| Genie Safe-T-Beam chart | Red and green both steady | Normal sensor indication |
| Genie Safe-T-Beam chart | Red repeats two blinks; green on | Alignment, obstruction, or sensor fault |
| Genie Safe-T-Beam chart | Red repeats three blinks; green on | Interference |
| Either system | Both indicators off during a closing fault | Power, wiring, and model-specific diagnostics |
Use the Genie diagnostic chart only for the equipment it covers. Do not transfer its codes to another manufacturer.
Also separate sensor LEDs from motor-unit flashes. A guide explaining how to reset garage door sensor errors through “ten flashes” may describe only certain opener generations. Newer hardware can report faults differently, so the absence of ten flashes does not clear the sensors of suspicion.
How to Reset Garage Door Sensor When Problems Persist
It fails at a particular time of day
Direct sunlight reaching a receiver can interfere with detection. Compare the failure time with the sun’s position and observe whether the problem disappears when the receiver is naturally shaded.
Follow the manufacturer’s approved positioning or shading advice. Genie provides specific sunlight-interference guidance. Do not cover the lens, block the beam, or move sensors above their required height.
In this situation, learning how to reset garage door sensor operation means correcting the light exposure, not repeatedly cycling power.
The light flickers only while the door moves
An indicator that looks stable with the door stationary may become intermittent during movement. Observe from a safe position without reaching toward moving hardware.
Make a note of whether the bracket shifts or a visible cable moves. Stop operation before inspecting either. Secure mounting and sound connections matter more than whether a restart briefly cleared the warning.
Both lights look normal, but closing still fails
Steady indicators do not prove that every part of the door and opener is healthy. Look up the motor-unit diagnostic code and note exactly where travel stops.
Mechanical resistance, travel settings, and other opener faults require their own diagnosis. Do not increase force or reprogram travel simply because a sensor guide did not fix the problem.
If you are still investigating how to reset garage door sensor problems at this point, ask whether the symptoms actually identify a sensor fault.
Both indicators remain dark
Check whether the opener has power and whether the manual describes any standby behavior. Some older equipment can turn indicators off while idle, so assess them under the conditions specified in its instructions.
If they remain dark during a closing fault, use the model’s power and wiring troubleshooting sequence. Avoid assuming both sensors failed simultaneously.
The problem keeps returning
A restart that helps once does not establish a permanent repair. Record the code and conditions each time instead of erasing useful clues.
Arrange service for damaged housings, water intrusion, unresolved wiring faults, or failed safety tests. When asking a technician how to reset garage door sensor faults, provide the model number, both LED states, and the checks already completed.
Smart Garage Sensors, Apps, and Compatibility
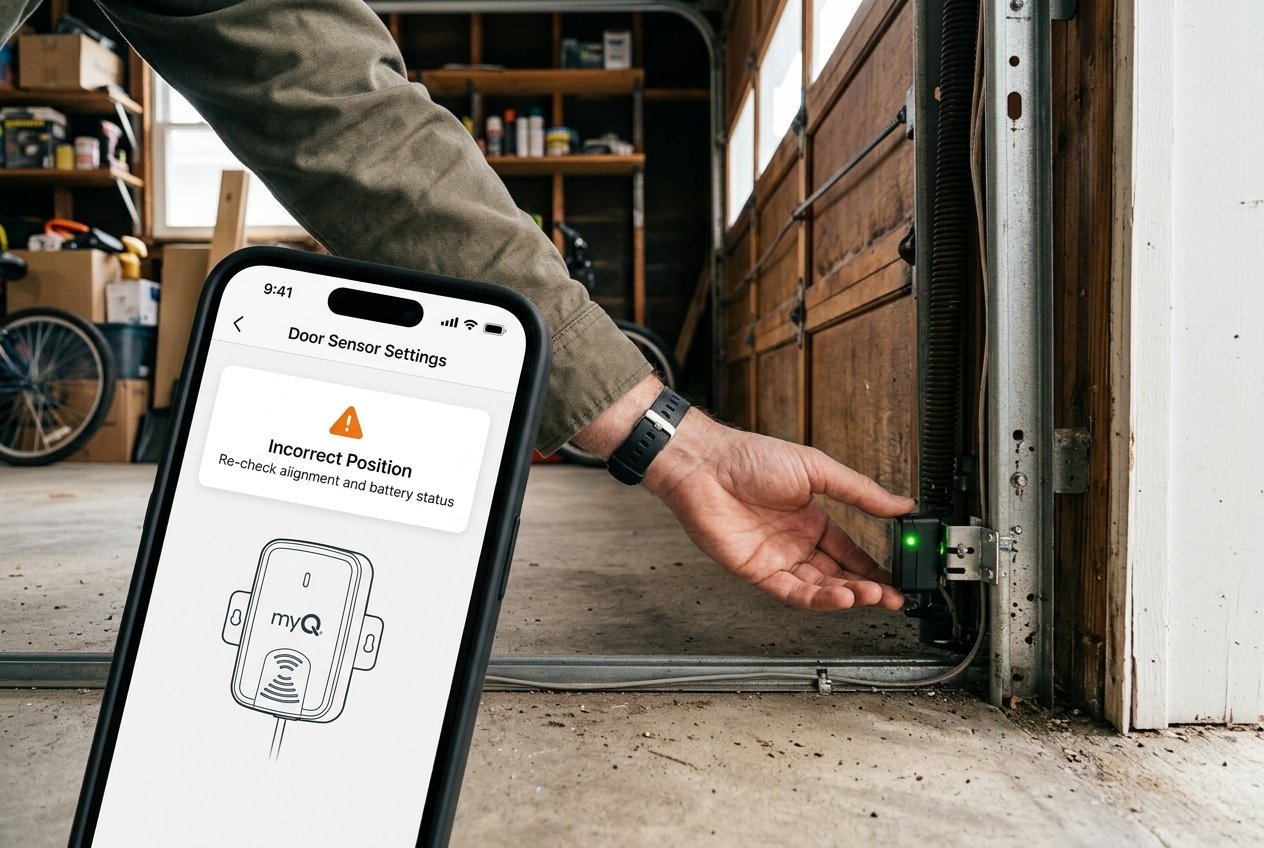
If normal local operation and safety tests succeed but the app shows the wrong position, investigate the connected controller separately.
Chamberlain’s myQ door-sensor troubleshooting explains that a weak battery or failed position sensor can cause incorrect status and app-control problems. Follow its test and battery instructions for the named product.
For how to reset garage door sensor pairing, identify the sensor and hub model first. A procedure for a battery-powered position sensor does not apply to the wired photo-eyes.
Before changing an integration, check:
- Alexa or Google Home: whether the exact controller supports the intended commands and account connection.
- Apple Home/HomeKit: the accessory’s explicit compatibility and hub requirements; our Apple Home guide explains the platform terminology.
- Matter, Zigbee, or Z-Wave: the device type, supported controller, and required bridge or hub. A protocol label alone does not confirm the whole setup.
Our door and window contact-sensor guide covers separate open/closed monitoring. Such monitoring must not replace the opener’s safety photo-eyes.
For the wired systems discussed here, photo-eye protection belongs to the opener; it does not depend on a cloud app. Remote notifications and commands have separate network requirements. After restoring access, review shared users and closing automations before enabling them again.
Frequently Asked Questions
Do garage door sensors have a reset button?
The common wired safety photo-eyes discussed here do not use a universal reset-button procedure. Troubleshooting usually involves their beam, alignment, power, or wiring. If your question is how to reset garage door sensor accessories attached to a smart hub, check that accessory’s manual: it may have a separate test or pairing control.
Why is my garage door sensor blinking?
A blinking indicator can point to misalignment, obstruction, wiring trouble, or interference, depending on the model and pattern. Count the flashes and note the opposite sensor’s light. Before deciding how to reset garage door sensor warnings, compare those observations with the correct diagnostic chart rather than relying on color alone.
Should both garage door sensor lights be green?
No. Normal colors differ. Common Chamberlain/LiftMaster pairs have an amber transmitter and green receiver; Genie’s Safe-T-Beam chart shows a red source and green receiver. What matters is the correct steady or diagnostic behavior for your equipment. Do not adjust a working sensor solely because its light is not green.
Will unplugging my garage door opener reset the sensors?
It may restart the electronics if all relevant power is interrupted, but backup power can keep the opener running. A restart will not clean a lens, restore alignment, or repair wiring. Use the manufacturer’s procedure rather than assuming a longer unplugged interval will solve an unresolved physical fault.
Why won’t the door close when both sensor lights are on?
The indicators may change during movement, or the fault may involve something else. Observe from a safe position, read the opener’s code, and note where closing stops. Mechanical resistance and travel problems require different checks. Do not force the door closed or increase force settings to conceal the problem.
Final Verdict and Long-Term Maintenance
Understanding how to reset garage door sensor faults means matching the repair to the symptom. Identify the equipment, clear and clean the beam path, check alignment, and investigate power or wiring when the indicators call for it.
Keep stored items away from the photo-eyes and inspect their mounting after moving bikes, tools, or bins nearby. Watch for recurring problems after rain or at particular sunlight angles.
Follow the manufacturer’s maintenance schedule; Chamberlain calls for monthly contact-reversal testing and testing after adjustments. A reliable repair ends with working safety protection, not merely a door that closes. Failed safety tests require service before regular operation resumes.
Disclaimer:
Procedures vary by model. Follow your manual, isolate mains and backup power before wiring work, and use a qualified technician for electrical or mechanical repairs.