



Why Your Mechanical Chime Buzzes After Installing a Video Doorbell
A video doorbell mechanical chime buzzing fix starts with understanding the cause. When you wire a smart doorbell to an old mechanical chime, the doorbell draws constant current to stay powered. That trickle current makes the chime’s electromagnet vibrate without fully striking, creating an annoying hum.
- Why Your Mechanical Chime Buzzes After Installing a Video Doorbell
- How to Test If Your Transformer Is the Problem
- What Causes the Buzzing Sound
- Video Doorbell Mechanical Chime Buzzing Fix: 6 Proven Solutions
- Fix 1: Install the Manufacturer’s Power Kit
- Fix 2: Upgrade Your Transformer
- Fix 3: Check and Tighten All Wiring
- Fix 4: Adjust the Chime Settings in the App
- Fix 5: Add a Resistor to the Circuit
- Fix 6: Replace the Mechanical Chime With a Digital One
- How to Diagnose Which Fix You Need
- Safety Warnings
- When to Call a Professional
- Preventing Future Buzzing
- FAQs
- Why does my doorbell chime buzz after installing a video doorbell?
- Will a power kit stop the buzzing?
- What transformer do I need for a video doorbell?
- Can I just disconnect the mechanical chime?
- Is it safe to add a resistor to my doorbell circuit?
- Why does my chime buzz only sometimes?
- Should I replace my mechanical chime with a digital one?
- Start With the Free Fixes
Traditional doorbell buttons are simple switches. They either pass full current or none at all. Smart doorbells, however, need constant low-level power for WiFi, the camera, and motion sensing. Therefore, they never fully break the circuit. That leftover current energizes the chime coil just enough to buzz.
The good news: this is one of the most common video doorbell problems, and the fixes are well documented. For instance, most cases resolve with a power kit, a transformer upgrade, or a settings change. Let’s go through each cause and fix in order.
How to Test If Your Transformer Is the Problem
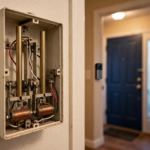
However, before buying a new transformer, confirm it’s actually undersized. First, find your transformer, usually a small metal box mounted near your breaker panel or inside a closet. First, read the label for its voltage and VA rating. If it says 16V 10VA, it’s almost certainly too weak for a video doorbell.
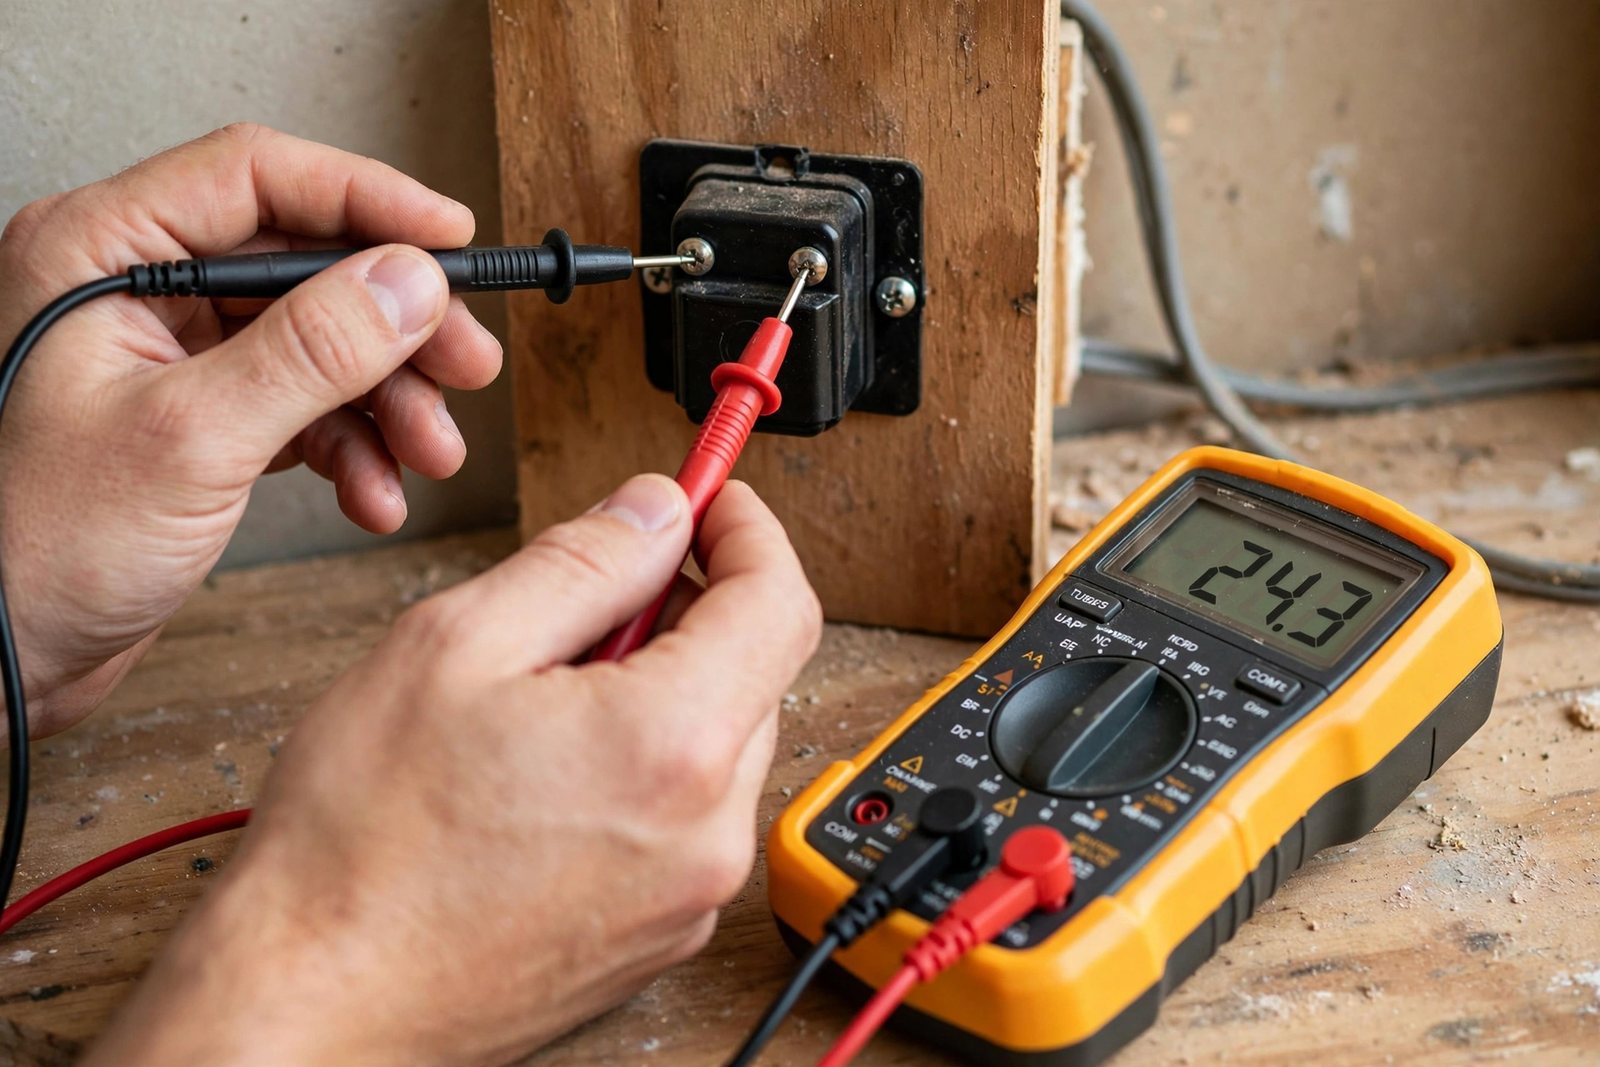
For a precise check, meanwhile, use a multimeter. Turn off the breaker, disconnect one transformer wire, then restore power and measure AC voltage across the transformer terminals. In particular, you should see close to the rated voltage. Next, have someone press the doorbell button while you watch the meter. As a result, if voltage drops more than 2 volts under load, the transformer can’t keep up.
In addition, check the VA rating, not just volts. Specifically, VA (volt-amps) measures how much power the transformer can deliver. A 16V 10VA unit provides about 10 watts. Most video doorbells want 20 to 40 watts. Therefore, upgrading to 16V 30VA triples your available power and usually kills the buzz.
Otherwise, if you don’t own a multimeter, the label check alone is enough for most people. When in doubt, upgrade anyway. Indeed, a $20 transformer is cheap insurance, and an oversized transformer never hurts a doorbell circuit.
What Causes the Buzzing Sound
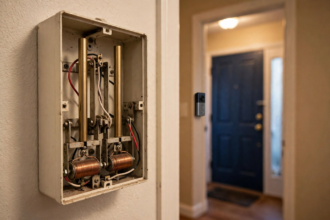
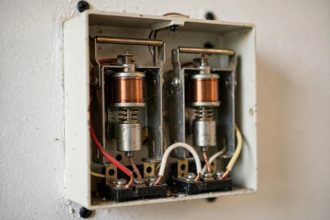
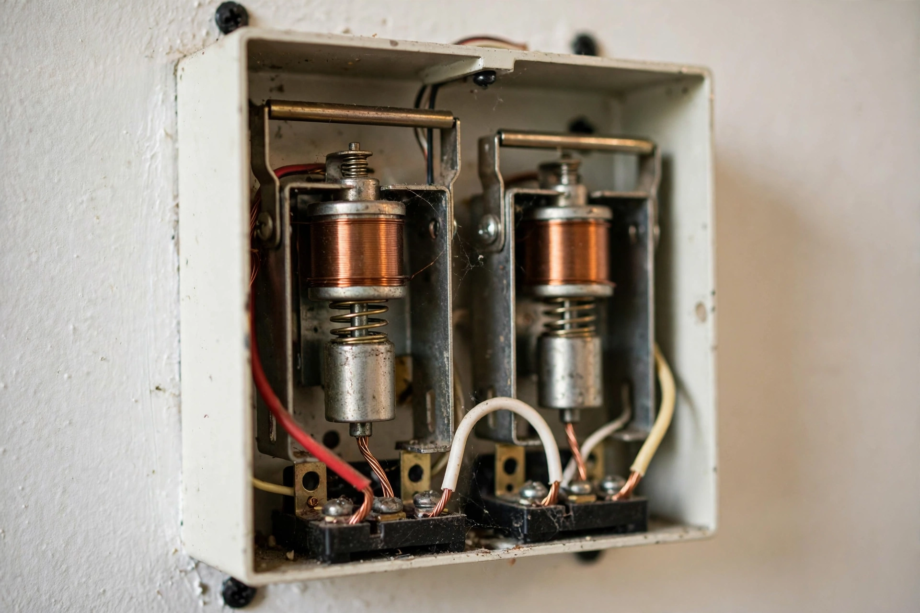
Before fixing anything, it helps to know what’s happening inside that chime box on your wall. In fact, a mechanical chime has a solenoid, which is a coil of wire around a metal plunger. Next, when full voltage hits the coil, the plunger snaps forward and strikes a metal bar. That’s the “ding.”
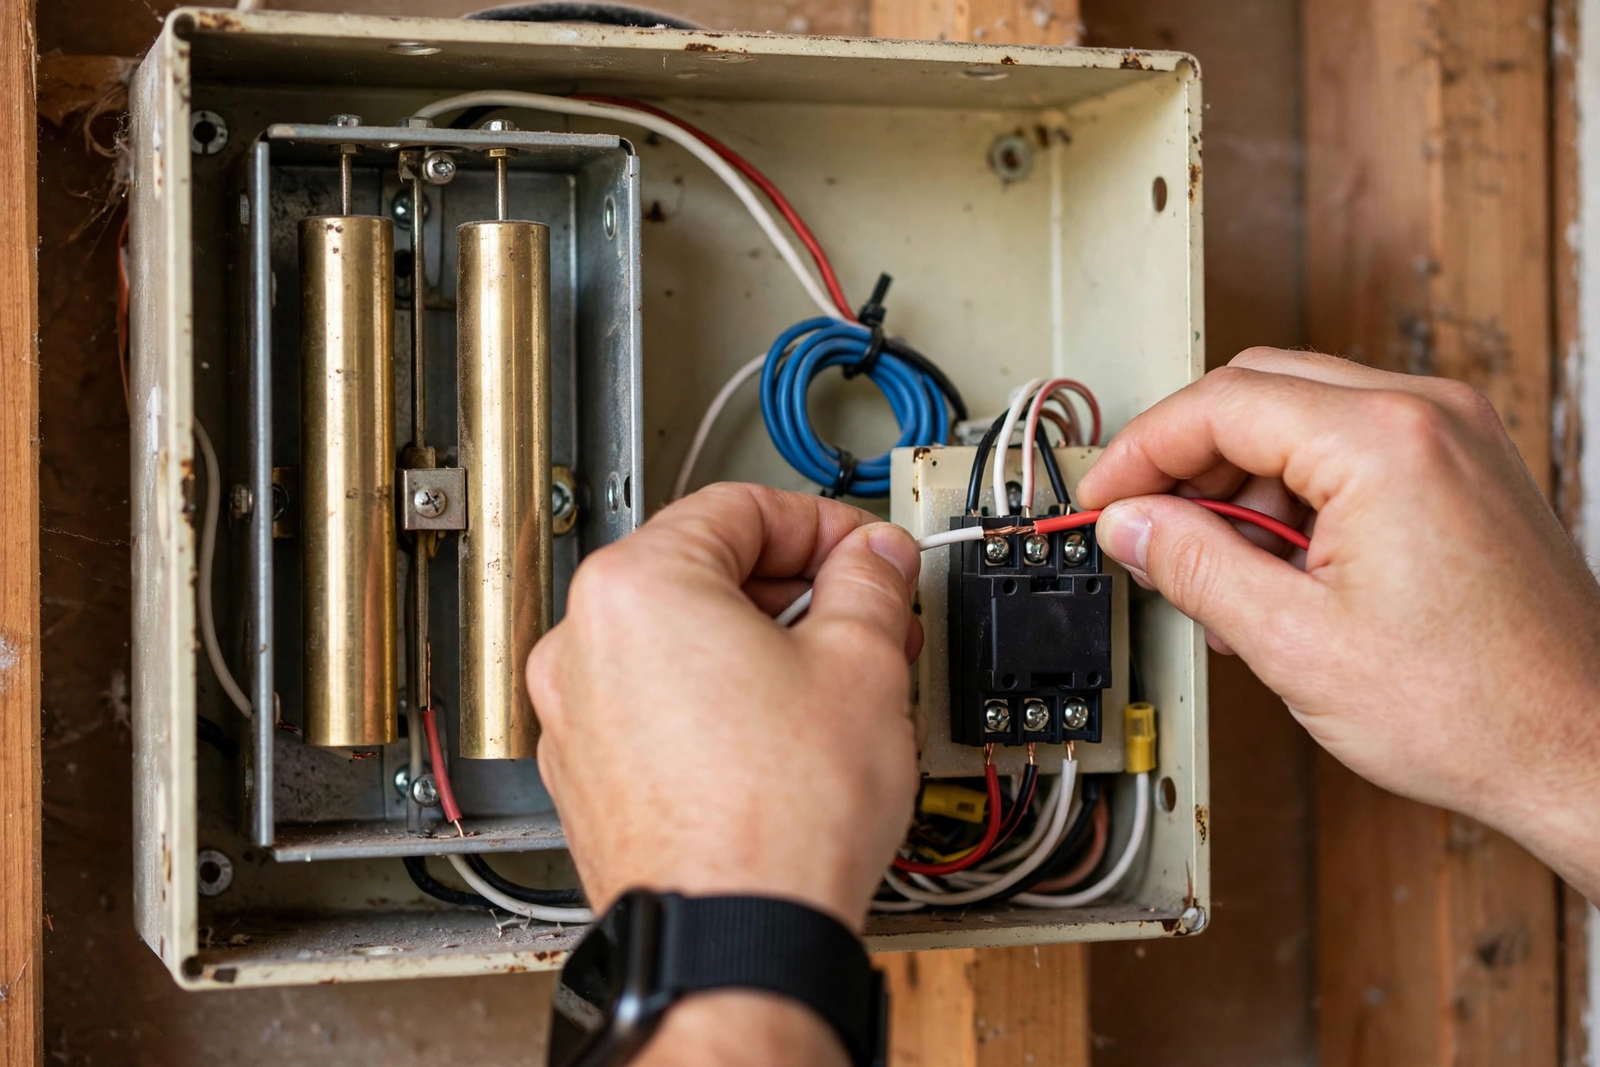
Nevertheless, video doorbells change the equation. Because they sip power constantly, a small voltage, often 2 to 4 volts, leaks through to the chime at all times. As a result, the plunger vibrates rapidly instead of striking cleanly. Thus, that vibration is the buzz you hear.
Several factors make it worse. For example, an undersized transformer can’t deliver clean power. Loose wire connections create resistance that worsens the effect. In addition, some chime models are simply more sensitive to low voltage than others. Finally, age matters too, since older chimes with worn plungers buzz more easily.
Video Doorbell Mechanical Chime Buzzing Fix: 6 Proven Solutions
Fix 1: Install the Manufacturer’s Power Kit
This is the fix most manufacturers recommend first. A power kit, sometimes called a chime connector or diode pack, installs inside your chime box across the terminals. It regulates current flow so the chime only activates on a full button press.
Ring includes a Pro Power Kit with the Doorbell Pro. Reolink sells the RLA-PK1 Power Kit specifically for this problem. Installation takes about 10 minutes: turn off the breaker, open the chime cover, connect the kit’s two wires to the Trans and Front terminals, and tuck it inside. The kit is non-polarized, so either wire can go to either terminal.
If your doorbell brand offers a power kit, start here. It’s the cleanest fix because it’s designed for your exact hardware. Check Reolink’s official power kit guide for a detailed walkthrough.
Fix 2: Upgrade Your Transformer
Many buzzing problems trace back to a weak transformer. Older homes often have 16V 10VA transformers. That was fine for a simple button, but video doorbells need more. Most manufacturers recommend 16V 30VA or 24V 40VA.
A bigger transformer delivers cleaner, more stable power. This alone fixes buzzing in many cases because the doorbell gets the current it needs without starving the chime circuit. The transformer mounts near your breaker panel and costs $15 to $25.
Turn off the breaker before touching anything. Disconnect the old transformer’s wires, mount the new one, and reconnect. If you’re not comfortable working near a breaker panel, however, hire an electrician. This is a 20-minute job for a pro.
Fix 3: Check and Tighten All Wiring
Loose connections are a surprisingly common cause. Over years, vibration and temperature changes loosen the terminal screws in the chime box and at the doorbell. Loose wires create resistance, and resistance makes buzzing worse.
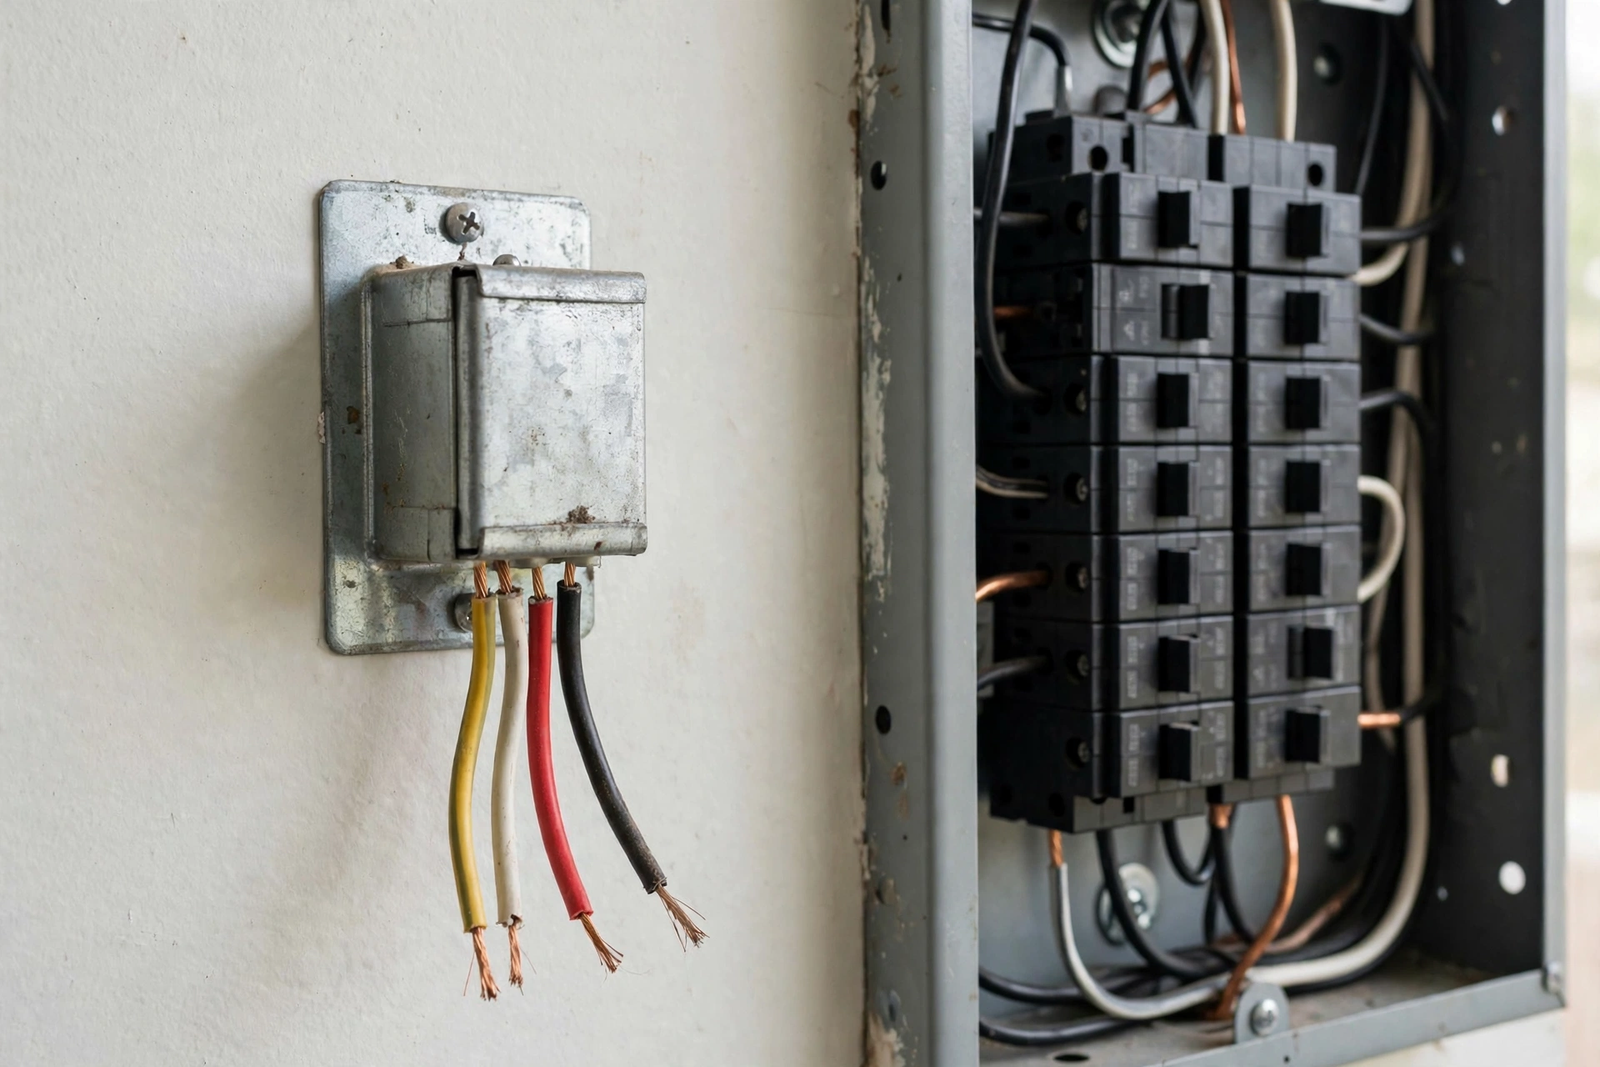
Turn off power at the breaker first. Open the chime cover and check every terminal screw. Tighten them firmly but don’t overtighten and strip them. Check the wires at the doorbell too. Look for frayed insulation or corroded copper. Replace any damaged wire sections.
One Ring user found their buzzing was caused by worn wire insulation letting bare wires touch each other. A wrap of electrical tape fixed it. Sometimes the simplest check solves the problem.
Fix 4: Adjust the Chime Settings in the App
Before buying hardware, check your doorbell’s app settings. Most apps let you specify your chime type. In the Ring app, for example, go to Device Settings, then Chime Settings, and select “Mechanical” as your chime type. This adjusts how the doorbell manages power to the chime.
Some apps also have a “chime duration” setting. Shortening it can reduce buzzing because the chime gets a cleaner, shorter power pulse. Experiment with these settings first since they’re free and take seconds to change.
Fix 5: Add a Resistor to the Circuit
If the power kit and transformer don’t fully solve it, a resistor can absorb the excess trickle current. A 10-ohm, 5-watt resistor wired in series between the transformer and the chime’s Front terminal is the commonly recommended value.
This is a DIY-friendly fix, but respect the electrical basics. Turn off the breaker. The resistor gets warm during operation, so mount it where it has airflow, not buried in insulation. If you’re unsure about any step, consult an electrician.
Several users report this as the fix that finally silenced stubborn buzzing after the power kit alone wasn’t enough. It’s a $2 part that punches above its weight.
Fix 6: Replace the Mechanical Chime With a Digital One
When nothing else works, the chime itself may be the problem. Some older mechanical chimes are simply too sensitive to work cleanly with smart doorbells. Replacing it with a digital chime designed for video doorbells eliminates the issue entirely.
Digital chimes don’t use a solenoid plunger, so there’s nothing to buzz. They play electronic tones instead. Most cost $20 to $40 and wire to the same terminals. Alternatively, skip the chime entirely and use a wireless sensor setup with smart speaker announcements.
How to Diagnose Which Fix You Need
Don’t guess randomly. Follow this order to find your fix efficiently.
First, check the app settings. It’s free and instant. Set the correct chime type and see if the buzzing stops.
Next, inspect the wiring. Turn off power, tighten everything, and look for damage. This fixes a surprising number of cases.
Then, install the manufacturer’s power kit if one exists for your model. This is the engineered solution.
After that, check your transformer rating. If it’s 16V 10VA, upgrade to 16V 30VA or higher. Meanwhile, measure the voltage at the chime with a multimeter if you have one. You should see the full rated voltage when the button is pressed and near zero when idle.
Finally, try the resistor or replace the chime. These are last resorts, but they work when everything else doesn’t.
Table: Buzzing fixes by effort and cost
| Fix | Difficulty | Typical Cost | Success Rate |
|---|---|---|---|
| App chime settings | Easy | Free | Moderate |
| Tighten wiring | Easy | Free | Moderate |
| Power kit install | Easy | $10-20 | High |
| Transformer upgrade | Medium | $15-25 | High |
| Add resistor | Medium | $2-5 | High |
| Replace chime | Easy | $20-40 | Very high |
Safety Warnings
Doorbell circuits are low voltage, typically 16 to 24 volts, but the transformer connects to 120V mains at the breaker panel. Always turn off the breaker before opening the chime box or touching the transformer.
Never work on the transformer connections with power on. If you need to replace the transformer itself and you’re not comfortable near a breaker panel, hire an electrician. A 20-minute pro visit costs far less than a hospital visit.
Resistors generate heat. Don’t bury them in wall insulation or enclosed boxes without airflow. If a resistor feels painfully hot to touch, it’s undersized for the job.
When to Call a Professional
Most buzzing fixes are DIY-friendly, but know your limits. Call an electrician if you see scorched wires, melted insulation, or a transformer that’s hot to the touch. Those are signs of a deeper electrical problem.
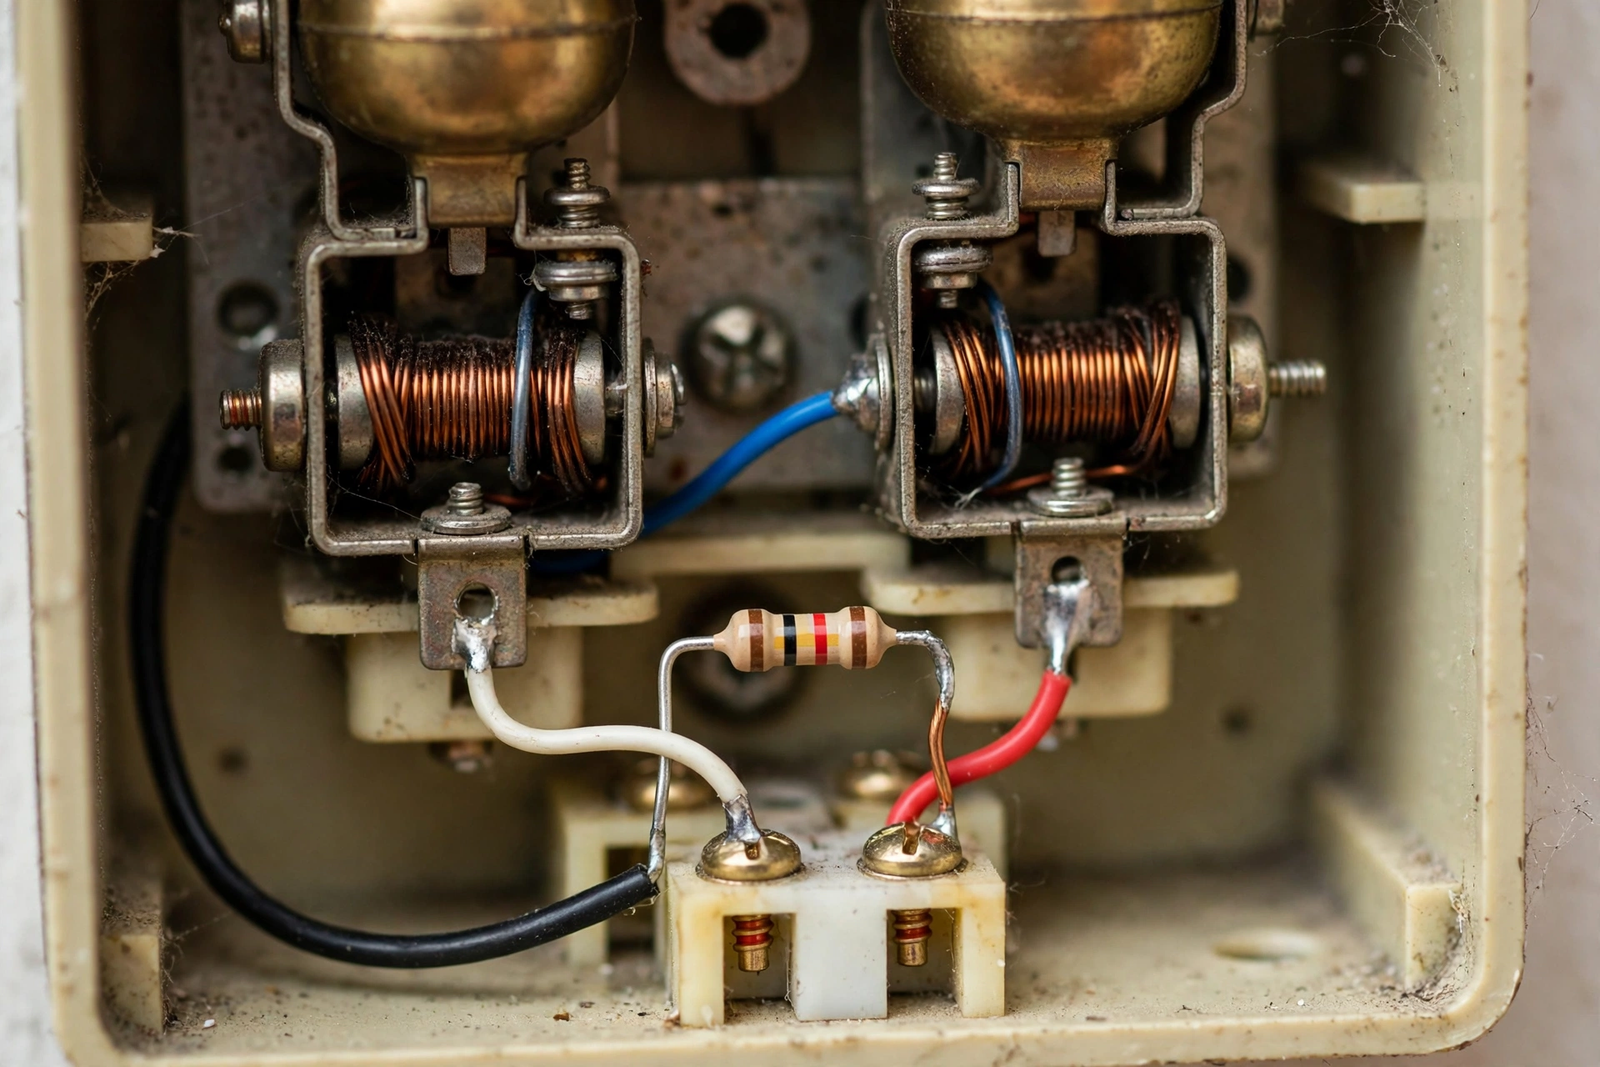
Also call a pro if your home has aluminum wiring, if the breaker panel is unlabeled and you can’t identify the doorbell circuit, or if buzzing persists after trying every fix above. An electrician can test the full circuit and spot issues you’d miss.
Professional help is especially worth it when multiple devices share one transformer. An undersized transformer feeding both a doorbell and a chime will cause problems no DIY fix can fully solve.
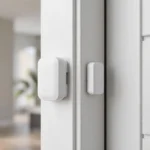
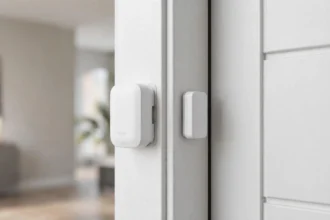
For renters, check with your landlord before modifying any wiring. A wireless contact sensor paired with smart speakers gives you doorbell-like alerts with zero wiring changes.
Preventing Future Buzzing
Once you’ve fixed it, keep it fixed. Check wire tightness once a year, especially in homes with temperature swings that loosen connections over time. Keep the chime box clean and dust-free, since debris in the solenoid mechanism causes sticking.
If you upgrade your doorbell in the future, check chime compatibility before buying. Manufacturers publish compatibility lists. Buying a doorbell that’s known to work with your chime type saves you from repeating this whole process.
Consider your broader smart home ecosystem too. Some platforms handle chime integration more gracefully than others.
Sticking to one ecosystem also simplifies troubleshooting. When everything speaks the same protocol, there are fewer compatibility surprises.
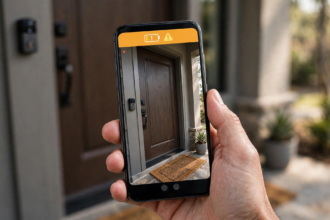
For a unified front door, pair your fixed chime with a smart door lock with camera from the same ecosystem. Choosing compatible devices upfront prevents headaches.
FAQs
Why does my doorbell chime buzz after installing a video doorbell?
Video doorbells draw constant low-level power for WiFi and the camera, so a small current always flows to the chime. That trickle current, usually 2 to 4 volts, makes the chime’s electromagnet vibrate instead of striking cleanly. The result is a constant hum or buzz. It’s the most common complaint after smart doorbell installs.
Will a power kit stop the buzzing?
In most cases, yes. A power kit regulates current through the chime circuit so it only activates on a full button press. Ring, Reolink, and other brands make model-specific kits that install inside the chime box in about 10 minutes. It’s the manufacturer’s recommended fix and has a high success rate.
What transformer do I need for a video doorbell?
Most video doorbells need 16V 30VA or 24V 40VA. Older 16V 10VA transformers are too weak and cause buzzing, poor video, or random reboots. A new transformer costs $15 to $25 and mounts near your breaker panel. Turn off power before replacing it, or hire an electrician.
Can I just disconnect the mechanical chime?
Yes. If you don’t need the indoor chime sound, disconnect it and rely on phone notifications plus a wireless plug-in chime or smart speaker announcements. Cap the unused wires with wire nuts for safety. This eliminates buzzing entirely since there’s no chime left to buzz.
Is it safe to add a resistor to my doorbell circuit?
Yes, if done correctly. A 10-ohm 5-watt resistor in series absorbs excess trickle current. Turn off the breaker first, mount the resistor with airflow since it generates heat, and don’t bury it in insulation. If you’re unsure, consult an electrician before proceeding.
Why does my chime buzz only sometimes?
Intermittent buzzing often points to loose wiring that makes better or worse contact as temperatures change. It can also happen when the doorbell’s power draw spikes, such as during night-vision activation or firmware updates. Tighten all connections first, then consider a power kit if it continues.
Should I replace my mechanical chime with a digital one?
If you’ve tried the power kit, transformer upgrade, and wiring checks without success, yes. Digital chimes have no solenoid plunger to vibrate, so buzzing is physically impossible. They cost $20 to $40, wire to the same terminals, and work cleanly with all video doorbells.
Start With the Free Fixes
A video doorbell mechanical chime buzzing fix doesn’t have to cost money. Check your app’s chime settings first, then tighten every wire connection. Those two free steps solve a large share of cases.
If buzzing persists, the power kit is your best $15 spent. After that, the transformer upgrade handles the rest. Work through the list in order and you’ll have silence soon.