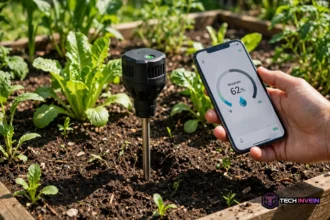


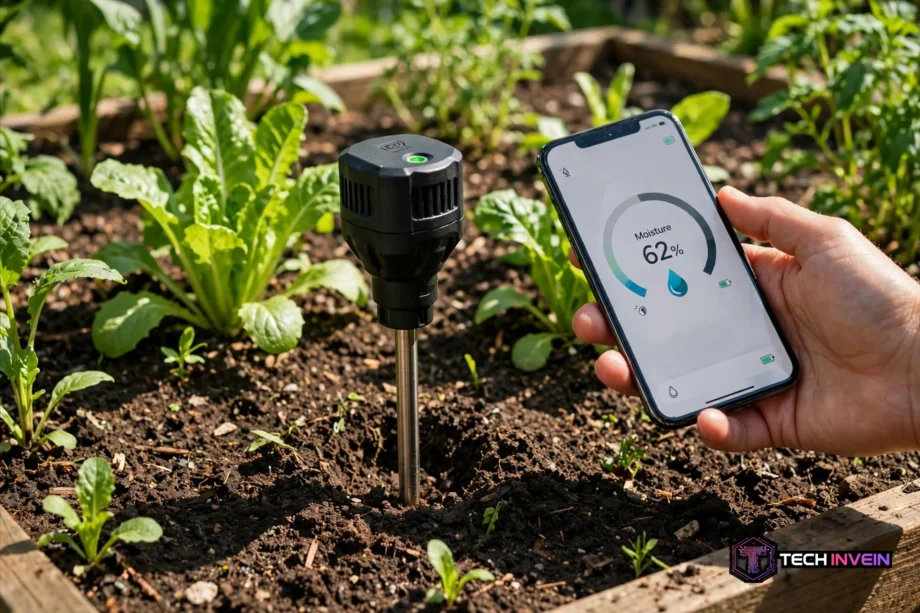
A soil moisture probe tells you when soil is dry, not just dry on top. Push it into the root zone, then it reads water around the roots. That number can stop guesswork, then cut overwatering. This guide explains how probes work, how to read them, where to place them, and how to link them to smart watering.
- How a Soil Moisture Probe Works
- Reading the Numbers Without Guessing
- Where to Place a Soil Sensor Probe
- How a Soil Moisture Probe Connects to Smart Irrigation
- How to Choose the Right Probe
- Common Mistakes That Ruin Readings
- FAQs
- How often should I check it?
- Do they work in all soil types?
- Can it stay in the ground all year?
- How deep should I push a soil moisture sensor probe?
- Why does my soil sensor read dry right after watering?
- Is a soil probe better than a rain sensor?
- Conclusion
How a Soil Moisture Probe Works
Most soil moisture probes measure one thing in different ways. They sense water in the soil, then turn that signal into a reading you can use. Some show a simple wet or dry scale. Others show a percentage. Smart models send the reading to your phone or to a controller. The reading is only as good as the contact between the probe and the soil. Loose soil, air gaps, and a probe pressed against a pot wall can all skew the result.
Soil sensors work on the same basic idea as many home sensors. They take a physical change in the soil, then turn it into an electrical signal. If you want a wider look at how home sensors sense the world, this explainer on robot sensors shows the same idea in a different device. The soil version just focuses on water, which is what roots need most.
Three main types dominate home and garden use. Each has clear strengths and clear limits. Your choice should match your soil, your plants, and how much upkeep you want to do.
Capacitive probes
A capacitive probe has coated plates that never touch the soil directly. It sends a small electric field into the soil, then measures how the soil stores charge. Water stores charge far better than dry soil or air. So wet soil gives a higher reading, and dry soil gives a lower one. Because the plates are coated, they resist rust far better than bare metal probes. That makes them a strong pick for most home gardens and pots.
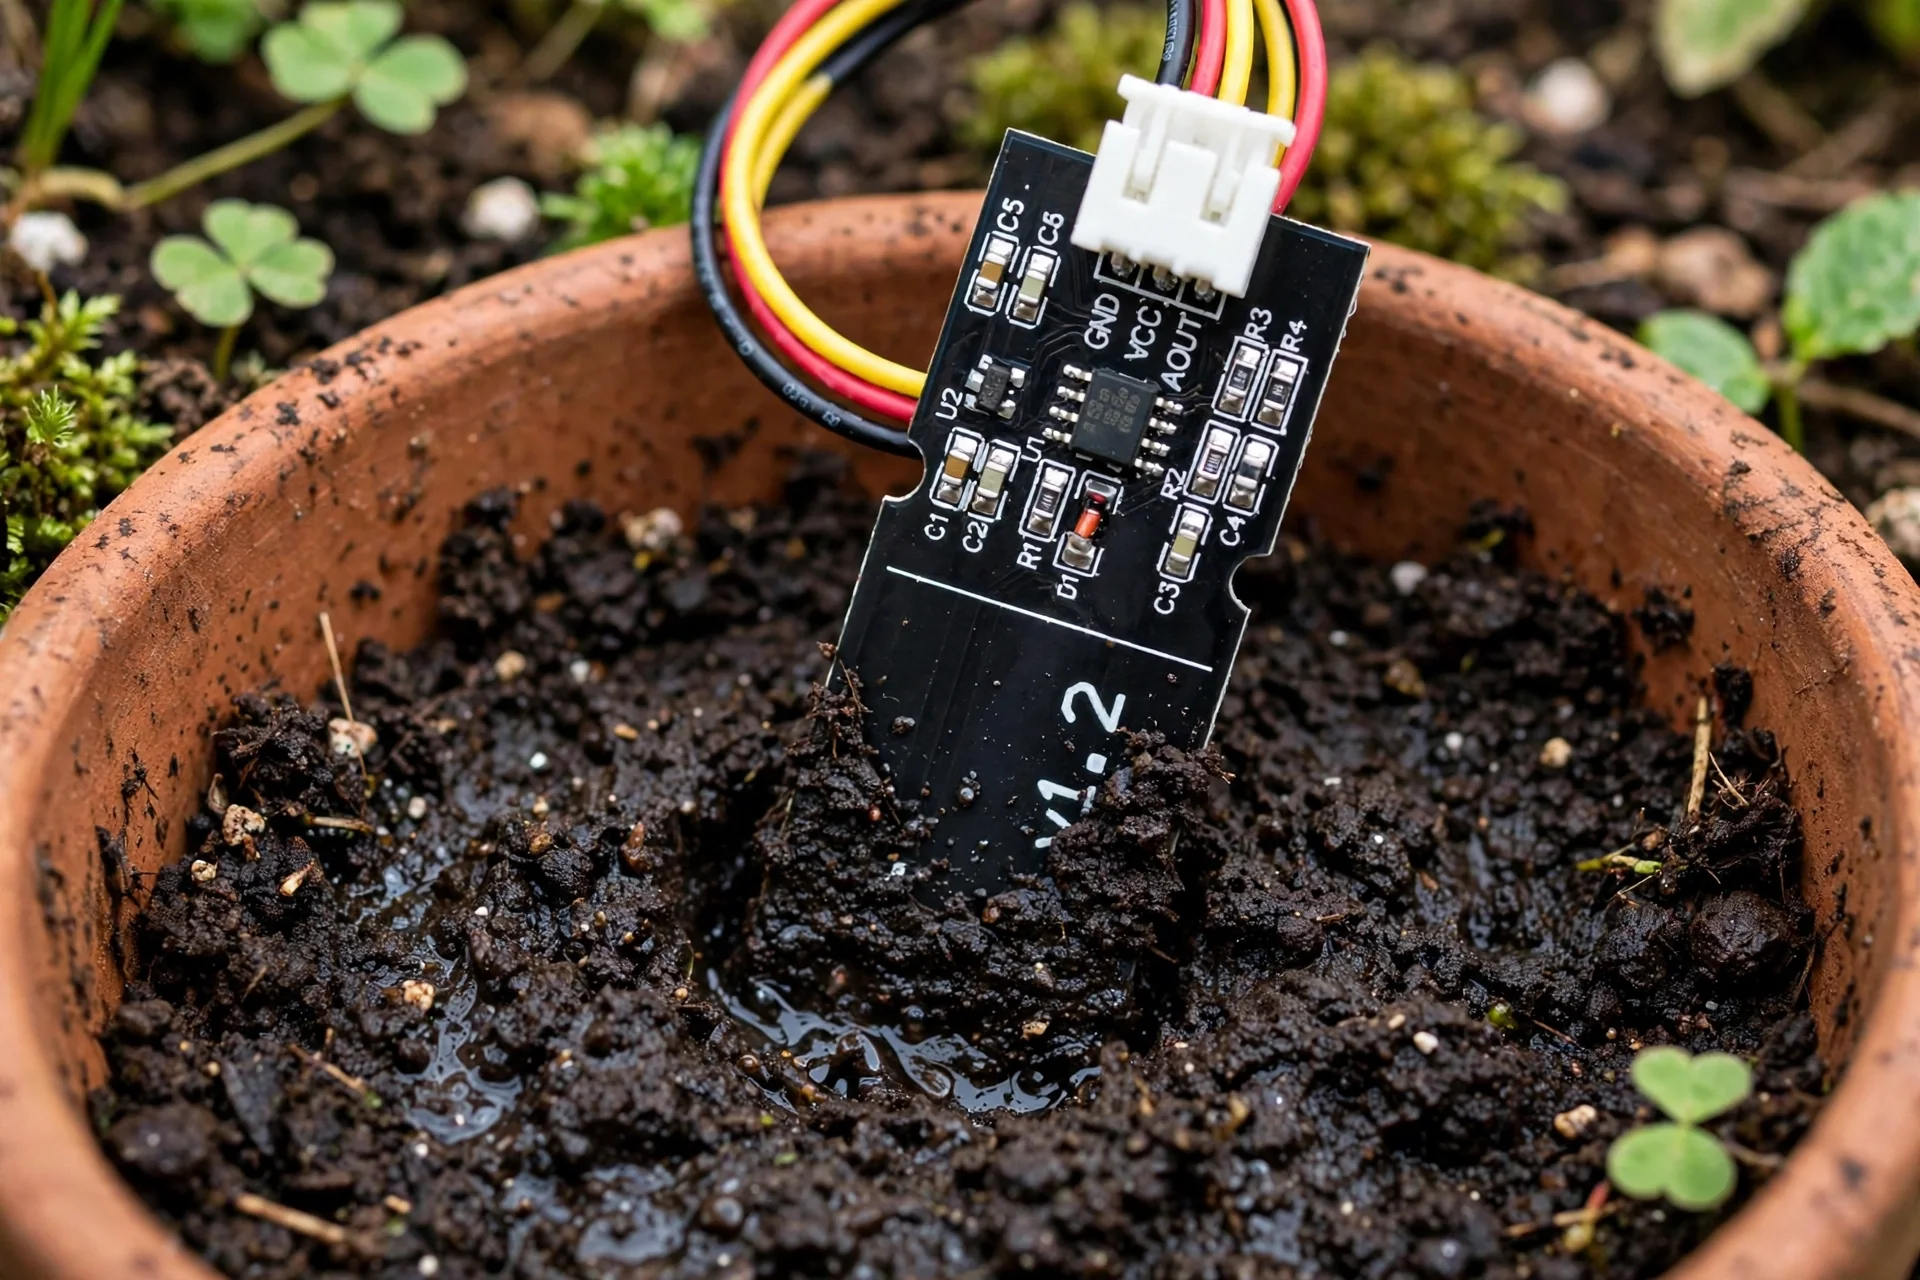
Capacitive probes still need care. Air gaps read as dry soil, and salty soil can shift the reading. Each soil mix reads a bit differently, so calibrate the probe to your own mix, not to a chart alone.
Resistive probes
A resistive probe has two bare metal prongs. It passes a small current between them, then measures resistance. Dry soil resists the current. Wet soil lets it flow with ease. These probes are cheap and simple, which is why they show up in many starter kits. They work fine for a quick check in a pot.
The weak point is wear. Bare metal corrodes in damp soil, and fertilizer salts change how well soil conducts current. So a pot you just fed can read wetter than an unfertilized pot at the same true moisture level.
Tensiometers
Tensiometers work in a different way. They do not measure water content directly. They measure how hard roots must work to pull water from the soil. A tensiometer is a sealed, water filled tube with a porous ceramic tip. As soil dries, it pulls water out of the tube, then raises the vacuum inside. As soil wets, water flows back in and the vacuum falls. The gauge shows that tension.
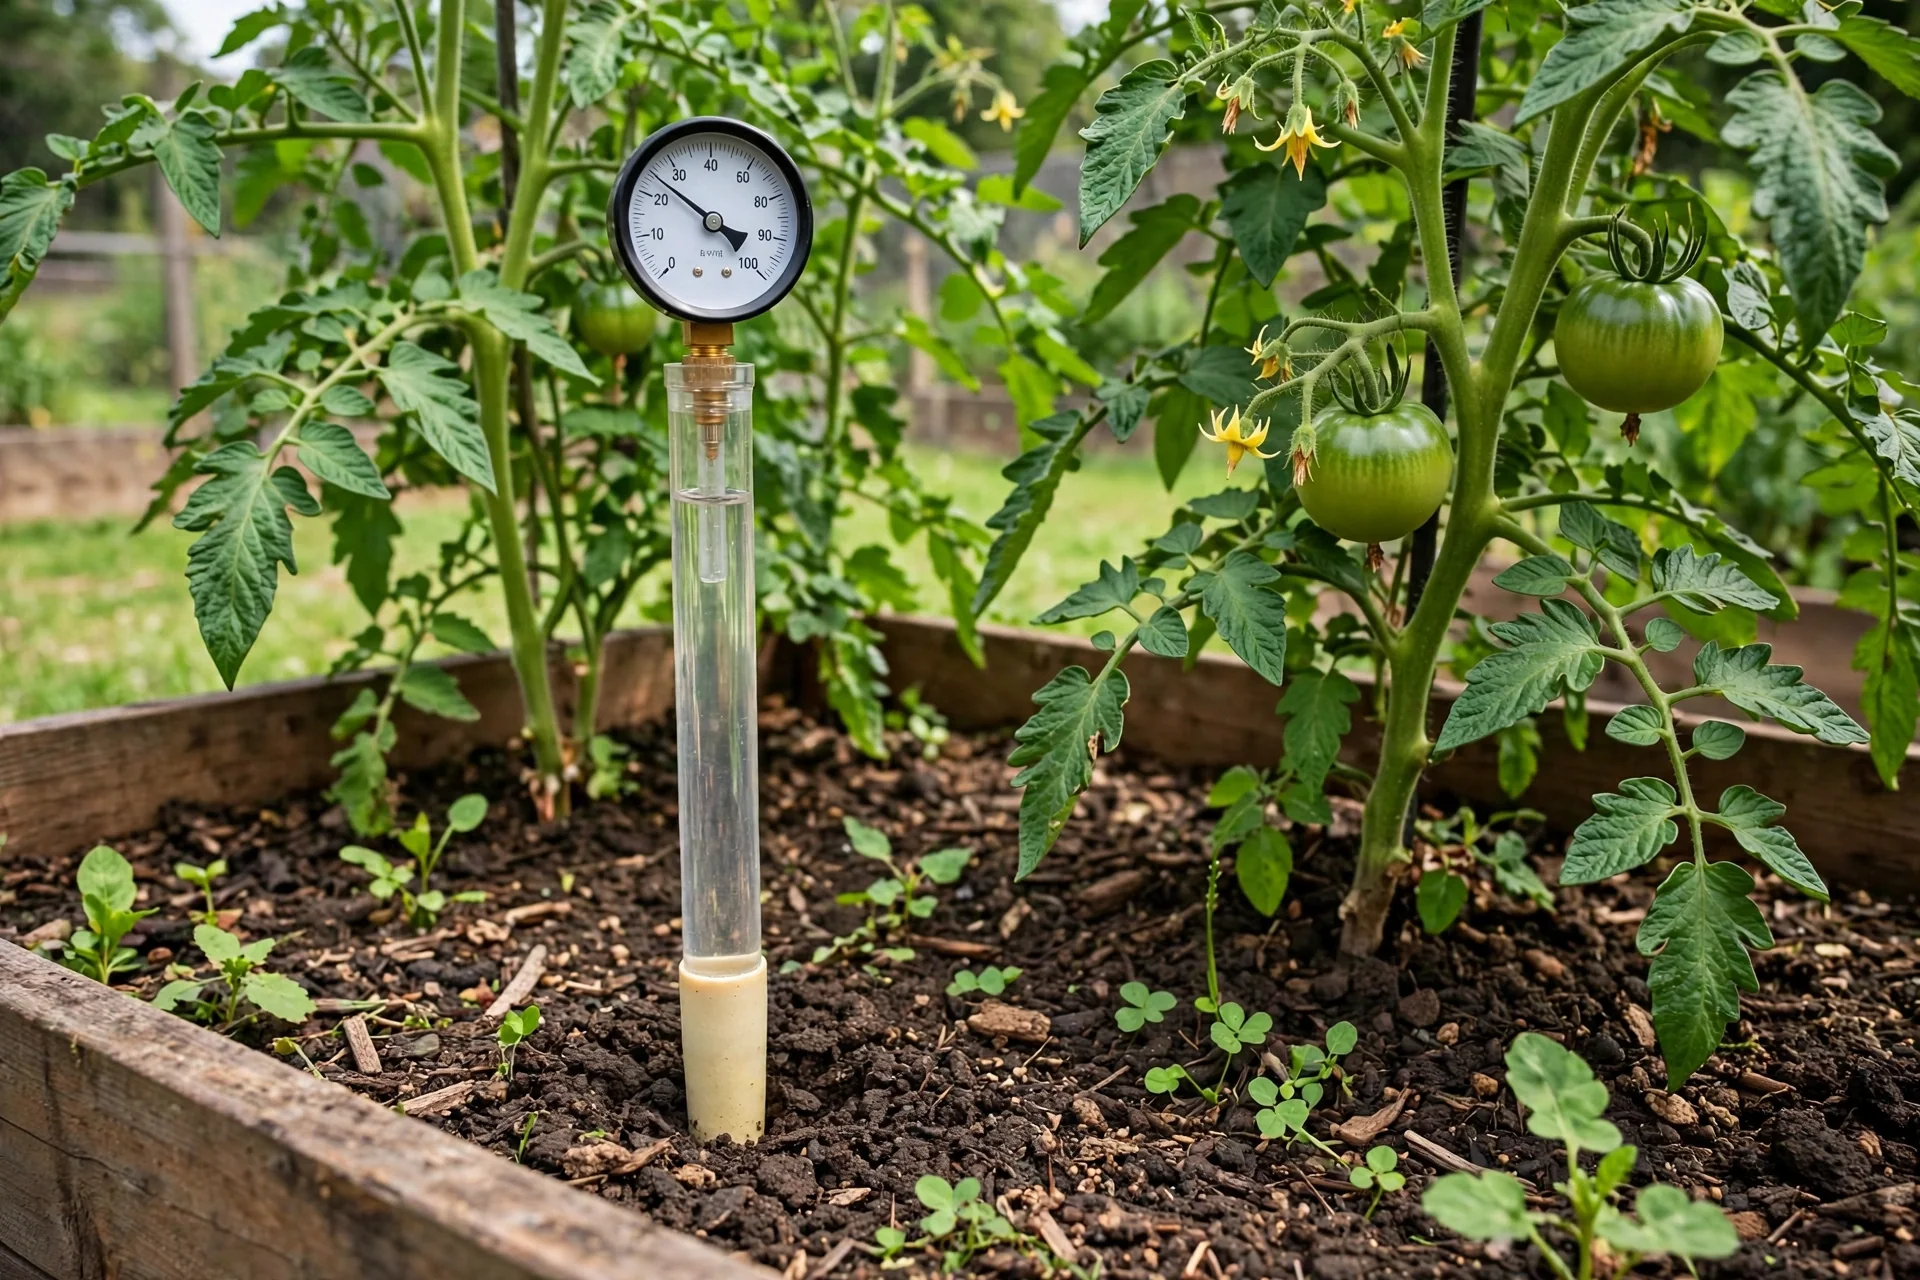
That tension reading tracks what plants can actually use. Still, tensiometers need upkeep. The tube must stay full, and the tip must stay in firm contact with soil. For most home growers, one suits a serious vegetable bed more than a single houseplant.
Table: Soil moisture probe types at a glance
| Type | What it measures | Best for | Watch out for |
|---|---|---|---|
| Capacitive | How soil stores charge | Pots and garden beds | Air gaps and salty mixes |
| Resistive | Electrical resistance | Quick, low cost checks | Corrosion and fertilizer salts |
| Tensiometer | Water tension in soil | Serious vegetable beds | Refills and firm soil contact |
Reading the Numbers Without Guessing
Numbers mean little without context. A soil water sensor may show a percentage, a voltage, or a scale from 1 to 10. No single number fits every plant. Succulents like soil to dry out well between waterings. Leafy herbs want steady, light moisture. Tomatoes want deep, even moisture and hate sharp swings from bone dry to soaked.
First, start with a wet baseline. Then water a bed or pot as you normally would. Wait 60 to 90 minutes so water spreads through the soil. Then note the reading. That is your wet point. Next, let the soil dry until the plant still looks perky in the early afternoon but the soil feels light and dry an inch or two down. Also note that reading. That is your act now point. Water when the probe drops near that second number, not when the surface looks dry.
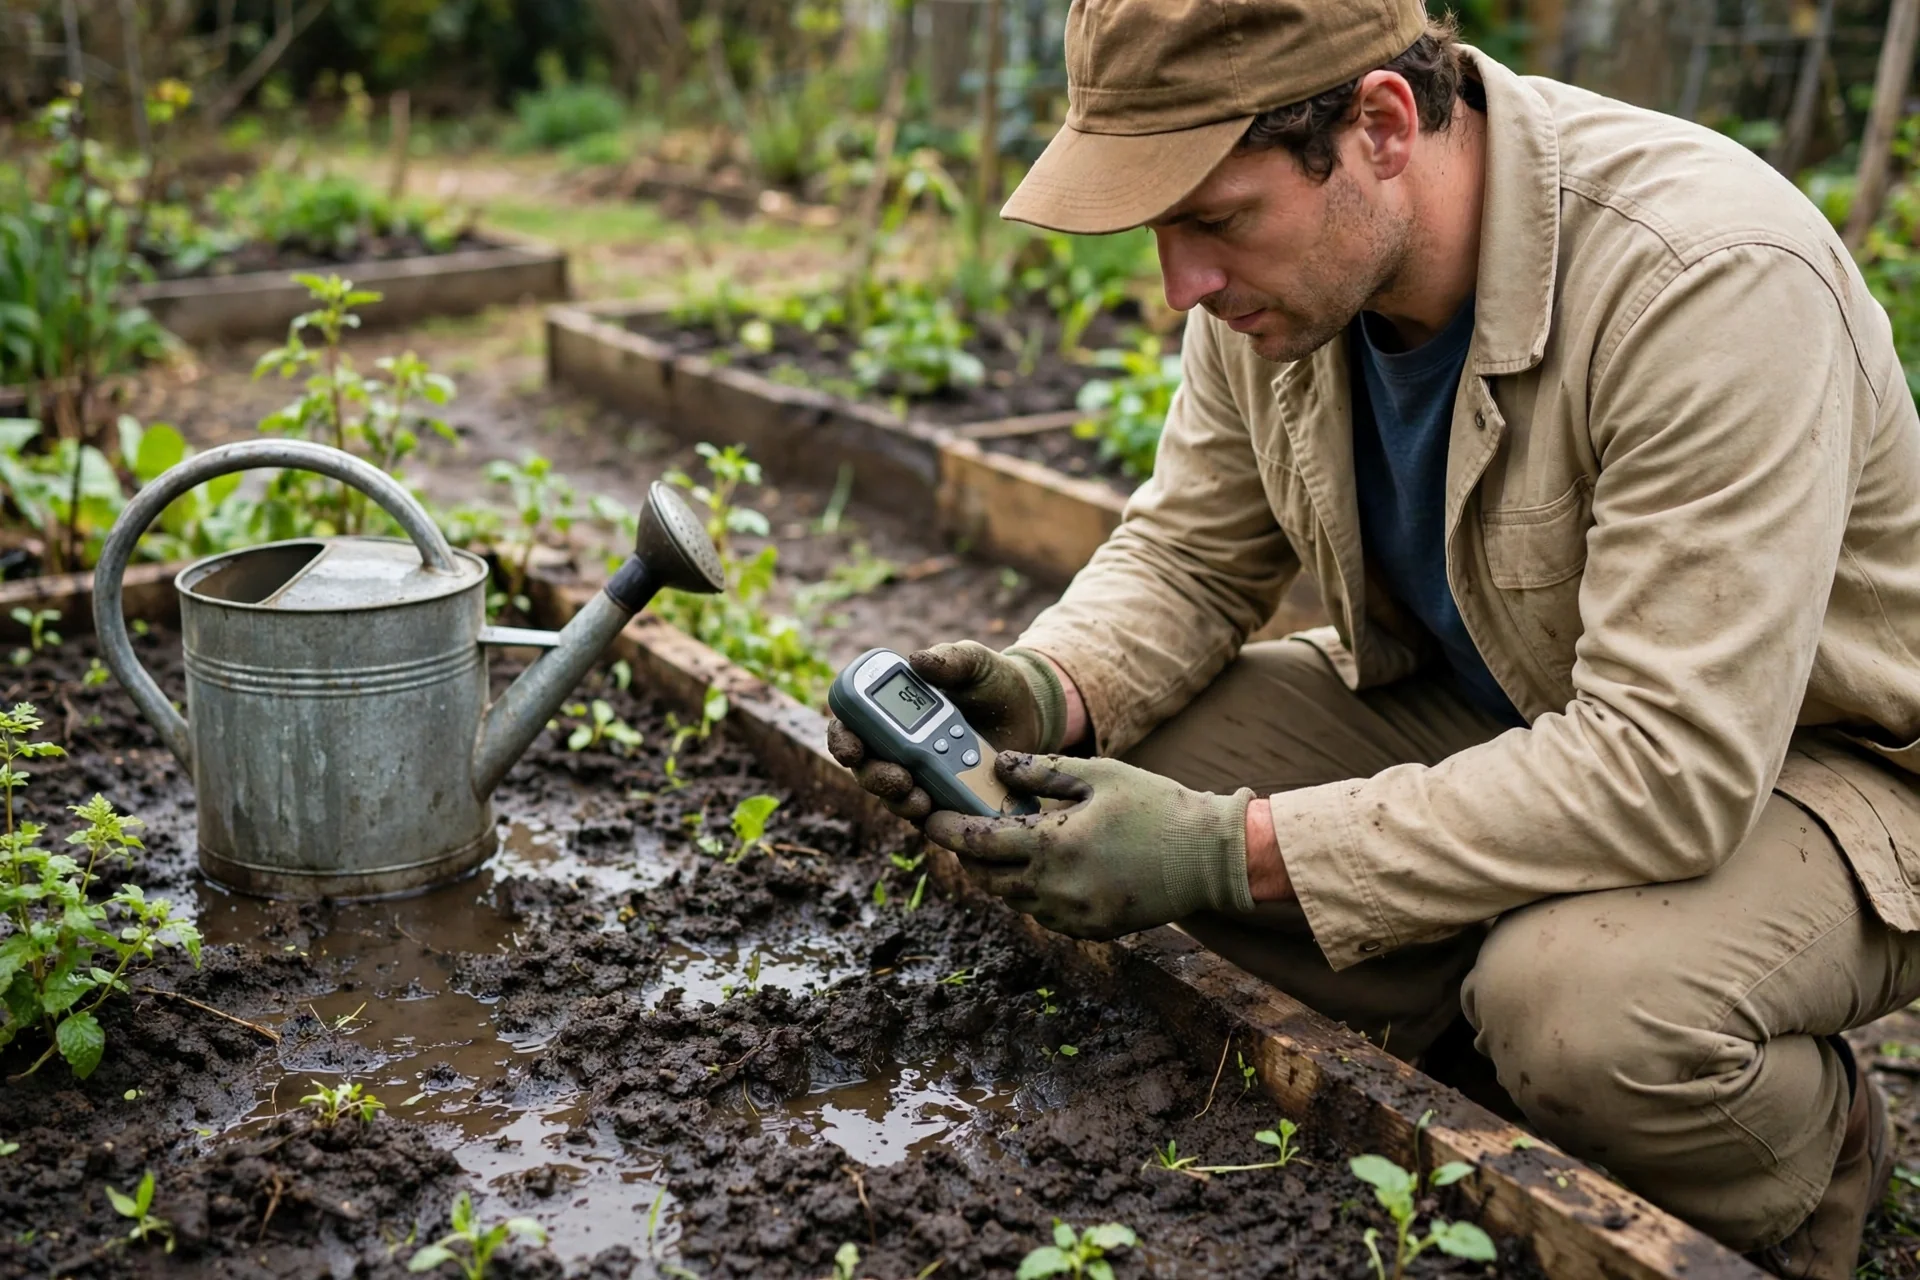
Moisture in soil links closely to moisture in air,, however,they are not the same thing. Air humidity affects how fast leaves lose water, while soil moisture shows what roots can drink. If you want a plain guide to indoor air levels, this look at comfortable humidity levels pairs well with soil readings. Together, the two numbers help you spot why a plant wilts on a dry, hot day even when you watered that morning.
Here is a hands on check I ran to show why placement matters. I watered two identical 10 inch pots with the same amount of water, 500 ml each. After 90 minutes, a probe pressed near the pot wall read 18 percent. The same probe placed mid radius in the second pot read 34 percent. The wall pot was not drier. Its probe sat in the dry edge zone, not the root zone. That 16 point gap is why one reading from a bad spot can lead you to water a plant that does not need it.
Where to Place a Soil Sensor Probe
Place the probe where roots drink, not where it looks neat. For pots, aim mid radius, halfway between the stem and the pot edge. Keep it away from the drainage hole, which stays wet longer and reads high. Keep it away from the pot wall, which dries first and reads low. Push it in once, straight and firm. Do not wiggle it. Wiggling opens air gaps, and air reads as dry.
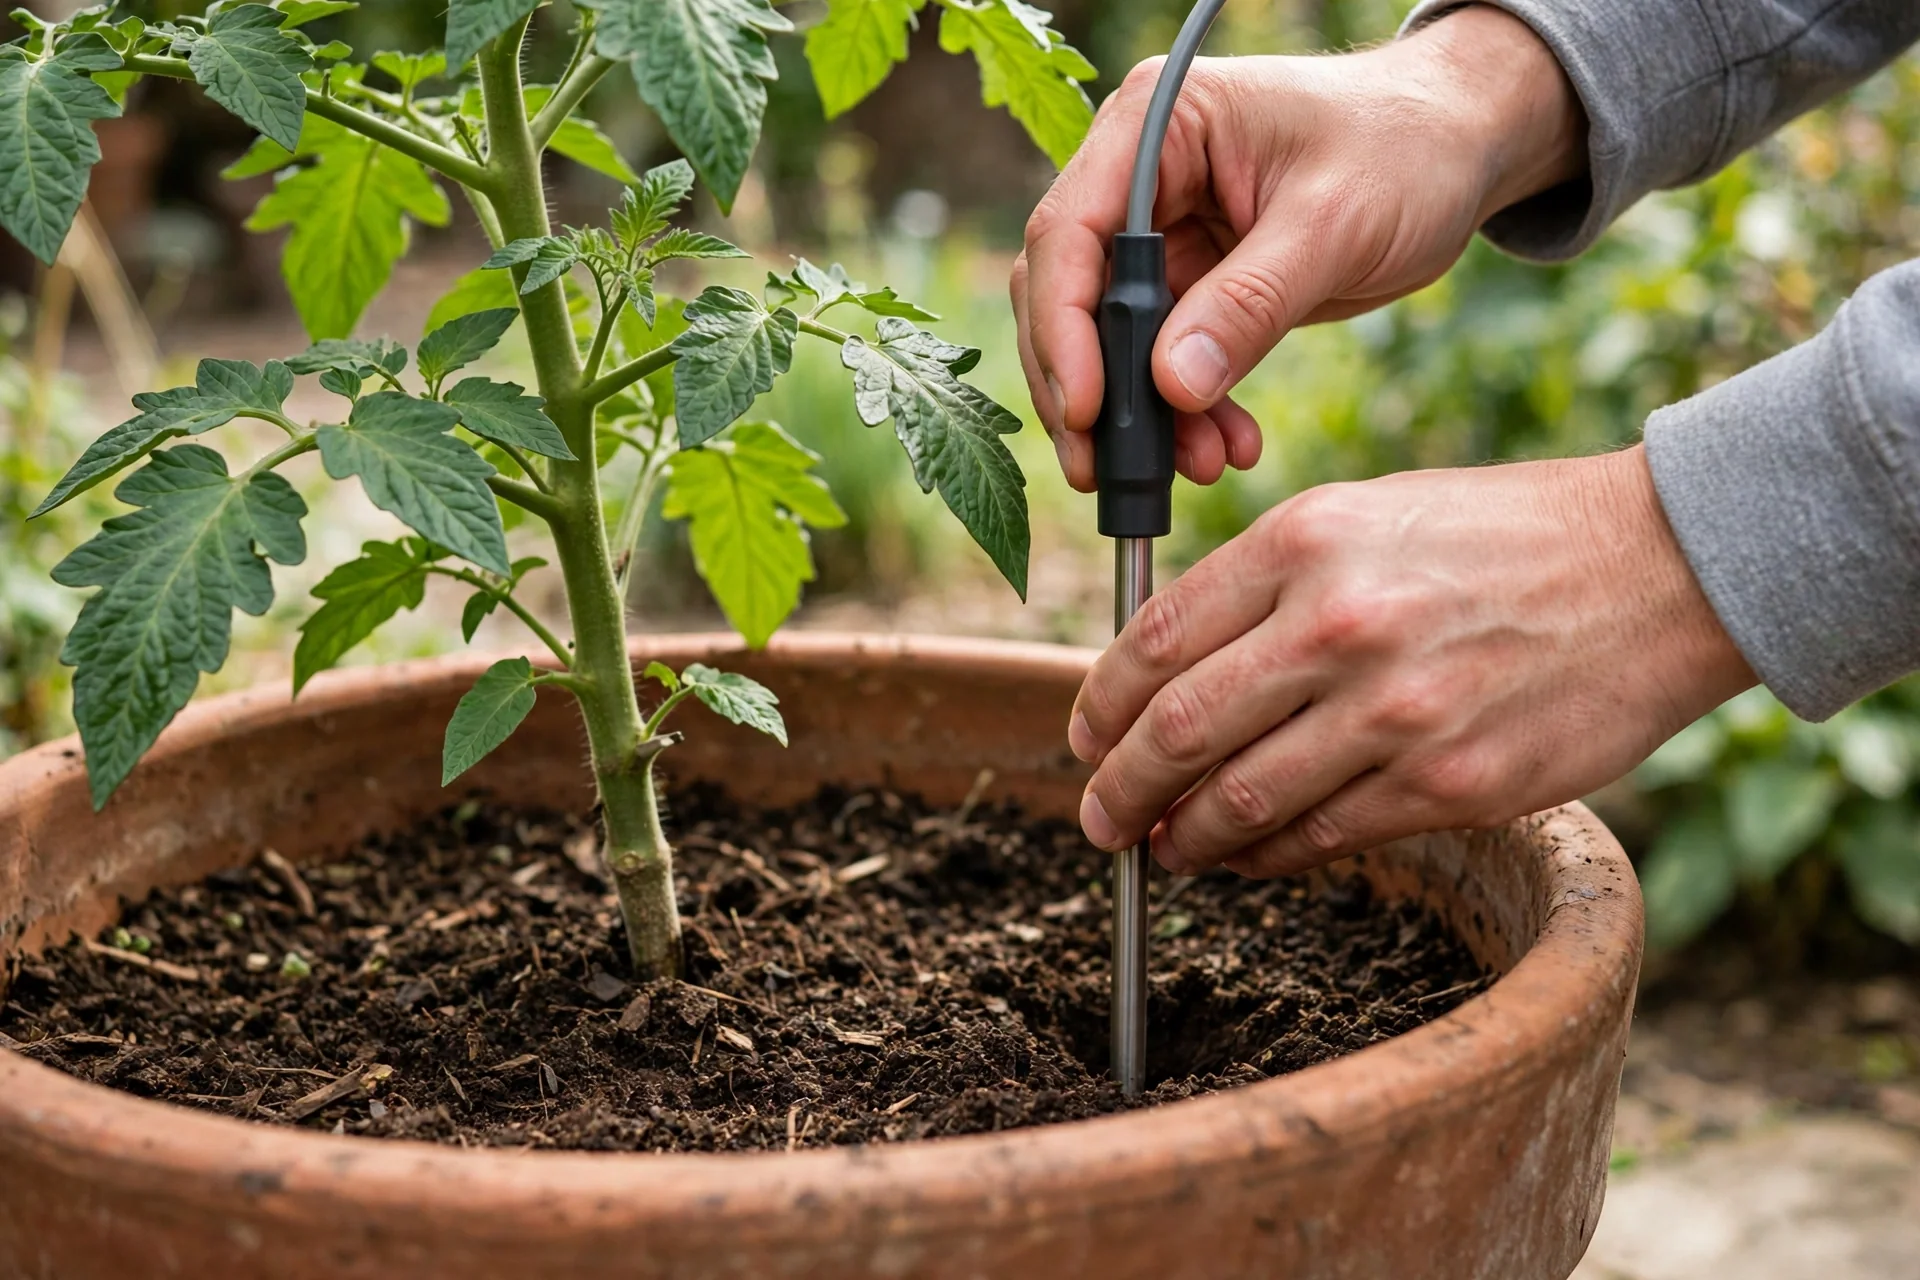
For beds on drip lines, place the probe halfway between the emitter and the stem. That spot shows what the root zone receives, not the wet spot right under the dripper. For hand watered beds, place it just outside the densest feeder roots. That gives a fair sample of the zone the plant draws from.
Depth matters as much as spot. Shallow probes miss deep roots. Deep probes miss shallow roots. Match depth to the plant, then you get readings that match real needs. The table below gives a solid starting point for common plant types.
Table: Placement depth by plant type
| Plant type | Probe depth | Notes |
|---|---|---|
| Herbs and leafy greens | 2 to 4 inches | Shallow roots dry fast in sun |
| Tomatoes and peppers | 4 to 6 inches | Deep roots need even moisture |
| Shrubs | 6 to 8 inches | Place near the outer drip line |
| Lawn turf | About 6 inches | Use the fastest drying sunny spot |
| Succulents | 2 to 3 inches | Let soil dry well between waterings |
Outdoor placement needs one more thought. A ground moisture sensor in full sun dries faster than one in shade. So put the probe in the fastest drying part of the zone you water. If that spot still holds water, the rest of the zone likely holds water too. If you place it in a shady dip, the sunny side may dry out while your probe still says wet.
Garden tech works best as a set, not as one lone device. Outdoor lights, paths, and watering zones all share the same garden layout. If you plan a garden refresh, solar lights for a garden pathway show how outdoor gear can sit in the same beds your probes monitor. Plan cable runs and probe spots together, so you do not dig up a probe to lay a light cable later.
How a Soil Moisture Probe Connects to Smart Irrigation
A smart soil moisture sensor probe can do more than show a number on your phone. It can talk to an irrigation controller, then change when watering runs. You set a threshold, for example, water when moisture falls below 30 percent. When the reading drops under that line, the controller runs the next cycle. When soil stays wet, it skips it.
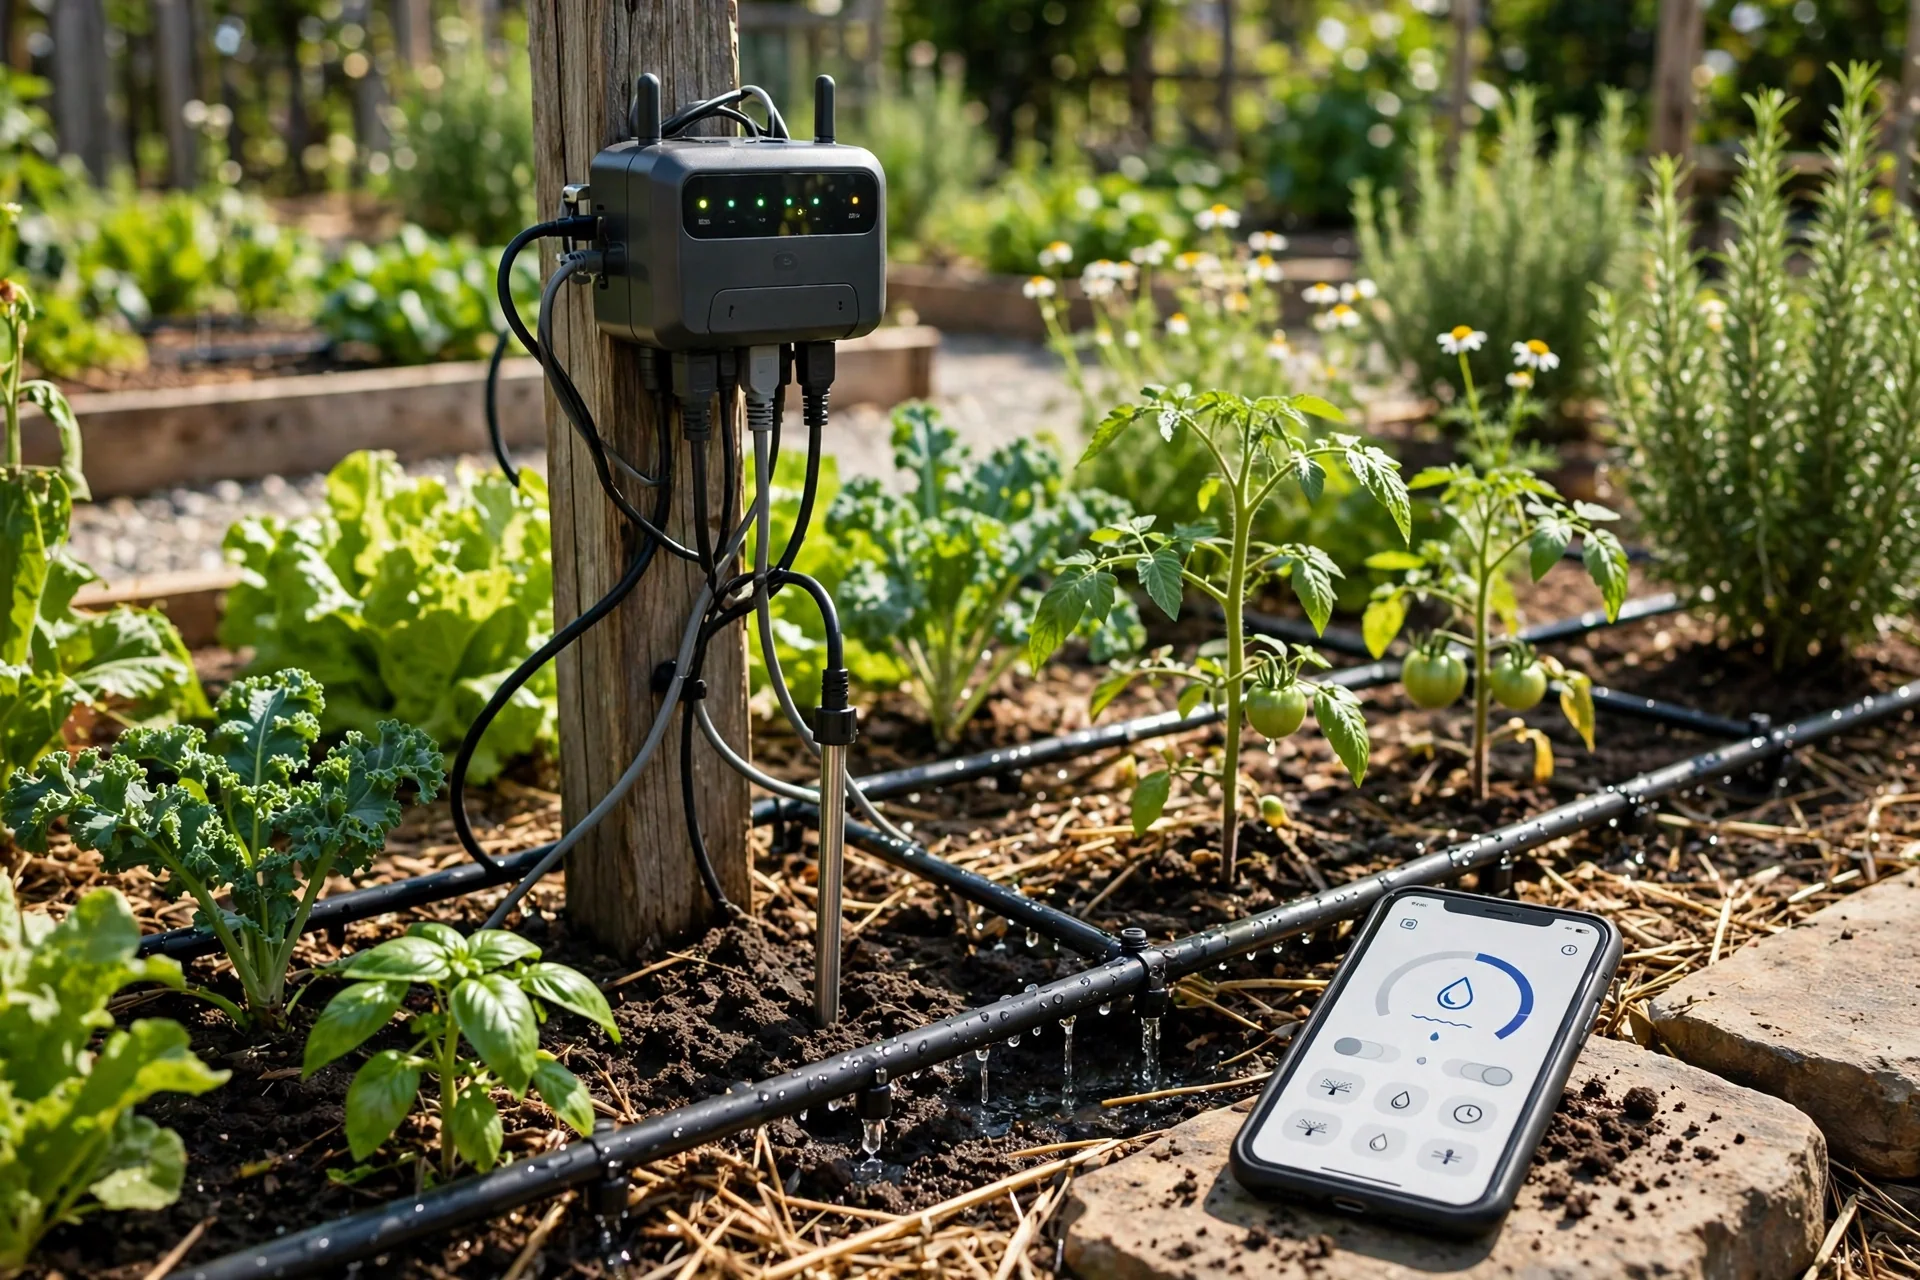
Zigbee makes this link easier in a smart home. If your home already runs Zigbee gear, a compatible probe can join the same mesh and feed routines you already use. This guide to the best motion sensor for smart lighting on Zigbee explains how Zigbee devices join, then stay linked in a home. The same mesh idea applies to soil sensors, even though the job is watering, not lighting.
Set thresholds with care. A threshold that is too high waters too often and invites root rot. A threshold that is too low stresses plants before help arrives. Use your wet baseline and act now point from the reading section. Set the trigger near the act now point, then watch for a week. If plants wilt before watering starts, raise the trigger a few points. If soil stays soggy, lower it a few points.
Smart irrigation also needs a fail safe. Probes fail, batteries die, and hubs drop offline. So set a backup rule. For example, water once a week even if no reading arrives, or send an alert when no reading arrives for 24 hours. That backup stops a dead probe from killing a bed in a heat wave.
Soil probes versus rain sensors
A soil dampness sensor and a rain sensor solve different problems. A rain sensor tells a controller that rain fell, so it can skip a cycle. It does not know how wet the soil is. Rain on dry, baked soil may run off before it soaks in. A soil probe knows the result in the root zone. It can skip watering after a soaking rain and still water after a light shower that barely wet the surface.
How to Choose the Right Probe
Start with your garden, not the spec sheet. Count your zones. One probe covers one uniform bed or one large pot well. Mixed beds need more than one probe, since sun, soil, and plant type change the reading. A long bed with herbs at one end and shrubs at the other needs at least two probes, not one average that fits neither end.
Next, pick the sensing type. Capacitive soil sensors suit most buyers. They last longer, resist rust, and give steady readings in pots and beds. Resistive probes suit a tight budget or a short term check. Tensiometers suit growers who want tension data and do not mind refills and upkeep. For a first smart setup, capacitive is the safe default.
Then check the link type. Bluetooth probes are cheap and simple,, however,you must walk near them to read data. Wi-Fi probes send data from anywhere,, however,they use more power. Zigbee and similar hub based probes sit in the middle. They use little power and reach your home system,, however,they need a hub. Match the link to how you water. If you travel, remote access matters. If you garden daily, Bluetooth may be enough.
For setup help, follow the maker guide for your model. The Hunter Soil-Clik installation guide shows how a maker expects you to soak, place, then wire a soil probe for true soil contact. Even if you buy a different brand, the same basics apply. Firm contact, right depth, and a few days to settle matter more than any app feature.
Common Mistakes That Ruin Readings
The top mistake is trusting the surface. Topsoil dries hours before root soil dries. A probe saves you from that trap,, however,only if you place it at root depth. The second mistake is moving the probe each day. Each move creates a new air gap. Leave it in place, then let trends build.
FAQs
How often should I check it?
Check smart probes once a day in hot weather and two or three times a week in mild weather. Manual probes need a check before each watering round. Trends matter more than single readings, so note the direction over days. A steady fall means watering is near, while a flat line means soil still holds water well.
Do they work in all soil types?
Yes, but readings shift by soil type, so calibrate each probe to your own mix. Sandy soil drains fast and reads low sooner than clay, which holds water longer. Salty or heavily fertilized mixes can shift resistive readings more than capacitive ones. Use your wet baseline and act now point, not a universal number, for each bed.
Can it stay in the ground all year?
Many outdoor probes can stay in place all year, but cold, frost, and waterlogging can harm some models. Check the maker rating for freeze and water exposure before winter. Remove battery powered probes in deep frost if the maker warns against it. Clean the probe at season end and store it dry.
How deep should I push a soil moisture sensor probe?
Push it to the middle of the root zone for that plant. Herbs and greens need 2 to 4 inches, tomatoes and peppers need 4 to 6 inches, and shrubs need 6 to 8 inches. Too shallow reads surface dryness, while too deep misses shallow roots. Push once, firm and straight, and avoid wiggling the probe.
Why does my soil sensor read dry right after watering?
Water needs time to spread through soil, so a reading right after watering can still show dry. Wait 60 to 90 minutes, then read again. Air gaps around a loose probe also read as dry. Reseat the probe with firm soil contact and check again. If it still reads dry, check the battery and link.
Is a soil probe better than a rain sensor?
Neither is better in all cases, since they measure different things. A rain sensor knows rain fell, but not how wet roots are. A soil probe knows root zone moisture, but not the forecast. Use both together for the best result. Soil data decides if watering is needed, while rain data helps skip cycles fast.
Conclusion
A soil moisture probe turns watering from a guess into a simple check. Pick a capacitive model for most gardens, place it at root depth in the fastest drying spot, then set a threshold from your own wet and dry baselines. Link it to your controller if you want hands free watering, then keep a backup rule for dead batteries or lost links. Your next step is easy. Pick one bed, place one probe this week, then note its wet and dry readings. That small test will change how you water every plant after it.