


Wondering how to test oven temperature sensor health with a multimeter? First, kill the power and unplug the sensor’s wire harness. Next, set your meter to ohms, touch the probes to both terminals, and read the number. Healthy means 1,080 to 1,100 ohms at room temperature. “OL” or zero? The sensor’s dead.
- What Does the Oven Temperature Sensor Do?
- Signs Your Oven Temperature Sensor Might Be Bad
- What You Will Need
- How to Test Oven Temperature Sensor With a Multimeter
- Step 1: Cut the Power Completely
- Step 2: Find the Sensor Inside the Oven
- Step 3: Unplug the Sensor Harness
- Step 4: Set the Multimeter to Ohms
- Step 5: Measure the Sensor Resistance
- Step 6: Read the Result
- Step 7: Run the Heat Test (Optional but Smart)
- Sensor Tests Good but the Oven Still Misbehaves
- When to Replace the Sensor Yourself vs Call a Pro
- FAQs
- What should an oven temperature sensor read on a multimeter?
- Can I test the sensor without removing it from the oven?
- Why does my oven sensor read correctly but food still burns?
- How long does an oven temperature sensor last?
- Is it safe to test the sensor with the power on?
- Do gas ovens have temperature sensors too?
- Final Check Before You Close It Up
That’s the short version. But one reading doesn’t tell the whole story. A sensor can test fine cold yet fail hot. This guide covers both tests, reading the results, and what to do when the sensor tests good but the oven cooks wrong anyway.
What Does the Oven Temperature Sensor Do?
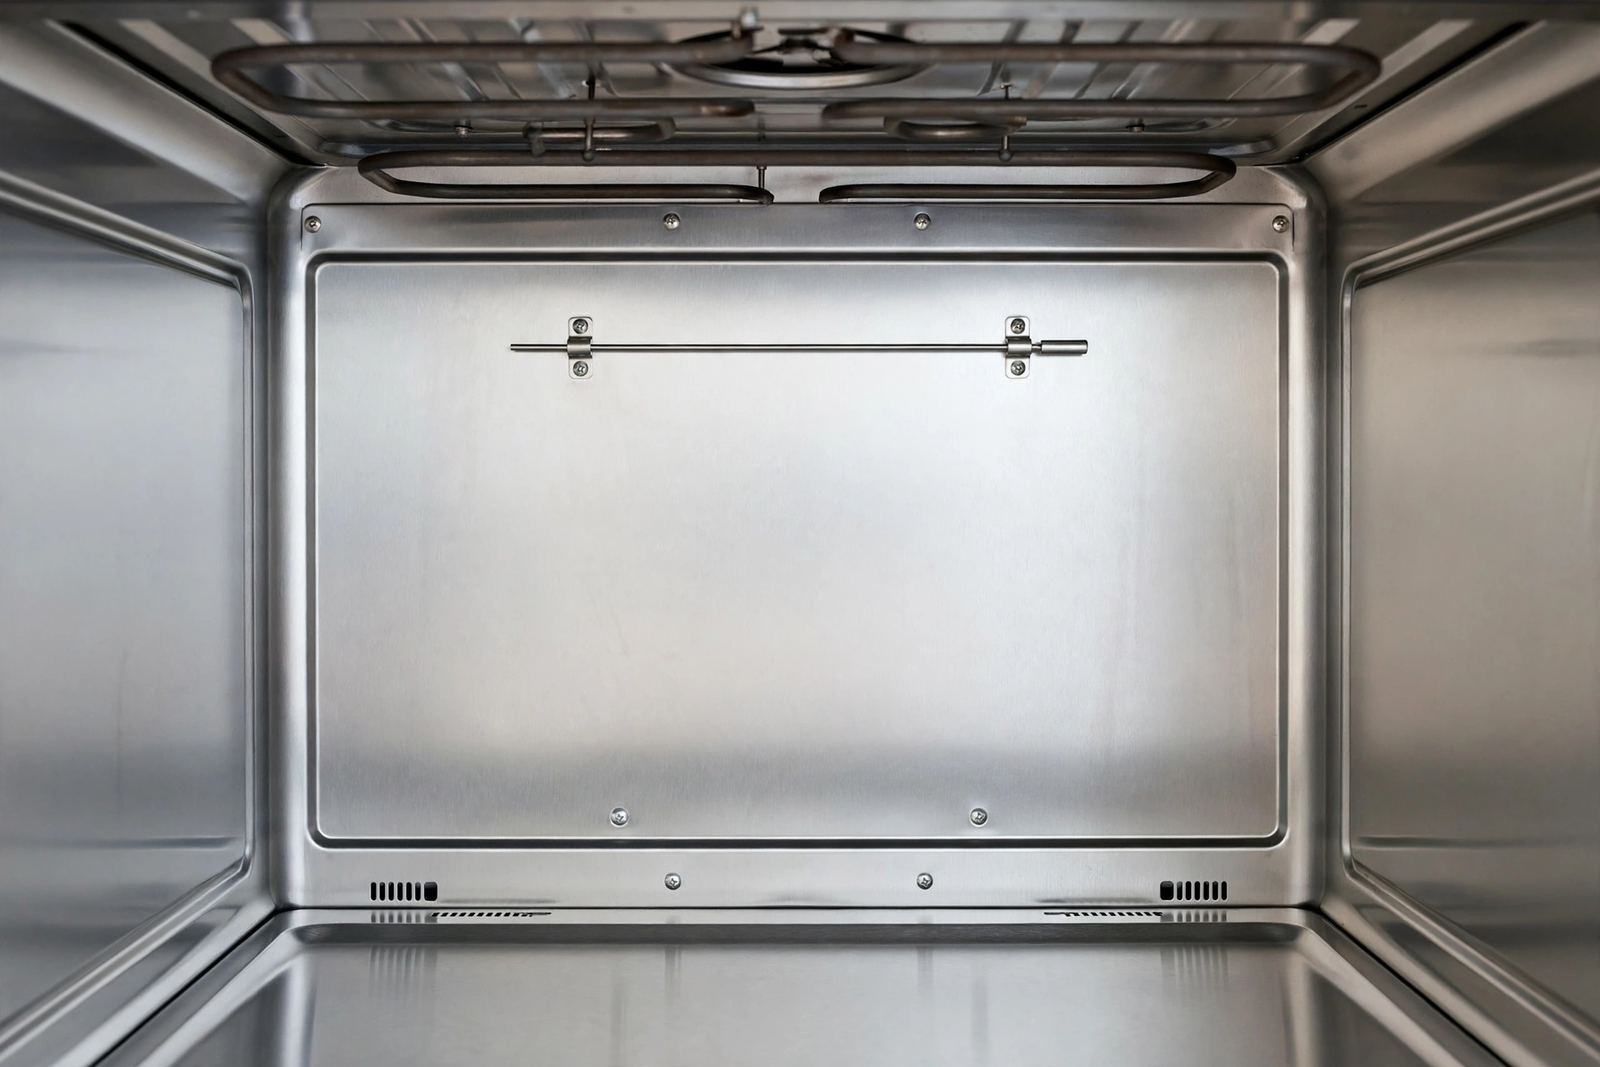
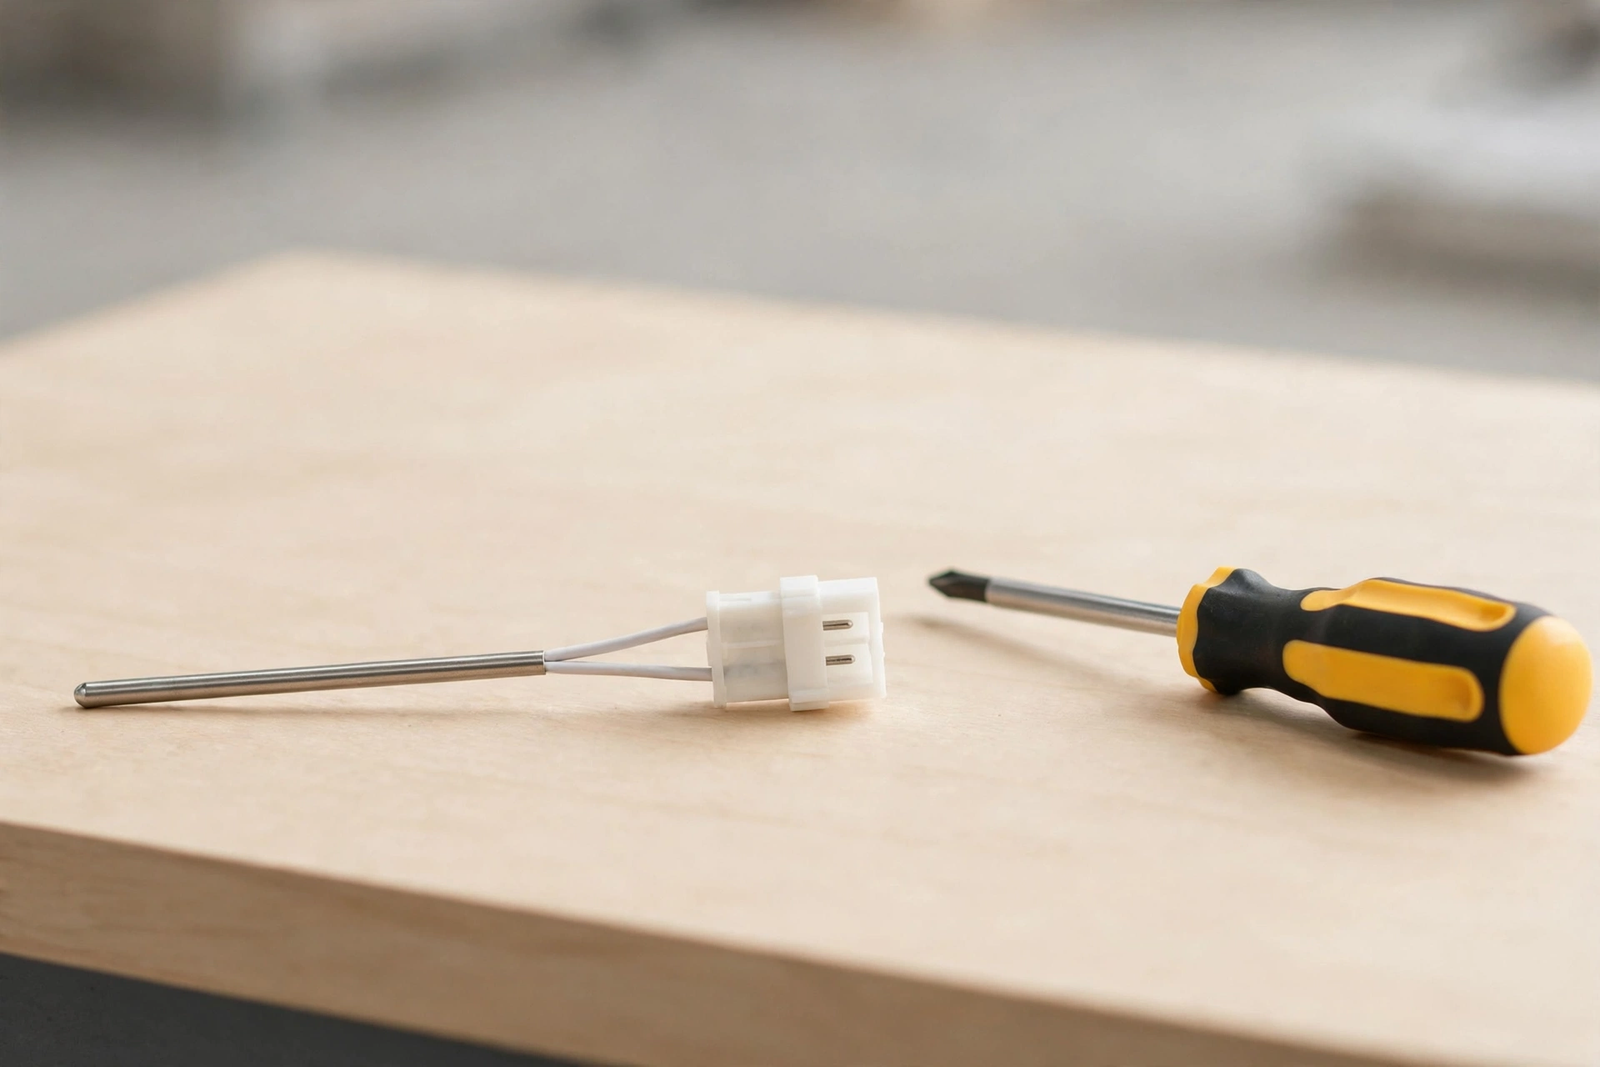
The oven temperature sensor is a thin metal probe on the back wall of the oven cavity. It reads the air temperature and reports it to the control board. The board then cycles the element on and off to hold your set temperature steady.
Most sensors are RTDs, short for resistance temperature detector. The metal inside changes resistance as the temperature changes. A hotter oven means higher resistance. The board reads that resistance and turns it into a temperature.
Why does this matter? Indeed, nearly every temperature problem traces to three parts: sensor, element, or board. That’s why you start with the sensor. It’s cheapest and easiest. Ten minutes with a meter tells you whether to spend $15 or worry about a $200 board, therefore test before you buy parts.
Signs Your Oven Temperature Sensor Might Be Bad
Before you pull out the multimeter, check whether your symptoms actually point to the sensor. Here are the classic warning signs.
- Food burns outside, raw inside. The sensor reports a cooler temperature than reality, which keeps the element on too long.
- The oven never reaches the set temperature. A drifting sensor cuts the element off early. As a result, your 400°F bake is really 340°F.
- Temperature swings wildly. The display may read 350°F, yet a thermometer shows 300°F, then 420°F. That instability points to the sensor.
- Error codes appear. Many brands show codes when the sensor circuit opens or shorts. For instance, F3 often means an open sensor circuit. Check your manual for the exact list.
- The oven will not heat at all. An open sensor circuit looks impossibly hot to the board. It refuses to turn the element on as a safety measure.
Still not sure? Put an oven thermometer on the middle rack, set 350°F, and wait 20 minutes after the preheat beep. If the thermometer reads more than 25 degrees off from the display, something in the temperature chain is lying. The sensor is the most likely liar. Therefore, testing it is the right next move. An oven thermometer also helps you confirm the fix afterward.
What You Will Need
First of all, you don’t need a professional toolkit for this job. Here is the short list.
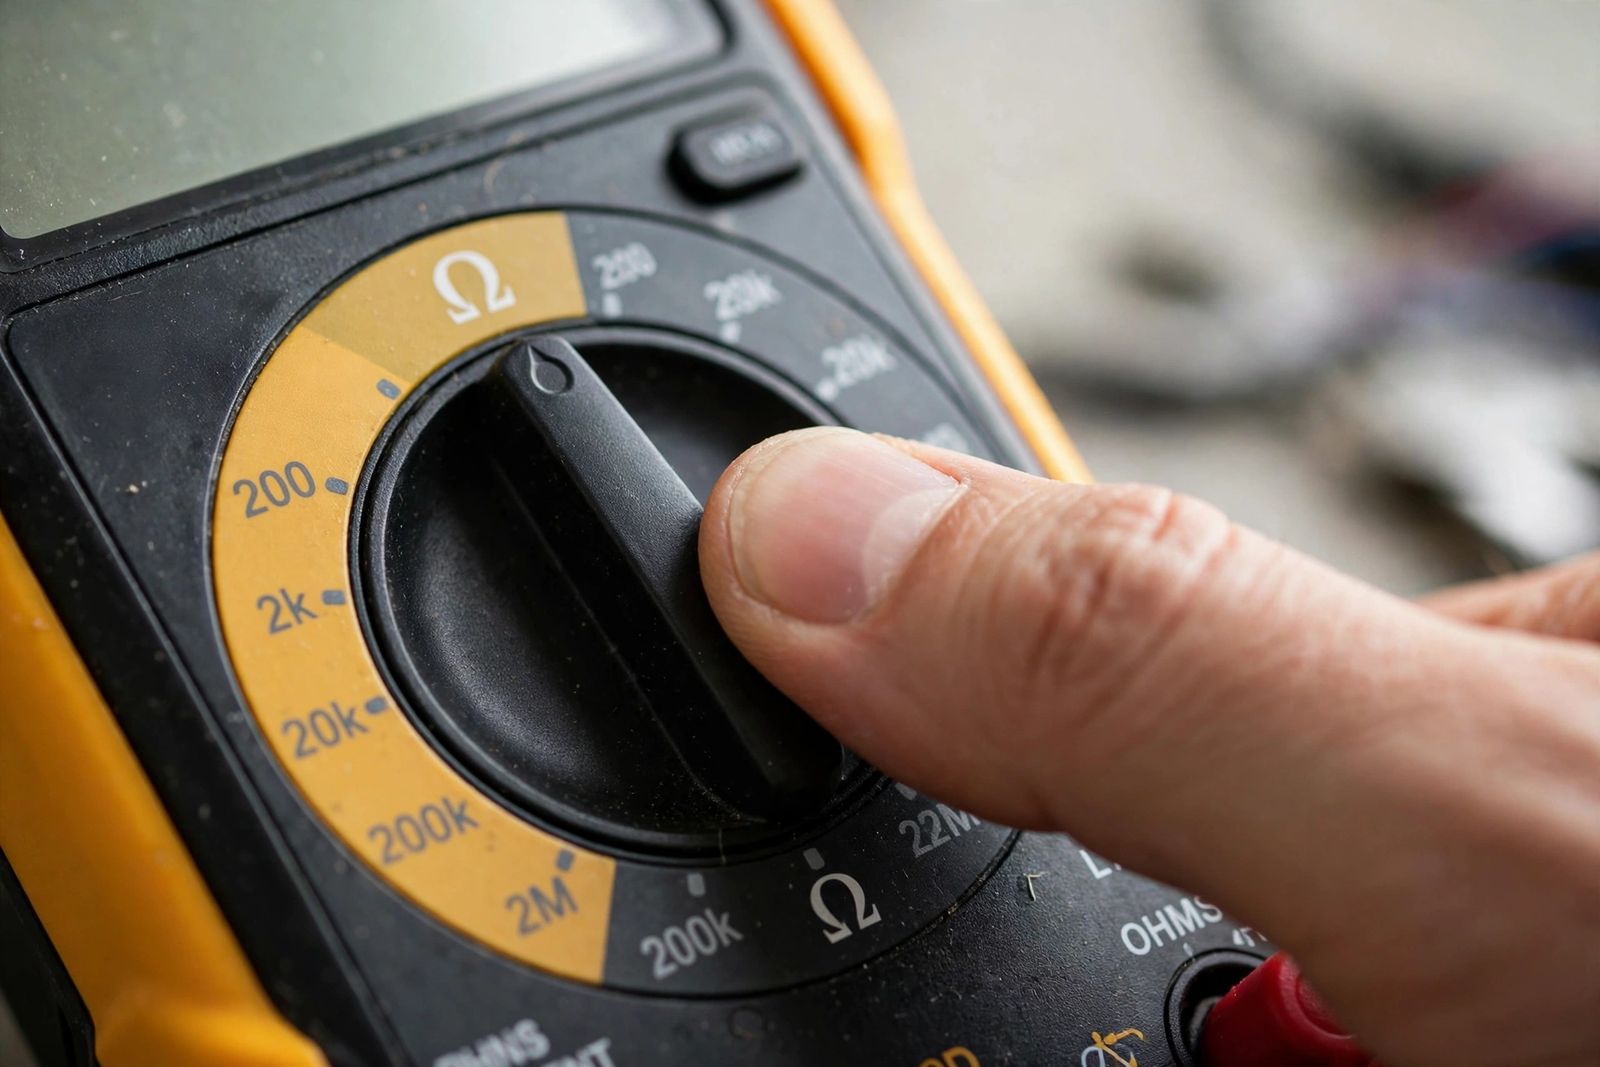
- Digital multimeter. Any basic model with an ohms setting works. Nothing fancy needed.
- Phillips screwdriver. For the rear panel and the sensor mounting screws.
- Oven thermometer (optional). It gives a second opinion on the real cavity temperature, which helps verify the fix later.
- Hair dryer (optional). Only needed for the heat test in step 7.
- Work gloves. The sheet metal edges behind an oven are sharp, so gloves save you from nasty cuts.
If you do not own a multimeter yet, a basic digital one costs around $15 to $25 at most hardware stores like Home Depot, and it’s a tool you’ll also reach for with batteries and fuses. Since you are heading out anyway, grab a can of electrical contact cleaner too. Corroded sensor plugs cause a surprising number of false “bad sensor” readings, and cleaner is cheap insurance.
How to Test Oven Temperature Sensor With a Multimeter
Follow these steps in order. Don’t skip the power-off step. Ovens run on 240 volts, and that much current can hurt you badly.
Step 1: Cut the Power Completely
First, unplug the oven from the wall outlet. If it’s hardwired, switch off the correct breaker and tape a note over it to stop anyone flipping it back on. Confirm the power is off by trying to turn the oven on. No lights, no display, no beeps means you’re safe.
This is also a good moment to think about kitchen safety. Testing a sensor is low risk once the power is off, but running the oven hot later is when accidents happen. Make sure your kitchen smoke detector is working before the verification bake.
Step 2: Find the Sensor Inside the Oven
Open the oven door and pull out the racks. Now scan the back wall near the top. You’re looking specifically for a thin metal rod, usually 3 to 6 inches long, held by one or two screws. It often sits in the upper-left or upper-right area.
Don’t confuse it with the broil element, which is thicker and often coiled. The sensor is the slim, plain rod.
Step 3: Unplug the Sensor Harness
You have two options. The easy way is to remove the two mounting screws from inside the oven and gently pull the sensor forward until its wire harness plug comes through the hole, then disconnect the plug.
The other option is to pull the oven from the wall and remove the rear access panel. Behind it you will find the same two wires running to the control board area. Instead, unplug the connector there. This route is better if the inside screws are rusted, because you never touch the cavity side.
Handle the plug by its plastic housing, not by the wires. Otherwise, pulling on the wires can break the crimped connections inside, and you’ll chase a wiring fault instead.
Step 4: Set the Multimeter to Ohms
Turn the dial to the ohms setting, marked with the omega symbol. On a manual meter, pick the lowest range above zero. Auto-ranging meters just need the ohms setting.
Before measuring, touch the two probes together. The display should read near zero, usually 0.1 to 0.5 ohms. This quick check proves your probes and leads are good, because bad leads would corrupt every reading that follows. If they don’t zero out, replace the leads. Every reading after that would be suspect.
Step 5: Measure the Sensor Resistance
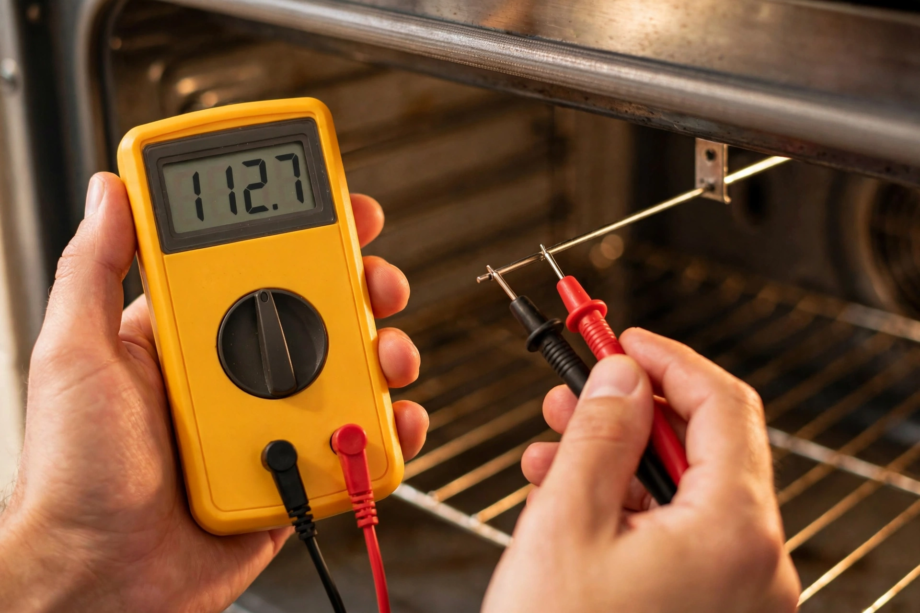
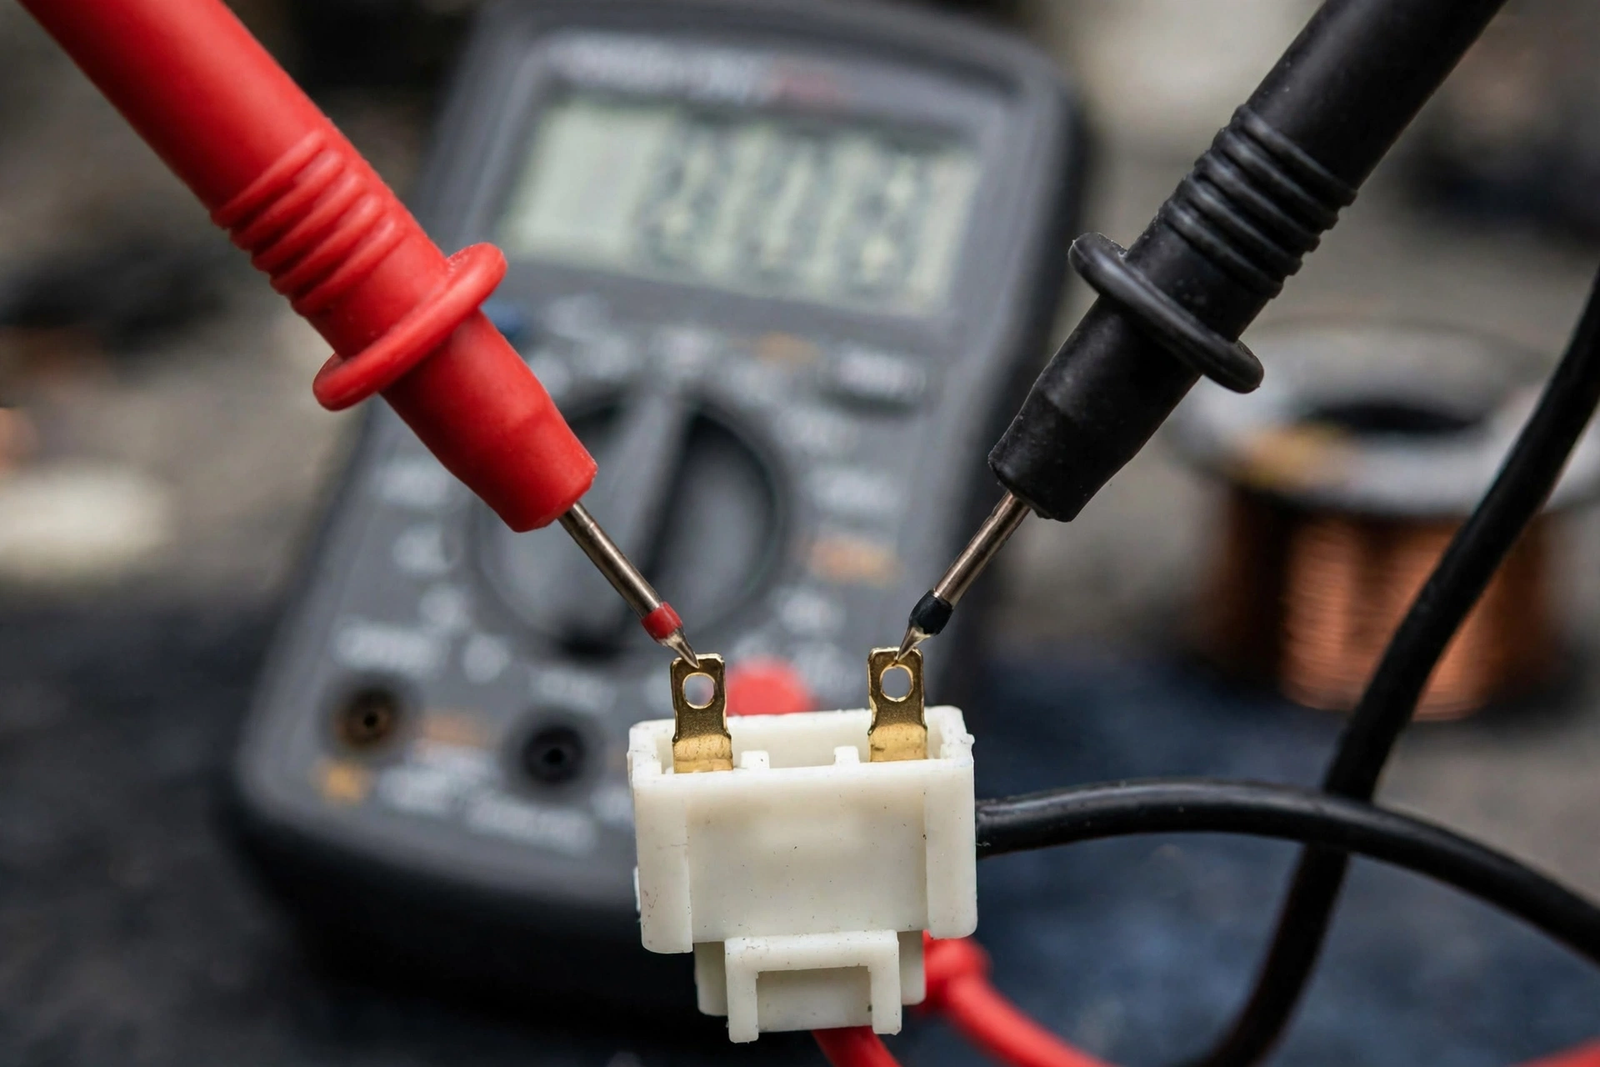
Touch one probe to each terminal of the sensor connector. There’s no need to pull the sensor fully out, since you can probe the unplugged connector right where it sits. Polarity doesn’t matter here. Resistance has no positive or negative. Hold the probes steady and wait a few seconds for the number to settle.
A healthy sensor at room temperature, around 70°F, reads between 1,000 and 1,100 ohms. Indeed, most land near 1,080 ohms. For example, 1,082 ohms is textbook perfect. Write down your exact reading, so you’ll have it handy if you test the wiring too.
If the reading jumps around rather than settling, you likely have a dirty or loose connection. This is where contact cleaner earns its keep. Spray the terminals and work the connector on and off a few times. Next, measure again. The same multimeter technique works for other home sensors too. If you ever need to test a garage door sensor, the process will feel familiar.
Step 6: Read the Result
Now compare your number to the chart below. The table covers the three outcomes you will actually see.
Table: Oven sensor resistance readings and what they mean
| Meter reading | What it means | What to do |
|---|---|---|
| 1,000 to 1,100 ohms | Sensor is good at room temperature | Run the heat test in step 7 to be sure |
| OL, 1, or infinite | Open circuit, broken wire inside the probe | Replace the sensor |
| 0 or near 0 ohms | Short circuit inside the probe | Replace the sensor |
| Far outside 1,000 to 1,100 | Sensor is drifting or wrong part | Check the manual spec, then replace |
However, don’t stop at one reading. Afterward, touch one probe to a sensor terminal and the other to the bare metal of the rod. The meter should show infinite resistance. In fact, this casing check catches failures the main test misses. Any reading at all means the sensor is shorting to its own casing, so replace it.
Step 7: Run the Heat Test (Optional but Smart)
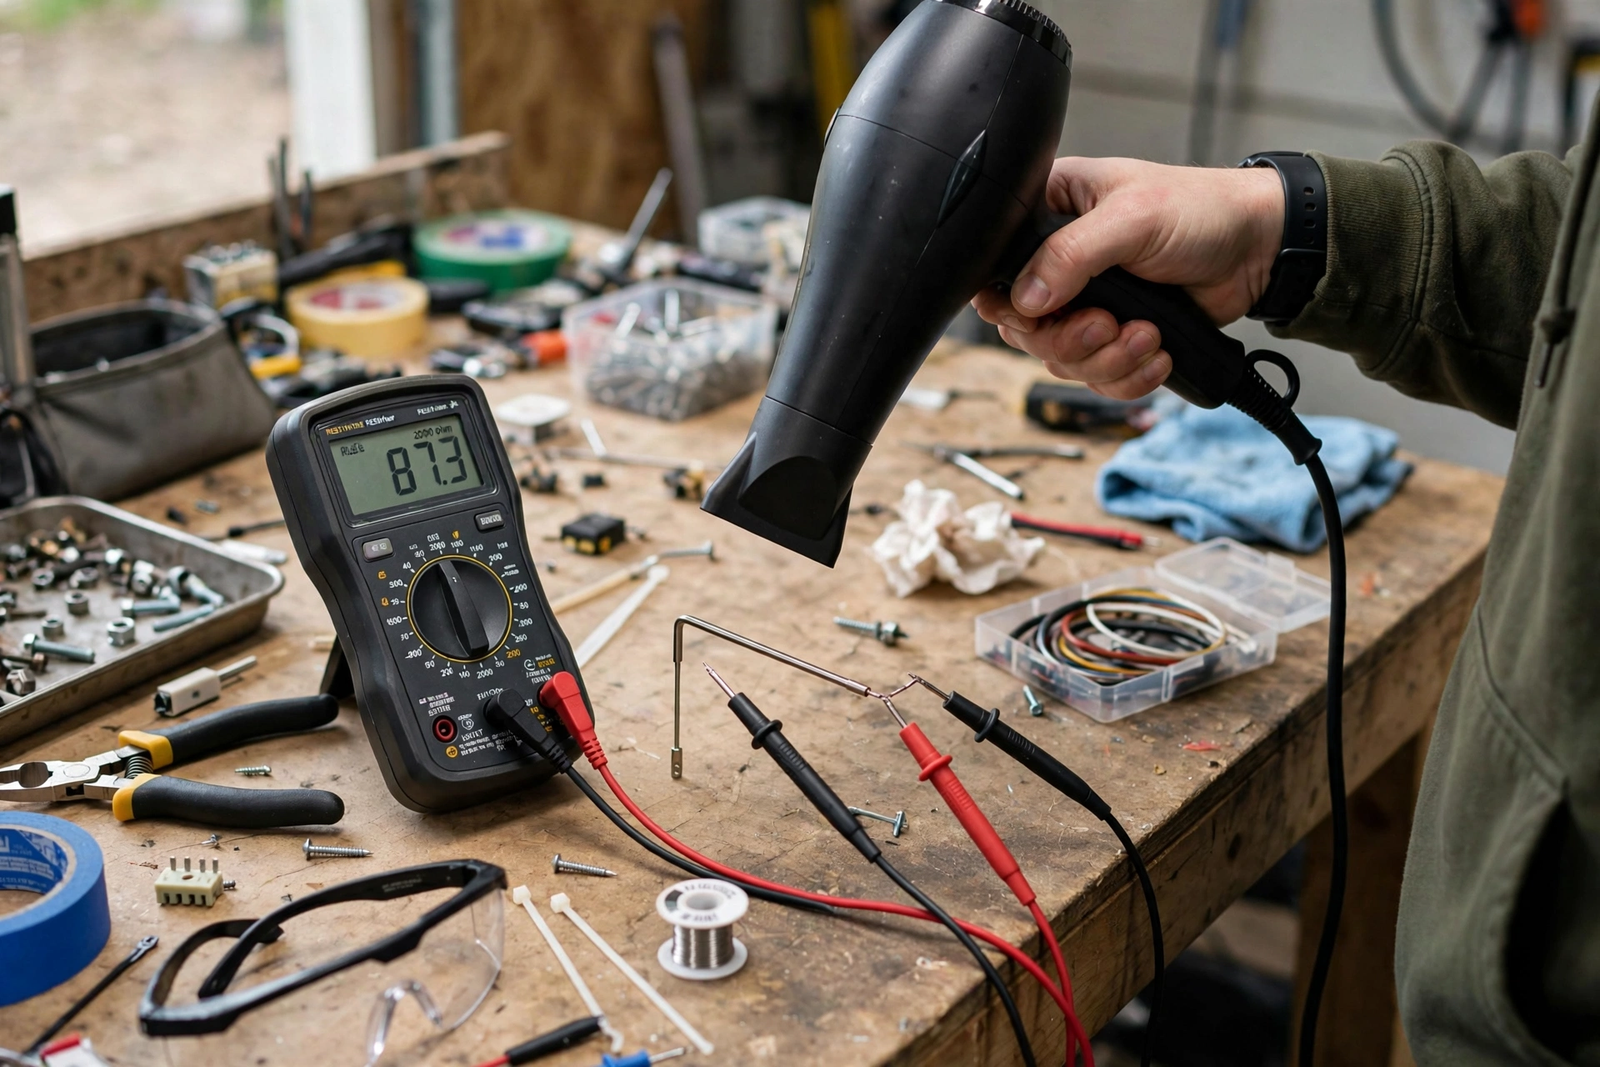
In fact, some sensors pass the cold test and fail when hot. To catch those, keep the probes on the terminals and aim a hair dryer at the rod for 30 to 60 seconds. For example, the low heat setting works fine and won’t melt anything. Watch the meter as the rod warms. Meanwhile, keep the probes steady so the reading stays clean.
A good sensor shows a smooth, steady climb. In contrast, a dead one’s reading stays frozen, which means it can’t feel heat. If it jumps wildly, the internal element is cracked and unreliable. Time for a replacement.
Let the rod cool down afterward. The reading should drift back near your original number. If it lands far away, the sensor is drifting.
Sensor Tests Good but the Oven Still Misbehaves
A passing sensor does not always mean a healthy oven. The sensor is only one link in the chain. Here’s how to check the rest.
First, test the wiring. Measure at the control board end of the harness rather than at the sensor. In contrast, if the board end reads OL while the sensor reads 1,080 ohms, the wire is broken. Therefore, don’t replace the sensor. This two-point test takes two minutes.
Second, check the heating element. A bake element with a blister, crack, or cold spot will not heat evenly no matter how good the sensor is. With the power off, measure the element too. Most read 15 to 40 ohms. An OL reading means it’s burned out. In other words, the internal wire has snapped.
Next, consider calibration. Many ovens let you offset the temperature by up to 35 degrees in a settings menu. If your thermometer reads consistently low but the sensor tests fine, try the calibration offset before buying parts.
Finally, the control board itself can fail. If the sensor, wiring, and element all test good yet the oven misbehaves anyway, the board may be misreading a correct signal. Board faults are harder to test at home, which is usually when a technician earns their fee.
Ovens aren’t the only appliance where temperature readers go bad. Take room thermostats: one that misreads causes the same short-cycling in your HVAC system. Learning how to reset a Honeywell thermostat is a useful parallel skill.
When to Replace the Sensor Yourself vs Call a Pro
Replacing the sensor is one of the easiest oven repairs. The part costs $15 to $40, while a board runs about $200. Thus, start with the cheap part. Installation reverses the removal: plug in the harness, screw the rod back in, restore power, and run a test bake.
Do it yourself when the multimeter condemns the sensor, the wiring tests good, and you are comfortable behind an appliance. For a photo walkthrough, see RepairClinic’s illustrated sensor replacement guide. Moreover, most people finish the replacement in about 20 minutes.
Call a technician when the sensor tests good but the oven fails anyway, when you find melted wiring, or when the board is suspect. Also call if the oven is under warranty. Opening panels can void it. A confirmed “the sensor is fine, the board is the problem” diagnosis saves you money, because the technician starts from your finding.
FAQs
What should an oven temperature sensor read on a multimeter?
At room temperature, around 70°F, a good sensor reads between 1,000 and 1,100 ohms, with most landing near 1,080 ohms. Readings far outside that range, an “OL” open circuit, or zero ohms all point to a failed sensor. Some models use different specs. Check your manual if your reading is close but not exact.
Can I test the sensor without removing it from the oven?
Yes, in most cases. You can unplug the harness connector and probe it right where it sits, as long as the sensor is fully disconnected from the oven wiring. The reading is only valid when the sensor is isolated from the circuit. Never measure it while it’s plugged into the control board.
Why does my oven sensor read correctly but food still burns?
The sensor might be fine while the calibration is off or the bake element has a hot spot. As a result, one side runs hotter. However, check that the probe hangs free and isn’t touching the oven wall. Verify with an oven thermometer and try the calibration offset in your manual before replacing parts.
How long does an oven temperature sensor last?
Most sensors last 8 to 15 years under normal use, and many still work fine past that. Heat cycling slowly degrades the internal element, and ovens that run frequent self-clean cycles tend to wear sensors faster because of the extreme temperatures. If your oven is over a decade old and the temperature drifts, the sensor is a prime suspect.
Is it safe to test the sensor with the power on?
No, never test with the power on. Ovens run on 240 volts, which can cause serious injury. Always unplug the oven or switch off the breaker and confirm the display is dead before touching any wires. The resistance test needs no power anyway, since the multimeter supplies its own tiny test current.
Do gas ovens have temperature sensors too?
Yes, most modern gas ovens use the same resistance sensor as electric models, and you test them the same way. Older gas ovens may use a capillary thermostat with a bulb and thin tube instead, which ohms can’t test. If you see a thin copper tube rather than wires, yours is the capillary type.
Final Check Before You Close It Up
You now know how to test an oven temperature sensor: power off, unplug the harness, measure ohms at room temperature, and confirm with a heat test. In short: near 1,080 ohms means healthy, while OL or zero means replacement time.
If the sensor passed, check wiring, element, and calibration before buying parts. Finally, if you do replace it, run one verification bake with an oven thermometer. That single bake proves the fix and gives you a baseline you can trust.