



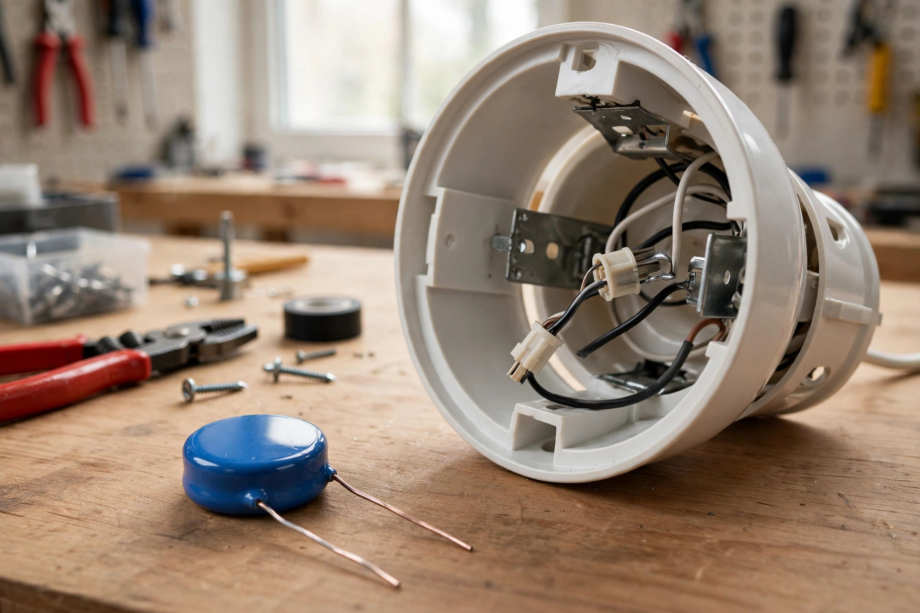
A bypass capacitor fixes LED flickering and faint glowing caused by no-neutral smart switches. It installs in parallel with your light fixture, absorbs the switch’s tiny standby current, and takes about 15 minutes. Here’s the complete installation guide with safety warnings and the mistakes to avoid.
- What a Bypass Capacitor Does
- When You Need One (And When You Don’t)
- What to Buy
- Safety First: Read This Before Touching Anything
- Capacitor Specs: What the Numbers Mean
- Diagnosing: Capacitor vs Other Fixes
- Where the Capacitor Goes
- Step-by-Step Installation
- Step 1: Kill the Power and Verify
- Step 2: Open the Fixture Box
- Step 3: Connect the Capacitor
- Step 4: Close Up and Test
- Installing on Multiple Fixtures
- Alternatives to a Bypass Capacitor
- Common Installation Mistakes
- How Long Does It Last?
- FAQs
- What does a bypass capacitor do for a smart switch?
- Where do I install a bypass capacitor?
- Can I install a bypass capacitor myself?
- Will a bypass capacitor fix flickering while dimming?
- Do I need a bypass capacitor if my switch has a neutral wire?
- How many bypass capacitors do I need?
- Conclusion
What a Bypass Capacitor Does
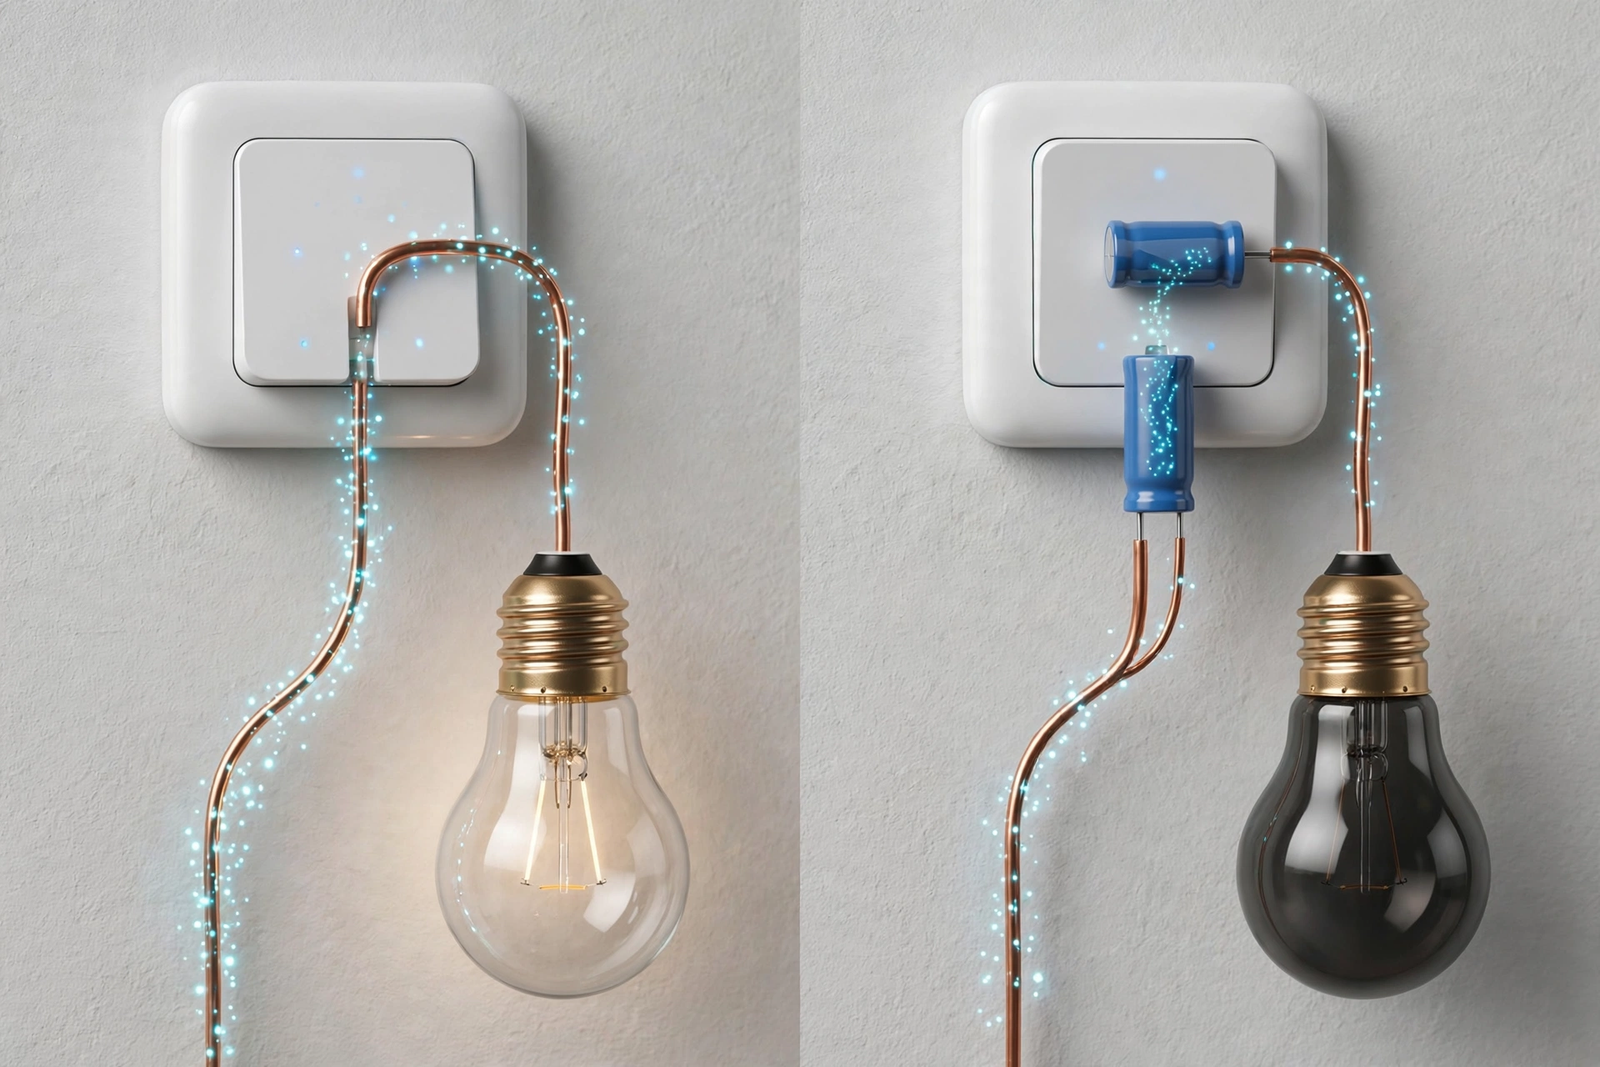
A no-neutral smart switch needs a small amount of power to run its radio and processor, even when the light is off. Without a neutral wire to complete its own circuit, it leaks a tiny current through the light bulb.
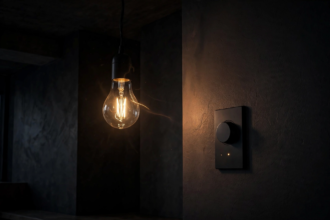
With old incandescent bulbs, nobody noticed. The current was far too small to heat the filament. But LED bulbs are extremely efficient. That same tiny current can make them flicker, strobe, or glow faintly when they should be dark. It’s the switch’s standby power taking the wrong path.
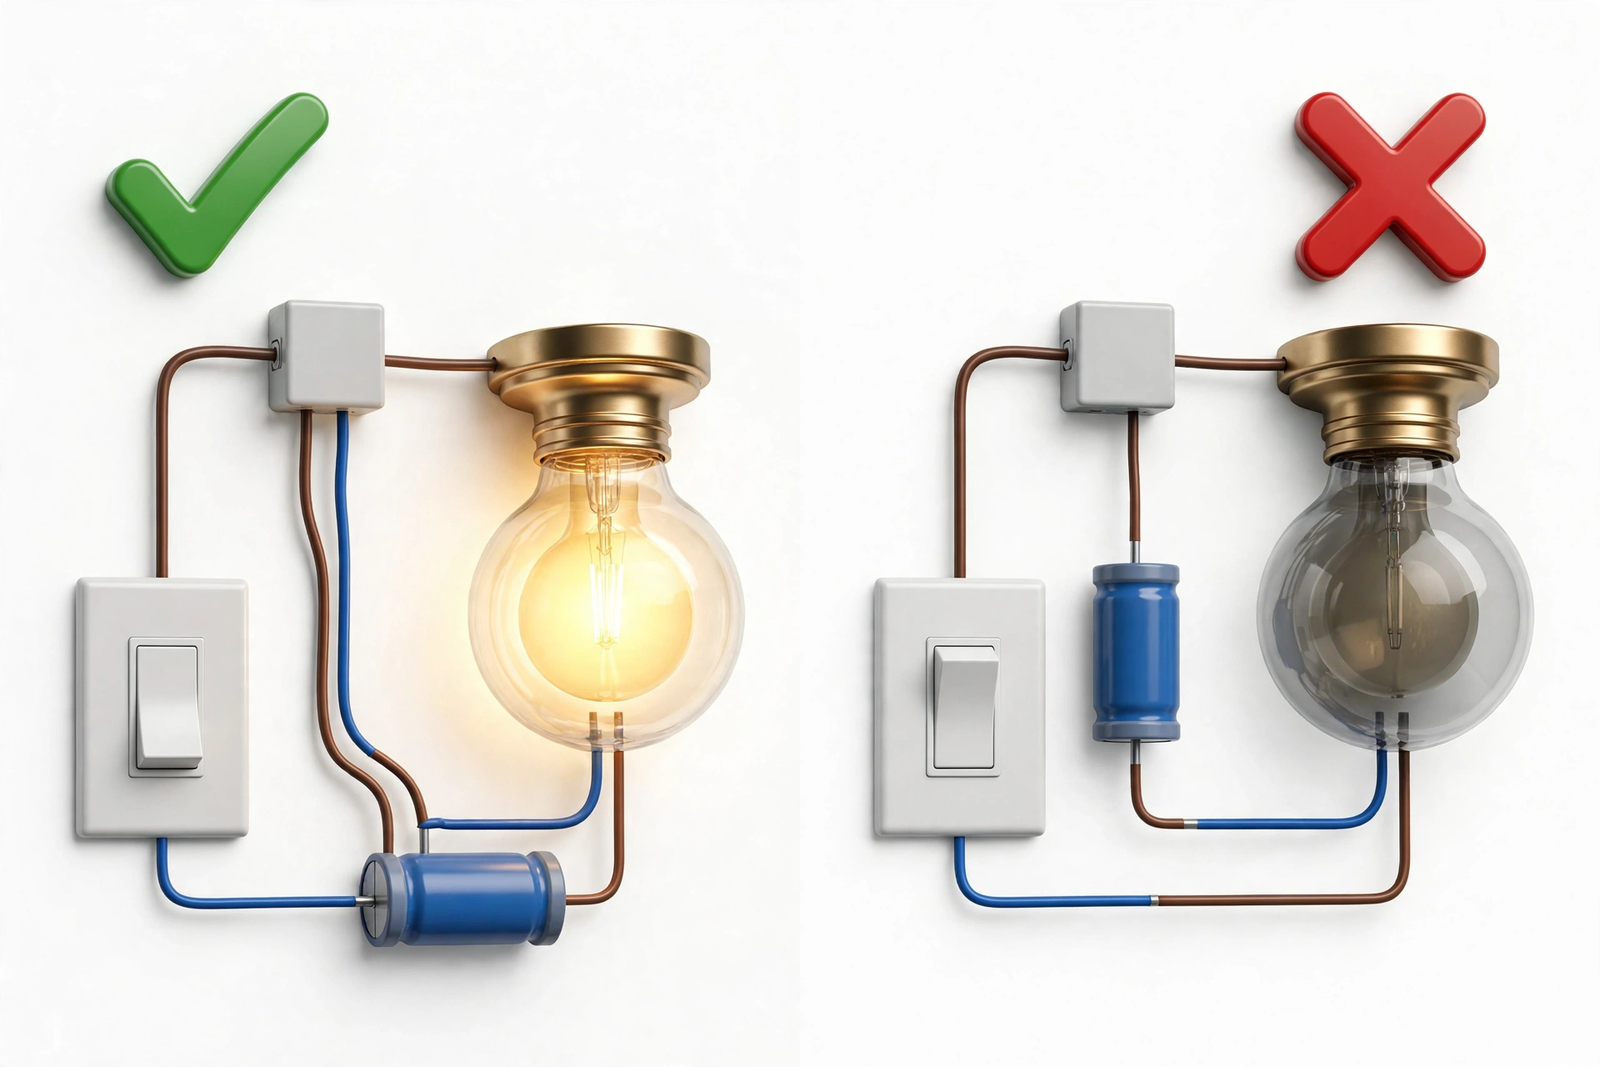
A bypass capacitor gives that standby current somewhere else to go. Wired in parallel with the fixture, the capacitor absorbs the leakage current so it never reaches the bulb’s driver. The flicker stops. The glow stops. The switch keeps working normally.
Think of it as a pressure relief valve for electricity. Small, cheap, and it solves a very specific problem completely.
When You Need One (And When You Don’t)
Install a bypass capacitor when you have these symptoms together: a no-neutral smart switch, LED bulbs that flicker or glow faintly when off, and the problem goes away if you swap in a higher-wattage bulb. That combination points squarely at standby leakage.
Don’t install one for flicker that happens while the light is on and dimmed. That’s a bulb-dimmer compatibility issue, not leakage. A capacitor won’t fix a bad pairing. Similarly, if your switch has a neutral wire, leakage isn’t your problem and a capacitor won’t help.
One capacitor per affected fixture is the rule. If three fixtures on the same switch flicker, you may need one at each fixture. Start with the worst one and test.
What to Buy
The best-known product is the Lutron LUT-MLC, made specifically for this purpose. It’s a small capacitor with two wire leads, designed to work with Lutron’s no-neutral dimmers and switches. It also works fine with other brands’ no-neutral switches in most cases.
Generic alternatives exist, but stick with a purpose-made unit unless you really know capacitor specs. The LUT-MLC is inexpensive and it’s the one electricians actually stock. Buy one per fixture you need to fix.
You’ll also need wire nuts (the capacitor usually includes them), electrical tape, a non-contact voltage tester, and a screwdriver. Nothing exotic.
Safety First: Read This Before Touching Anything
You’re working inside an electrical box with live-capable wiring. The rules are non-negotiable:
- Turn off the breaker for the circuit, not just the wall switch.
- Verify zero voltage with a non-contact tester at the fixture before touching wires.
- If you find aluminum wiring, stop and call an electrician. Aluminum needs special connectors.
- If the box is overcrowded, scorched, or smells like burning, stop and call an electrician.
- Never work on electrical with wet hands or standing in water.
Capacitors store charge, but the LUT-MLC is small and discharges quickly once disconnected. Still, don’t go poking at it with metal tools while the circuit is live. Breaker off, tester verified, then work.
Capacitor Specs: What the Numbers Mean
If you ever need to source a generic capacitor instead of the LUT-MLC, here’s what matters. The capacitance value determines how much charge it can absorb. For this application, values around 0.47 microfarads are typical. The voltage rating must exceed your mains voltage with margin: 275V AC rated capacitors are standard for 120V circuits in North America.
Just as important is the safety rating. Look for X2-rated capacitors, which are designed for across-the-line mains use and fail safely. A random capacitor from an electronics bin without the right safety rating has no place in your wall. This is exactly why most people should just buy the purpose-made LUT-MLC instead of rolling their own.
Temperature rating matters too. Fixture boxes, especially recessed cans with insulation around them, get warm. A capacitor rated for at least 85°C handles this fine. Cheap unrated parts degrade faster in heat, and a degraded capacitor stops fixing your flicker without any visible warning.
Diagnosing: Capacitor vs Other Fixes
Before you buy anything, run through this decision tree. It takes two minutes and prevents buying the wrong fix.
First question: does the flicker or glow happen when the switch is OFF? If yes, and you have a no-neutral smart switch, a bypass capacitor is very likely the answer. If the flicker happens when the light is ON, skip the capacitor and look at bulb compatibility instead.
Second question: does swapping in a higher-wattage bulb stop the problem? If a 9W LED works fine but a 4W LED flickers, that’s the leakage signature. The bigger bulb’s driver absorbs the standby current. A capacitor does the same job permanently without the energy waste.
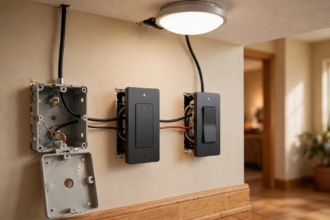
Third question: do you actually have a no-neutral switch? Pop the switch plate and look. White wires bundled with a wire nut in the back of the box mean you have a neutral, and leakage isn’t your issue. No white bundle means no neutral, and the capacitor becomes a strong candidate.
When all three answers point the same way, buy the capacitor with confidence. When they don’t, keep diagnosing before spending money.
Where the Capacitor Goes
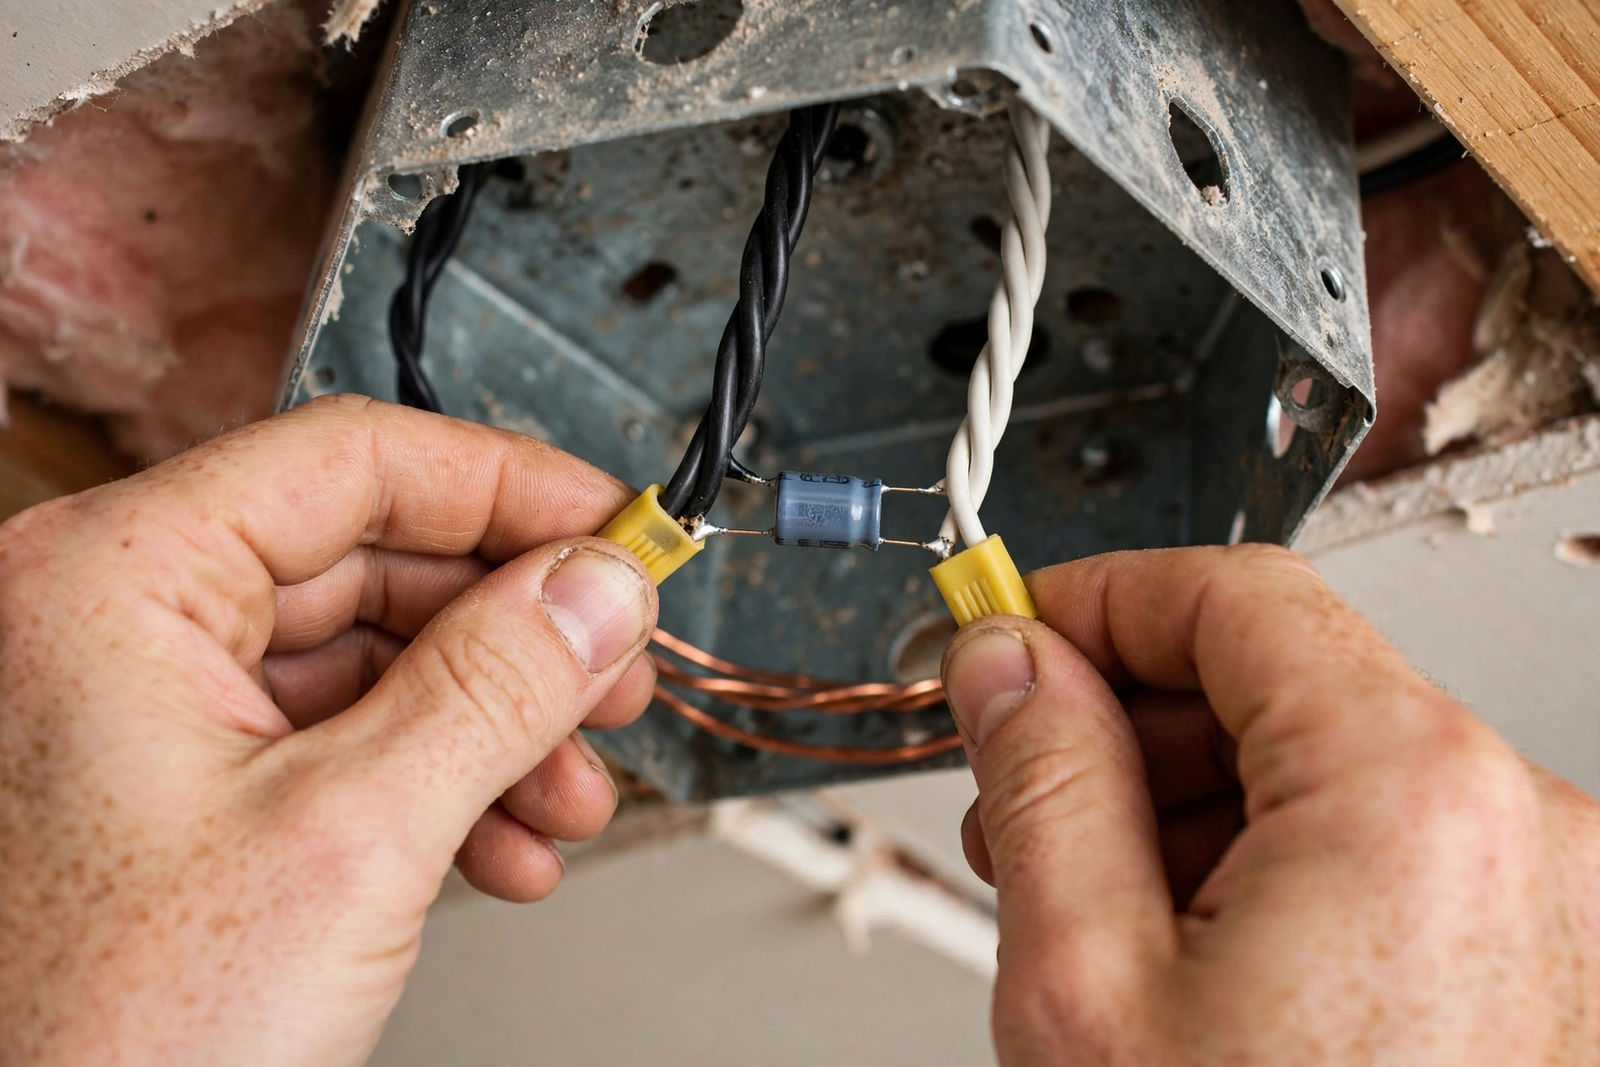
The capacitor wires in parallel with the light fixture. That means one lead connects to the load (switched hot) wire at the fixture, and the other lead connects to neutral. It sits inside the fixture’s electrical box, not the switch box.
Why the fixture box and not the switch box? In a no-neutral setup, the switch box has no neutral wire. The capacitor needs both the load wire and neutral to do its job, and both are present at the fixture. That’s where it lives.
For recessed can lights, the capacitor tucks into the can’s junction box. For a ceiling fixture, it goes in the ceiling box above the fixture. It needs to fit without pinching wires or pressing against sharp metal edges.
Step-by-Step Installation
Step 1: Kill the Power and Verify
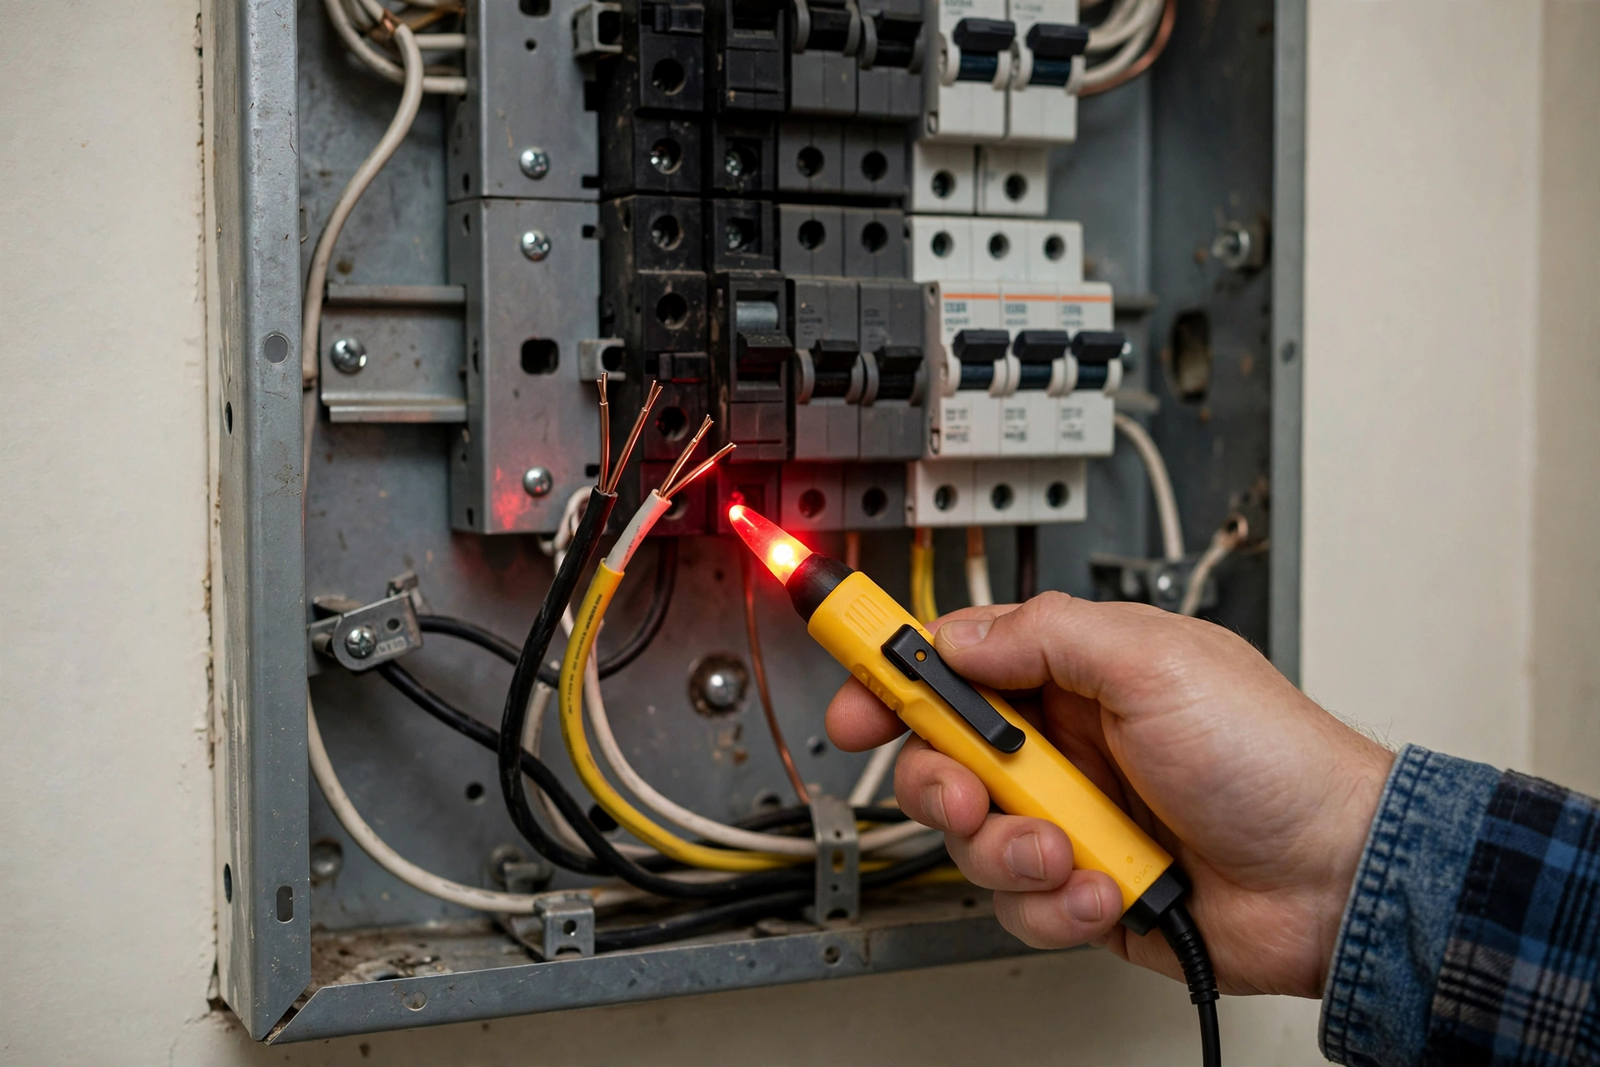
Turn off the breaker. Go to the fixture and test every wire with your non-contact voltage tester. Test the tester on a known live outlet first so you know it’s working. Dead tester plus live wire is how accidents happen.
Step 2: Open the Fixture Box
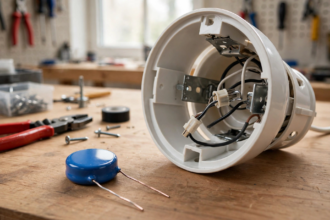
Remove the light fixture to access the electrical box. You’ll typically see the load wire (from the switch, usually black), the neutral bundle (white wires with a wire nut), and the ground (bare copper or green).
Take a photo before you disconnect anything. Seriously. It takes three seconds and saves real confusion later.
Step 3: Connect the Capacitor
- Connect one capacitor lead to the load wire (the switched hot going to the fixture) using a wire nut.
- Connect the other capacitor lead to the neutral bundle using a wire nut.
- Tug each wire nut gently to confirm the connection is solid. Loose wire nuts cause heat.
- Wrap the wire nuts with electrical tape for extra security.
- Fold the capacitor and wires neatly into the box. Nothing should be pinched or strained.
The capacitor has no polarity. Either lead can go to load or neutral. If your capacitor has specific markings, follow them, but the LUT-MLC is non-polarized.
Step 4: Close Up and Test
- Reinstall the light fixture.
- Turn the breaker back on.
- Turn the light off at the switch. The faint glow or flicker should be gone.
- Turn the light on and test dimming through the full range.
- Leave it off for a few minutes and check again. Some glow issues take a moment to appear.
If the flicker persists, the problem isn’t leakage. Go back to checking bulb-dimmer compatibility or the dimmer’s low-end trim setting.
Table: Bypass capacitor troubleshooting after install
| Symptom after install | Likely cause | What to do |
|---|---|---|
| Glow/flicker gone | Leakage fixed | Done. Enjoy. |
| Still flickers when off | Wrong diagnosis or bad connection | Check wire nuts, verify capacitor across load and neutral |
| Flickers only when dimmed | Bulb-dimmer incompatibility | Change bulbs or adjust low-end trim |
| Switch now misbehaves | Capacitor wired wrong | Breaker off, recheck wiring immediately |
Installing on Multiple Fixtures
One switch controlling three recessed cans, all flickering? You’ll likely need a capacitor at each fixture. The leakage current splits across all the bulbs, but each bulb’s driver still sees enough to flicker.
Install them one at a time and test after each. Sometimes fixing the worst offender stabilizes the rest because the total circuit behavior changes. No point buying three if one does the job.
For a chandelier with multiple bulbs on one fixture, a single capacitor at the fixture box is usually enough since it’s one electrical point.

Alternatives to a Bypass Capacitor
The capacitor is the cleanest fix, but you have other options. Swapping one LED for a slightly higher-wattage bulb increases the load enough that the leakage current gets absorbed. It’s a hack, but it works and costs nothing if you have a spare bulb.
Adding a small night light or indicator bulb in parallel does the same thing. Old-school electricians have used this trick for years. It’s less elegant than a capacitor but effective.
The permanent alternative is running a neutral wire to the switch box and switching to a neutral-wire smart switch. That eliminates the leakage entirely. It’s more work and usually means calling an electrician, but it’s the proper long-term fix.
You could also replace the no-neutral switch with a smart bulb setup using Smart Bulb Mode, where the switch keeps full power to the bulbs constantly. Different approach, same flicker-free result.
Common Installation Mistakes
Wiring the capacitor in series instead of parallel is the big one. In series, it blocks power to the light entirely. The light won’t work at all. Parallel means across the fixture: one lead to load, one lead to neutral. If the light stopped working after your install, you wired it in series. Fix it with the breaker off.
Another mistake: installing it in the switch box where there’s no neutral. It can’t work there. The capacitor needs the neutral connection, which only exists at the fixture in a no-neutral setup.
People also forget to check box fill. Electrical boxes have a maximum wire capacity. Adding a capacitor and two more wire nuts to an already stuffed box violates code and creates a fire risk. If the box is packed tight, this job just got bigger. Call an electrician.
How Long Does It Last?
A quality bypass capacitor like the LUT-MLC lasts for years. It’s a passive component with no moving parts and minimal stress in this application. I’ve had them running for years without a second thought.
If flicker returns after a long flicker-free period, check whether someone changed the bulbs. A new bulb with a different driver can reintroduce the problem. The capacitor didn’t fail; the circuit changed.
FAQs
What does a bypass capacitor do for a smart switch?
A bypass capacitor absorbs the tiny standby current that no-neutral smart switches leak through LED bulbs. Wired in parallel with the light fixture, it gives that current an alternate path so the bulb’s driver never sees it. This stops the flickering and faint glowing that happens when the switch is off.
Where do I install a bypass capacitor?
Install it in the light fixture’s electrical box, not the switch box. Connect one lead to the load (switched hot) wire and the other to the neutral bundle. In a no-neutral setup, the switch box has no neutral wire, so the fixture box is the only place with both connections the capacitor needs.
Can I install a bypass capacitor myself?
Yes, if you’re comfortable with basic electrical work. Turn off the breaker, verify with a tester, and connect the two leads with wire nuts. It takes about 15 minutes. Call an electrician if you find aluminum wiring, an overcrowded box, scorch marks, or anything that looks damaged.
Will a bypass capacitor fix flickering while dimming?
No. A bypass capacitor only fixes flicker and glow caused by standby leakage when the switch is off. Flicker during dimming is a bulb-dimmer compatibility problem. For that, use bulbs from the manufacturer’s compatibility list, adjust the dimmer’s low-end trim, or replace the dimmer with an LED-rated model.
Do I need a bypass capacitor if my switch has a neutral wire?
No. Neutral-wire smart switches power themselves through the neutral and don’t leak standby current through the bulb. If you have flicker with a neutral-wire switch, the cause is bulb-dimmer compatibility, minimum load, or wiring, not leakage. A capacitor won’t help.
How many bypass capacitors do I need?
One per flickering fixture, as a rule. If one switch controls three recessed lights that all flicker, you’ll likely need one at each fixture box. Install them one at a time and test after each, since fixing one fixture sometimes stabilizes the rest of the circuit.
Conclusion
A bypass capacitor is a fifteen-minute fix for one of the most annoying smart switch problems. Wire it in parallel at the fixture, test, and move on. Next step: turn off that flickering light, pull the fixture, and check whether your box has room for the capacitor. If it does, you’re fifteen minutes from silence.