

An outdoor TV setup works best when you plan for sun, rain, and sound before you buy anything. A bright screen, a solid mount, and safe power matter more than the TV brand. You can build a patio setup with a weatherproof TV, or you can run movie nights with a projector and a screen instead.
- Outdoor TV Setup: Pick the Right Screen First
- Where to Put the TV
- Mounts, Power, and Weatherproofing
- Sound That Works Outside
- Outdoor TV Setup for Movie Nights With a Projector
- Outdoor Gaming on the Patio
- Your Setup Checklist
- FAQs
- Can I use a regular TV outside?
- How bright should an outdoor TV be?
- How many lumens do I need for an outdoor projector?
- Do I need a special mount for an outdoor TV?
- Can I leave my outdoor TV outside all winter?
- What is the best screen for a backyard movie night?
- Conclusion
Outdoor TV Setup: Pick the Right Screen First
The screen is the first choice you need to make, so start there. A weatherproof TV stays outside all season, and a projector comes out only for movie nights. Pick the path that fits how you will use it.
A dedicated outdoor TV is built for rain, dust, and heat. Its case is sealed, its ports are covered, and its screen is far brighter than a living room TV. Most indoor TVs peak near 300 to 500 nits, while outdoor models often reach 1,000 to 2,000 nits. That extra brightness keeps the picture clear in daylight, so look for at least 1,500 nits if your patio gets direct sun.
Weather ratings matter just as much as brightness. Look for an IP55 rating or better on any TV that will live outside. IP55 means the set resists dust and low-pressure water jets from any direction. It doesn’t mean you can leave it in a storm without cover, but a normal rain shower should not kill it. Check the rating on the spec sheet before you buy, because some sets called outdoor only handle light splashes.
What about using a regular indoor TV outside? You can, but only inside a sealed outdoor TV enclosure. The enclosure adds weather protection and an anti-glare front panel, and good ones include fans that keep the air inside moving. This route often costs less than a true outdoor TV. Still, trapped heat and damp air can damage an indoor set over time, so buy a cover too, and bring the TV in during the coldest months.
Size is the next call. A 55-inch screen suits most patios, and a 65-inch screen works for larger decks where people sit farther back. Measure your seating distance first, because a screen that looks huge in the shop can feel small from ten feet away. Also check the weight, since outdoor mounts have strict limits.
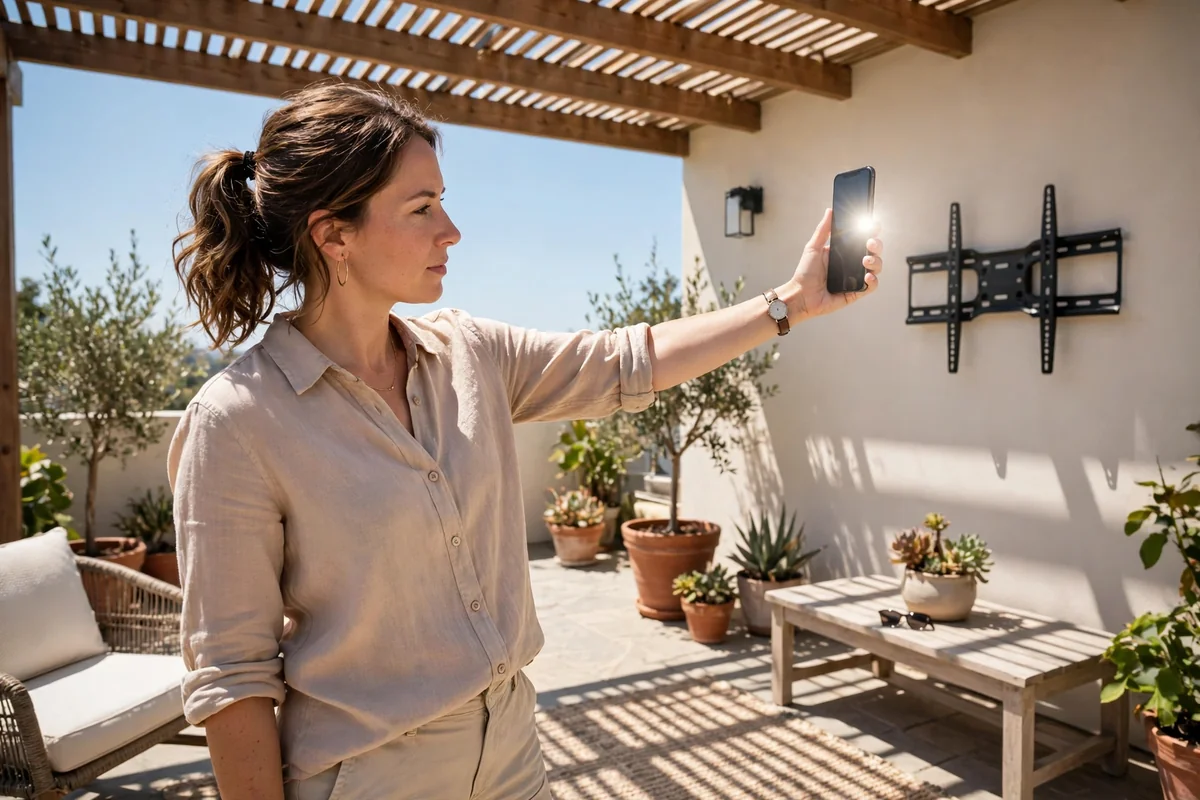
Before you spend anything, try a simple shade test. Stand where the TV will go at 2 p.m. on a sunny day and hold your phone at arm’s length. If you can barely read the phone screen, that spot needs a very bright TV or more shade. If it fails, move the TV under cover or add a shade sail before you buy.
Smart features are worth a look as well. Most outdoor TVs run the same apps as indoor sets, so you can stream without extra boxes. If you plan to use a streaming stick, check for a spare HDMI port you can reach easily. Our guide explains the built-in apps and settings you’ll meet on most sets, and it helps you compare models before you buy. how smart TVs work
Where to Put the TV
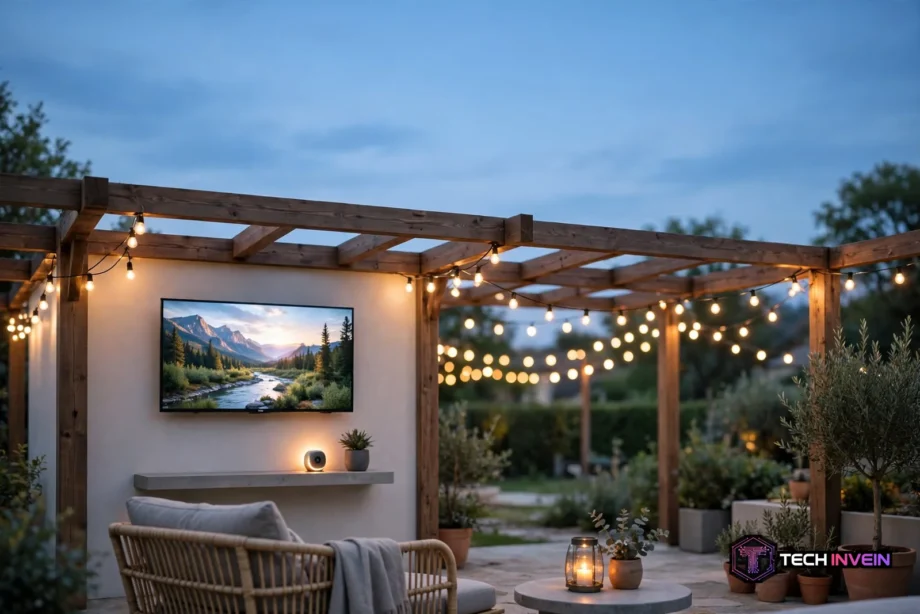
Location decides how long your setup lasts. A covered patio beats an open wall every time, because a roof blocks rain and cuts glare. Face the screen away from the afternoon sun, since a west-facing screen fights glare all evening.
Wind is easy to forget, and it matters more than most people expect. A big screen acts like a sail, so a mount on a thin fence panel will flex and rattle. Fix the mount to a solid wall, a thick post, or a masonry surface. If a fence is your only option, add a backing board that spreads the load across several posts.
Also plan for viewing after dark. A little warm light near the seats helps people move around safely, but keep bright bulbs out of the screen’s line of sight. String lights behind the viewers work well, since they light the space without washing out the picture.
Mounts, Power, and Weatherproofing
A good mount is not the place to save money. Choose one rated for outdoor use, made from stainless steel or powder-coated aluminum. These resist rust, while a cheap indoor mount will stain your wall within a season. Check the weight rating against your TV, and leave a margin of at least 20 percent.
A full-motion mount lets you tilt the screen down against glare and turn it toward different seats. A fixed mount is cheaper and stronger, so it suits a wall where everyone sits in one place. Either way, use the bolts that come with the mount, and drill into studs or masonry, not just siding.
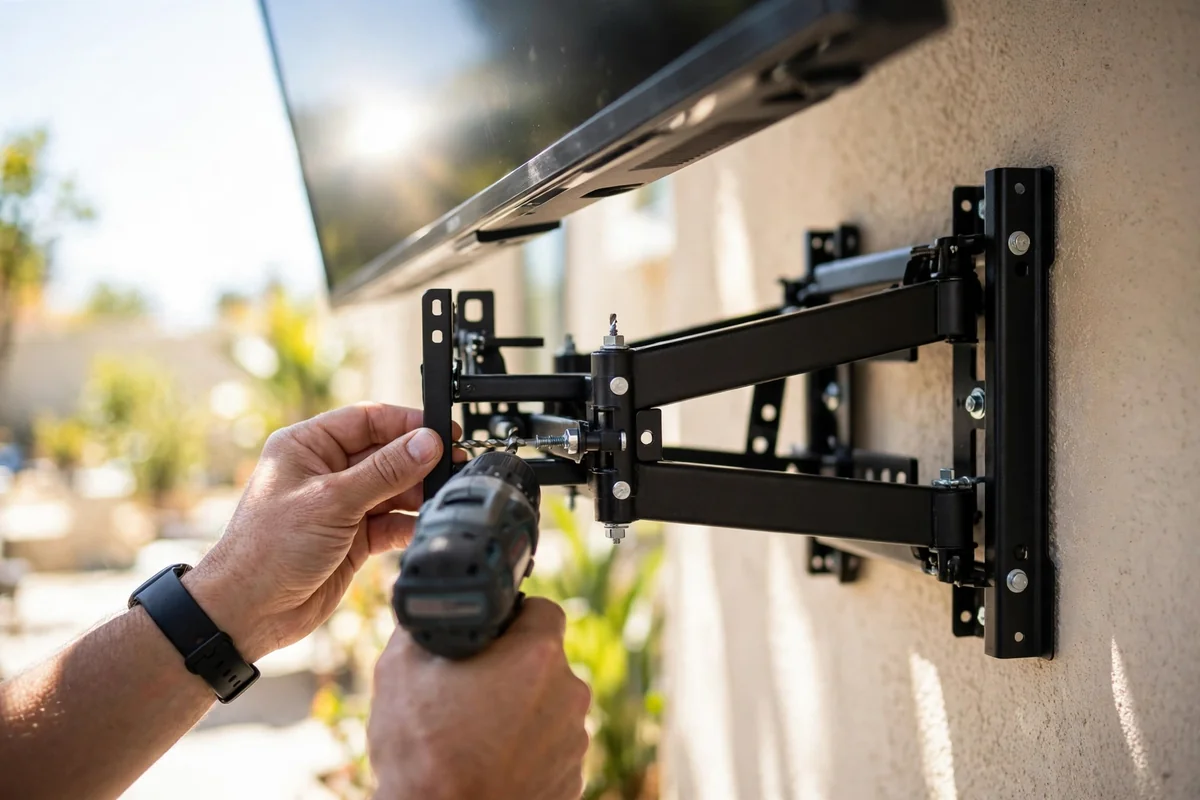
Power needs care outdoors. Run the TV from a GFCI outlet, which cuts power fast if water gets into the circuit. If your nearest outlet is far away, get an electrician to add one near the mount instead of running a long cord across the patio. Cords on the ground are a trip risk, and they wear out fast in sun and rain. For safe mounting and power steps, see the guide from MantelMount. MantelMount outdoor TV guide
Surge protection is worth adding too. Storms can send spikes through outdoor circuits, and a protector rated at 3,000 joules or higher gives your TV a fighting chance. Plug the TV and any streaming box into the same protector, and keep the protector itself under cover.
When the TV is not in use, cover it. A breathable, UV-resistant cover keeps dust and rain off while letting trapped moisture escape. Cheap plastic covers can trap damp air inside, so skip them. If your winters freeze, bring the TV indoors for the cold season, even if it’s rated for outdoor use.
Sound That Works Outside
Sound is the part most outdoor setups get wrong. Open air swallows audio, so a TV’s built-in speakers sound thin once you step a few feet back. A better plan for many patios is a pair of weatherproof outdoor speakers wired to the TV, because they spread sound across the seating area.
Bluetooth speakers are the easy option. A large portable speaker can fill a small patio, and you can bring it inside when the night ends. For bigger groups, use two speakers in stereo, one on each side of the seats. Keep the volume in check after dark, because sound travels far on a still night.
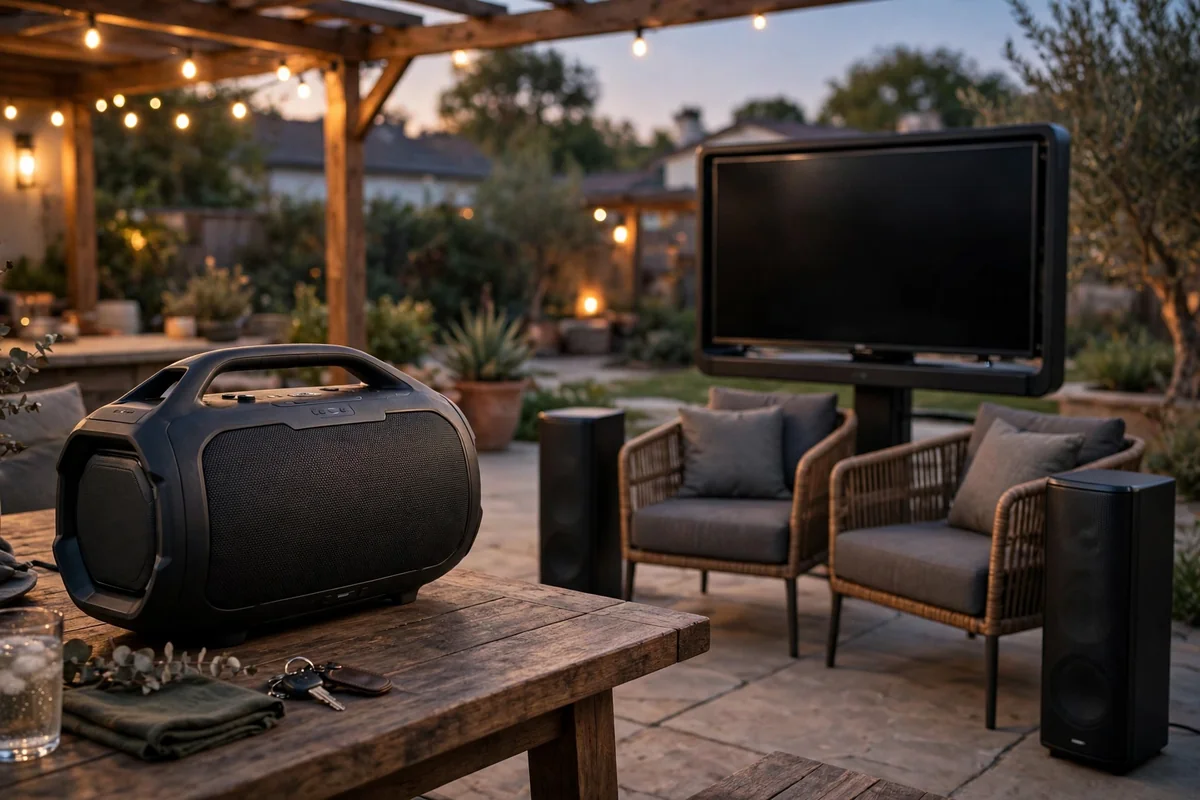
Wired speakers sound better for movie nights, since they play in sync with the picture and never run out of charge. Run the cable through conduit or under decking, and use outdoor-rated speaker wire. If you already have a soundbar indoors, check whether it can live outside before you move it, because most indoor models are not sealed against damp air.
Whatever you choose, test the sound from the farthest seat before your first movie night. If words get lost, move the speakers closer to the seats instead of just turning the volume up. Our guide walks through the ports and settings you’ll need for a wired setup. connect speakers to a TV
Outdoor TV Setup for Movie Nights With a Projector
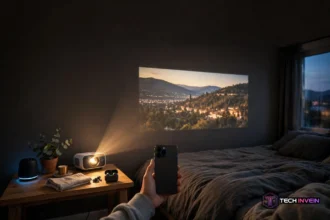
A projector is the best choice when you want a huge picture for a few nights a month. It packs away after the movie, so nothing sits out in the weather. The trade-off is light, so plan movie nights for after sunset, and face the screen away from streetlights and house lights.
Brightness is the key spec, and it’s measured in ANSI lumens. For a dark backyard and a screen near 100 inches, around 2,500 to 3,500 ANSI lumens works well. If you want to start at dusk or use a larger screen, look for 5,000 lumens or more. Be wary of huge lumen claims on cheap listings, because only ANSI or ISO lumens follow a standard test.
The best outdoor movie projector for most families is a 1080p model with honest brightness and a simple setup. You don’t need 4K outdoors, because viewers sit far back and the screen is rarely perfectly flat. What you do need is keystone correction, which squares up the picture when the projector sits off-center.
A movie projector for outdoors can run on battery or mains power. Battery models are easy to carry to a park or a campsite, and most run for about one movie per charge. A projector for camping should be small, light, and able to charge from a power bank. Mains models are brighter for the money, so they suit a fixed backyard spot.
Your screen choice matters as much as the projector. An outdoor projector and screen set with an inflatable frame goes up fast. A frame screen is steadier in wind, while a white sheet works if you pull it tight. An outdoor projector screen with stand is the most flexible option, because you can move it to the flattest, darkest corner. Keep the screen out of the wind, since a flapping screen ruins the picture.
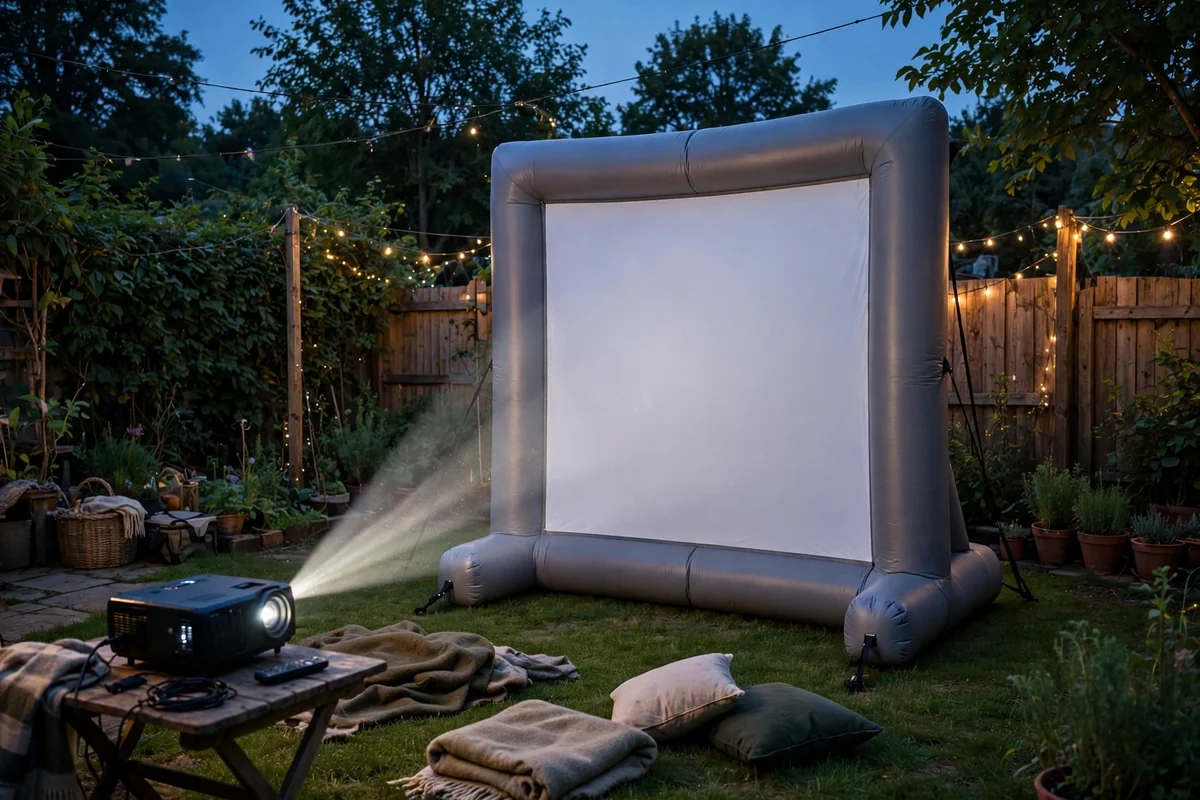
Throw distance is the number people forget. It is the gap between the projector and the screen, and it decides your image size. Check the throw ratio against your yard before you buy. A short-throw model fills a 100-inch screen from a few feet away, which helps in small yards. Place the projector on a steady table at about the middle height of the screen, and tape the power cord down so nobody trips.
Sound for projector nights needs the same care as a TV setup. The projector’s own speaker is too weak for a group, so pair it with a Bluetooth party speaker or a powered speaker set. Put the speaker near the seats, not next to the projector. For a full backyard cinema plan, including screen sizes and power needs, the TheaterCalc setup guide is a useful reference. backyard theater setup guide
Outdoor Gaming on the Patio
Gaming outside is fun, but it has its own rules. The best TV for gaming outdoors is a bright one with low input lag, because lag makes fast games feel sluggish. Turn on game mode before you play, since it cuts processing delay and the picture still looks good in the shade.
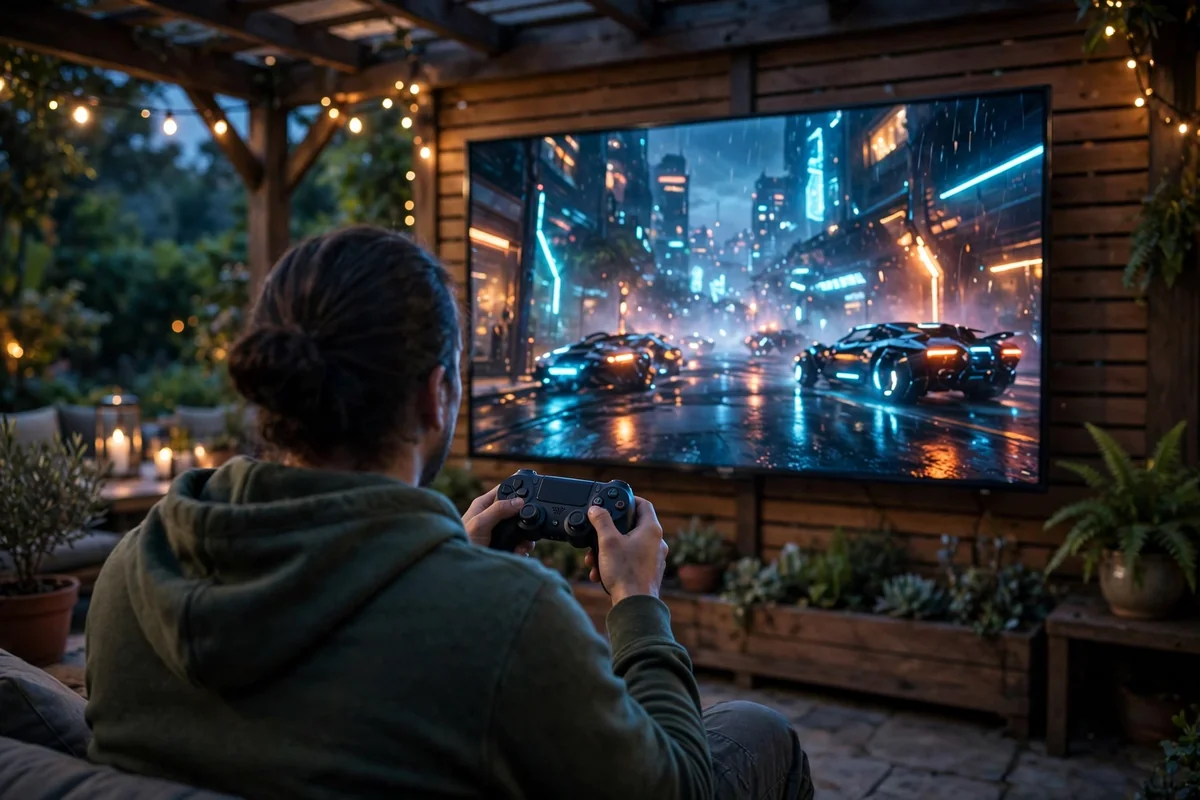
Keep the console under cover, since consoles hate dust and damp air. A small shelf with a roof over it works well. Run a short HDMI cable to the TV, and keep the cable out of walkways. If you use a projector for gaming, pick one with a low-lag game mode as well, and sit closer so small text stays readable.
Wi-Fi is the last piece. Outdoor gaming needs a steady signal, and a router indoors may not reach the far end of the yard. Test the signal at the gaming spot with your phone before game night. If it drops, a weatherproof access point or a mesh node near the patio will fix it.
Your Setup Checklist
Table: Outdoor setup quick checklist
| Choice | TV setup | Projector setup |
|---|---|---|
| Brightness | 1,000 to 2,000 nits, more in sun | 2,500 to 3,500 ANSI lumens after dark |
| Weather rating | IP55 or better, plus a cover | None, bring it inside after use |
| Screen | Fixed panel on a solid wall | Inflatable, frame, or sheet screen |
| Sound | Outdoor speakers or soundbar | Bluetooth or powered speaker |
| Power | GFCI outlet plus surge protector | GFCI outlet, tape cords down |
| Best time | Any time with enough shade | After full dark for best picture |
Walk through the table with your own yard in mind. If one row doesn’t fit, fix it before you order gear. A bright TV won’t save a setup with no shade, and a great projector won’t save a night with a flapping sheet for a screen. Small fixes now beat returns later.
If you want ideas for turning a projector night into a full cinema feel, our home theater design guide covers seating, lighting, and layout. The same ideas work outside, just with a roof of stars instead of a ceiling. DIY home theater guide
FAQs
Can I use a regular TV outside?
You can, but only inside a sealed outdoor enclosure with ventilation and a cover. An indoor TV left open to rain and damp air will fail fast, since its case and ports are not sealed. The enclosure adds protection and cuts glare, but bring the TV in during freezing weather. A true outdoor TV is the safer long-term choice.
How bright should an outdoor TV be?
For a shaded patio, 700 to 1,000 nits is often enough for a clear picture. In partial sun, aim for 1,500 nits or more, and for full sun look for 2,000 nits and up. Brightness matters most during the day, because any TV looks fine after dark. Try the phone shade test at 2 p.m. before you buy.
How many lumens do I need for an outdoor projector?
For a dark yard and a screen near 100 inches, 2,500 to 3,500 ANSI lumens gives a solid picture. If you start at dusk or use a larger screen, you need 5,000 lumens or more. Always check for the ANSI or ISO label, because unrated lumen claims on cheap listings run far higher than the real brightness.
Do I need a special mount for an outdoor TV?
Yes, you need a mount rated for outdoor use, made from stainless steel or powder-coated aluminum. Indoor mounts rust fast outside, and rust can stain the wall and weaken the mount. Check the weight rating against your TV, and leave at least 20 percent spare capacity. Fix it to studs, masonry, or a thick post.
Can I leave my outdoor TV outside all winter?
Most outdoor TVs handle rain and cold better than indoor sets, but freezing weather still shortens their life. If your winters drop below freezing, bring the TV inside or keep it covered and powered off. A breathable cover helps, but it can’t stop ice forming on a cold screen. Check your manual before winter arrives.
What is the best screen for a backyard movie night?
An outdoor projector screen with stand is the most flexible choice, since you can move it to the darkest, flattest corner of the yard. Inflatable screens go up fast and suit big groups, while frame screens stay steadier in wind. A white sheet works on a budget if you pull it tight, but a real screen gives a brighter picture.
Conclusion
Start with shade, then pick a bright screen, a solid mount, and safe power. Add speakers that reach the back row, and test everything first. If movie nights are your goal, a projector and a screen will give you the biggest picture for the least money. A few movie room ideas can help you plan the seating and layout, so pick your path and set up a night to try it out. movie room ideas