


Yes, You Can Install a Video Doorbell With No Existing Wiring
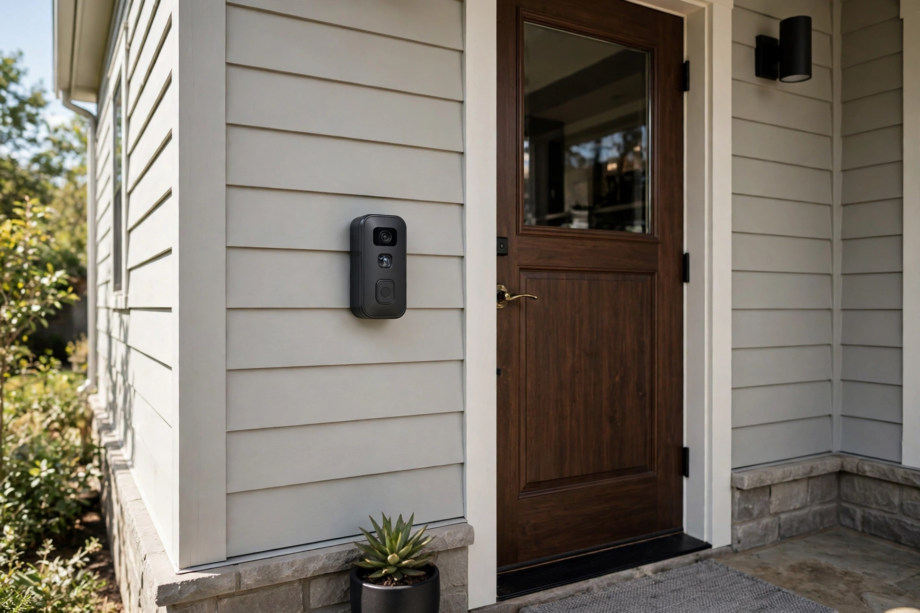
Indeed, you can install a video doorbell without an existing doorbell in about 30 minutes. The process for how to install video doorbell without existing doorbell wiring is simpler than expected. To begin, battery models mount with screws, connect to WiFi, and pair with a plug-in chime. No electrician needed.
- Yes, You Can Install a Video Doorbell With No Existing Wiring
- Your Three Options When There’s No Existing Doorbell
- Option 1: Battery-Powered Video Doorbell (Easiest)
- Option 2: Plug-In Power Adapter (No Battery Swaps)
- Option 3: Full Wired Install With New Transformer (Most Work)
- What You’ll Need Before You Start
- How to Install Video Doorbell Without Existing Doorbell: Step by Step
- Step 1: Charge the Battery Fully
- Step 2: Set Up the Doorbell in the App First
- Step 3: Pick the Mounting Spot
- Step 4: Mount the Bracket
- Step 5: Attach the Doorbell and Test
- How to Hear the Doorbell Inside Without Existing Chime Wiring
- Battery Life: What to Actually Expect
- Common Mistakes to Avoid
- Do You Need a Subscription?
- What About Renters?
- Pairing With the Rest of Your Smart Home
- FAQs
- Can I install a video doorbell if I’ve never had one before?
- Do I need WiFi for a video doorbell to work?
- How long does a battery video doorbell last per charge?
- Can renters install a video doorbell?
- What’s the best video doorbell without a subscription?
- Can I use my Echo or Google speaker as a doorbell chime?
- What height should I mount a video doorbell?
- Final Checklist Before You Buy
In fact, plenty of homes never had a doorbell to begin with. In particular, apartments, newer builds, and older houses all skip them. That doesn’t lock you out. In particular, the market has shifted toward battery models assuming no existing wiring. Here’s how to pick, mount, and connect one.
Your Three Options When There’s No Existing Doorbell
Of course, not all “no wiring” installs are the same. You’ve got three paths, and the right one depends on your home, budget, and drilling tolerance.
Option 1: Battery-Powered Video Doorbell (Easiest)
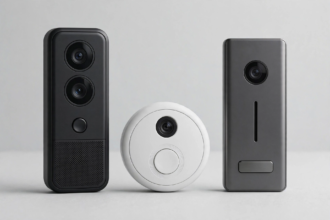
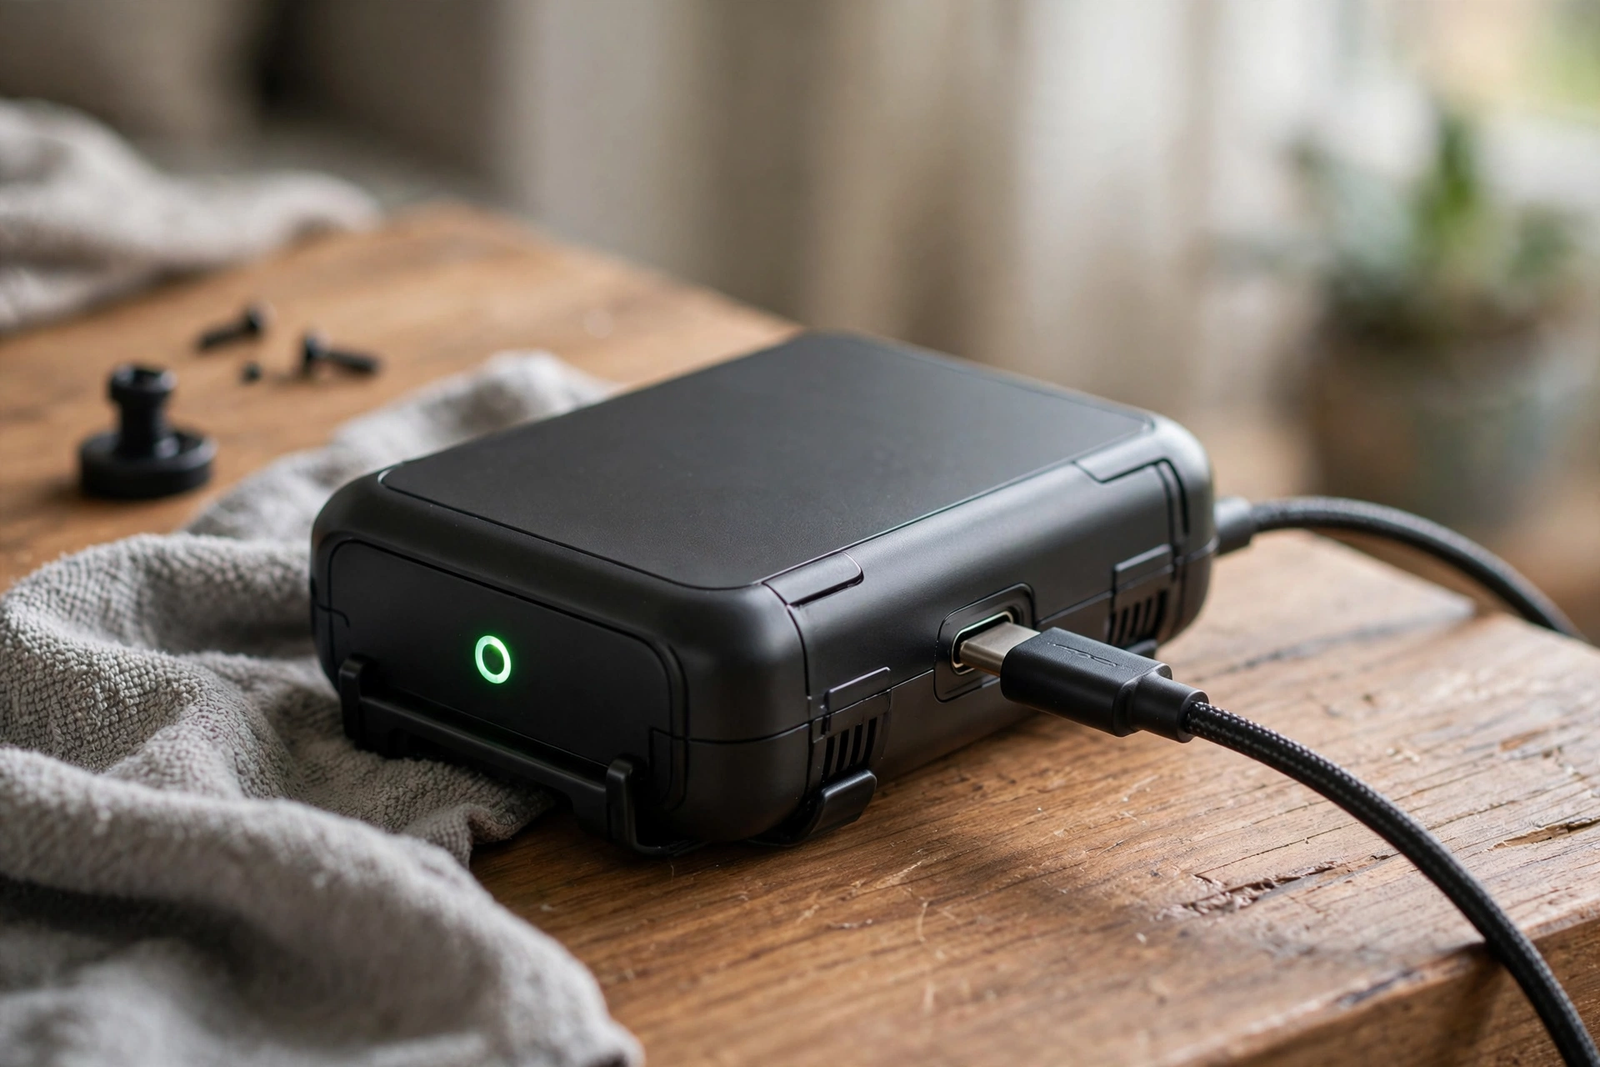
For instance, this is what most people should pick. The doorbell runs on a rechargeable battery pack. Next, in practice, you charge it every few weeks or months (depending on activity), snap it onto a mounting bracket, and you’re done. Ring, Blink, Eufy, and Google all sell battery versions. For model specs, see Ring’s official doorbell lineup.
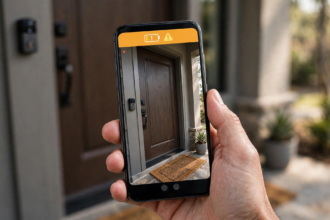
Still, battery life varies a lot. For instance, a quiet street might give you three months per charge. A busy front porch with constant motion alerts? You might recharge every three to four weeks. Also, most apps show battery percentage, so you’ll get a warning before it dies.
However, the trade-off is features. Still, some battery models record shorter clips or have a slight delay waking from sleep compared to wired versions. For most people, it’s not noticeable in daily use.
Option 2: Plug-In Power Adapter (No Battery Swaps)
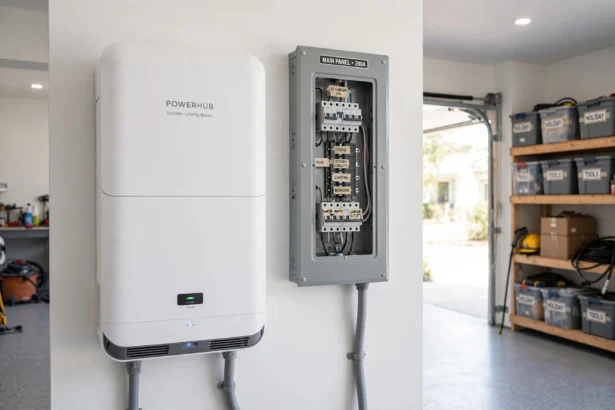
If you hate the idea of recharging, a plug-in transformer adapter solves it. Instead, this is a small adapter with a built-in transformer that plugs into an indoor outlet near your door. From there, you run a thin wire through the wall to the doorbell outside.
Ring sells an official plug-in adapter, and third-party versions work for most 8-24V doorbells. Then, you drill one small hole through the wall, feed the wire through, and connect it to the doorbell terminals. Meanwhile, the adapter stays plugged in inside, so the doorbell gets constant power.
As a result, this is the sweet spot if you have an outlet within a few feet of your front door on the inside wall. Thus, no electrician needed, and you never touch a battery again.
Option 3: Full Wired Install With New Transformer (Most Work)
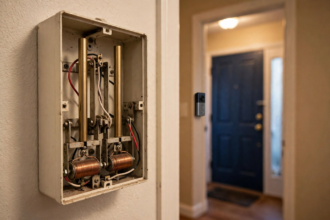
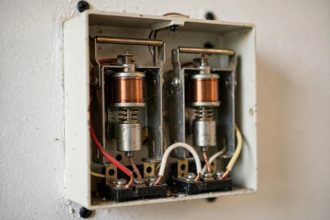
You can wire a doorbell from scratch, but honestly, most people shouldn’t. Instead, it means installing a transformer at your breaker panel, running low-voltage wire through walls to the door location, and mounting a mechanical or digital chime. Thus, it’s real electrical work.
If you’re already renovating or you want the most reliable setup possible, hiring an electrician for this runs roughly $100 to $250 in most areas. Instead, for everyone else, options 1 and 2 get you 95% of the result with a fraction of the effort.
What You’ll Need Before You Start
Before anything else, gather everything first so you’re not climbing down the ladder mid-install. Initially, for a battery install, the list is short.
- Battery video doorbell (charged to 100% before you start)
- Mounting bracket and screws (included in the box)
- Power drill with the right bit for your wall material
- Screwdriver (usually Phillips)
- Smartphone with the manufacturer’s app installed
- 2.4GHz WiFi network name and password
- Wireless plug-in chime (sold separately for most brands)
- Optional: adhesive mount or no-drill bracket for renters
That last item matters if you rent. Several brands sell adhesive mounting plates that hold the doorbell without screws. For example, they use heavy-duty outdoor adhesive strips. When you move out, you peel them off. Still, check your lease first, but this is the cleanest renter-friendly path.
How to Install Video Doorbell Without Existing Doorbell: Step by Step
Step 1: Charge the Battery Fully
For example, don’t skip this. Without doubt, a half-charged battery during setup can cause the doorbell to die mid-configuration, which forces you to start over. Afterward, plug it in and wait for the full-charge indicator. Typically, most take 4 to 6 hours from empty.
Step 2: Set Up the Doorbell in the App First
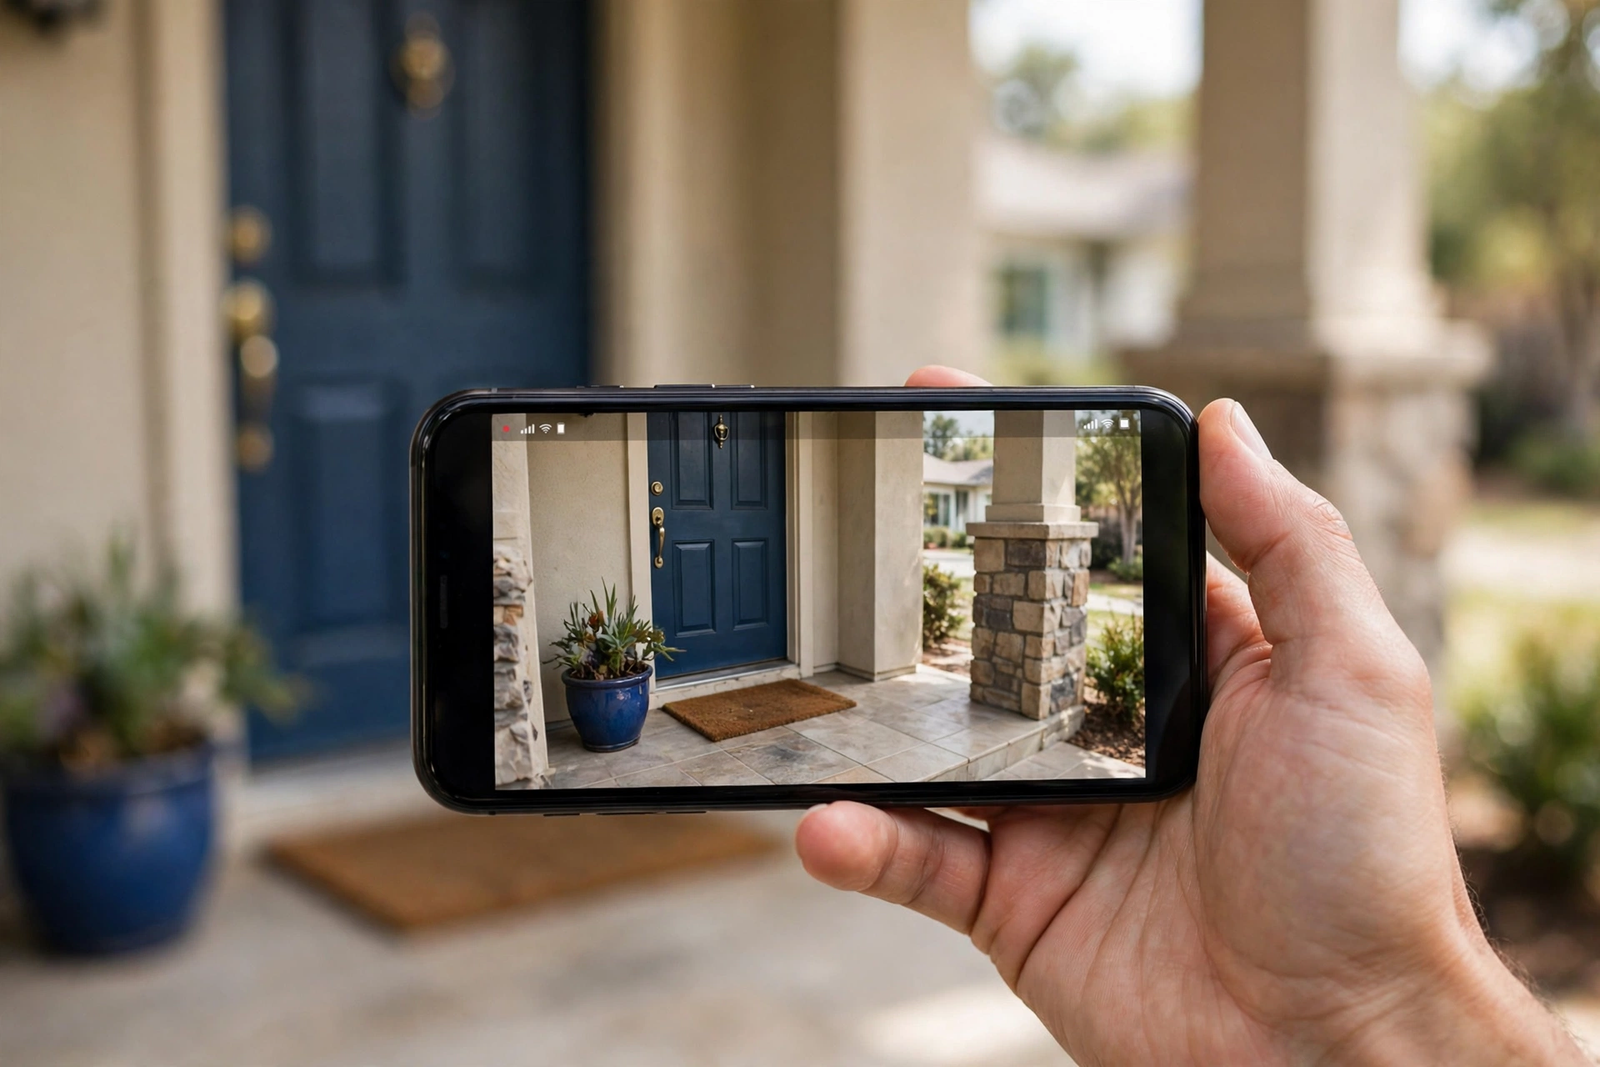
Do the software setup before you mount anything. Subsequently, open the manufacturer’s app, create your account, and follow the prompts to add the doorbell. Normally, it’ll connect to your WiFi during this step. Test that you can see live view on your phone while you’re still holding the doorbell in your hand.
In other words, this order matters. Obviously, if WiFi is weak at your front door, you want to discover that now, not after you’ve drilled holes. Walk to your door with your phone and check the signal. If it’s weak, consider a WiFi extender before mounting.
Step 3: Pick the Mounting Spot
Generally, the ideal height is about 48 inches (4 feet) from the ground. Essentially, that’s chest height for most visitors and gives the camera a good angle on faces and packages. At this point, stand where visitors will stand and check what’s in frame.
Meanwhile, avoid pointing the camera directly into the sun if you can. Otherwise, morning or afternoon glare washes out video. If your door faces the sun, a slight angle or a small wedge mount (many brands include one) fixes it.
Step 4: Mount the Bracket
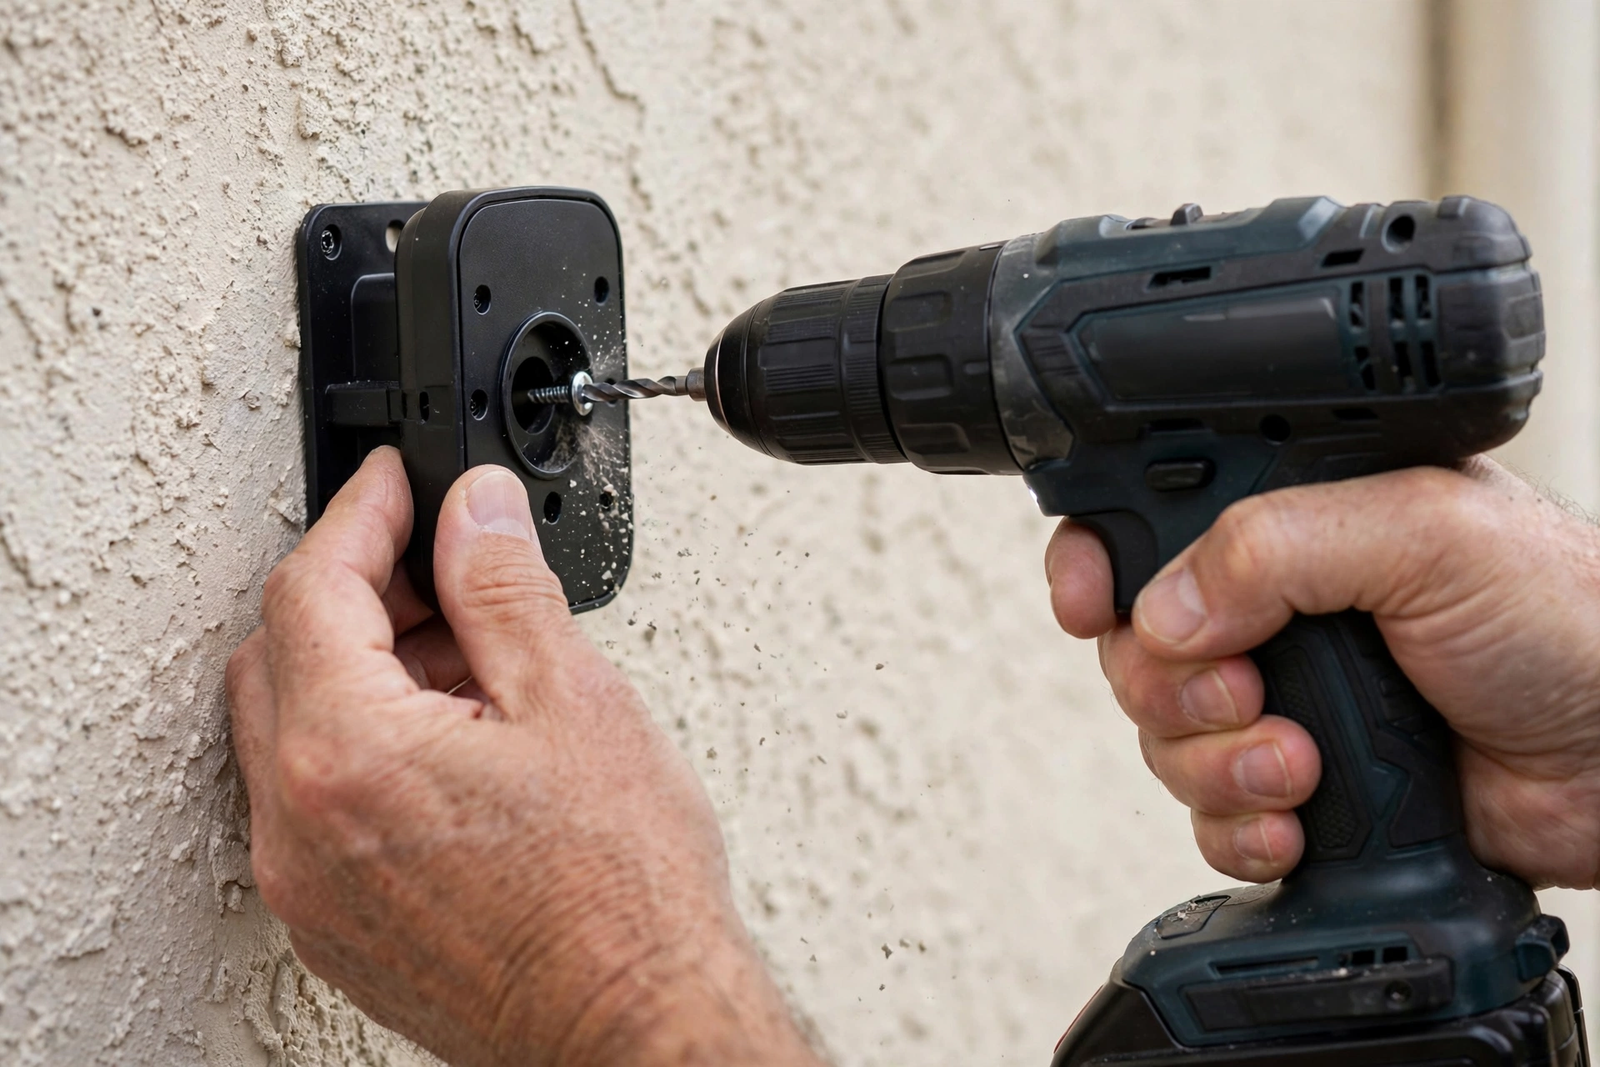
Once ready, hold the bracket against the wall at your marked height. Ideally, use a level if you have one. Mark the screw holes with a pencil. Drill pilot holes sized for your wall material: wood is easy, brick or stucco needs a masonry bit and wall anchors.
Next, screw the bracket firmly to the wall. Still, give it a tug to make sure it’s solid. Clearly, a wobbly bracket means wobbly video and a doorbell that rattles every time the door slams.
Step 5: Attach the Doorbell and Test
Attach the doorbell to the bracket per instructions. Generally, most use a security screw on the bottom to prevent theft. At last, press the doorbell button and check that your phone gets the alert and the indoor chime rings.
Finally, walk around your yard and check the motion zones in the app. Then adjust the sensitivity so passing cars don’t trigger alerts but visitors do. Expect this to take a few days of tweaking to get right.
How to Hear the Doorbell Inside Without Existing Chime Wiring
This is the part people forget. Above all, a battery doorbell outside is useless if nobody inside hears it. You have three ways to solve this.
Plug-In Wireless Chime
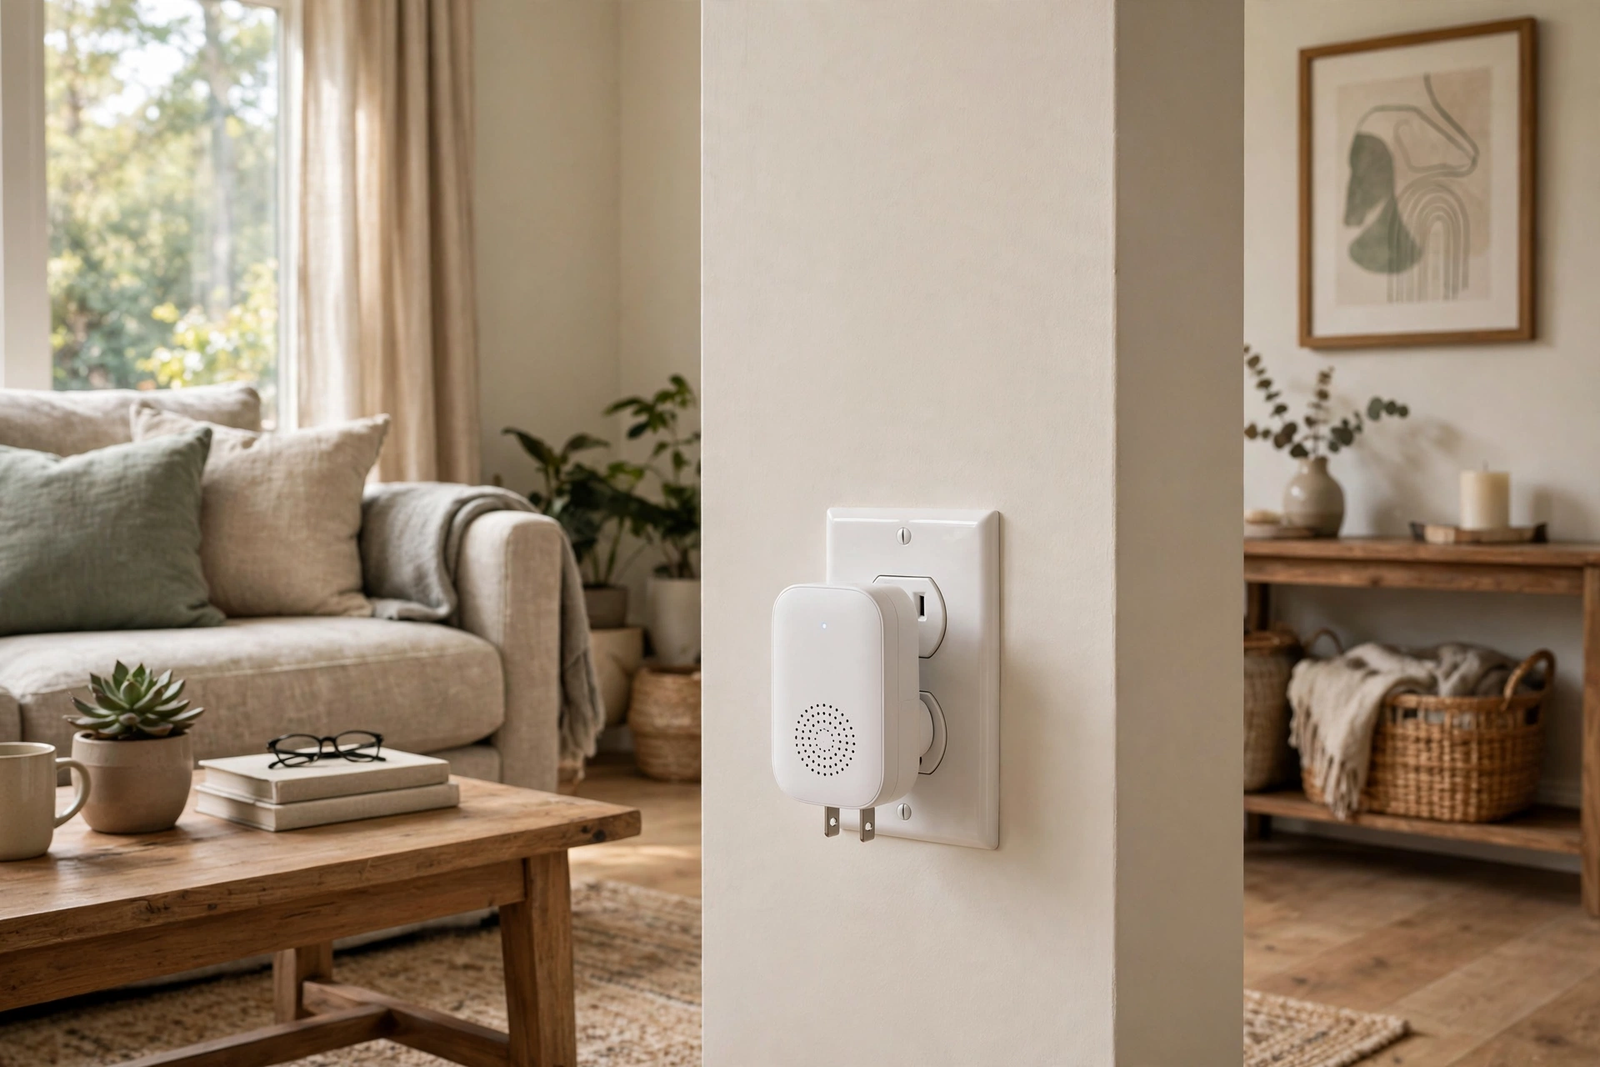
Luckily, every major brand sells a wireless chime that plugs into any indoor outlet. It pairs with the doorbell over a proprietary wireless signal (not WiFi). Place it centrally in your home where you’ll hear it. Typically, most cost $25 to $35.
In addition, you can pair multiple chimes if you have a large house. Say you put one upstairs and one downstairs. As you might expect, they all ring at once when someone presses the button.
Smart Speaker Announcements
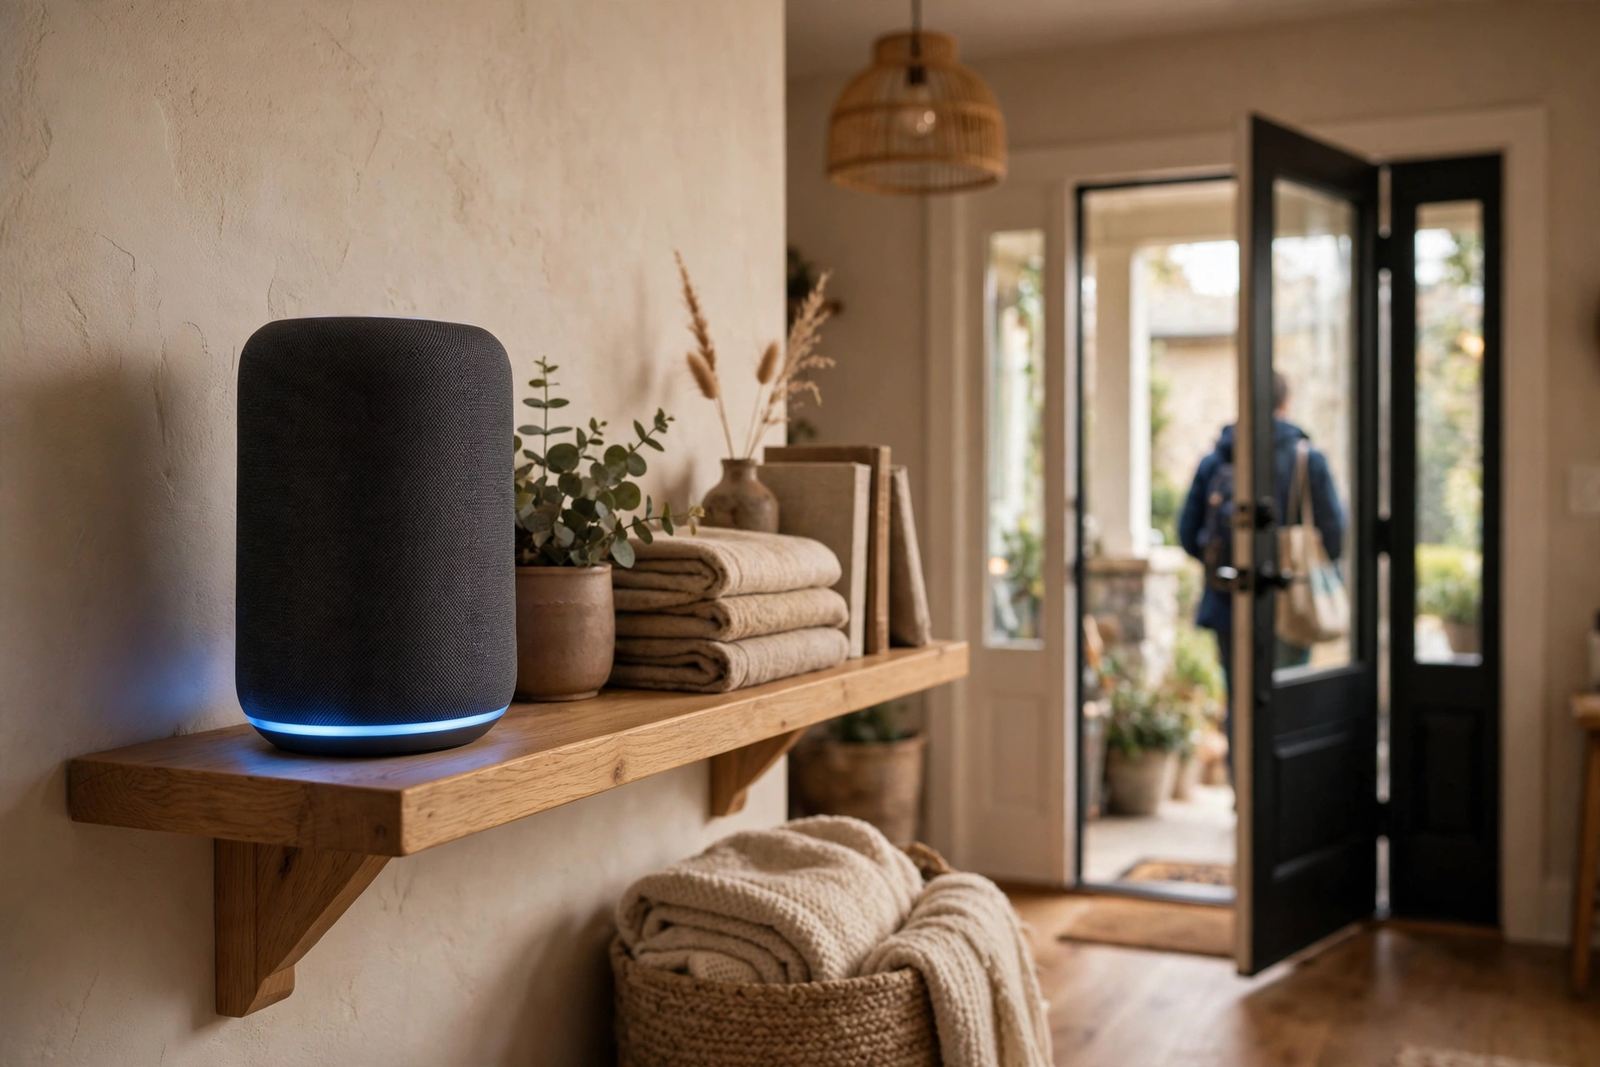
If you have an Amazon Echo or Google Nest speaker, you can set up doorbell announcements for free. Whenever someone rings, every speaker in the house says “Someone is at the front door.” It works through Alexa routines or Google Home automations.
Therefore, this is my favorite option because there’s nothing extra to buy if you already own smart speakers. Plus, the announcement is clearer than a traditional chime sound.
Phone Notifications Only
The app always sends a push notification when the button is pressed. If you’re home and your phone is nearby, that’s enough. Nevertheless, don’t rely on this alone. After all, phones go on silent, batteries die, and you miss visitors. Pair it with at least one of the options above.
Battery Life: What to Actually Expect
Admittedly, manufacturers advertise optimistic numbers. Here’s what’s realistic, based on how these devices behave in the field.
Table: Battery life by usage level
| Usage Level | Motion Events Per Day | Typical Battery Life |
|---|---|---|
| Quiet street | Under 10 | 2 to 3 months |
| Average home | 10 to 30 | 4 to 8 weeks |
| Busy porch | 30+ | 2 to 4 weeks |
Similarly, cold weather hits battery life hard. Indeed, lithium batteries lose capacity below freezing. If you live somewhere with real winters, then expect 30 to 40 percent less battery life from December through February. Consequently, some people swap to a plug-in adapter just for winter.
To stretch battery life, therefore, turn down motion sensitivity, shrink your motion zones to exclude the street, and disable features you don’t use. Remember, every recording event costs power.
Common Mistakes to Avoid
For instance, I’ve seen these trip people up more than once. So learn from others so you don’t repeat them.
Mounting too high. Surprisingly, people mount doorbells at eye level like a peephole. That’s too high. The camera needs to see faces; at 5+ feet it mostly sees tops of heads. Stick to 48 inches.
Skipping the WiFi check. Specifically, the number one cause of “my doorbell doesn’t work” complaints is weak WiFi at the front door. Undoubtedly, test before you drill. If your phone shows two bars at the door, the doorbell will struggle.
Forgetting the chime. Often, people finish the install, admire their work, then realize nobody inside can hear the doorbell. Ultimately, buy the wireless chime at the same time as the doorbell.
Not charging before install. Likewise, setting up a doorbell on 20% battery is asking for it to die during firmware updates. In short, charge to full first.
Do You Need a Subscription?
Short answer: no, but you’ll want one for most brands. Here’s the honest breakdown, for example.
Ring, Google Nest, and Arlo all require a subscription for video history and smart alerts. Without one, however, you get live view and real-time notifications, but no saved clips. In that case, if someone rings and you miss it, there’s nothing to review.
Alternatively, Eufy, Tapo, and Reolink store video locally on the device or a home hub with no monthly fee. On the other hand, the catch: if someone steals the doorbell, your recordings go with it. Hub-based storage (like Eufy’s HomeBase) is safer because the footage lives inside your house.
Above all, decide this before you buy, not after. Notably, the subscription cost over two years can exceed the price of the doorbell itself. If you’re already in the Apple Home ecosystem, check which doorbells support HomeKit Secure Video to avoid extra fees.
What About Renters?
Thankfully, renters can absolutely install video doorbells. In this case, the key is reversibility. Use an adhesive mount instead of screws. Pair it with a plug-in wireless chime that needs no wiring. Later, when you move, peel off the mount, unplug the chime, and you’re done.
Check two things first: your lease (some prohibit exterior modifications) and your building’s rules (apartments sometimes restrict doorbell cameras in hallways). A quick email to your landlord saves headaches later.
Check shared-system compatibility before buying.
For more on entry sensors that work well in rentals, see our guide on Aqara door and window sensors, which are also renter-friendly.
Pairing With the Rest of Your Smart Home
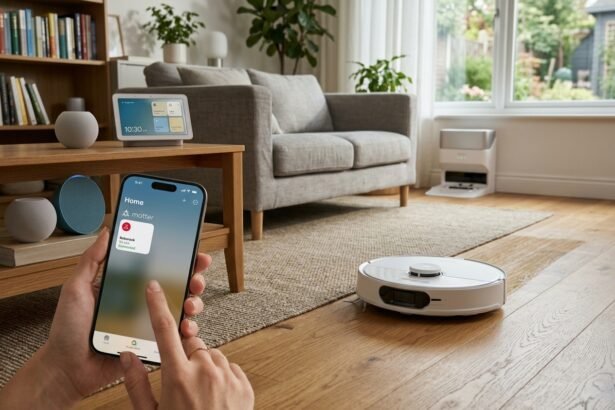
Moreover, a video doorbell gets more useful when it talks to your other devices. Most major brands integrate with Alexa, Google Home, or Apple HomeKit (check compatibility before buying, since it varies by model).
Useful automations include turning on porch lights when motion is detected at night, or unlocking a smart door lock with camera after you verify a visitor on video. These are the setups that make a doorbell feel like part of a system instead of a standalone gadget.
Even simple automations save daily hassle. Motion-triggered porch lights mean you never walk into a dark entryway.
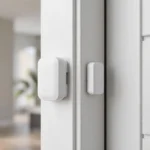
For a complete entry setup, pair the doorbell with door and window contact sensors that alert you when any entry point opens. Layered entry security catches what a single camera misses.
FAQs
Can I install a video doorbell if I’ve never had one before?
Yes. Battery-powered video doorbells are designed for exactly this situation. You mount the bracket with screws, snap on the doorbell, connect it to WiFi through the app, and add a plug-in wireless chime inside. Overall, the whole process takes about 30 minutes and needs no electrical knowledge.
Do I need WiFi for a video doorbell to work?
Yes, for the smart features. The doorbell needs a 2.4GHz WiFi connection to send phone alerts, stream live video, and save clips. Without WiFi, the button can still trigger a paired wireless chime, but you won’t get notifications or recordings. Test your front-door signal strength before mounting.
How long does a battery video doorbell last per charge?
It depends on activity. A quiet location gives 2 to 3 months. An average home gets 4 to 8 weeks. A busy porch with constant motion might need recharging every 2 to 4 weeks. Cold weather cuts battery life by 30 to 40 percent. Adjusting motion zones and sensitivity extends it significantly.
Can renters install a video doorbell?
Yes, using adhesive mounts that leave no holes. Brands like Blink and several third-party sellers offer no-drill mounting plates with outdoor adhesive. Pair it with a plug-in wireless chime. Check your lease first, then peel everything off when you move. It’s fully reversible.
What’s the best video doorbell without a subscription?
Eufy, Tapo, and Reolink offer local storage with no monthly fee. Eufy’s hub-based system is the most theft-resistant since footage stays inside your house. Ring, Nest, and Arlo require subscriptions for video history. Compare the two-year total cost, not just the sticker price.
Can I use my Echo or Google speaker as a doorbell chime?
Yes. Set up an Alexa routine or Google Home automation so your smart speakers announce “Someone is at the front door” when the button is pressed. This is free if you already own the speakers, and it works in every room where you have one.
What height should I mount a video doorbell?
About 48 inches (4 feet) from the ground. This puts the camera at chest height for most visitors, capturing faces clearly. Mounting higher gives you mostly the tops of heads. If your door is recessed or angled, use the wedge mount included with most doorbells to correct the angle.
Final Checklist Before You Buy
You’re ready. To sum up, pick a battery model from a brand whose app you trust, charge it fully, test your WiFi at the door, mount at 48 inches, and pair a wireless chime or smart speaker inside. Total time: under an hour. Total electrical skill required: zero.
The one thing I’d do differently: buy the wireless chime with the doorbell. Don’t finish the install only to realize the house is silent.