

LED light strip connectors are small clip or plug parts that join two cut pieces of strip, or join a strip to a power supply or controller, without soldering. Pick the right pin count and strip width, line up the copper pads with the connector pins, and you get a clean joint in under a minute.
- What a Connector Actually Does
- How LED Light Strip Connectors Work
- Connector Types by Pin Count
- Connector Shapes and When to Use Each One
- Solderless or Soldered: Which Should You Pick
- How to Install a Solderless Connector
- How to Pick the Right Connector Before You Buy
- Fixing Loose Connections and Wrong Colors
- Outdoor and Wet Area Connectors
- FAQs
- Can I join two different brands of strip with one clip?
- Do clip connectors work on waterproof strips?
- Why does my strip flicker only at the connector joint?
- Can I reuse a connector after removing it?
- Do I need connectors for a single straight run?
- Are soldered joints always better than clips?
- Final Thoughts
What a Connector Actually Does
Every LED strip is a thin circuit board with copper pads at regular cut points. When you cut a strip, you break that circuit. A connector bridges the gap again. Its metal prongs press against the copper pads on each side, so power and color signals can flow across the joint.
That simple job also covers a lot of real installs. You might need to turn a sharp corner, jump over a sink or a window frame, or use up two short offcuts instead of buying a new reel, for example. Connectors also let you take a run apart later. If a section fails, you can then swap it out instead of replacing the whole strip.
How LED Light Strip Connectors Work
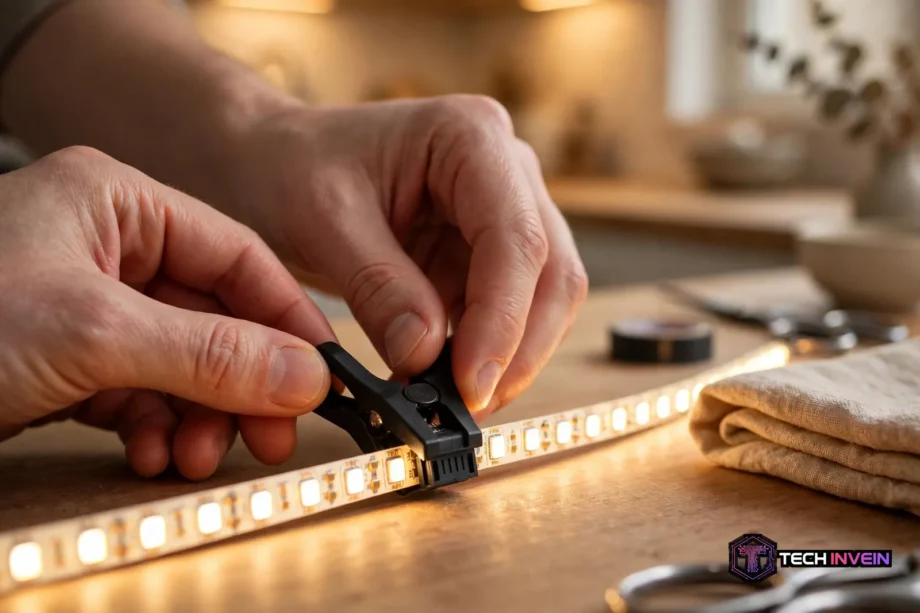
Most solderless connectors work the same way. You lift a small plastic flap or clip, slide the strip end in until the copper pads sit under the metal prongs, then snap the flap shut. The flap then holds the strip flat so the prongs keep steady pressure on the pads.
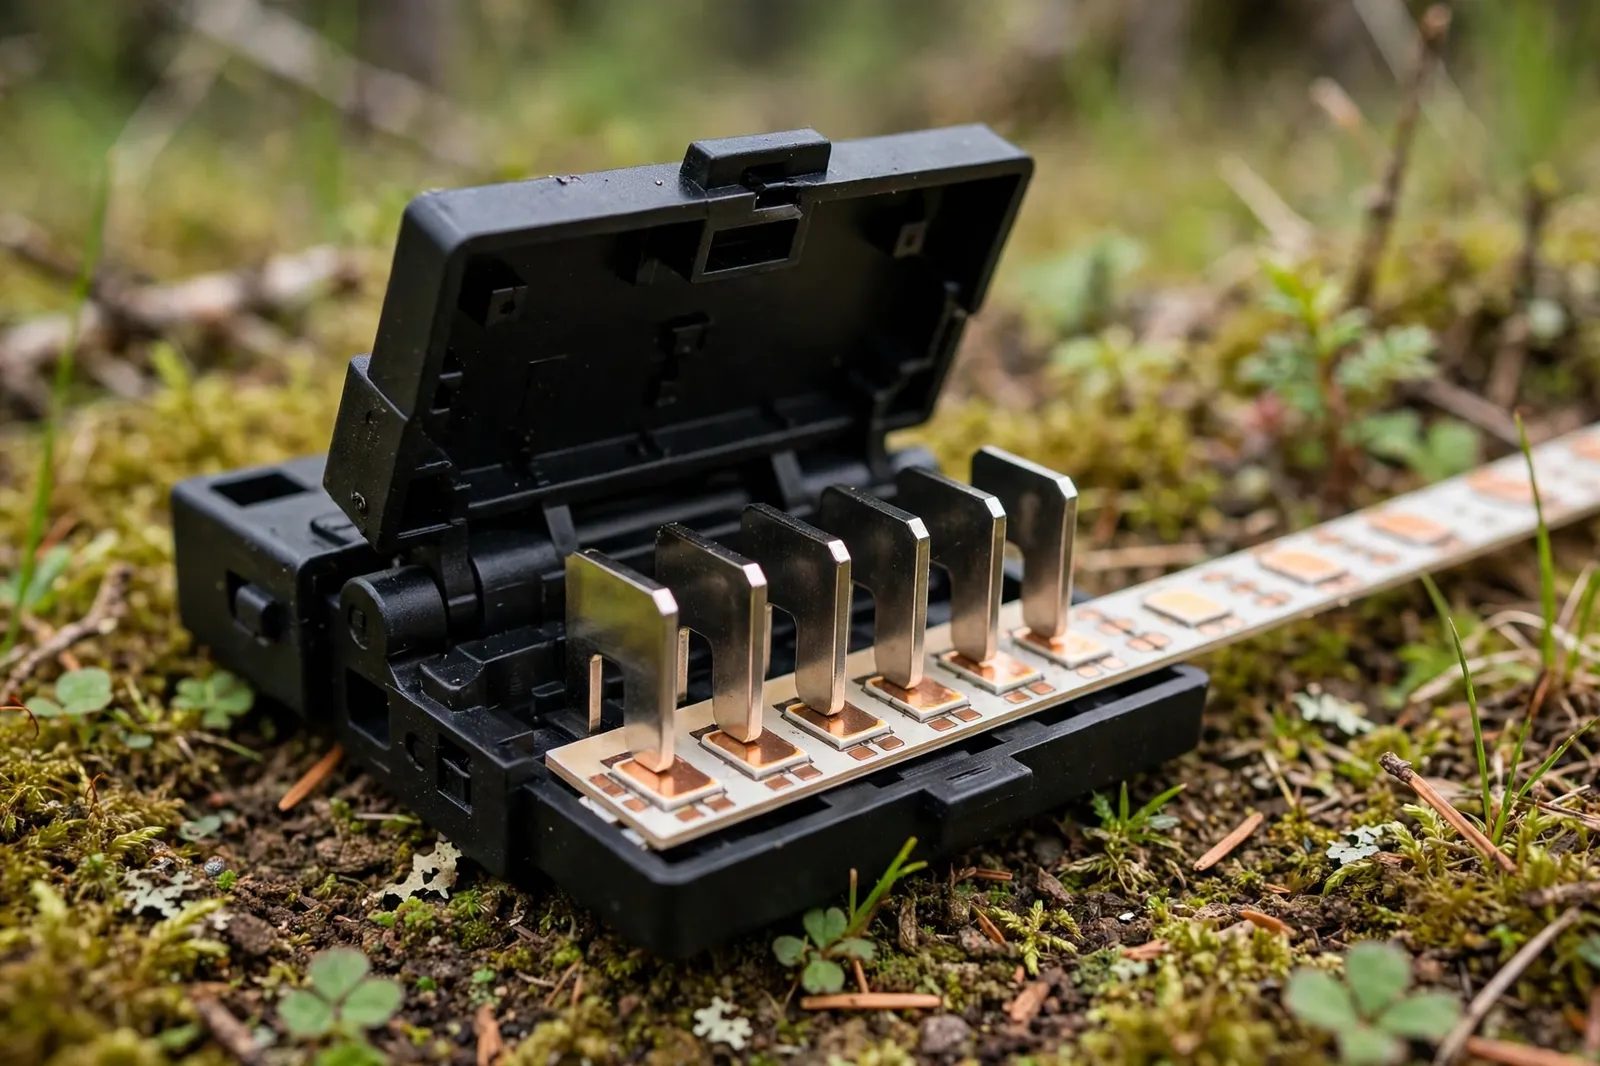
Polarity matters at every joint. Single color strips have a positive and a negative side, usually marked with plus and minus signs. Color strips add letters for each channel, such as R, G, and B. The markings on the strip must match the markings on the connector, and they must match again on the next piece of strip. Flip one side and you will instead get no light, or the wrong colors.
So why do some joints fail while others last for years? In most cases it comes down to contact. A pad that sits on top of a prong instead of under it, a pad covered in adhesive, or a strip that was pushed in at an angle will all give you flicker or a dead section. So get the contact right and the rest of the install gets much easier.
Connector Types by Pin Count
The pin count is not a quality rating. It simply matches the number of electrical channels your strip uses. First count the copper pads on your strip, then buy a connector with the same number of pins. A connector with too few pins leaves a channel dark. One with too many will still not fit right, or will leave a pin touching nothing.
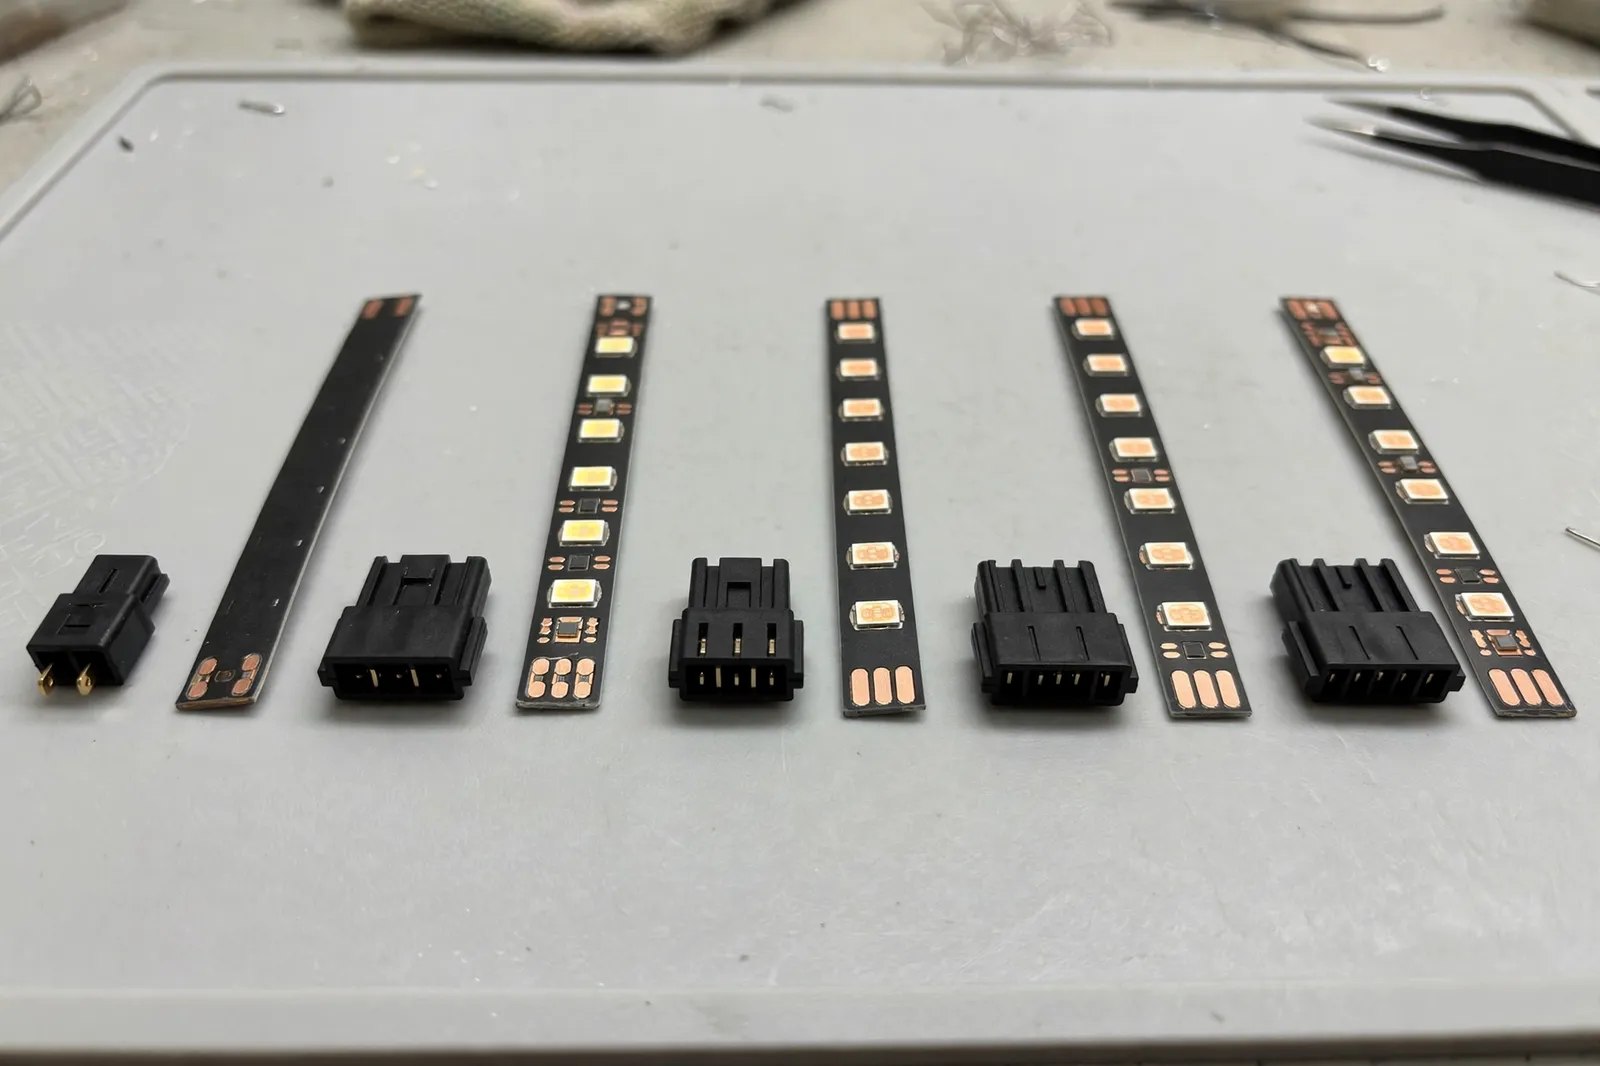
Table: Connector pin counts by strip type
| Strip type | Pins needed | What each pin carries |
|---|---|---|
| Single color | 2 | Positive and negative |
| Tunable white (CCT) | 3 | Positive, warm white, cool white |
| RGB | 4 | Positive, red, green, blue |
| RGBW | 5 | Positive, red, green, blue, white |
| RGB plus tunable white | 6 | Positive, red, green, blue, warm, cool |
| Addressable (such as WS2812B) | 3 | Positive, ground, data |
Addressable strips deserve a special note. They look like ordinary strips, but the data pin still carries a signal that tells each LED what to do. A standard 4 pin RGB connector won’t work on them, even if it seems to fit. Check the strip type before you order, not just the width.
Width matters just as much as pin count. Most home strips are 8 mm, 10 mm, or 12 mm wide, and the connector must match that width exactly. A 10 mm strip won’t sit flat in an 8 mm connector, and a loose fit in a 12 mm connector will also wobble and lose contact. Measure the strip with a ruler if the packaging doesn’t say. Manufacturer guidance from Armacost Lighting covers the same tape-to-wire and tape-to-tape styles used in this guide.
Connector Shapes and When to Use Each One
Straight connectors join two strip ends in a line. They are the right pick when you need a longer run and you still have room to keep going straight. Use them to join two offcuts, or to extend a run to the end of a shelf.
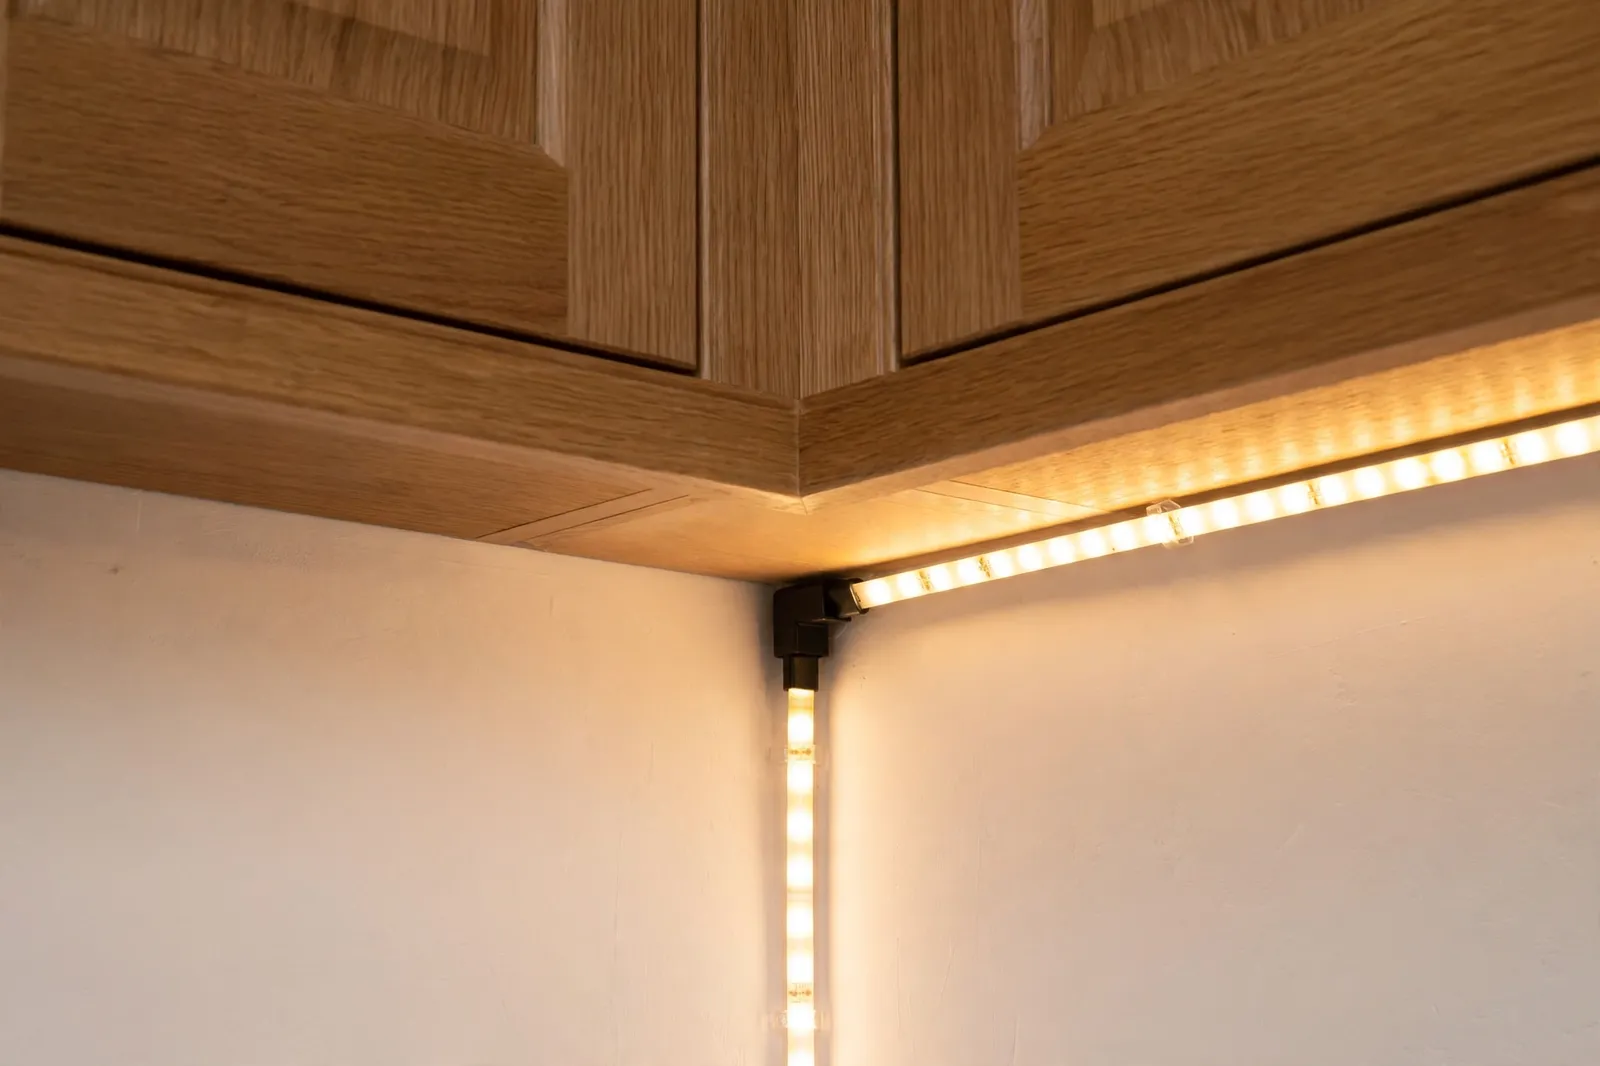
L shaped connectors turn a 90 degree corner without folding the strip. Folding a strip hard at a corner can crack the circuit board, and a cracked board gives you a dead section that is hard to diagnose. An L connector instead keeps the board flat and the joint tidy. Corners under kitchen cabinets are a classic case, since the run often turns at the end of a cabinet bank.
Jumper connectors have a length of wire between two strip ends. They bridge gaps that a straight connector can’t cross. Think of the space above a sink, a window frame, or a cooker hood where no strip should sit. A jumper then lets the light continue on the other side without a visible strip crossing the gap.
Wire to wire connectors join two lengths of low voltage wire. They are useful when you need to extend a power lead, but they don’t touch the strip itself.
Solderless or Soldered: Which Should You Pick
Solderless connectors win on speed and ease. No iron, no fumes, and no skill needed, so anyone can do it. You can finish a joint in a minute, test it right away, and then redo it if it fails. For renters, beginners, and anyone who may move the strip later, that flexibility is hard to beat.
Soldered joints win on durability. A soldered connection can’t work loose from vibration, heat, or a curious tug, because the metal itself holds it. It also handles higher current better, which matters on long, bright runs. The trade off is skill and time. You need an iron, steady hands, and a willingness to redo a joint that looks messy.
Here is a fair way to choose. First use solderless connectors for indoor runs you may change, for short runs, and for any joint you want to test before you commit. Use solder for permanent outdoor runs, for joints inside walls or ceilings where you can’t reach them later, and for high power runs where a loose joint could overheat.
If you would rather skip clips entirely and solder your corners, that approach has its own technique. guide to soldering strip corners without connectors walks through the corner method step by step, so you can compare the two approaches before you commit to one.
How to Install a Solderless Connector
Start with the power off. Unplug the power supply before you touch any joint.
First, cut only on a marked cut line. Every strip has scissor marks or a line across the copper pads. Next, cut straight across the center of the pads with sharp scissors.
Now the step most people skip, and the one that causes the most failed joints. Peel back the adhesive backing at the very tip of the strip, just enough to expose clean copper. If the sticky backing slides into the connector with the strip, it sits between the pad and the prong like a thin insulator. The joint may light up at first, then flicker or die as the strip shifts, because the adhesive blocks the contact. Peel it back, and you remove the most common hidden cause of a dead joint.
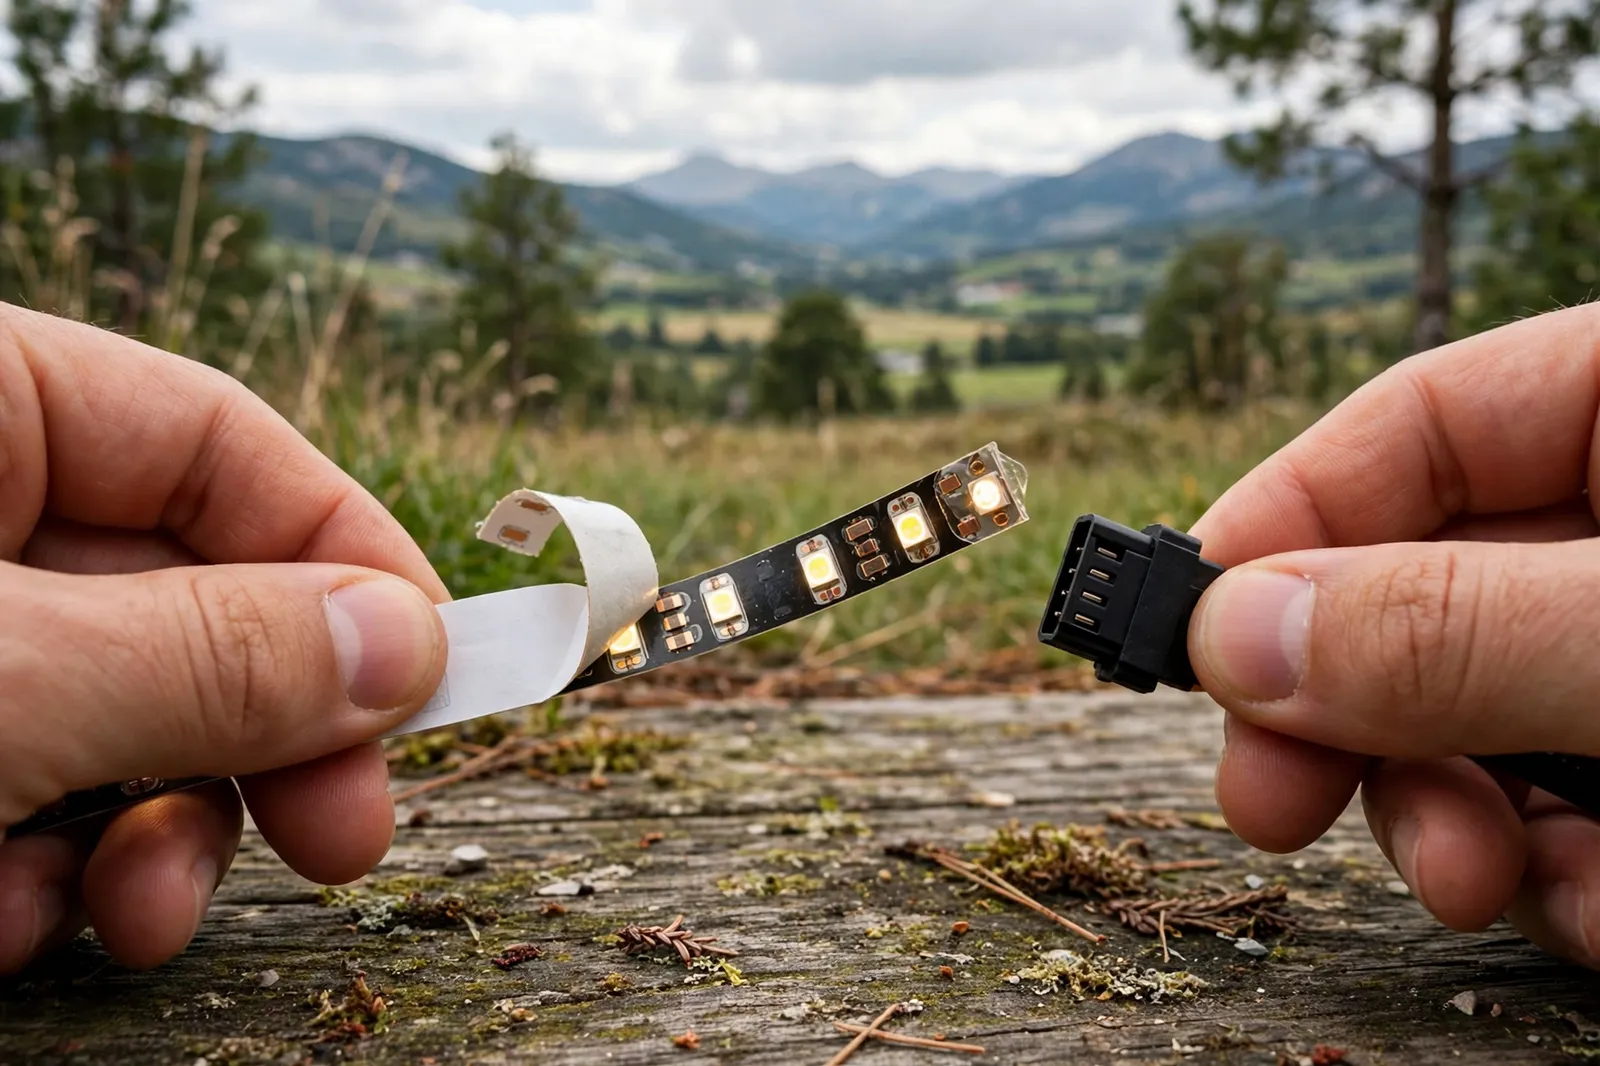
Slide the strip into the connector with the pads facing the prongs, and push it in until the pads sit fully under the prongs. The cut edge should reach the back of the connector housing. Then close the flap firmly. Then do a gentle pull test: tug the strip lightly. It should not move, so if it does, push the strip in further. If it slides out, open the flap, push the strip in further, and close it again.
- Switch the power off and unplug the supply.
- Cut on a marked line, straight across the copper pads.
- Peel the adhesive backing away from the strip tip.
- Slide the strip in, pads under the prongs, until it stops.
- Snap the flap shut and do a gentle pull test.
- Power up and test all colors before mounting.
For a tidy finish, a channel can hide the joint. aluminum channel guide explains how channels and diffusers work with strip installs, including where a connector joint fits inside a channel.
How to Pick the Right Connector Before You Buy
Buying connectors feels simple until you face a wall of nearly identical listings. Run through this short checklist and you will also avoid most wrong orders.
- Count the copper pads on your strip, and match the pin count exactly.
- Measure the strip width in millimeters, and match the connector width exactly.
- Also check the strip voltage, 12V or 24V, and make sure the connector is rated for it.
- Decide the shape you need: straight, L corner, jumper, T, or strip to wire.
- For outdoor or bathroom runs, pick a waterproof rated connector and seal the joint.
- Buy a few spares. A spare clip turns a failed joint into a two minute fix.
Long runs bring a second problem that no connector can solve on its own. As current travels down a strip, voltage drops, and the far end goes dim. The fix is to feed power at more than one point along the run, a technique called power injection. power injection calculation guide shows how to work out where extra feeds are needed, so a dim far end doesn’t get blamed on a good connector.
Fixing Loose Connections and Wrong Colors
Start with the simplest checks. First, is the power supply plugged in, and is the controller switched on? It sounds obvious, but a loose barrel plug at the controller looks exactly like a dead strip. So push every plug fully home before you open a single connector.
If one section is dark while the rest works, the fault is almost always at the joint feeding that section. Open the connector, check that the pads sit under the prongs, and look for adhesive or dirt on the pads. Wipe dirty pads gently with a cloth and a little rubbing alcohol, let them dry, and then reseat the strip. Most dead sections come back to life at this step.
Flicker has a few causes, and the joint is only one of them. A loose clip, a dimmer that doesn’t suit the strip, or an overloaded power supply can all flicker. Work through the joint first, since it is free to check, and then look at the dimmer and supply. If your lights flicker mainly when dimmed, guide to flickering when dimmed walks through the dimmer and switch causes in detail.
Wrong colors point to a channel mix up. If red shows as green, two channel pins are swapped. Next, open the connector and check the letter markings on both sides. On a 4 pin RGB strip, the order is usually positive, red, green, blue, but some strips reverse it. Match the letters, not the wire colors, since wire colors vary between brands.
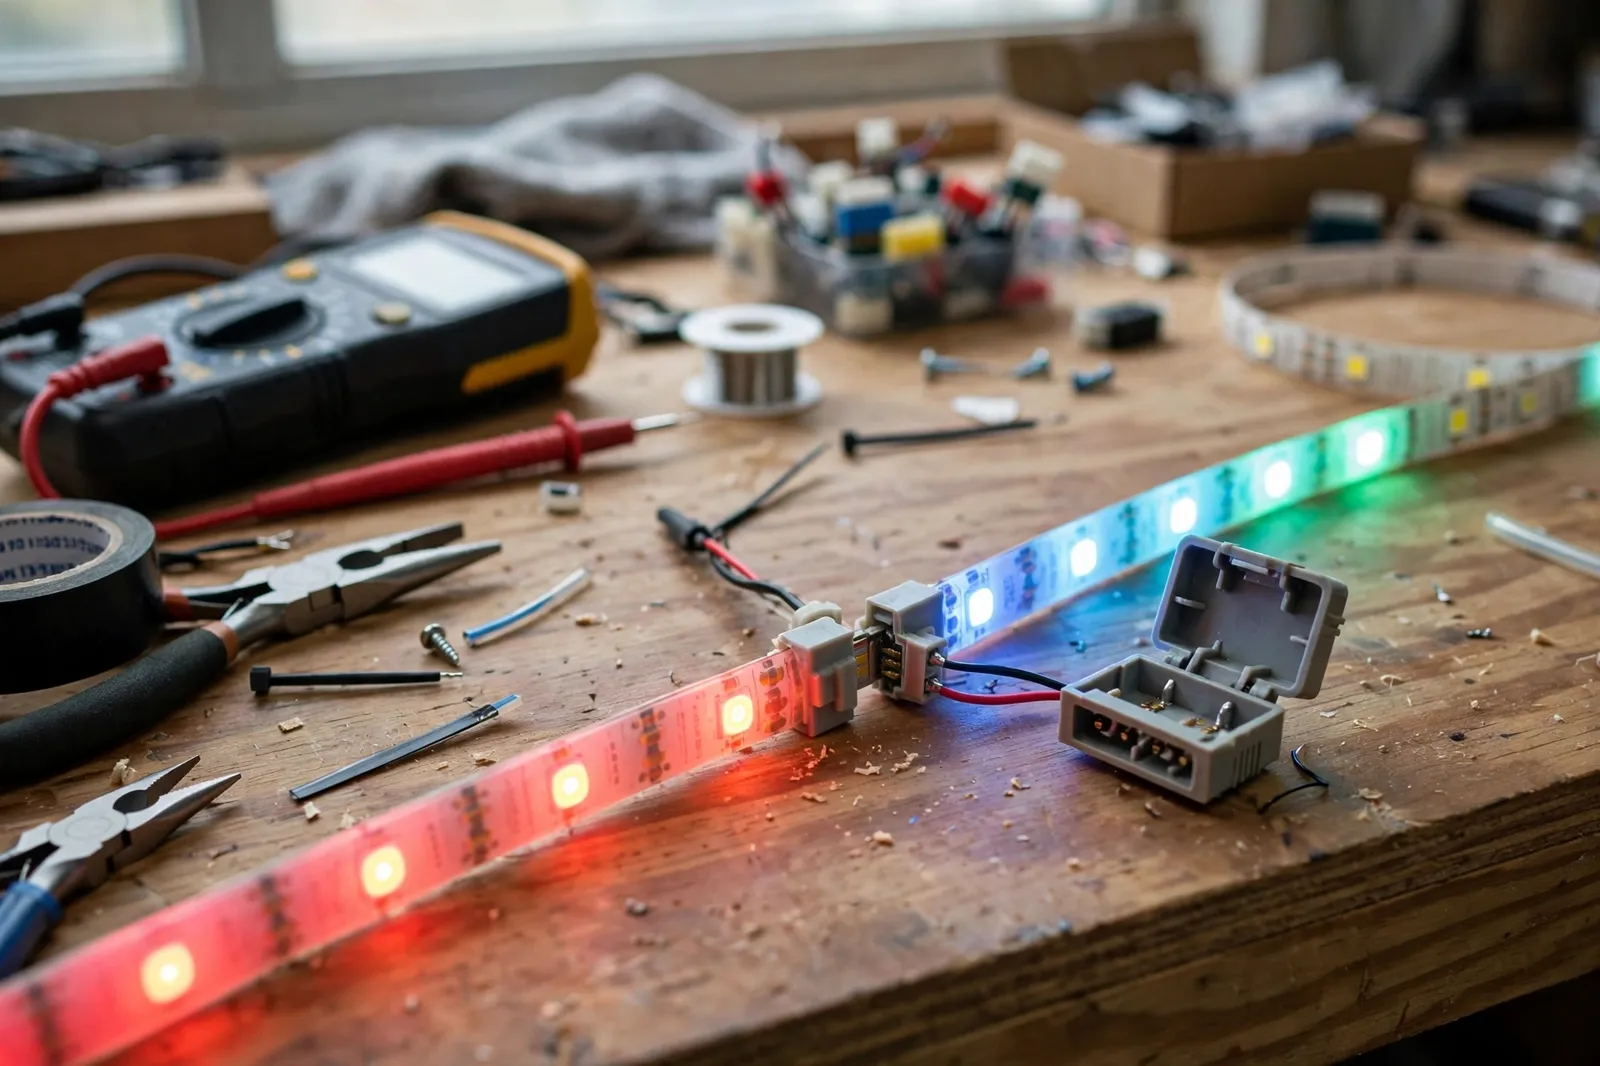
If a joint keeps failing after two reseats, then stop reseating it. Cut the strip back to the next cut line and start with a fresh end. Repeated opening and closing wears the flap, and a worn flap will never hold pressure well. Fresh copper and a fresh clip solve more stubborn faults than patience does.
Outdoor and Wet Area Connectors
Indoor clip connectors are not waterproof, even if they look sealed. Water gets into the flap, corrodes the prongs, and so the joint fails within weeks outdoors. For patios, gardens, and bathrooms, use connectors rated for wet use, such as IP65 or higher, and seal each joint with heat shrink tubing or silicone filled caps made for the job.
Also think about where the joint sits. Mount joints where water can’t pool, and leave a small drip loop in the wire so water runs off instead of into the connector.
FAQs
Can I join two different brands of strip with one clip?
Yes, if the pin count, strip width, and voltage match. Brands differ in wire colors and pad layout, so match the letter markings on each strip rather than trusting wire colors. Test the joint before mounting, and check every color channel, since a channel mismatch only shows up on certain colors.
Do clip connectors work on waterproof strips?
They can, but you must remove the silicone coating over the copper pads first. Scrape or cut the coating away gently until bare copper shows, then insert the strip as normal. After testing, seal the joint with heat shrink or silicone, or water will creep in and corrode the contact over time.
Why does my strip flicker only at the connector joint?
A flicker at one joint almost always means weak contact. Open the clip, check for adhesive on the pads, and reseat the strip so the pads sit fully under the prongs. If flicker returns after reseating twice, replace the clip. A worn flap or bent prong won’t hold steady pressure.
Can I reuse a connector after removing it?
Yes, if the flap still snaps shut firmly and the prongs are straight. Open it gently, remove the strip, and inspect the prongs before reuse. If the flap feels loose or a prong is bent, throw it away. A reused clip that fails will cost more time than a fresh one costs money.
Do I need connectors for a single straight run?
No. A single uncut run needs only its power lead at one end. Connectors come in when you cut the strip, turn a corner, bridge a gap, or join two pieces. Skipping unneeded joints also removes future failure points, so keep the run whole wherever the layout allows it.
Are soldered joints always better than clips?
Not always. Soldered joints last longer and handle vibration better, but they take skill and time, and they are hard to undo. Clips are better for testing layouts, rented homes, and joints you may need to reach again. Pick solder for permanent hidden joints, and clips for everything you may change.
Final Thoughts
Good connectors are a small part with an outsized effect on your install. Match the pin count, match the width, keep the pads clean and under the prongs, and then test before you mount. Most joint problems trace back to one of those four steps, and all four take seconds to get right.
Kitchen cabinet runs are a great first project for practicing with clips, since they mix straight runs, corners, and gaps in one small space. under cabinet install guide covers the full layout, from measuring to mounting, and it pairs well with the connector skills in this guide.
Start with a few spare clips, one straight run, and one corner. Once both joints pass the pull test and the color test, you will then have the confidence to wire the rest of the room without a soldering iron in sight.