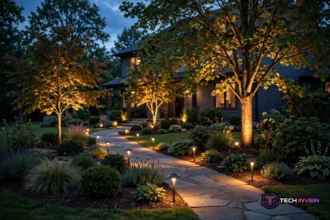


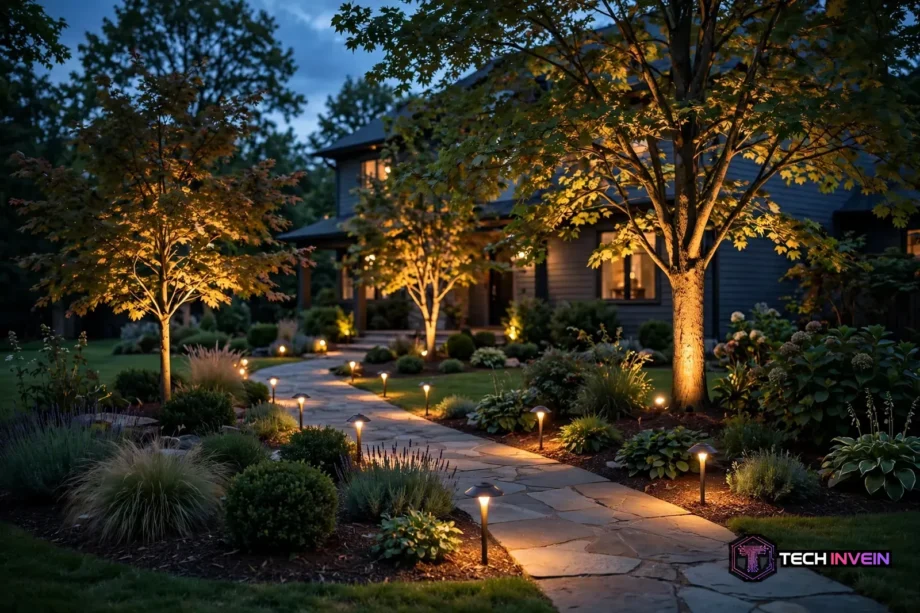
Learning how to install low voltage landscape lighting is a weekend job most homeowners can handle with basic tools. You plan the layout and mount a transformer by an outdoor outlet. Next, you run cable to each fixture, connect the lights, and test at dusk before burying anything.
- Plan Before You Dig
- Pick Your Fixtures and Cable
- Gather Your Tools and Materials
- How to Install Low Voltage Landscape Lighting Step by Step
- Step 1: Mark Utilities and Set Out Fixtures
- Step 2: Do a Night Test Before You Commit
- Step 3: Mount the Transformer
- Step 4: Run the Cable
- Step 5: Connect Each Fixture
- Step 6: Test the System at Dusk
- Step 7: Bury the Cable
- Step 8: Set Timers and Automation
- Fixing Dim Lights and Other Common Problems
- FAQs
- Do I need an electrician for this job?
- How deep should the cable go?
- Why is the last light dimmer than the first?
- What wire gauge should I use?
- Can I add more lights later?
- How do I keep lights on only after dark?
- Final Thoughts
Plan Before You Dig
Good lighting starts on paper, not in the garden. Walk your yard after dark with a flashlight and note what you actually want to see. A dark path needs steady pools of light. A tree looks best with one uplight at its base. Your front door needs a welcoming glow, not a floodlight that blinds visitors.
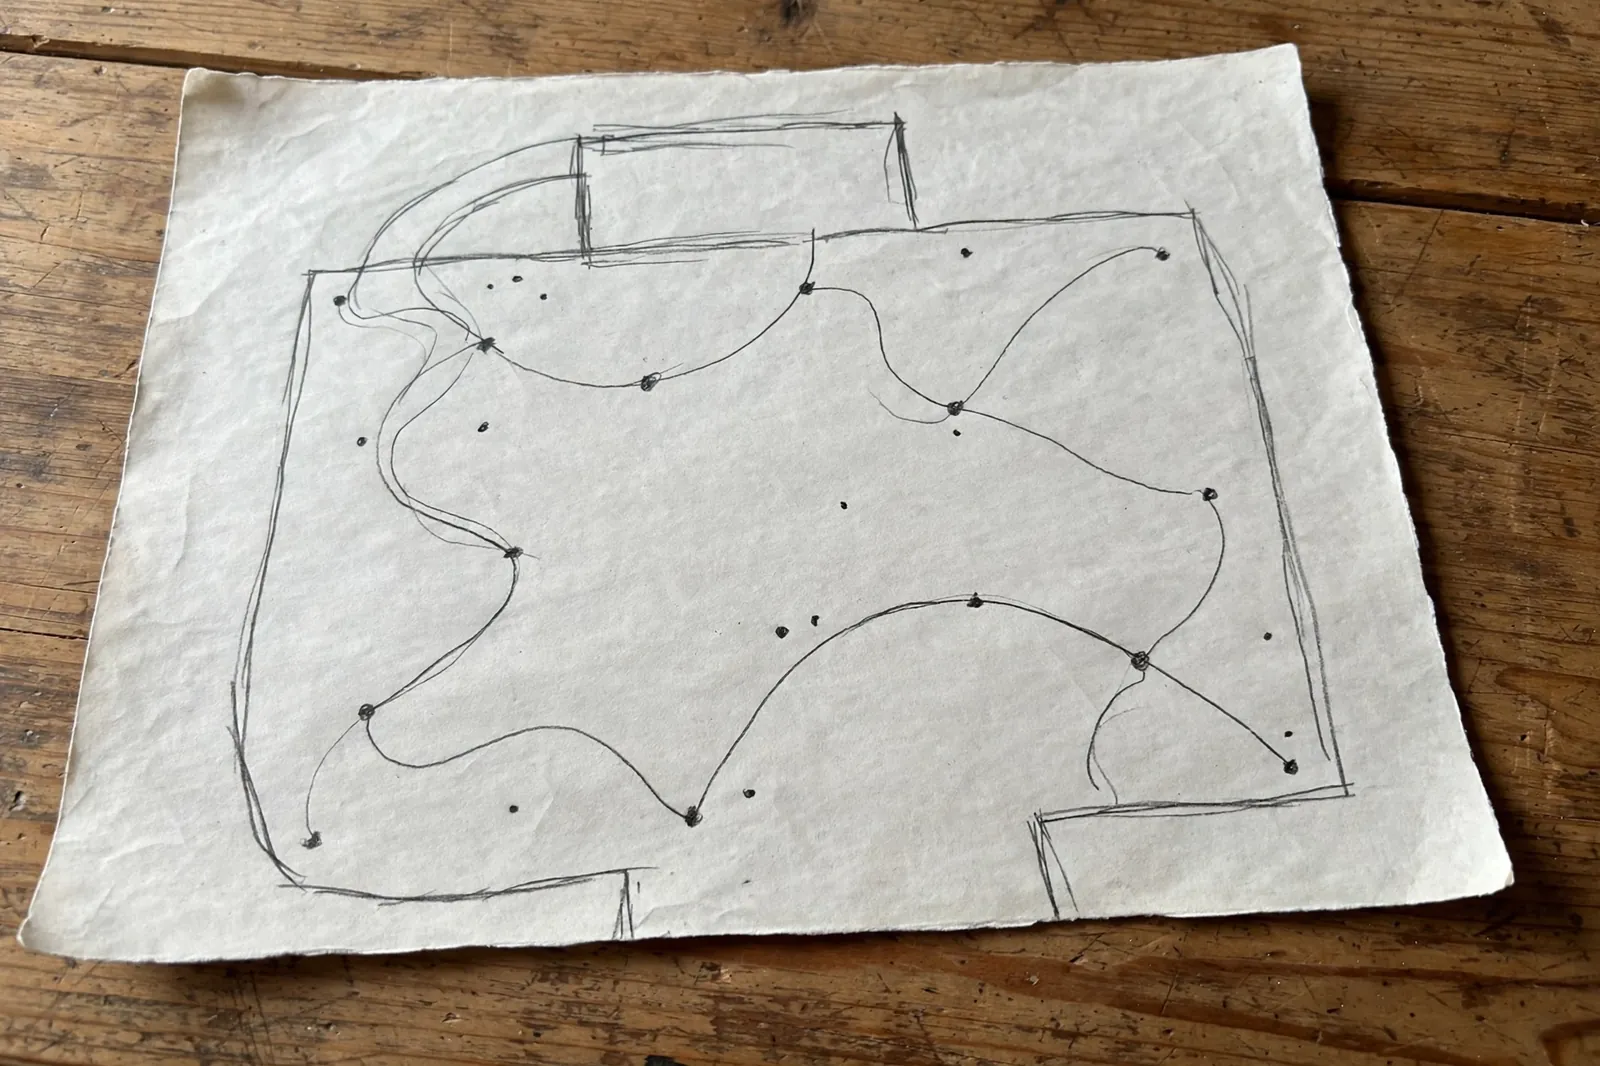
First, sketch a simple map of your yard on a sheet of paper. Mark the outdoor outlet you will use, then mark each fixture spot with a dot. Draw the cable route from the transformer to each group of lights. Keep runs as short and straight as you can.
Next, count your fixtures and add up their wattages. That total decides the transformer size you need, with about 20 percent spare capacity for future lights. This guide covers the install itself. For the full sizing math, read our guide to low voltage transformer sizing for landscape lighting before you buy anything.
Before you dig anywhere, call your local utility marking service and mark any buried lines on your map. Low voltage cable goes only a few inches down. Even so, a shallow dig can still nick an irrigation pipe or a buried cable you forgot about.
Pick Your Fixtures and Cable
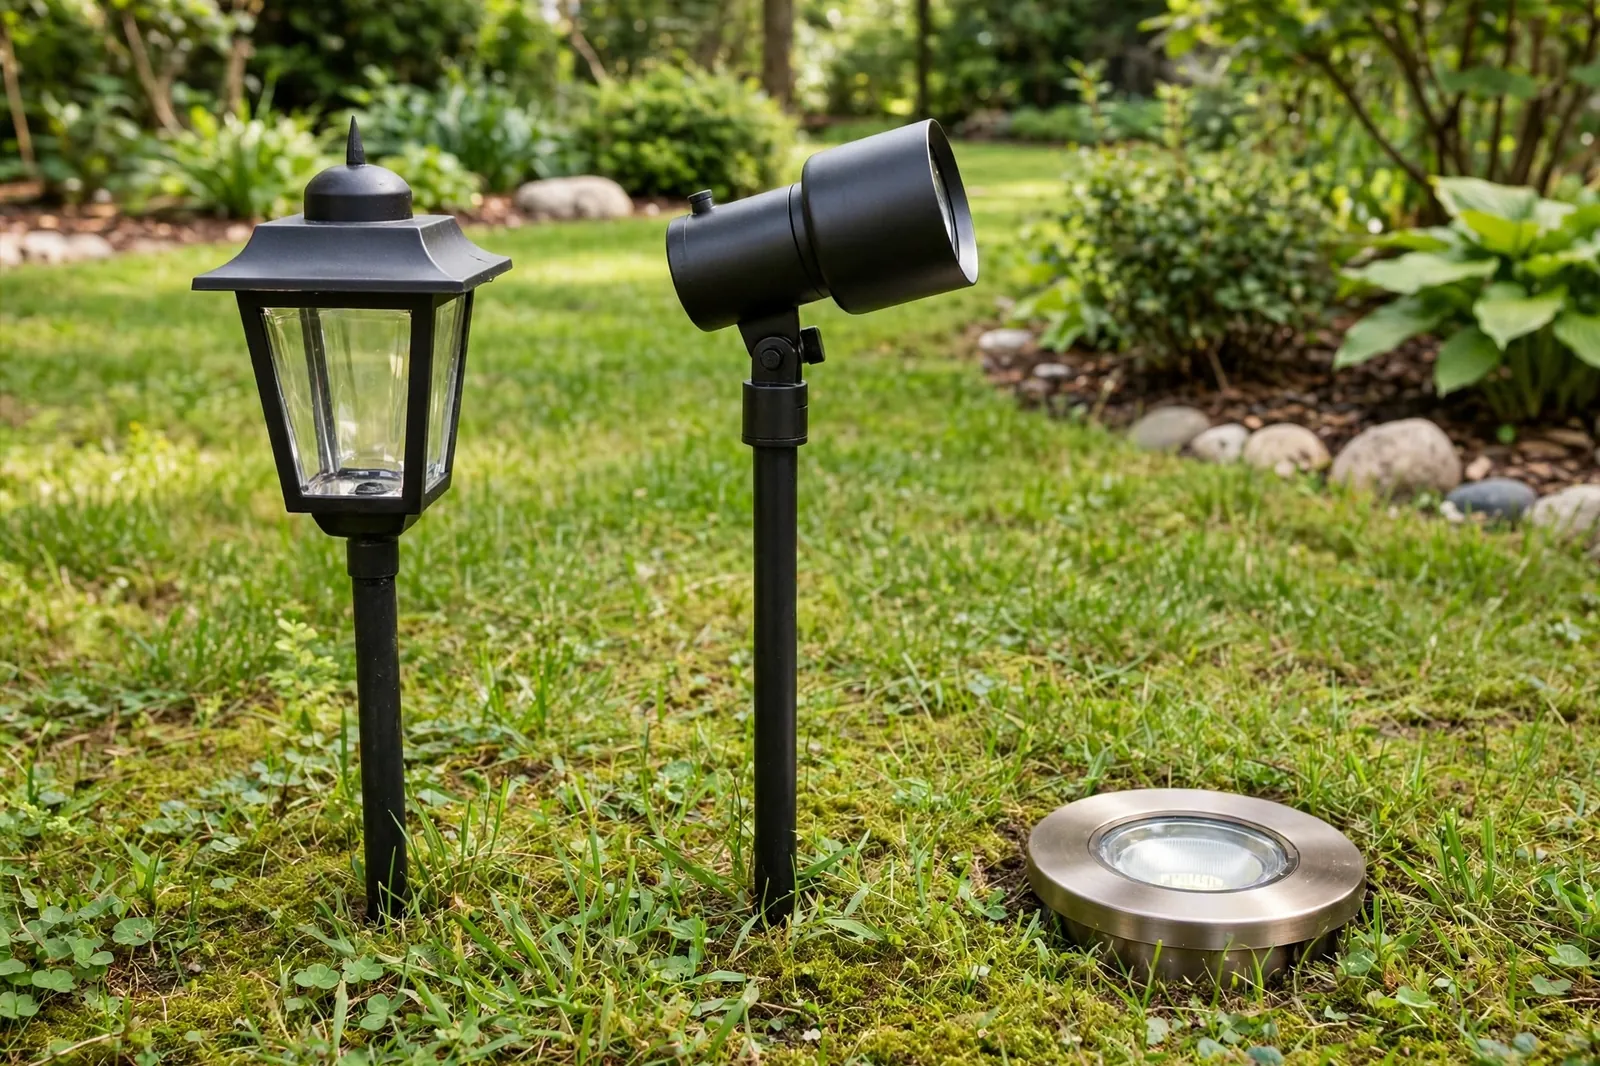
For example, path lights spread a soft circle of light along walkways and driveways. Spotlights throw a narrow beam up at trees, walls, and architectural features. Well lights sit flush in the ground and wash a wall or a hedge from below. Deck lights tuck into steps and rails so nobody trips after dark.
Most modern fixtures use LEDs, which draw very little power. A typical path light might use 2 to 4 watts, while a spotlight often uses 7 to 15 watts.
For fixtures along a walkway, first check our roundup of the best smart outdoor pathway lights with no wiring is worth a look if you want a few wire-free lights mixed in with your wired system.
Cable gauge matters more than most beginners expect. Thicker cable carries power further with less voltage drop, so long runs and heavy loads need 12-gauge or 10-gauge cable. Short runs with a light LED load can get by on 14-gauge or 16-gauge. Still, thin kit cable is the most common cause of dim lights at the end of a run.
Table: Fixture types and where they work best
| Fixture | Best for | Typical wattage |
|---|---|---|
| Path light | Walkways and driveways | 2 to 4 watts |
| Spotlight | Trees, walls, and features | 7 to 15 watts |
| Well light | Washing walls and hedges | 5 to 12 watts |
| Deck light | Steps and rails | 1 to 3 watts |
Gather Your Tools and Materials
- Transformer with a timer or photocell, sized for your total wattage plus spare capacity
- Direct burial low voltage cable in the right gauge for your longest run
- Fixtures, stakes, and bulbs if your fixtures do not include them
- Waterproof wire connectors rated for direct burial
- Flat spade or trenching shovel, wire strippers, and a screwdriver
- Multimeter for checking voltage at the last fixture on each run
- Electrical tape, cable flags or small stakes, and a tape measure
Also buy waterproof connectors, not standard wire nuts. Standard connectors corrode outdoors. A corroded joint is the usual reason a whole run of lights dies one damp autumn. Silicone filled connectors cost a little more, but they keep water out for years. Cheap insurance.
How to Install Low Voltage Landscape Lighting Step by Step
Work in this order. You will avoid the classic beginner error, which is burying cable before testing. Every step below assumes the transformer is unplugged until the test step. Keep it that way. Live testing comes later, and only after every connection is made and checked.
Step 1: Mark Utilities and Set Out Fixtures
Start by confirming your utility marks are in place. Check they sit clear of your planned cable routes. Then lay every fixture on the ground at its planned spot, still unconnected.
For instance, space path lights about 6 to 8 feet apart along a walkway. Closer spacing gives an even wash of light with no dark gaps. Wider spacing saves fixtures but leaves pools of darkness between them. For uplighting a tree, set the spotlight about 1 to 2 feet from the trunk. After that, tilt it up into the canopy.
Step 2: Do a Night Test Before You Commit
Here is the step most people skip. It is also the one that saves the most rework. Wait until dusk. After that, place a battery torch or a temporary light at each fixture spot and step back to the street or the patio. You will see glare, dark gaps, and badly aimed beams at once, while moving a fixture still takes seconds.
Also check the view from inside the house too. A spotlight that looks fine from the garden can shine straight into a bedroom window. Aim beams away from windows and seating areas, and use shields or lower wattage bulbs where glare shows up.
Step 3: Mount the Transformer
Mount the transformer on a wall or a sturdy post. Put it close to a weatherproof GFCI outdoor outlet. Most makers ask for at least 12 inches of clearance above the ground. Leave about a foot of clear space around the unit for airflow.
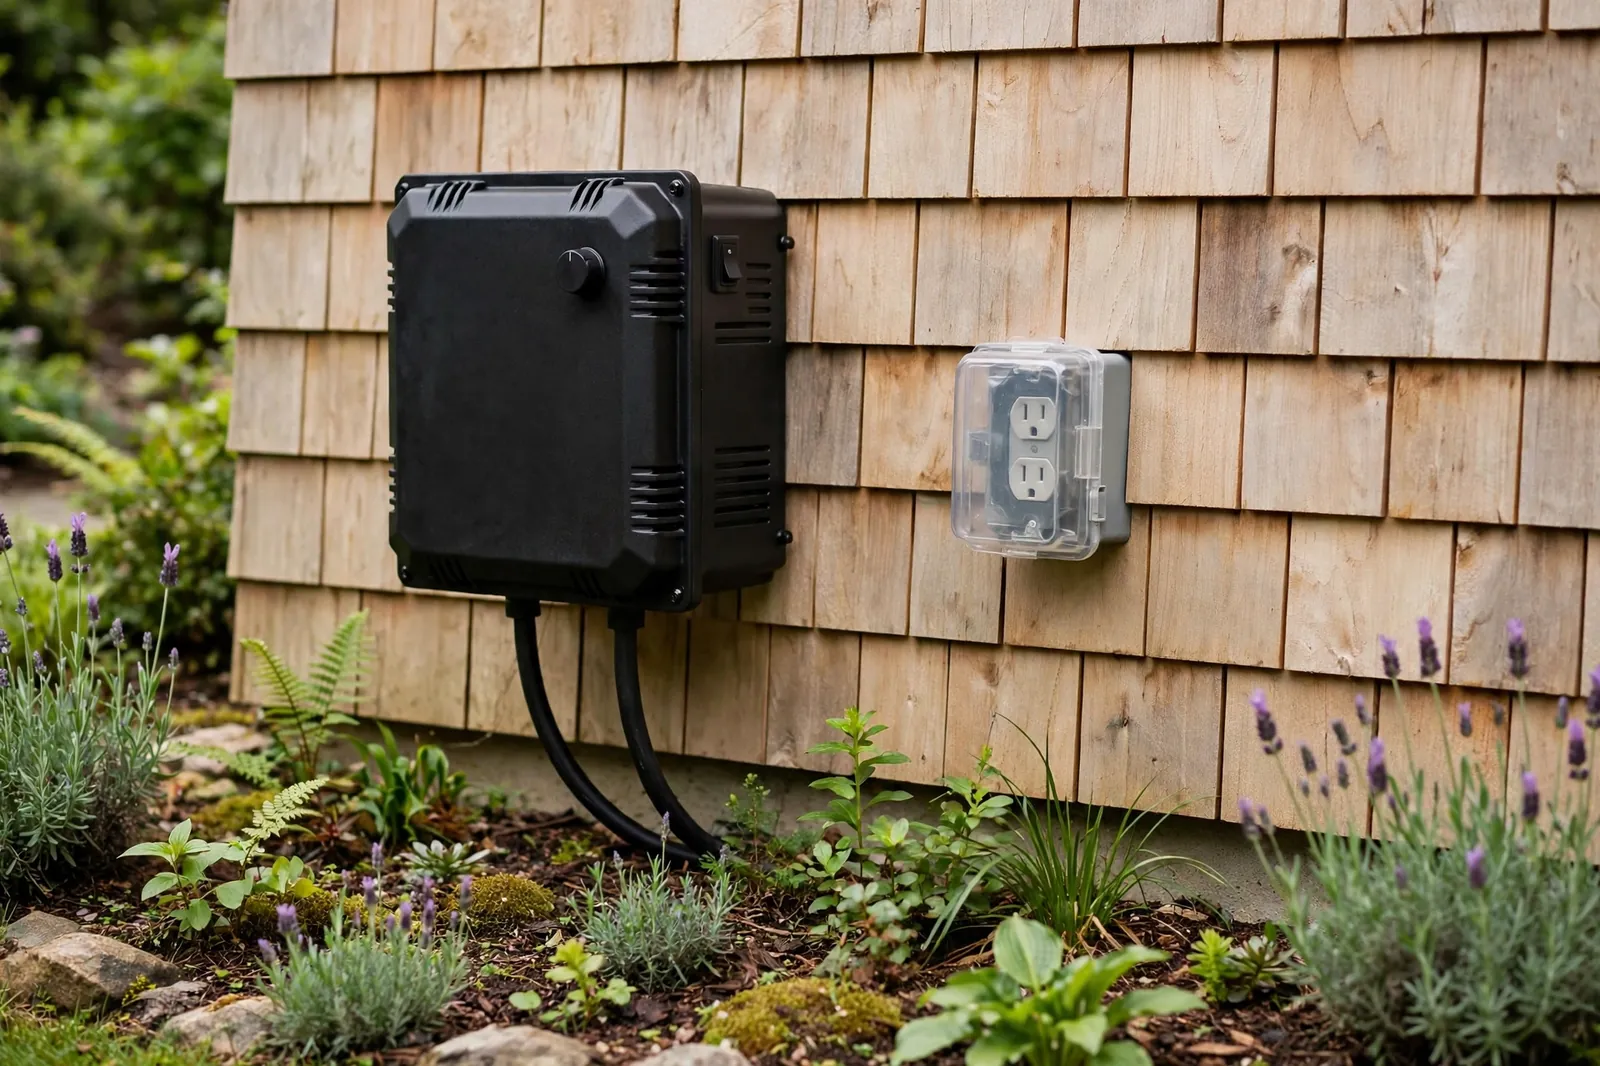
Fix it with the screws supplied. Plug it in only when the instructions say to test, and leave it switched off while you wire. If your transformer has multiple voltage taps, start on the 12 volt tap. You can move a dim run to a higher tap later, after you measure voltage at the far fixture.
Step 4: Run the Cable
Lay the main cable along your planned route from the transformer to the first fixture. From there, carry it on to each fixture in turn. Leave about 18 inches of slack at every fixture spot. That slack lets you shift a fixture later without digging up the whole run. It also gives you spare cable if a connector ever needs redoing.
In a hub layout, one main cable feeds a central point. Shorter cables then branch to nearby fixtures, which beats a long daisy chain for big yards. Shorter branches mean less voltage drop, so the last light stays nearly as bright as the first.
For a detailed walkthrough of cable layouts and burial depth from a lighting maker, see the VOLT Lighting step by step installation guide.
Step 5: Connect Each Fixture
At each fixture, strip a small section of the main cable. Next, join the fixture wires with a waterproof connector, following the maker instructions for your connector type. Low voltage landscape wiring has no polarity to worry about, so either wire can join either side of the cable. Push the connection firmly closed, then wrap it with electrical tape for extra protection.
Then work one fixture at a time and keep a simple checklist on your map. Tick each fixture off as you connect it.
Step 6: Test the System at Dusk
Now plug in the transformer and switch the system on. Walk the whole yard and check every fixture. Look for lights that stay dark, flicker, or glow dimmer than their neighbours.
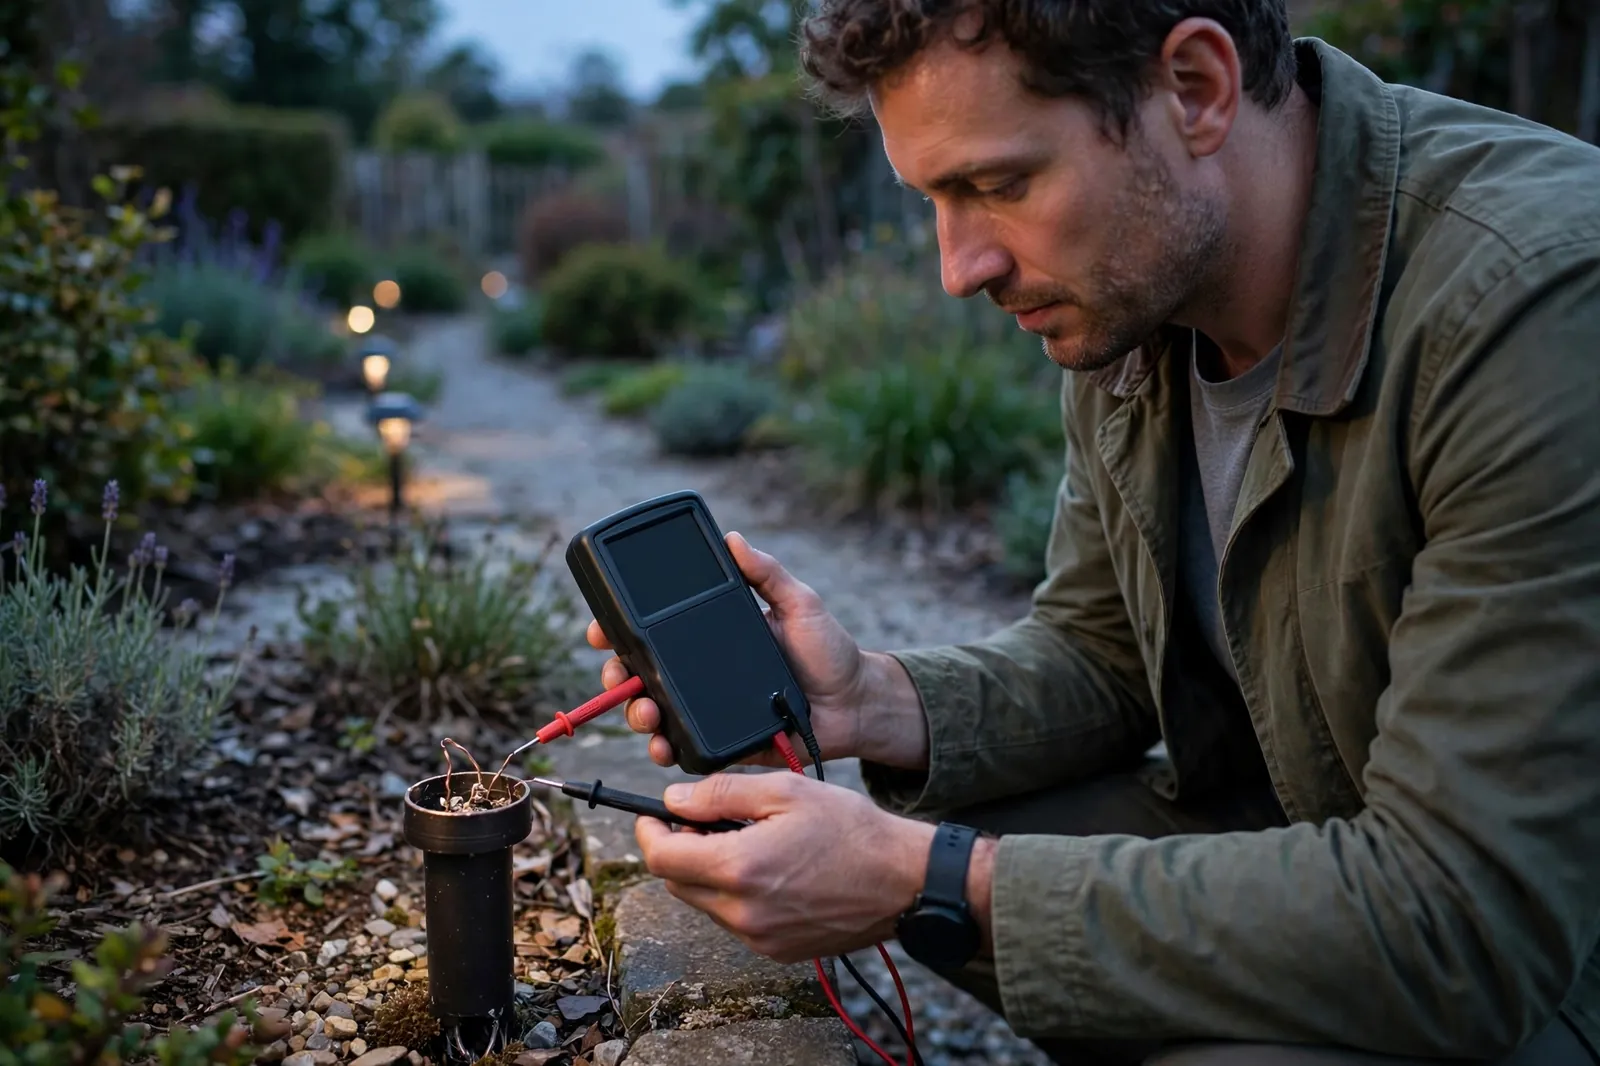
This is also the moment for the one measurement that separates a tidy install from a guess. Set your multimeter to AC volts and check the voltage at the last fixture on each run. You want roughly 11 to 12 volts there. If it reads well under 11 volts, move that run to a higher tap on the transformer. Or split the run into two shorter ones.
For spotlights, compare beam styles before you lock anything down. Our look at smart landscape spotlights as a Philips Hue Lily alternative shows how colour and beam width change the night look of a tree or a wall. A narrow beam suits a tall tree, while a wide wash suits a low hedge.
Finally, aim each spotlight now, while the system is live and you can see the result. Tilt uplights so the beam hits the canopy, not the sky. After that, angle path lights slightly forward along the walk so light lands ahead of each step.
Step 7: Bury the Cable
Cut a narrow slit in the lawn with a flat spade, about 6 inches deep. Next, press the cable into it. In garden beds, aim for 6 to 12 inches so aerators, edgers, and garden forks stay clear of it. Close the slit by pressing the turf back down with your foot.

Also take photos of every cable route before you close the trenches. That photo set is my original tip from my own install, and it has paid off more than once. When I later dug a new bed, the photos showed exactly where the cable ran. I therefore dug around it instead of through it. Store the photos with your fixture map.
Where cable must cross a path or driveway, run it through conduit to protect it from weight and wear.
Step 8: Set Timers and Automation
Set the transformer timer or photocell so lights come on at dusk. For front yard lights, off at around midnight is a sensible choice.
Smart control takes the same system further. Our guide to automating outdoor lights for sunset and sunrise with Home Assistant shows how to tie wired outdoor lights to sunset times, so they track the seasons without you touching a timer. That setup suits lights you want on every night without fail.
Test any timer setting for a week before you trust it. Watch whether lights switch on at the right dusk time and off when you expect. A week of normal evenings shows timing slips that a single night never reveals.
If you only want lights when someone is actually outside, a sensor setup may suit you better than an all night schedule. See how to set up a motion sensor light that only turns on at night for paths and side gates.
Fixing Dim Lights and Other Common Problems
A whole run gone dark usually means a tripped GFCI outlet or a failed transformer fuse. So check those first before you dig anything up. Reset the outlet, check the transformer display or fuse, and test again.
Dim lights at the end of a run point to voltage drop. Shorten the run, switch to thicker cable, or move the run to a higher transformer tap.
Still, flickering often comes from a loose or corroded connector, not a faulty bulb. Open the connector, clean the wires, and remake the joint with a fresh waterproof connector.
Table: Quick troubleshooting guide
| Symptom | Likely cause | First fix to try |
|---|---|---|
| One light dark | Loose connector | Remake the waterproof joint |
| Whole run dark | Tripped GFCI or blown fuse | Reset outlet, check fuse |
| Last lights dim | Voltage drop on long run | Higher tap or thicker cable |
| Lights flicker | Corroded connector | Clean wires, new connector |
FAQs
Do I need an electrician for this job?
For the low voltage side, most homeowners can do the work themselves. After all, 12 volt cable carries little shock risk and buries in a shallow trench. You need an electrician only if you lack a suitable outdoor GFCI outlet. Adding a new mains outlet is mains work, after all. Always check your local codes before you start digging.
How deep should the cable go?
Bury low voltage cable at least 6 inches deep as a minimum. In garden beds, aim for 6 to 12 inches, where forks and aerators reach deeper. That depth keeps the cable safe from routine garden work while staying shallow enough to find later. Check local code, since some areas set their own burial rules.
Why is the last light dimmer than the first?
Voltage drops along a cable as distance and load increase. As a result, the last fixture on a long run gets less voltage than the first. Thicker cable, shorter runs, and a hub layout all reduce that drop. A multi tap transformer also helps. Moving a dim run to a higher tap lifts voltage at the far end.
What wire gauge should I use?
Use 12-gauge or 10-gauge cable for long runs and heavy loads. Save 14-gauge or 16-gauge for short runs with a light LED load. Thin kit cable is a common cause of dim far fixtures. Going thicker, therefore, is the safer choice when you are unsure. Match the gauge to your longest run, not your shortest one.
Can I add more lights later?
Yes, as long as your transformer still has spare capacity after the new fixtures are added. Keep about 20 percent headroom over your total wattage, and leave slack cable at fixture spots for future branches. If the transformer is already near full load, add a second transformer rather than overloading the first one.
How do I keep lights on only after dark?
Use a photocell, which switches lights on at dusk and off at dawn. Or set a timer for dusk to midnight if you prefer a shorter window. Smart timers and home automation can track sunset times through the year, so you never need seasonal adjustments. Pick the option you will actually maintain, since a neglected timer drifts out of step.
Final Thoughts
A tidy install comes down to three habits. Plan on paper, test at dusk before burying, and measure voltage at the last fixture.
Finally, start with one area, such as the front path or the patio. Then live with it for a week before you expand. You will quickly learn which beams you love and which ones need aiming. Then add the next run with confidence, knowing your transformer, cable routes, and photo map can grow with the system.