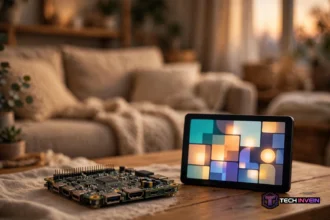

A home assistant raspberry pi setup turns a small, cheap computer into a smart home hub that runs in your house, not in the cloud. This guide walks you through flashing Home Assistant OS, booting the Pi, and finishing setup in your browser. You need no Linux skills, and the hands-on work takes under an hour.
- Why Run Home Assistant on a Pi
- Home Assistant Raspberry Pi: What You Need First
- Flash Home Assistant OS with Raspberry Pi Imager
- First Boot and Onboarding
- Add Your First Devices and Integrations
- Build Your First Automation
- Backups, Updates, and Daily Care
- Fix Common Setup Problems
- The setup page never loads
- The Pi boots, then crashes or reboots
- Devices drop off or respond slowly
- An integration asks for details you do not have
- FAQs
- Can a Raspberry Pi 4 run Home Assistant well?
- Do I need a monitor and keyboard for setup?
- Should I use an SD card or an SSD?
- Does Home Assistant work without internet?
- Can I move Home Assistant to a new Pi later?
- Why can’t I reach the setup page?
- Final Thoughts
Most of that hour is waiting, so do not rush the Pi.
Why Run Home Assistant on a Pi
Home Assistant is free, open-source software that ties your lights, sensors, locks, and cameras into one system. It runs on your own network, so your automations keep working even when your broadband drops. That local control is the main reason so many people pick it over a cloud hub.
A Pi fits this job well because it sips power and can stay on all day and night. It also costs far less than a small PC, and it tucks behind a router without noise or fans. For a first hub, that mix of low cost and low power is hard to beat.
Still, a Pi is not magic. It has limits, and a huge camera system or dozens of add-ons can strain an older model. So start small, learn the system, and add devices one room at a time.
Home Assistant Raspberry Pi: What You Need First
Before you flash anything, gather the parts below. Buying the right power supply matters more than buying the fastest Pi, because a weak charger causes random crashes that look like software bugs.
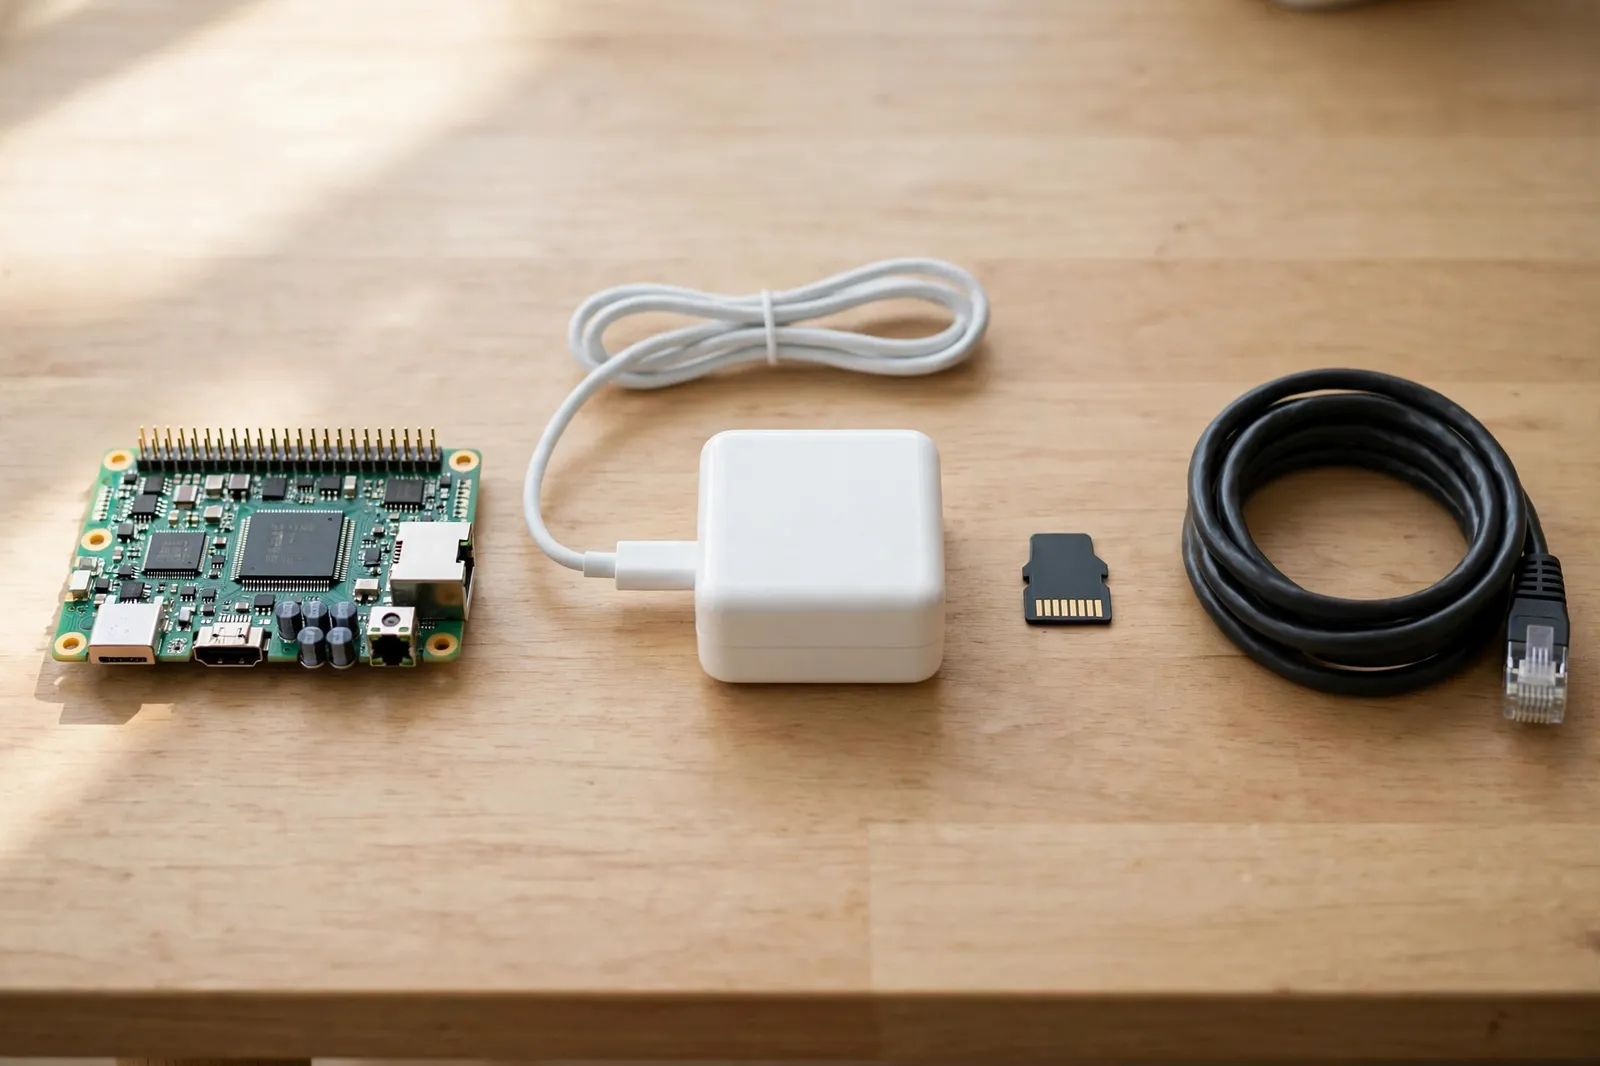
- Raspberry Pi 4 or Pi 5 with at least 4 GB of RAM (2 GB is the official minimum, but 4 GB gives you room to grow)
- Official Raspberry Pi power supply for your model
- MicroSD card of at least 32 GB, rated A2 if you can find one, or an SSD for a hub that runs all year
- Ethernet cable for the first setup
- A computer with a card reader, plus a browser
An SSD beats an SD card for a hub that runs around the clock. Home Assistant writes log and database updates all the time, and that steady writing wears cheap cards out. So use a card for testing, and plan an SSD if this hub will run your whole house.
Table: Which Pi should you pick?
| Model | Best for | Watch out for |
|---|---|---|
| Pi 5, 4 GB or 8 GB | New setups and larger homes | Needs the correct Pi 5 power supply |
| Pi 4, 4 GB or 8 GB | Most homes and first hubs | Slower than a Pi 5 with heavy add-ons |
| Pi 3 | Only if you already own one | Slow menus and limited headroom |
Which model should you buy if you own nothing yet? A Pi 5 with 4 GB of RAM is the safest pick for a new hub, since it handles growth well. But a Pi 4 you already own is also fine, so do not buy a new board just to follow this guide.
Flash Home Assistant OS with Raspberry Pi Imager
Home Assistant OS is the recommended install type for most people. It bundles the core software, the Supervisor, and the add-on store in one system, and it updates itself. That means you manage your smart home, not a Linux server.
First, download Raspberry Pi Imager from the official Raspberry Pi software page. The tool is free, and it runs on Windows, macOS, and Linux. You can find it on the official Raspberry Pi software page, and the official install guide covers each screen in more detail.
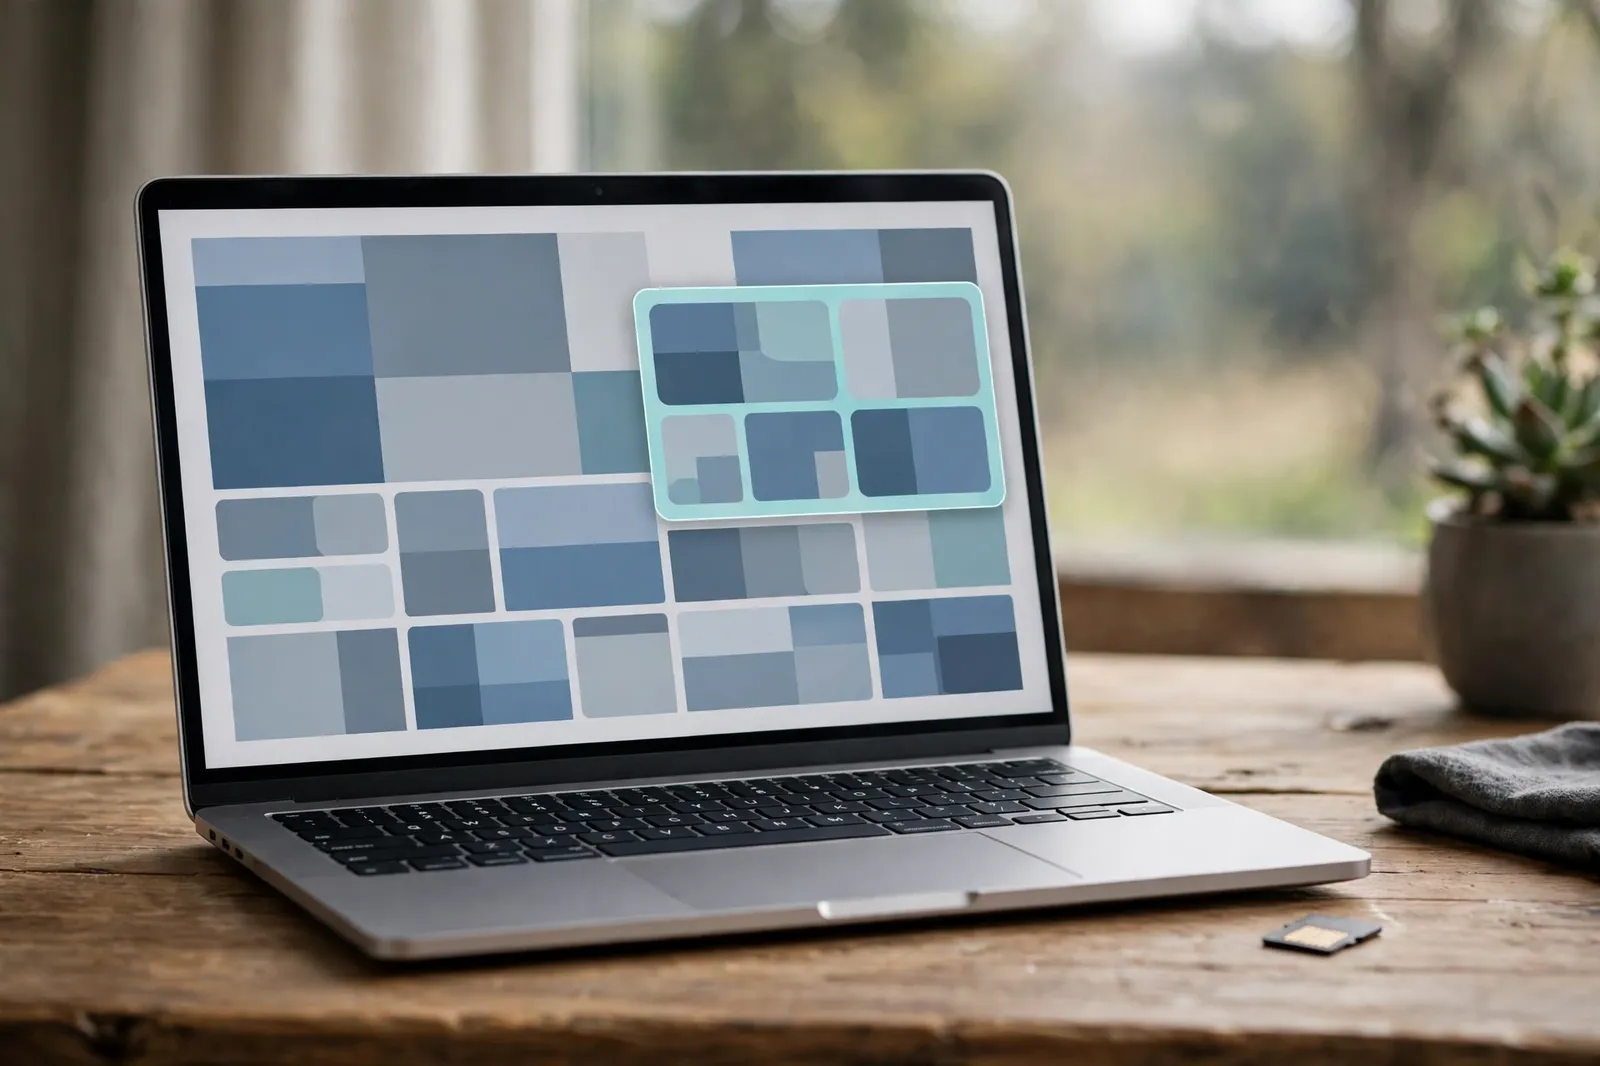
Next, open Imager and work through these steps in order:
- Click Choose Device and pick your Pi model.
- Click Choose OS, then go to Other specific-purpose OS, then Home automation, then Home Assistant.
- Pick the Home Assistant OS entry that matches your Pi model.
- Click Choose Storage and pick your SD card or SSD. Double-check this choice, because writing erases the drive.
- Click Next, then choose No when Imager asks about custom settings. Home Assistant OS handles its own setup, so custom settings only cause trouble here.
- Click Write and wait for the process to finish, then eject the drive safely.
Here is the mistake that trips up the most first-time installs. Imager offers to apply custom settings such as Wi-Fi details and SSH access, and it feels helpful to say yes. But Home Assistant OS ignores or fights those settings, so the cleanest installs come from choosing No and letting the onboarding wizard do its job. If your first install acts strangely, this one choice is the first thing to check.
Writing the image erases every file on the target drive, so back up that card first and label it once it is flashed.
First Boot and Onboarding
Now insert the card into the Pi, plug in the Ethernet cable, and then connect the power supply. The Pi boots on its own, so you do not need a monitor or keyboard. Give it time, because the first boot downloads the latest Home Assistant software and prepares the system.
Wait at least 20 minutes before you decide something went wrong. The green activity light should flicker while the Pi works, and a blank setup page during this window is normal. Pulling the power mid-download is the fastest way to corrupt a fresh install, so patience here saves you a reflash.
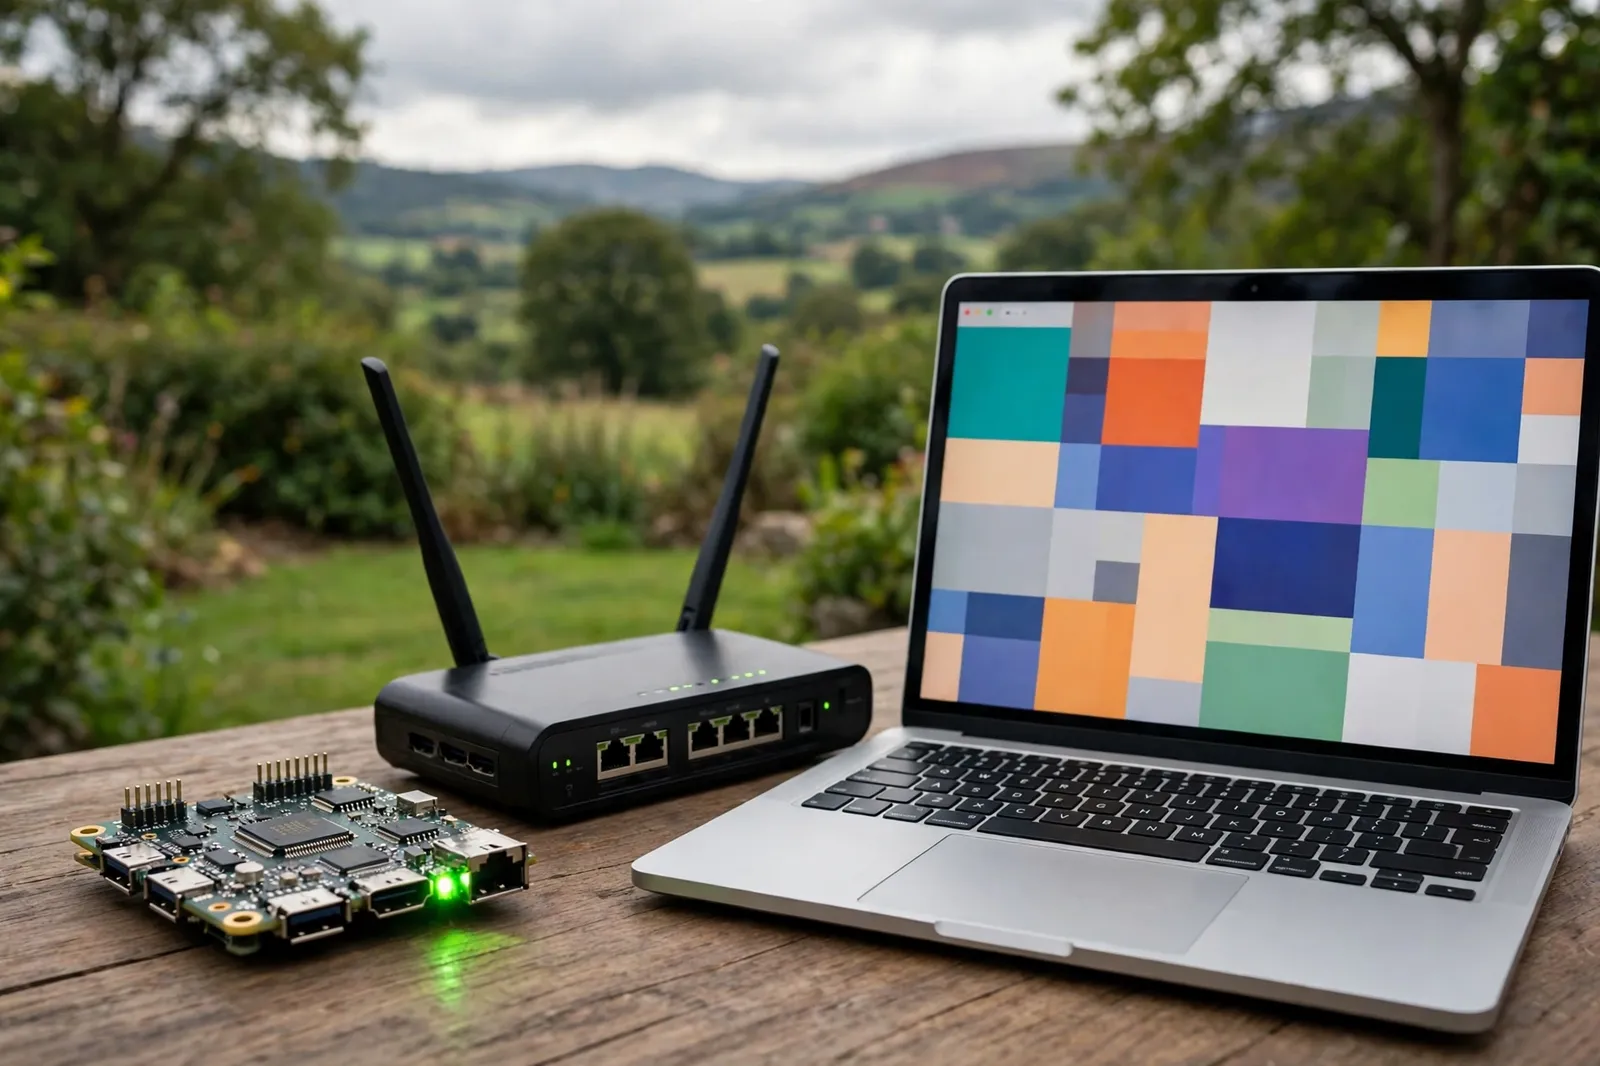
Then open a browser on a computer on the same network and go to homeassistant.local:8123. If that address fails, find the Pi IP address in your router admin pages and use that instead, with :8123 at the end. A solid home network installation makes this step far easier, since a weak or tangled network causes most “page not found” headaches.
Onboarding asks you to create an account, set your home location, and pick units. Use a strong password and store it in a password manager, since this account controls your whole house. Then set your location carefully, because sunrise, sunset, and weather automations all depend on it.
After onboarding, Home Assistant scans your network and suggests devices it already found. Add one or two to start, and leave the rest for later. A hub with three working devices teaches you more than a hub with thirty half-added ones.
Add Your First Devices and Integrations
Go to Settings, then Devices and Services, then Add Integration. Search for the brand or type of device you own, and follow the prompts on screen. Many Wi-Fi devices appear on their own, while Zigbee and Z-Wave devices need a USB radio stick plugged into the Pi.
So which devices should you add first? Start with lights and a sensor or two, since they give you fast wins and simple automations. A motion sensor in a hallway, for example, can switch lights on at night without any voice command. Our guide to motion sensor lights in Home Assistant walks through that exact setup once your hub runs.
Zigbee deserves a short note here. A Zigbee stick turns your Pi into a hub for bulbs, plugs, and sensors that use very little power. But place the stick on a short USB extension cable, away from the Pi and any SSD, since USB 3 ports can interfere with the Zigbee signal. This small detail fixes a surprising number of “device keeps dropping off” complaints.
Also name devices clearly as you add them. “Hallway motion” beats “sensor_47” in automations and dashboards, so rename early.
Add devices in small batches and test each batch, so you know which batch caused a problem.
Build Your First Automation
Automations live under Settings, then Automations and Scenes. Click Create Automation, then pick a trigger, a condition if you need one, and an action. For a first try, use a motion sensor as the trigger and a light as the action, with a condition that limits it to after sunset.
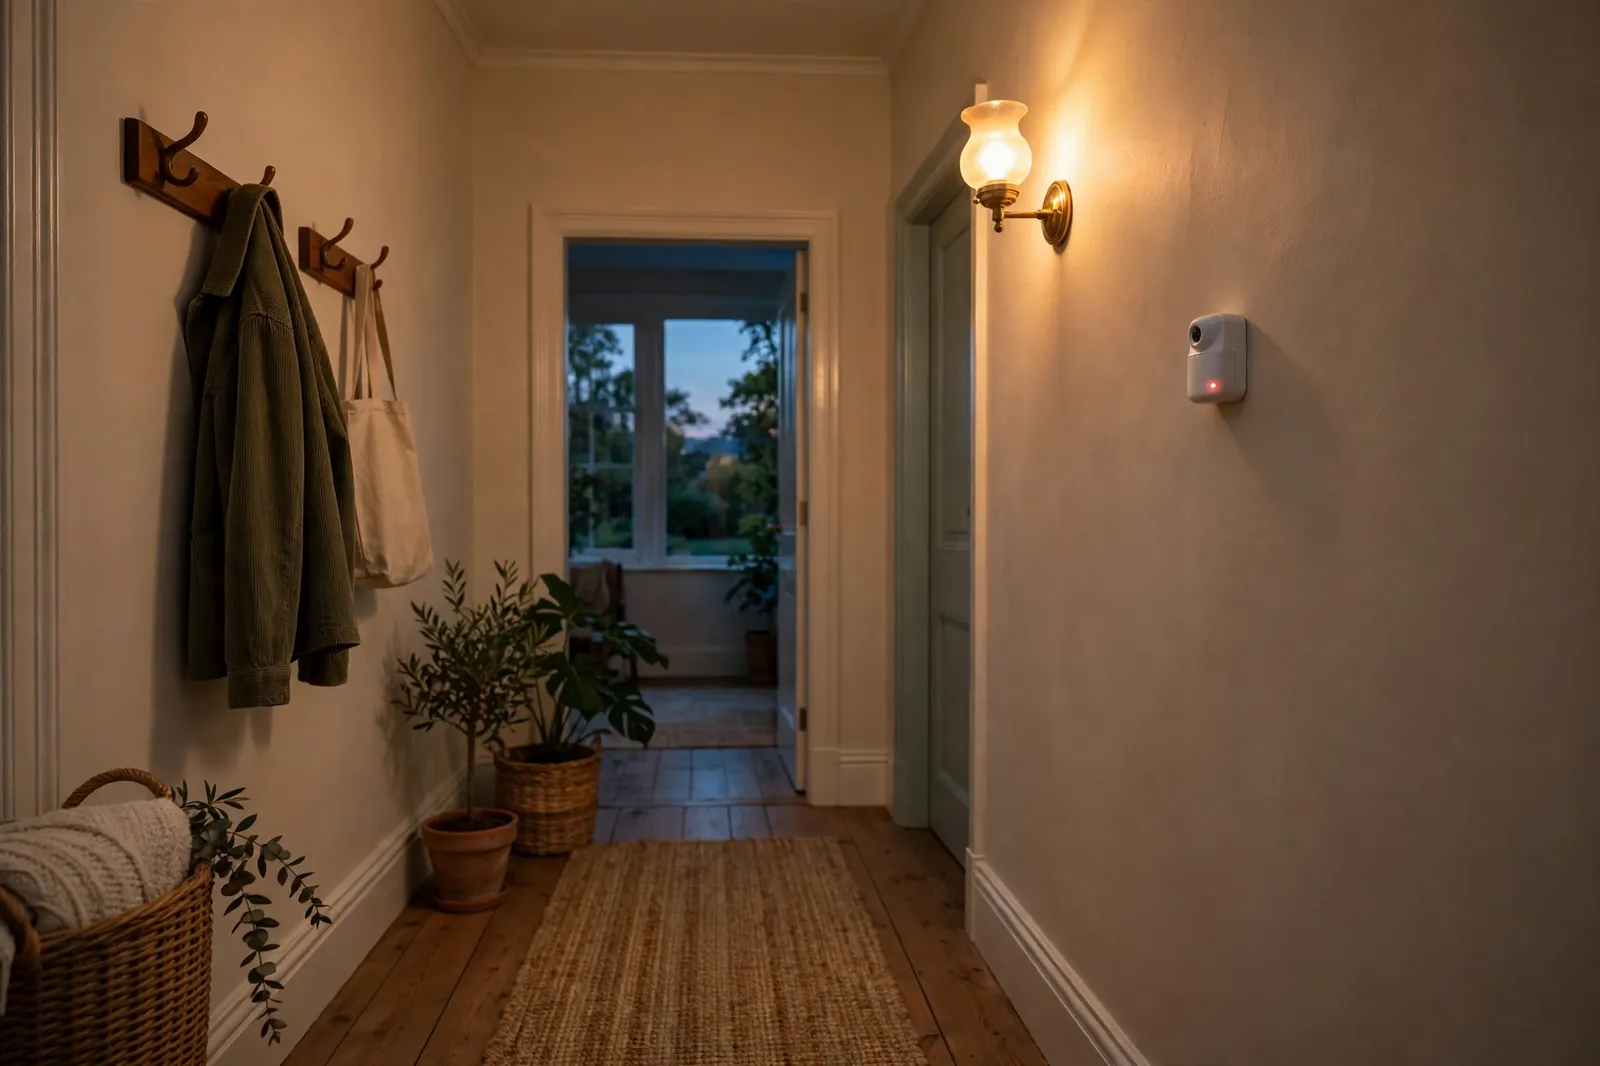
Then test it by walking past the sensor. If the light fires at noon too, your condition needs a fix, not your sensor. So test in daylight and at night before you call the automation done.
Keep your first automations short and simple. One trigger, one action, and one condition is enough to learn the editor. You can stack more logic later, once you trust the basics.
Presence detection takes this idea further. Instead of reacting to motion alone, your hub can tell whether a room is truly occupied, which stops lights switching off while you sit still reading. Our guide to presence detection lighting in Home Assistant explains the difference and shows how to set it up.
Once one indoor automation works well, try a second project outside.
Outdoor lights are another easy win after your first indoor automation works. A sunset trigger means you never adjust timers through the year, since the hub follows the sun. Our walkthrough for automating outdoor lights at sunset and sunrise covers that setup step by step.
Backups, Updates, and Daily Care
Set up backups before you add more devices. Go to Settings, then System, then Backups, and create a full backup. Then download a copy to your computer, since a backup stored only on the Pi helps no one if the card dies.
Schedule automatic backups if you can, and keep at least one copy off the Pi. A weekly backup is fine for a small setup, while a daily backup suits a house full of automations. Either way, test a restore only on a spare card, never on your live hub, unless you truly need it.
Updates arrive often, and they deserve care. Read the release notes for breaking changes, back up first, and update one component at a time. If an update breaks a device, a backup lets you roll back in minutes instead of rebuilding for a weekend.
Also give the Pi a good home. Keep it cool, ventilated, and near your router, with its cable strain-free and out of reach of curious pets. A hub that falls behind a sofa and overheats will fail at the worst possible time, usually when guests arrive.
Lighting care fits here too. Once your hub runs well, circadian lighting can shift your bulbs through the day to match natural light, which many people find easier on the eyes in the evening. Our circadian lighting setup for Home Assistant shows how to build that schedule without buying new bulbs.
Fix Common Setup Problems
The setup page never loads
First, wait a full 20 minutes on the first boot, since an early visit often shows nothing. Then check that your computer and Pi share the same network, and try the Pi IP address from your router. Also reseat the card and power cable, since a loose connection mimics a dead board.
The Pi boots, then crashes or reboots
A weak power supply causes most random reboots. Swap in the official supply for your model, and avoid phone chargers, which often sag under load. If crashes persist, try a fresh card, since a worn card corrupts data in ways that look like software bugs.
Devices drop off or respond slowly
Start with placement. Move the Pi away from thick walls and metal boxes, and put Zigbee sticks on an extension cable. Then check your Wi-Fi signal at the device, since a hub cannot fix a device that barely hears your router. Add one device at a time after that, so you spot the weak link.
An integration asks for details you do not have
Some brands need an API key, a cloud account, or a local token. So read the integration docs page inside Home Assistant before you guess, since a wrong token can lock your account after too many tries. If a brand needs cloud access, decide whether that trade suits you before you connect it.
Still stuck after these checks? The official docs remain the best next stop. The official Home Assistant Raspberry Pi install guide covers supported models, storage notes, and boot steps, and it stays current as versions change.
FAQs
Can a Raspberry Pi 4 run Home Assistant well?
Yes, a Pi 4 with 4 GB of RAM runs Home Assistant well for most homes. It handles lights, sensors, and common automations without trouble. You may notice slower loading only with large camera setups or dozens of add-ons. So start with a Pi 4 if you already own one, and upgrade later only if your system grows.
Do I need a monitor and keyboard for setup?
No, you do not need a monitor or keyboard for normal setup. Home Assistant OS runs headless, so you control it from a browser on another computer. A monitor can still help if the Pi fails to boot, since it shows error messages. But for most installs, a cable, a card, and a browser are all you need.
Should I use an SD card or an SSD?
An SSD lasts longer because Home Assistant writes log and database updates around the clock. Cheap SD cards wear out under that load, so they suit testing better than a hub that runs all year. If you start with a card, keep backups from day one. Then move to an SSD when your setup grows or your card shows errors.
Does Home Assistant work without internet?
Yes, after setup, Home Assistant controls local devices without internet. Your lights, sensors, and automations keep working if your broadband drops. But you still need internet for the first install, for updates, and for cloud services like voice assistants. So plan for a short outage, not a fully offline life.
Can I move Home Assistant to a new Pi later?
Yes, moving is simple if you keep regular backups. Download a full backup from Settings, then restore it on the new Pi after you flash Home Assistant OS. Your devices, dashboards, and automations come back with the backup. Just check Zigbee or Z-Wave sticks after the move, since radio hardware sometimes needs a fresh pairing step.
Why can’t I reach the setup page?
First, give the Pi at least 20 minutes on its first boot. Then check that your computer sits on the same network and try the Pi IP address from your router instead. A weak power supply or a loose card can also block booting, so reseat both and try again. If the page fails, reflash the card and start fresh.
Final Thoughts
A Pi hub rewards patience more than skill. Flash carefully, wait out the first boot, add devices slowly, and back up early. Then your little board becomes the quiet centre of your home, switching lights, watching sensors, and running routines while you forget it sits there.
Your next step is simple. Pick your Pi, flash Home Assistant OS today, and add one light and one sensor this week. Once those work, the rest can follow.