

12v led strip lights are low voltage strips that run on a 12 volt power supply. They suit most home jobs, from under cabinet lighting to shelves, coves, and TV backlighting. They give bright, even light over short to medium runs, and they are easy to cut, join, and control.
- How 12V LED Strip Lights Work
- What 12V Means in Plain Terms
- 12V Compared With 5V and 24V
- Picking the Right Strip for Your Room
- Sizing the Power Supply the Safe Way
- Wiring Basics Without the Jargon
- Installing Your Strip Step by Step
- Dimming, Flicker, and Smart Control
- Where 12V Strips Work Best
- Common Mistakes to Avoid
- FAQs
- Can I cut a strip to fit my shelf?
- How long can one run be?
- What size driver do I need?
- Can I use a dimmer with these strips?
- Are these strips safe to touch?
- Can I join two strips together?
- Final Thoughts
How 12V LED Strip Lights Work
Each strip is a flexible circuit board with LEDs, resistors, and copper tracks along its length. A 12 volt driver changes mains power into safe low voltage DC. Then the strip spreads that power along its length. Because the voltage is low, you can handle the strip without the risks of mains wiring at the strip itself. Still, you must match strip, driver, and controller to 12 volts. A wrong voltage can dim the strip or damage it fast.
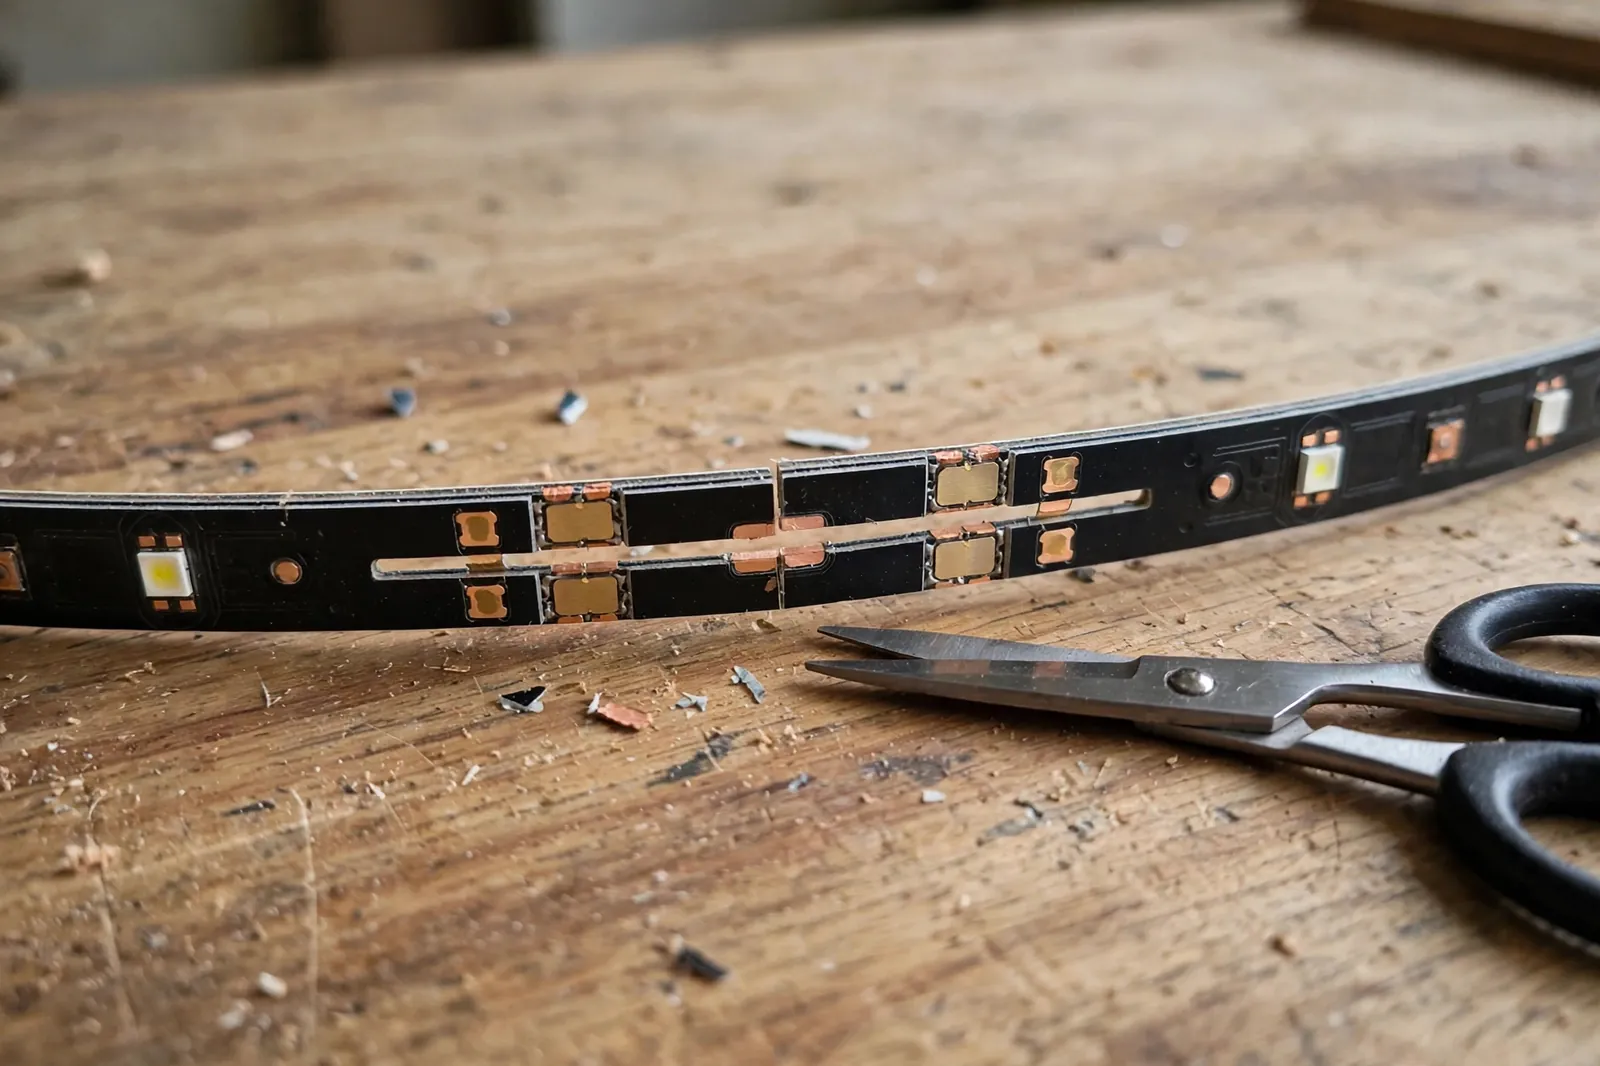
Most 12 volt strips group LEDs in sets of three. Each set shares the 12 volts, and you can cut only at the marked lines between sets. First, check for the small scissor marks and copper pads before you cut. A cut in the wrong place kills that whole segment. Then join cut pieces with solder or clip connectors, keeping positive and negative the right way round.
What 12V Means in Plain Terms
Voltage is the push that moves power along the strip. At 12 volts, that push is strong enough for runs up to about 5 metres from one feed. Yet it stays low enough to be safe to touch in normal home use. In short, it sits in a useful middle ground. It reaches farther than 5 volt strips, and its parts are widely sold and easy to replace.
Current is the other half of the story. Power in watts divided by volts gives amps, and amps decide wire size and driver size. For example, a 5 metre strip rated at 14.4 watts per metre uses 72 watts in total. At 12 volts, that is 6 amps. Therefore, you need a driver and wires that handle 6 amps with room to spare, not a driver that just barely matches the number.
12V Compared With 5V and 24V
Five volt strips suit short USB powered jobs like a desk edge or a small display. They cut at very short intervals, so they fit tight corners well. However, they lose voltage fast, and runs past 1 to 2 metres often fade at the far end. As a result, they are a poor pick for a full room cove or a long kitchen run.
Twenty four volt strips suit longer runs and larger rooms. Because they run at twice the voltage, they draw half the current for the same watts. That means less voltage drop, and runs up to about 10 metres from one feed often stay even. However, they cut every six LEDs or so, so they fit awkward corners less neatly. They also need a 24 volt driver, so you cannot mix them with 12 volt parts.
Table: 5V vs 12V vs 24V LED strips at a glance
| Feature | 5V strips | 12V strips | 24V strips |
|---|---|---|---|
| Typical run per feed | 1 to 2 metres | Up to 5 metres | Up to 10 metres |
| Cut interval | Every 1 LED | Every 3 LEDs | Every 6 LEDs |
| Best for | USB and small displays | Home rooms and cabinets | Long coves and large rooms |
| Power source | USB or 5V adapter | 12V driver | 24V driver |
Picking the Right Strip for Your Room
Start with the job, not the strip. Under cabinet task light needs bright, even white light. A shelf glow needs less brightness but a smooth line. A TV backlight needs color control and a remote you will actually use. Therefore, note the length, the brightness you want, and whether you need white only or full color before you shop.
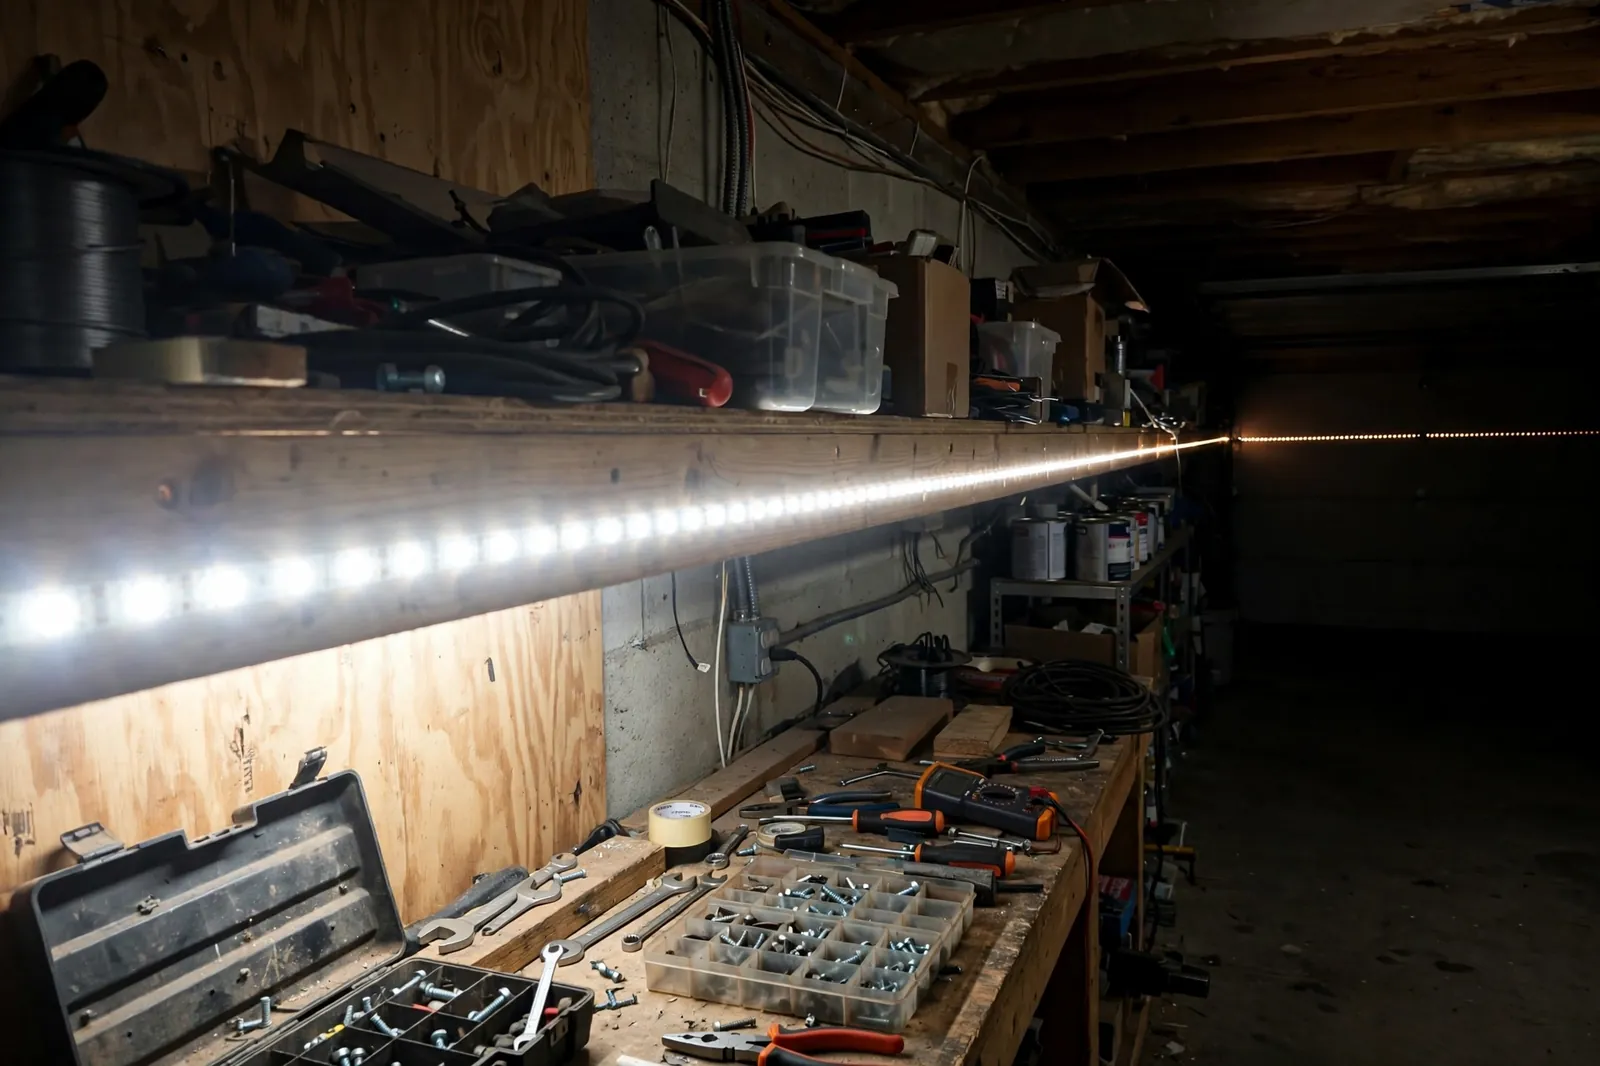
Next, check watts per metre on the listing. This number drives everything else, from driver size to heat. A low density strip near 7 watts per metre suits gentle accent light. A mid range strip at 14.4 watts per metre suits kitchens and worktops. High density strips run hotter, so they need an aluminum channel to spread heat and last longer.
Sizing the Power Supply the Safe Way
Size the driver after you know total watts, never before. Multiply strip length by watts per metre, then add 20 percent headroom. For example, 5 metres at 14.4 watts per metre is 72 watts, so you need at least a 90 watt 12 volt driver. That headroom keeps the driver cooler, and it leaves room for small losses in wires and connectors.
Also match the driver type to the job. A plug in adapter suits a single short strip behind a TV. A larger enclosed driver suits a kitchen run hidden in a cabinet. And a dimmable driver suits a setup where a wall dimmer controls brightness. Check the driver label for 12 volt DC output, and never use a 24 volt driver on a 12 volt strip.
Table: Power supply sizing examples for 12V strips
| Strip length | Watts per metre | Total watts | Driver to buy |
|---|---|---|---|
| 2 metres | 7.2 watts | 14.4 watts | 20 watt 12V driver |
| 5 metres | 14.4 watts | 72 watts | 90 watt 12V driver |
| 10 metres, split feeds | 14.4 watts | 144 watts | 180 watt 12V driver |
One mistake is worth naming plainly. People buy a driver that matches total watts exactly, then add a metre of strip later and wonder why the far end dims. For that reason, buy the headroom on day one. It costs little extra, and it saves you from swapping the driver when you extend the run.
For longer runs, split the power instead of daisy chaining one long strip. Our LED strip power injection guide walks through the maths for feeding long runs from more than one point. That approach keeps brightness even, and it keeps current in each wire within safe limits.
Wiring Basics Without the Jargon
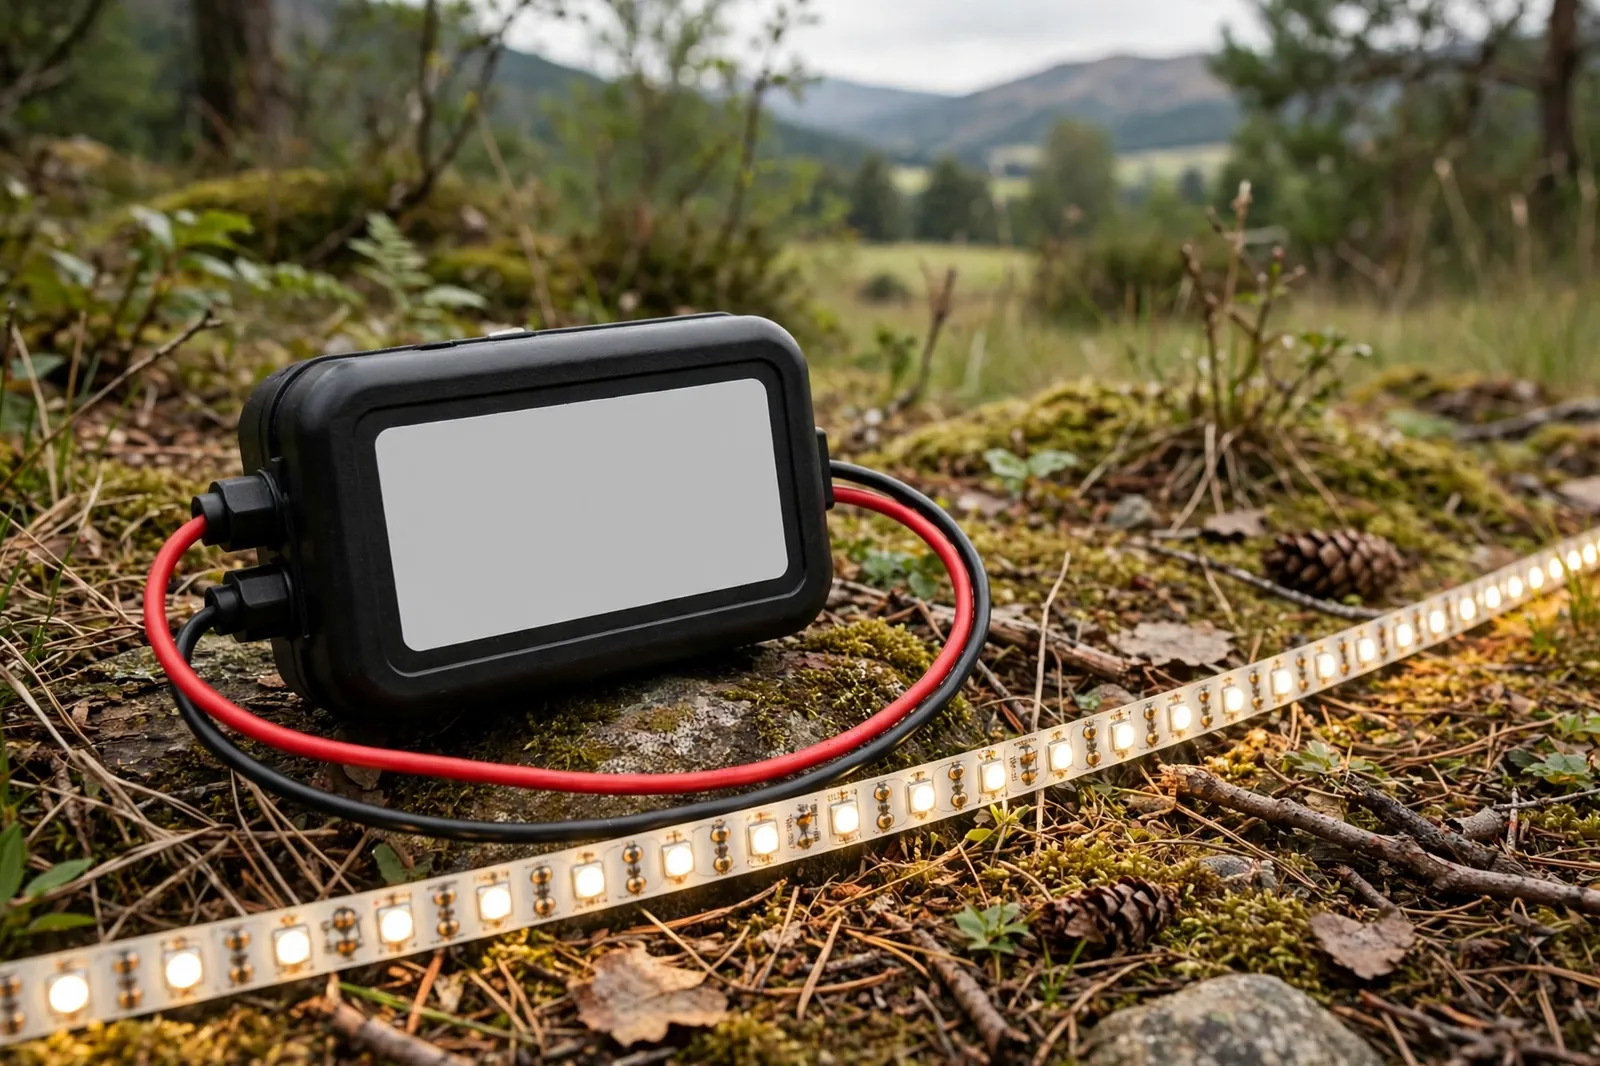
Think of wiring as a simple chain. Mains power goes into the driver, the driver sends 12 volt DC out, and a controller or dimmer sits between driver and strip if you use one. The strip connects last. Keep that order, and you avoid most wiring errors. Also test the strip on a table before you stick it to the wall, because fixing a fault after mounting takes far longer.
Polarity is the one rule you must not get wrong. The positive wire goes to the positive pad, and the negative wire goes to the negative pad. Swap them and the strip won’t light, or you can damage the controller. First, check the marks on strip and driver twice, and use red for positive and black for negative to keep it clear.
For runs over 5 metres, wire sections in parallel. That means each section gets its own pair of wires back to the driver, rather than one long chain feeding the next section. Parallel wiring gives each section full voltage, so brightness stays even. It uses more wire, yet it’s the fix that actually works for long runs.
Wire size follows current and distance. Short runs at low current work fine on 18 AWG wire. Longer runs or higher current need 16 or 14 AWG wire to limit loss. Also, if your far end still dims after splitting feeds, thicker wire is often the next fix. And always use proper connectors or solder joints, because a loose clip connector is a common cause of flicker.
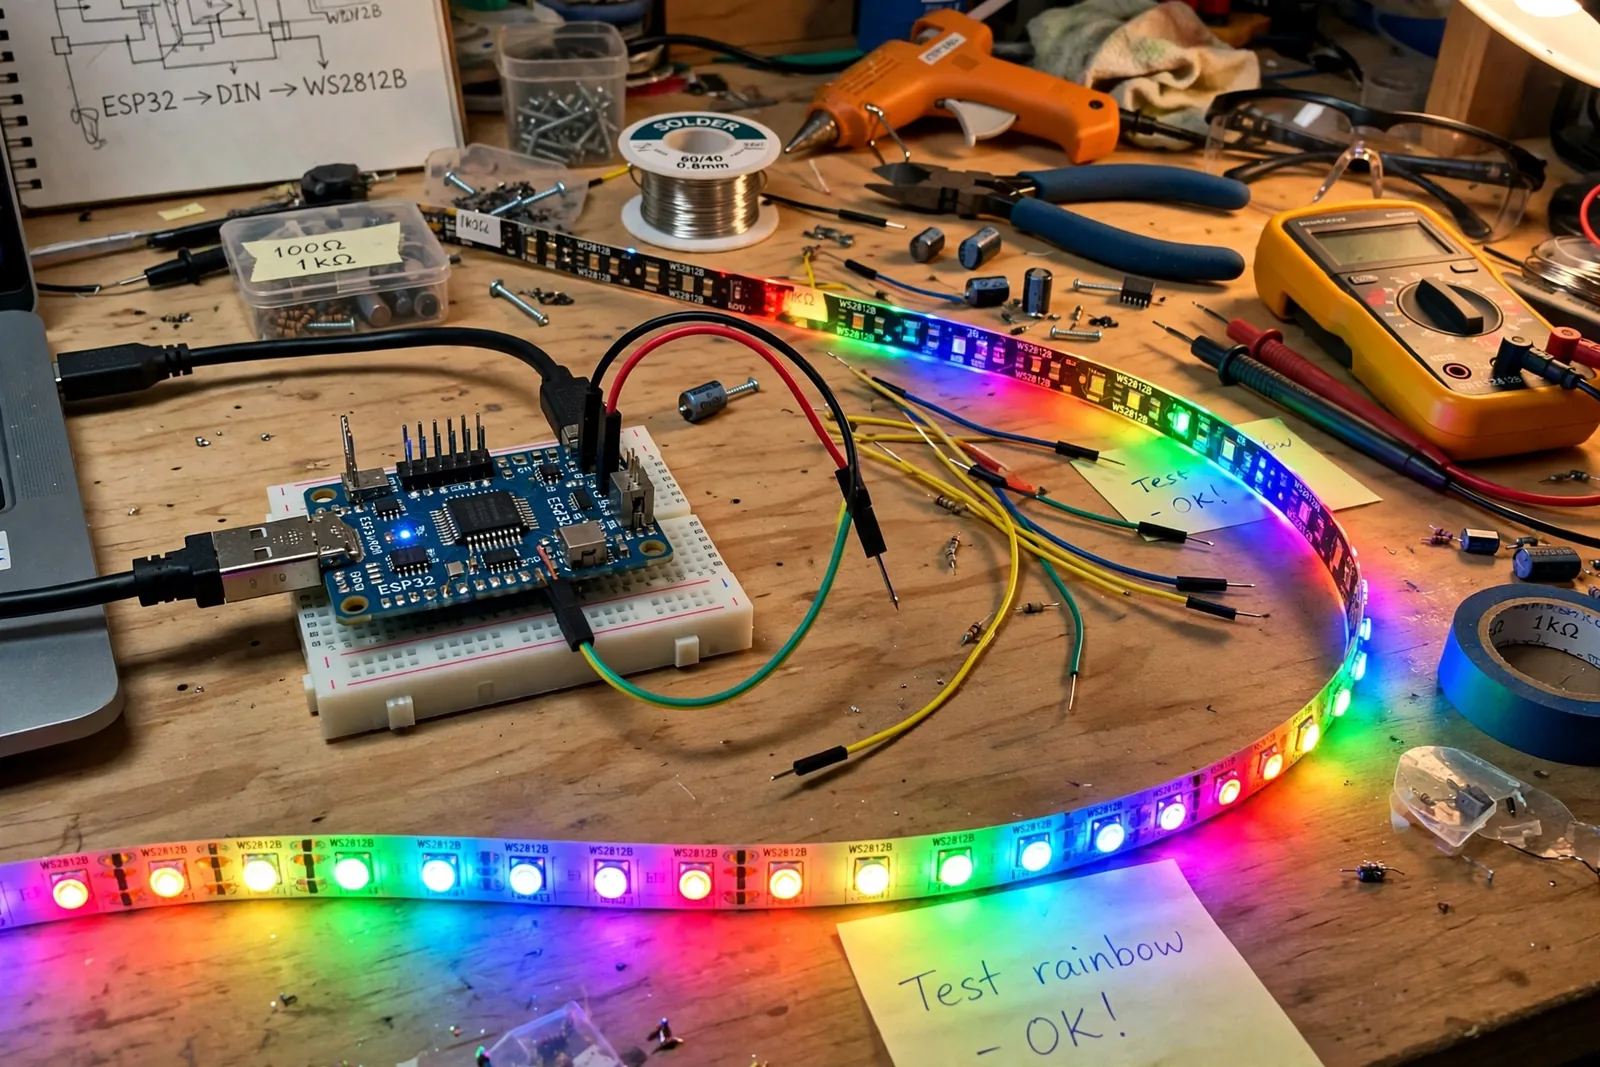
If you want animated effects and smart control, a microcontroller controller opens up far more options than a basic remote. Our WLED setup guide for LED strips shows how to run strips from an ESP32 board. That route suits tinkerers, while a simple RF remote suits anyone who just wants on, off, and dim.
Installing Your Strip Step by Step
First, measure the space and cut the strip at the marked lines. Then clean the surface with a dry cloth, because dust kills adhesive fast. Next, test the full strip with driver and controller on a table. Finally, peel and stick a short section at a time, pressing firmly as you go. This order catches faults early, and it stops you from peeling a stuck strip off the wall.
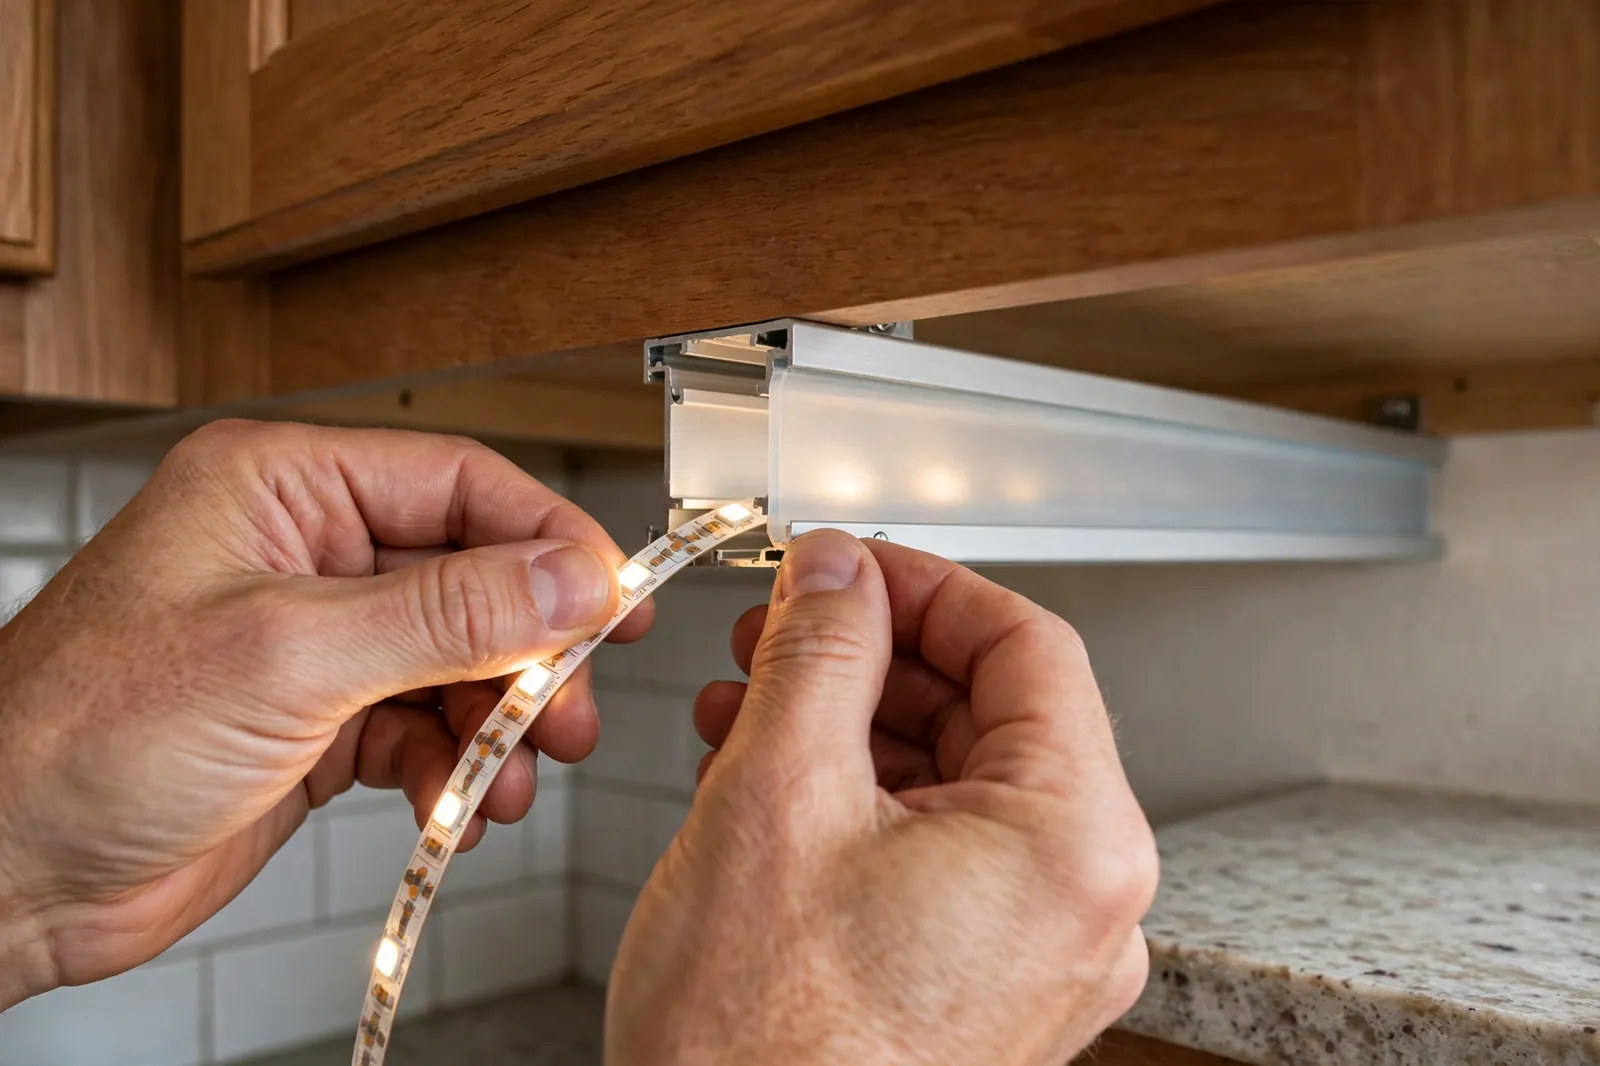
- Measure twice, mark every cut point, and double check the length before you cut anything.
- Test the strip, driver, and controller together before mounting.
- Use aluminum channels on long or bright runs to spread heat.
- Hide the driver where air can flow and you can reach it later.
- Leave a service loop at each end.
Aluminum channels do more than look neat. They act as a heat sink, and they spread light through a diffuser so you see a smooth line instead of dots. Therefore, use them under cabinets and along coves where the strip stays on for hours. The diffuser also softens glare, which matters a lot in kitchens at night.
Dimming, Flicker, and Smart Control
Dimming should feel smooth from full brightness down to a low glow. If your strip buzzes, flickers, or jumps from bright to off with no middle range, the driver and dimmer probably don’t match. Mains dimmers need a dimmable driver, while low voltage dimmers sit on the 12 volt side. So check compatibility before you buy, not after you mount.
Flicker often comes from a loose connector, a driver running at its limit, or a dimmer set below the strip’s stable range. Start with the easy checks: reseat connectors, raise the dimmer slightly, and check that the driver has headroom. If flicker only shows on camera, pulse width dimming at a low rate is often the cause, and a better controller can fix it.
Our guide to LED lights flickering when dimmed covers the smart switch side of this problem in more depth. It helps when the strip shares a circuit with a smart switch, or when the switch itself causes the flicker. That distinction matters, because swapping the strip won’t fix a switch problem.
Smart control adds scenes, schedules, and voice control. A basic smart controller gives app and voice control, while a home automation setup can tie brightness to time of day. So a strip can glow warm and dim in the evening, then bright and neutral in the morning. That turns a simple strip into lighting that fits your routine.
Color temperature automation is worth a look too. Our circadian lighting setup guide shows how to shift light through the day with Home Assistant. You can apply the same idea to tunable white strips, so evenings feel warmer and mornings feel brighter without touching a remote.
When you shop for a dimmer, check real compatibility notes rather than trusting a generic “works with LED” label. A good dimmer costs a little more, yet it saves you from buzzing and jumping brightness that ruin an otherwise tidy install.
Our best smart dimmer switch picks for LED lights focus on buzz free and flicker free options. Those picks help you narrow the choice fast, and they flag the pairings that tend to cause trouble.
The HitLights guide to LED strip run length and voltage drop explains wire gauge and feed distance in practical terms.
The Flexfire LEDs voltage drop explainer shows why parallel feeds beat one long chain for longer runs.
Where 12V Strips Work Best
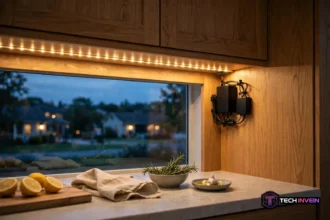
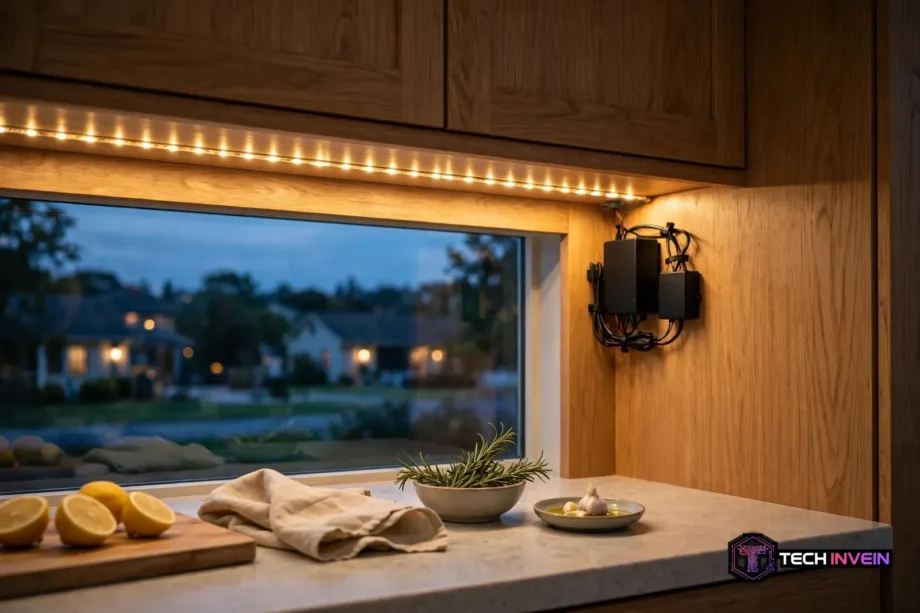
Under cabinets are the classic win. The strip hides under the cabinet lip, light falls on the worktop, and you get bright task light with no visible fixture. Cove lighting works well too, since a hidden strip washes a ceiling with soft light. And shelf lighting turns a plain bookcase into a feature with very little effort.
Common Mistakes to Avoid
First, don’t mix voltages. A 24 volt driver on a 12 volt strip pushes too much power and can burn LEDs. A 12 volt driver on a 24 volt strip leaves it dim or dark. Finally, read the labels on strip, driver, and controller every time, even if the connectors look the same.
Second, don’t daisy chain past 5 metres and hope for the best. The far end will dim, colors will shift on RGB strips, and you will blame the strip when the wiring is at fault. Instead, split feeds or feed both ends. That one change fixes more “faulty strip” complaints than any other.
FAQs
Can I cut a strip to fit my shelf?
Yes, you can cut most strips only at the marked lines, which sit every three LEDs on standard 12 volt strips. Cut with sharp scissors on the line, then join the piece with a clip connector or solder. A cut anywhere else breaks the circuit, so that segment won’t light. Always measure twice before you cut.
How long can one run be?
One feed usually covers up to 5 metres with even brightness, though density and wire size shift that limit a little. Past 5 metres, the far end often dims or shifts color on RGB strips. For longer runs, split the strip into sections and feed each section in parallel. That keeps voltage even across the whole install.
What size driver do I need?
Multiply length by watts per metre, then add 20 percent headroom for safety and long life. For example, 5 metres at 14.4 watts per metre needs 72 watts, so buy a 90 watt 12 volt driver. Check the label for 12 volt DC output. Never use a driver rated below your total watts.
Can I use a dimmer with these strips?
Yes, but the dimmer and driver must match each other and the strip. Use a dimmable driver with a mains dimmer, or a low voltage controller on the 12 volt side. If the strip flickers or buzzes, the pairing is often wrong. Check compatibility notes before buying, and test dimming before final mounting.
Are these strips safe to touch?
Yes, 12 volts is low voltage and safe to handle in normal home use, though you should still switch power off before wiring. Keep drivers away from water, use the right IP rating outdoors, and never overload a driver. Also keep wiring clear of sharp edges, since damaged insulation causes faults over time.
Can I join two strips together?
Yes, you can join strips with clip connectors or solder at the copper pads, keeping positive to positive and negative to negative. For color strips, match each color channel wire as well. Test the joined strip before mounting it. If the far end dims, feed power to the joint from the driver as well.
Final Thoughts
For most home lighting jobs, 12 volts hits the sweet spot. It covers rooms, cabinets, shelves, and TV walls with parts that are easy to buy and easy to fix. So start by measuring your run, sizing a driver with 20 percent headroom, and planning split feeds for anything past 5 metres. Then test before you mount, hide the driver where you can reach it, and enjoy light that stays even from end to end.