

A zwave hub is the small box that runs a Z-Wave smart home. It speaks to your locks, switches, and sensors over a low-power radio mesh, and it turns them into one system you can control from a phone or voice assistant. Without a hub, most Z-Wave devices simply can’t talk to each other or to you.
- What a ZWave Hub Actually Does
- How a Z-Wave Mesh Works
- Built-in vs Dedicated Hub Options
- Hubitat, Home Assistant, and Other Choices
- How to Choose a ZWave Hub
- Setting Up Your Hub Step by Step
- Fixing Common Z-Wave Hub Problems
- Do You Even Need a Hub?
- FAQs
- What is a z-wave hub in simple terms?
- Can a z wave hub work without the internet?
- Do all smart home hubs support Z-Wave?
- How many devices can one hub handle?
- Is Z-Wave better than Wi-Fi for locks and sensors?
- Can I mix Z-Wave and Zigbee devices on one hub?
- Conclusion
What a ZWave Hub Actually Does
Think of the hub as a translator and a traffic controller. It sends commands to devices, collects their status reports, and runs the rules you set. So when you tap “Goodnight” in an app, the hub tells the locks to lock and the lights to turn off. It does this in seconds, and it keeps working for many tasks even when your internet goes down.
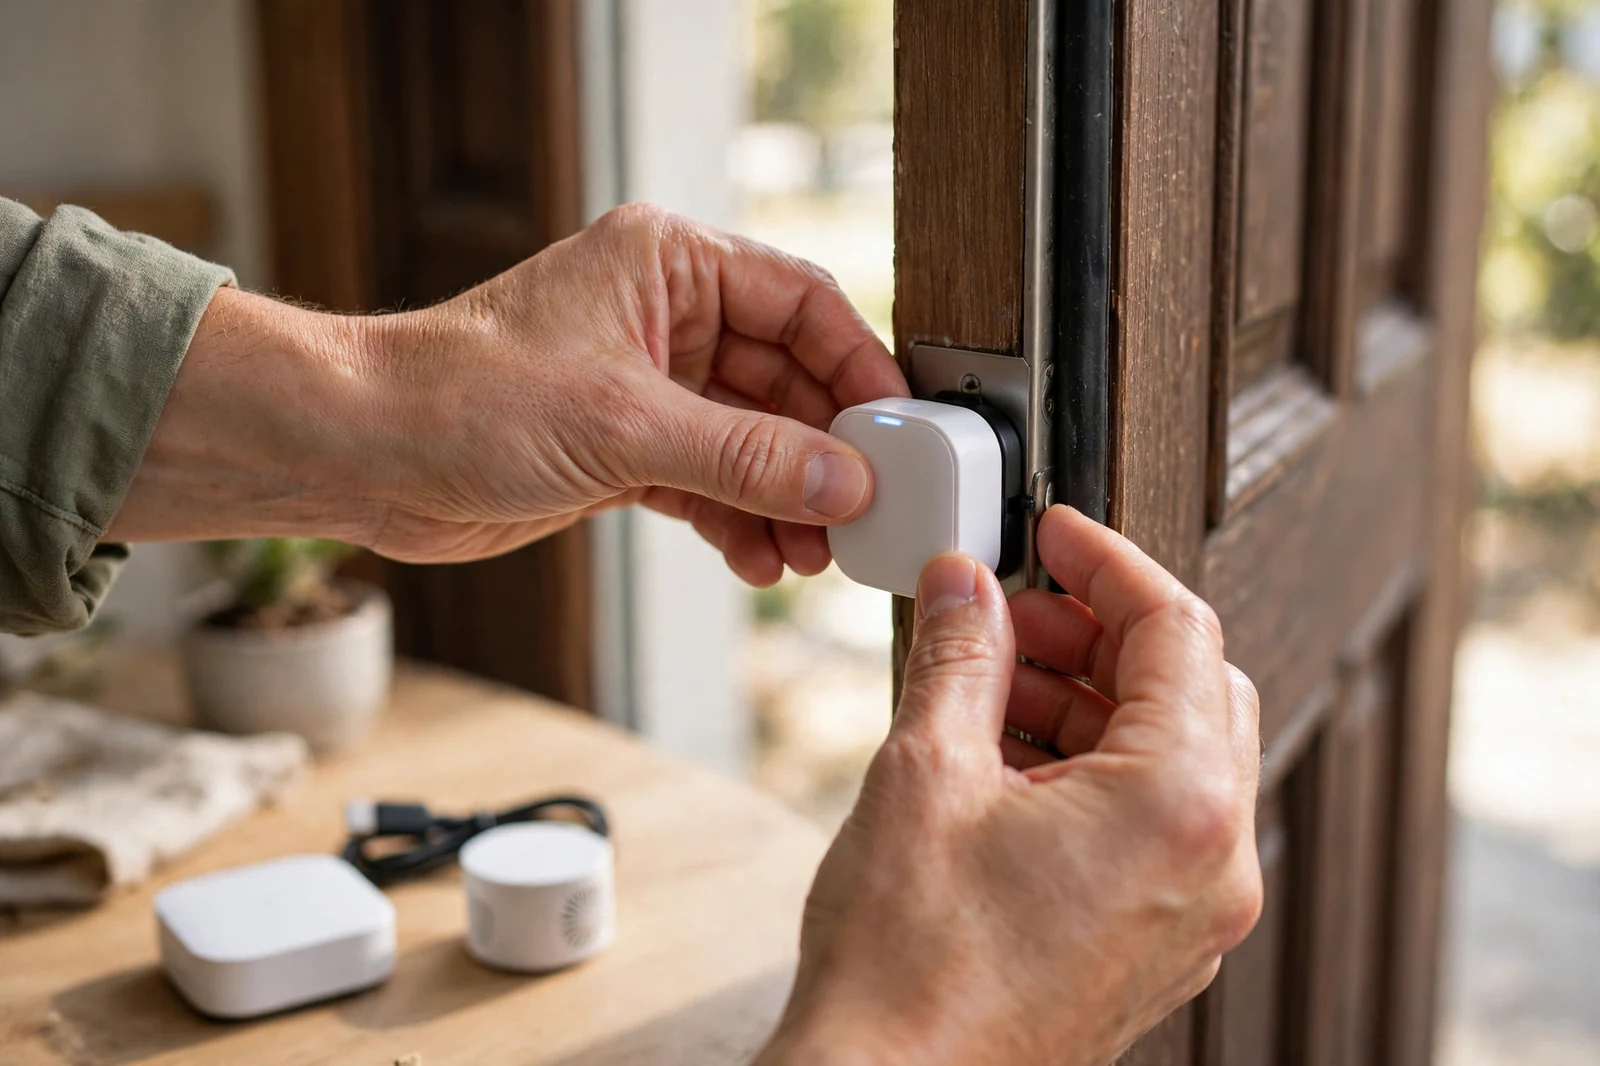
That local control is the main reason people choose Z-Wave. Wi-Fi devices often depend on a cloud server. A Z-Wave hub, by contrast, can run most automations inside your home. So a motion sensor can still switch on a hallway light during an internet outage. Your routines feel faster too, since commands don’t travel to a distant server and back.
A hub also gives you one app for devices from many brands. You might pair a Yale lock, a Zooz switch, and an Aeotec sensor to the same hub, and our guide to the best smart lock picks helps you choose the lock itself. Then you control them together, even though three firms made them. This mix-and-match freedom is possible because Z-Wave is a certified standard, not one brand’s private system.
How a Z-Wave Mesh Works
Z-Wave devices form a mesh network. Each mains-powered device, like a switch or plug, can relay signals for its neighbours. So a command can hop from device to device until it reaches its target. This design extends range well beyond what one radio could reach alone.
Battery devices work a little differently. A sensor or lock spends most of its time asleep to save power, and a door sensor is a classic example, since our alarm contact sensor guide shows how these small devices guard entry points. It wakes, sends its report, and sleeps again. So battery devices don’t relay signals for others. Your mesh still grows stronger as you add powered switches and plugs, since each one becomes a new relay point.
Z-Wave also uses a quiet radio band. In the United States it runs near 908 MHz, far below the crowded 2.4 GHz band that Wi-Fi and Bluetooth share. So your locks and sensors face less interference from routers, microwaves, and streaming devices. This matters most in busy homes with dozens of wireless gadgets.
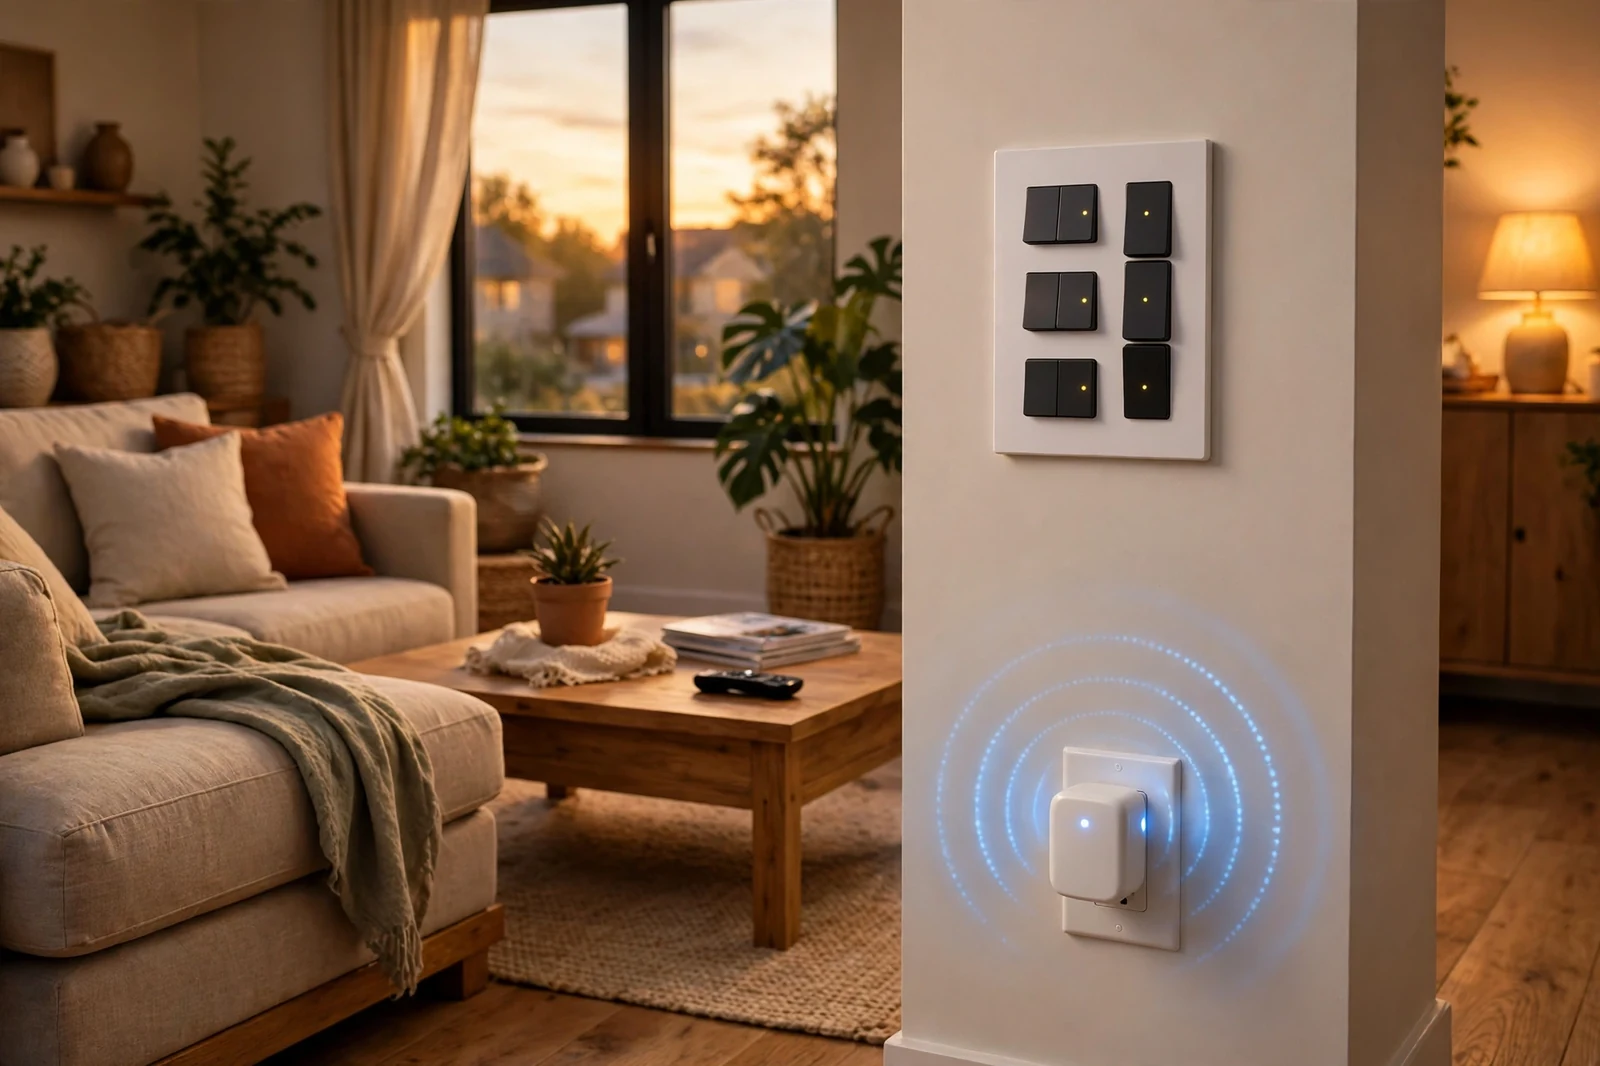
Security is built into modern Z-Wave as well. S2 security encrypts commands between the hub and each device, and the Z-Wave Alliance publishes the certification rules that keep brands interoperable. Then a lock command can’t be read or faked by a passerby with a radio sniffer. Always pair devices with S2 when your hub offers it, and use a unique PIN for the pairing step.
Scale is generous for a home. A classic Z-Wave network supports up to 232 nodes, which covers most houses with room to spare. Newer Z-Wave Long Range links can reach much farther in a direct star layout, though both the hub and the device must support it. So check the spec sheet before you count on long-range claims.
Built-in vs Dedicated Hub Options
Some hubs have a Z-Wave radio built in. Hubitat is the clearest example. You unbox it, plug it in, and start pairing Z-Wave devices at once. This route suits buyers who want a working system with the least fuss.
Other setups add Z-Wave through a USB stick. Home Assistant works this way, and its Z-Wave JS documentation explains supported controllers and setup steps. You run Home Assistant on a small computer, then plug in a Z-Wave controller stick. This route takes more setup, but it gives you deep control and a huge range of integrations. So tinkerers often prefer it, while beginners may find it steep at first.
A third group uses a security panel as its hub. Ring Alarm is one example. Its base station includes a Z-Wave radio for locks and sensors tied to security. So it works well if alarms are your main goal. It is less suited as a general automation hub, since its rules are simpler than those on Hubitat or Home Assistant.
Table: Built-in vs stick vs security-panel hubs at a glance.
| Hub type | Z-Wave radio | Best for | Trade-off |
|---|---|---|---|
| Built-in hub | Inside the box | Simple setup | Fewer deep tweaks |
| USB stick setup | Added by stick | Full control | More setup work |
| Security panel | Inside the panel | Alarms first | Simpler automations |
Older SmartThings hubs deserve a warning here. The classic SmartThings and Aeotec v3 hubs did include Z-Wave. But current SmartThings models, including the SmartThings Station and the Aeotec Smart Home Hub 2, have dropped the Z-Wave radio. So don’t buy a new SmartThings hub expecting Z-Wave support. Check the current spec page first, since older guides still list it as a Z-Wave option.
Hubitat, Home Assistant, and Other Choices
Hubitat Elevation C-8 Pro is the simplest dedicated pick for most Z-Wave homes. It carries an 800-series Z-Wave radio with Long Range support, plus Zigbee and Matter control. Its automations run locally, so lights and locks respond fast. Then the app stays simple enough for daily use, while power users can build complex rules underneath.
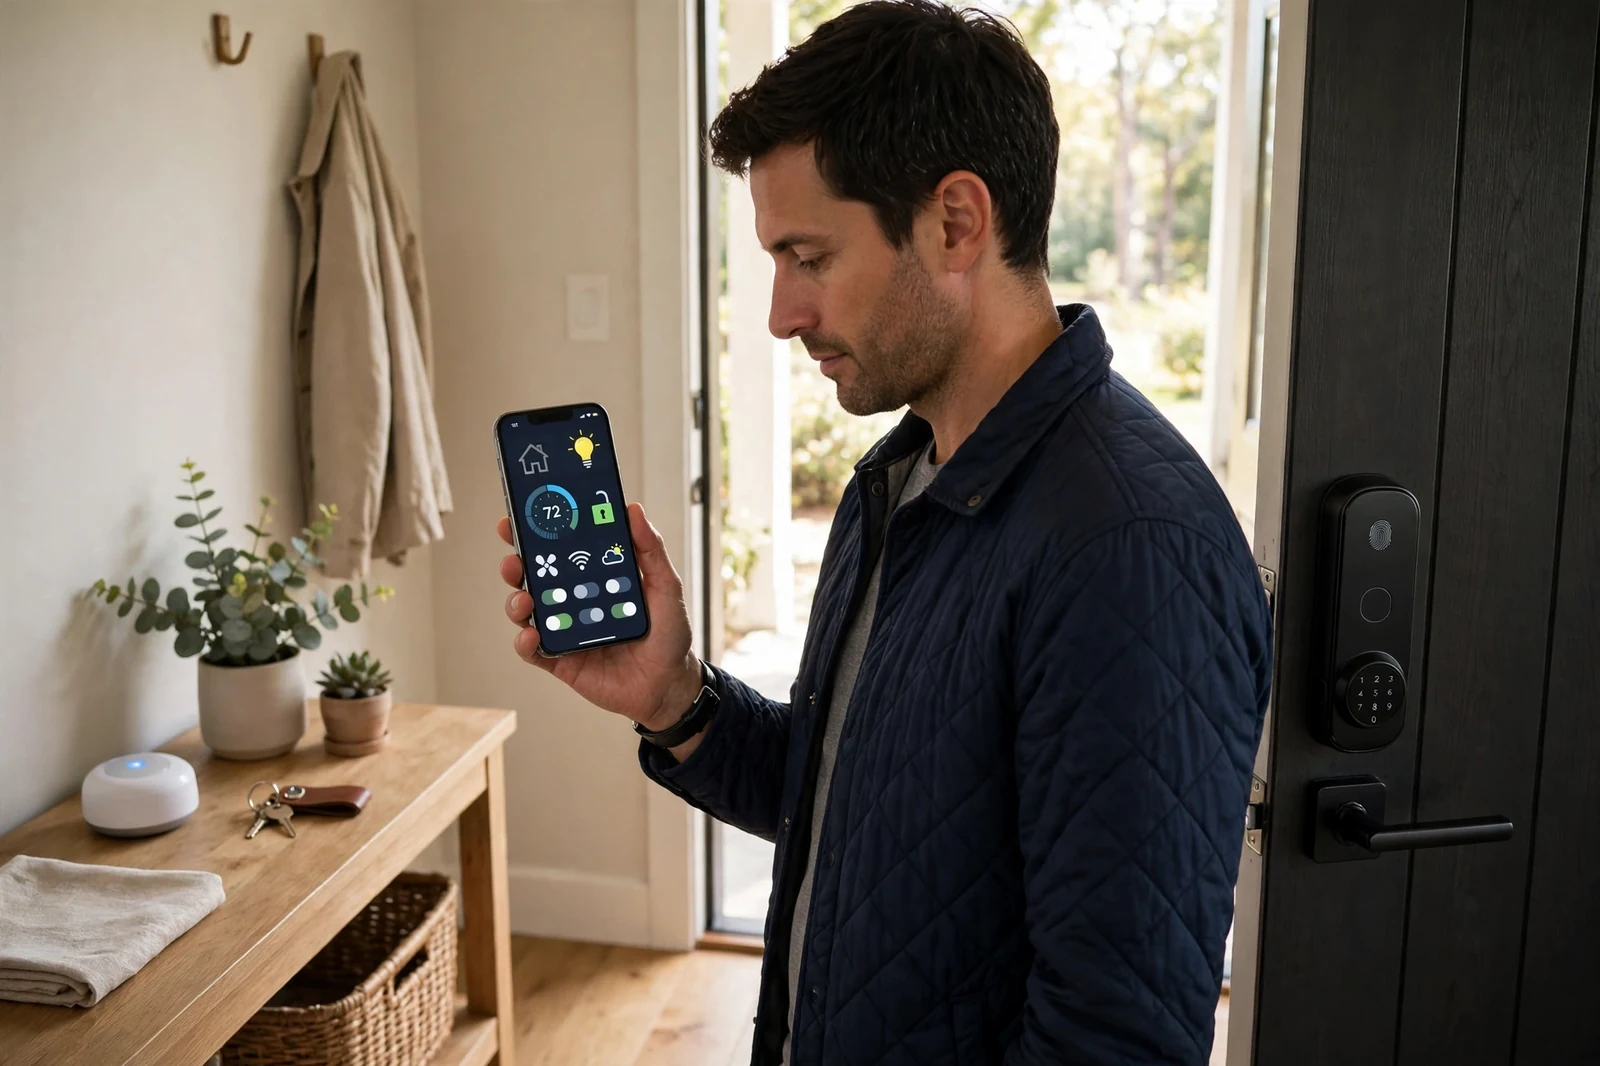
Home Assistant is the flexible pick. Pair it with the Connect ZWA-2 stick, an 800-series controller that supports both classic Z-Wave and Long Range, and then try a simple rule like our Home Assistant motion sensor lights guide to see local automation in action. You get local control, detailed dashboards, and thousands of integrations. But you also take on updates, backups, and troubleshooting yourself. So choose it if you enjoy that work, not if you want a hands-off box.
Ezlo hubs are a lesser-known option with Z-Wave built in. They suit buyers who want a basic app and simple scenes. But their ecosystem is smaller than Hubitat or Home Assistant, so check device support before you commit. Also confirm that the exact model you buy still ships with the radio you need.
What about voice assistants alone? An Echo or Google speaker is not a z wave hub on its own. Some Echo models include Zigbee, but they lack a Z-Wave radio. So you still need a real Z-Wave hub, and then you can link it to Alexa or Google for voice control. This two-box setup is normal, and it works well.
How to Choose a ZWave Hub
Start by counting what you already own. List every Z-Wave device in your home, plus any you plan to buy this year. If you own only two locks, almost any hub will do. But a house with forty switches and sensors needs a hub with a strong radio and solid local processing. So buy for the home you’ll have, not just the home you have today.
Next, weigh local control against ease of use. Hubitat leans toward local control with a gentle learning curve. Home Assistant leans further toward control, with a steeper curve. A security panel leans toward ease, with less depth. There is no wrong answer here, but there is a wrong match. A hands-off household will resent a hub that needs weekly tinkering.
Also check which other protocols you need. Many homes mix Z-Wave locks with Zigbee sensors or Matter bulbs. A hub that covers several protocols saves you from running three separate boxes. Don’t pay for radios you’ll never use, though. For a single-protocol home, those extras add nothing.
Budget matters too, though the hub is rarely the costly part. A hub costs far less than a house full of locks and switches. So judge the hub by its fit, not by saving a small sum. A cheap hub that drops devices will cost you far more time than a better hub costs money.
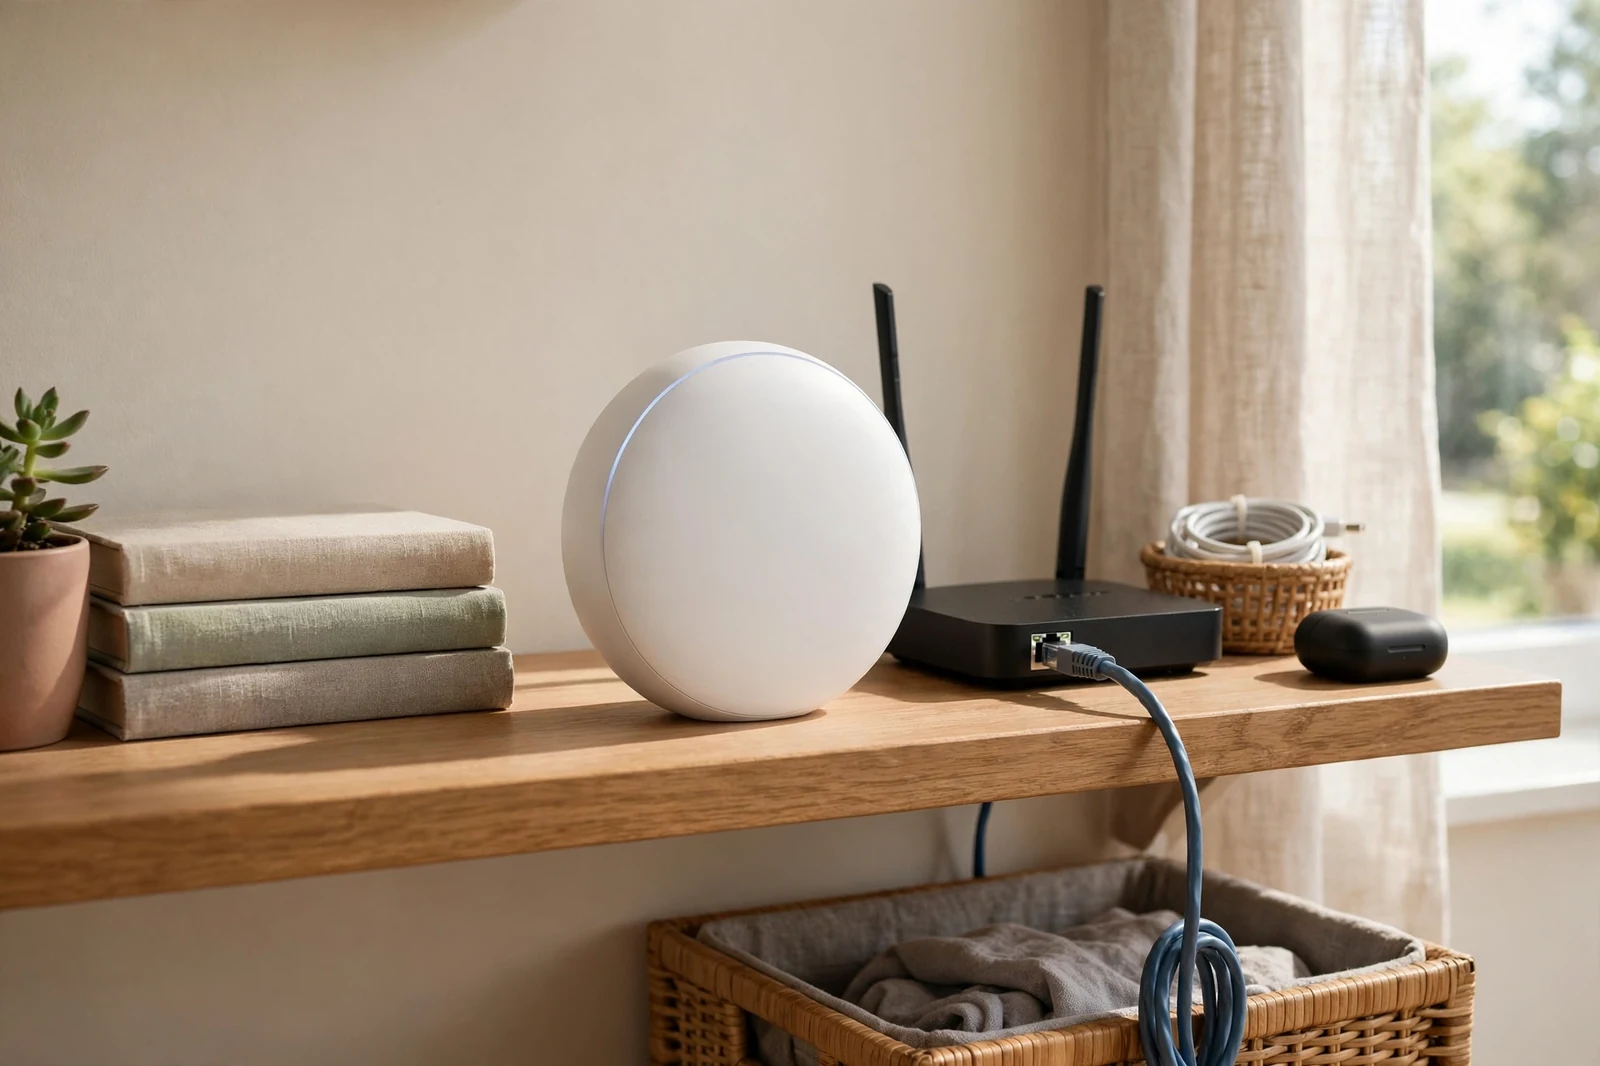
Placement deserves a thought before you buy. The hub should sit near the centre of your home, away from metal boxes and thick walls. A hub buried in a basement corner will struggle to reach far bedrooms. So plan a shelf with power and Ethernet near the middle of the house.
Setting Up Your Hub Step by Step
First, place the hub in its central spot and connect it to your router. Use Ethernet if you can, since a wired link is steadier than Wi-Fi. Then create your account, update the hub firmware, and name your home.
Next, pair your powered devices first. Start with the switch or plug nearest the hub, then work outward room by room, and check our no-neutral smart switch guide if your older home lacks a neutral wire at the switch box. This order builds the mesh as you go, so each new device joins through a strong neighbour. Then pair battery devices last, once the mesh around them is solid.
Use SmartStart when your hub and device support it. You scan a QR code, and the device joins with S2 security when powered on. This method cuts pairing errors and saves you from typing long PINs. Still, keep the code sheet safe, since you may need it if you ever reset the device.
After pairing, test each device from the app before you build automations. Lock and unlock each lock, switch each light, and trip each sensor. Then fix any weak spots at once, since a device that barely connects now will fail later. A small repeater plug in a hallway often fixes a weak corner.
Finally, build one simple automation and live with it for a week. A good first rule is porch lights on at sunset and off at bedtime, and a circadian lighting setup is a natural second step once that first rule runs well. Once that runs without a hitch, add motion lighting or lock rules. Slow growth beats a dozen rules that break together.
Fixing Common Z-Wave Hub Problems
A device that won’t pair is the most common headache. First, exclude it before you include it, even if it’s brand new. Factory units sometimes carry test network data. Then bring the device close to the hub for pairing, and move it to its final spot after it joins. This trick solves most pairing failures.
Slow or missed commands often point to a thin mesh. Add a powered Z-Wave plug halfway between the hub and the weak device. Then run a network repair or heal from the hub settings, and give the mesh a night to settle. Routes improve over time as devices learn better paths.
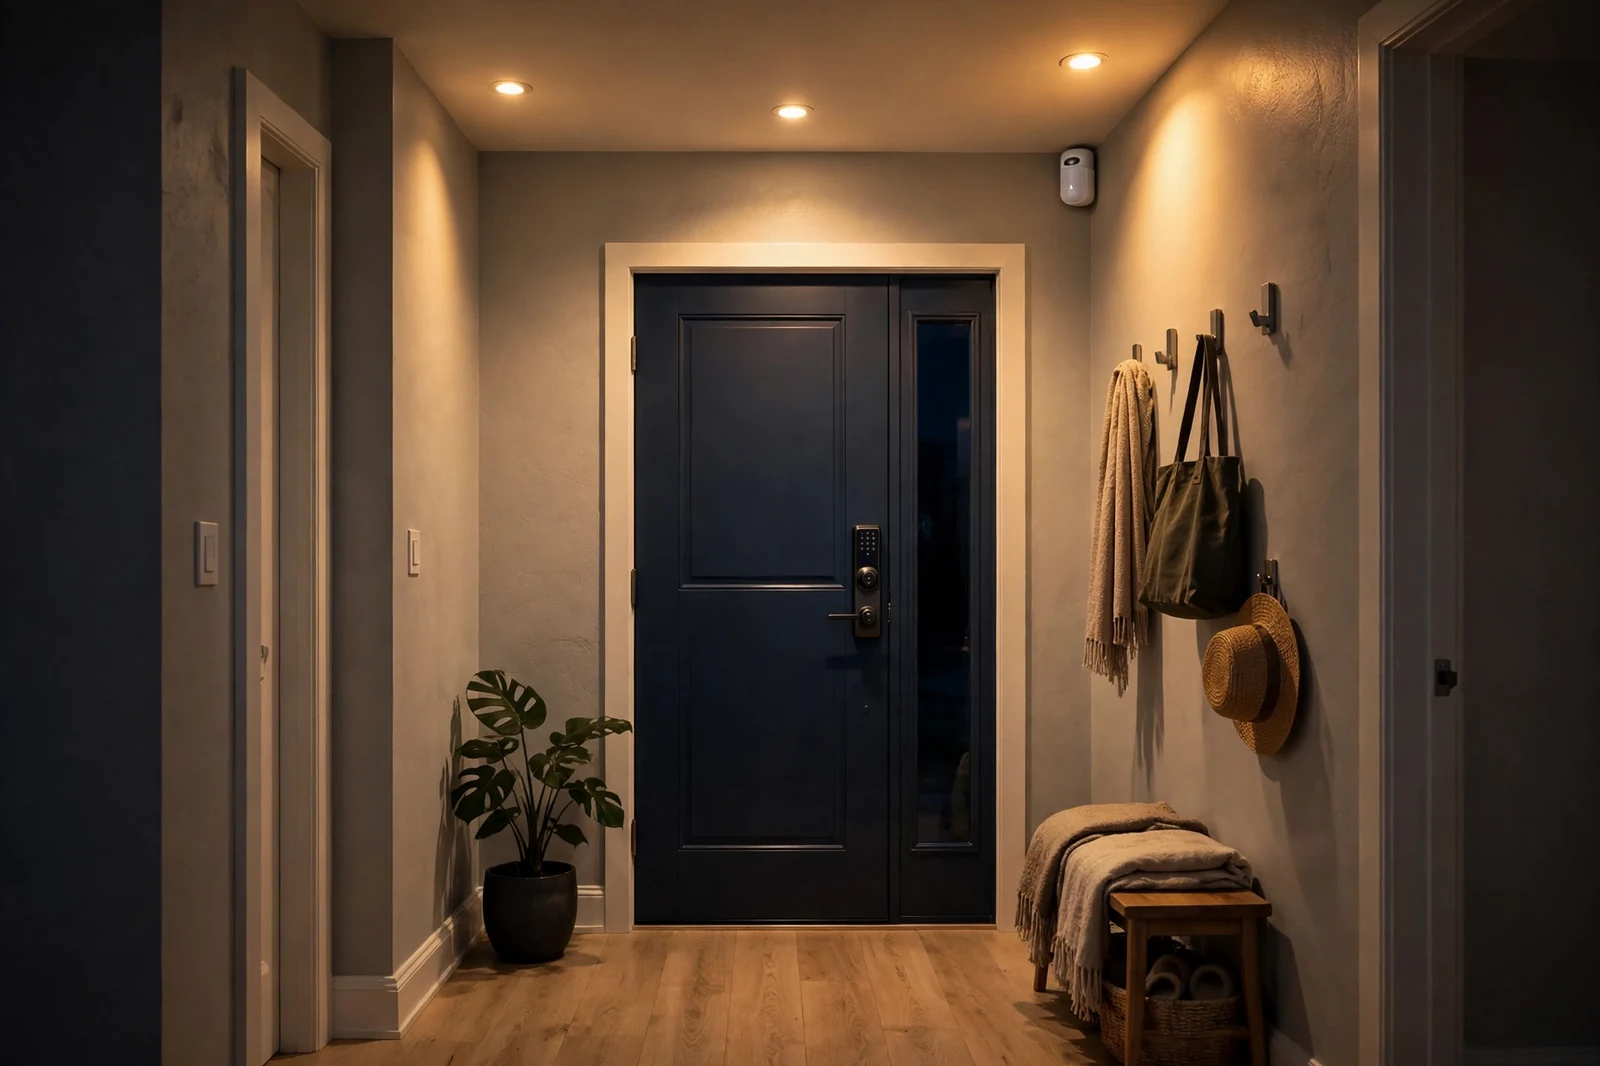
A lock that drains batteries fast may be chatting too much. Check how often it reports status, and cut needless polling. Also check its signal strength, since a lock that strains to reach the hub burns power retrying. A repeater near the door often doubles battery life in practice.
Ghost nodes can confuse a network after a failed pairing. These are half-joined entries with no live device behind them. Most hubs let you remove a failed node from the Z-Wave settings, then re-pair cleanly.
When all else fails, resist the urge to factory-reset the whole hub. A full reset wipes every device and rule at once. Instead, fix one device at a time, and back up your hub before any big change.
Do You Even Need a Hub?
You need a hub if you own Z-Wave devices. There is no way around it, since Z-Wave radios speak a language your phone and router do not. But you may not need a hub at all if your home runs only on Wi-Fi or Matter-over-Wi-Fi devices. So count your devices first, then decide.
A z wave hub also earns its keep through automations. If you only want to lock one door from your phone, a hub may feel like overkill. But the moment you want locks, lights, and sensors to act together, a hub becomes the brain that ties them up. So the question is less about one device and more about the system you want.
Renters can use a hub too, with one caution. Stick to devices you can take with you, like plugs, sensors, and battery locks. Skip wired switches unless your landlord agrees. Then your hub and devices move with you to the next home, and your automations come along too.
FAQs
What is a z-wave hub in simple terms?
A z-wave hub is a small controller that connects your Z-Wave devices into one network. It sends their commands, reads their status, and runs your automations from a single app. Without it, locks, switches, and sensors can’t talk to each other or to your phone.
Can a z wave hub work without the internet?
Yes, most core tasks work without the internet on a local hub like Hubitat or Home Assistant. Lights, locks, and motion rules keep running because the hub processes them at home. Remote phone access and voice control need the internet, but your basic automations don’t stop.
Do all smart home hubs support Z-Wave?
No, many popular hubs lack a Z-Wave radio entirely. Some Echo models include Zigbee but not Z-Wave, and current SmartThings hubs dropped Z-Wave as well. Always check the spec sheet for a Z-Wave radio before buying, since older guides may still list hubs that no longer support it.
How many devices can one hub handle?
A classic Z-Wave network supports up to 232 nodes, which is plenty for most homes. Real limits depend on your hub’s processing power and your mesh strength. Large homes should add powered repeaters and spread devices evenly, so no single route carries all the traffic.
Is Z-Wave better than Wi-Fi for locks and sensors?
For locks and sensors, Z-Wave usually wins on reliability and battery life. It runs on a quiet band away from Wi-Fi, uses a mesh that routes around problems, and sips power. Wi-Fi suits cameras and speakers better, since those need far more bandwidth than a lock command ever will.
Can I mix Z-Wave and Zigbee devices on one hub?
Yes, if your hub includes both radios, as Hubitat does. Each protocol runs its own mesh, but the hub lets them trigger each other in shared automations. So a Zigbee motion sensor can switch on a Z-Wave light, and you manage both from one app.
Conclusion
A good hub turns scattered devices into a home that acts as one. Pick Hubitat for simple local control, Home Assistant for deep flexibility, or a security panel if alarms lead. Then place the hub centrally, build the mesh outward, and grow your rules slowly. Start by listing your Z-Wave devices today, and choose the hub that fits that list.