

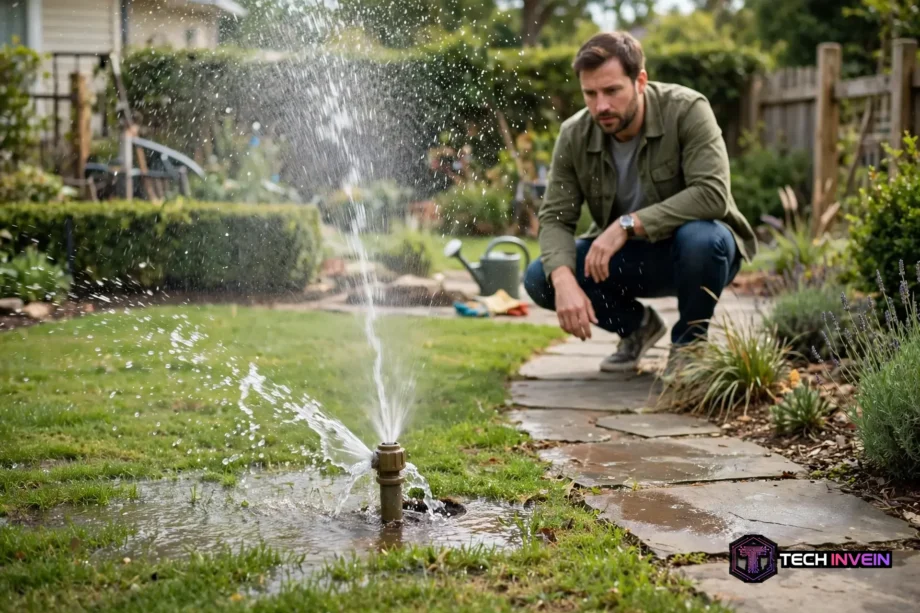
Irrigation leak detection starts with one question: is water moving when nothing should be running? If your lawn has a soggy patch, your bill jumped, or a zone sounds odd, you may have a hidden leak. This guide covers the signs, the meter test, and zone checks. You will learn where leaks hide and when to call a pro.
- Signs You May Have a Leak
- Irrigation Leak Detection: Start With the Water Meter
- How to Find a Leak in a Sprinkler System, Zone by Zone
- Sprinkler System Leak Detection: The Valve Test
- The Head-by-Head Walk
- Common Leak Spots and What They Look Like
- How to Detect a Leak in a Sprinkler System Without Digging First
- Fix It Yourself or Call a Pro?
- Preventing the Next Leak
- Irrigation Leak Detection in Each Zone: A Simple Routine
- FAQs
- How do I know if my sprinkler system has a leak?
- How can I find a leak in my sprinkler system without digging?
- What is the most common place for an irrigation leak?
- Why does one zone have low pressure while others look fine?
- Should I call a pro for a sprinkler leak?
- How do I check a sprinkler valve for a leak?
- Conclusion
Signs You May Have a Leak
A leak does not always show up as a puddle. Often the first sign is subtle. One patch of grass may grow faster than the rest. That patch may stay dark green while nearby grass looks dry. In short, extra water feeds that spot day and night.
Another sign is a soft or spongy patch underfoot. You may step on it days after the system last ran. It still feels wet. That kind of spot deserves a closer look. Also watch for mud near a sprinkler head or along a path.
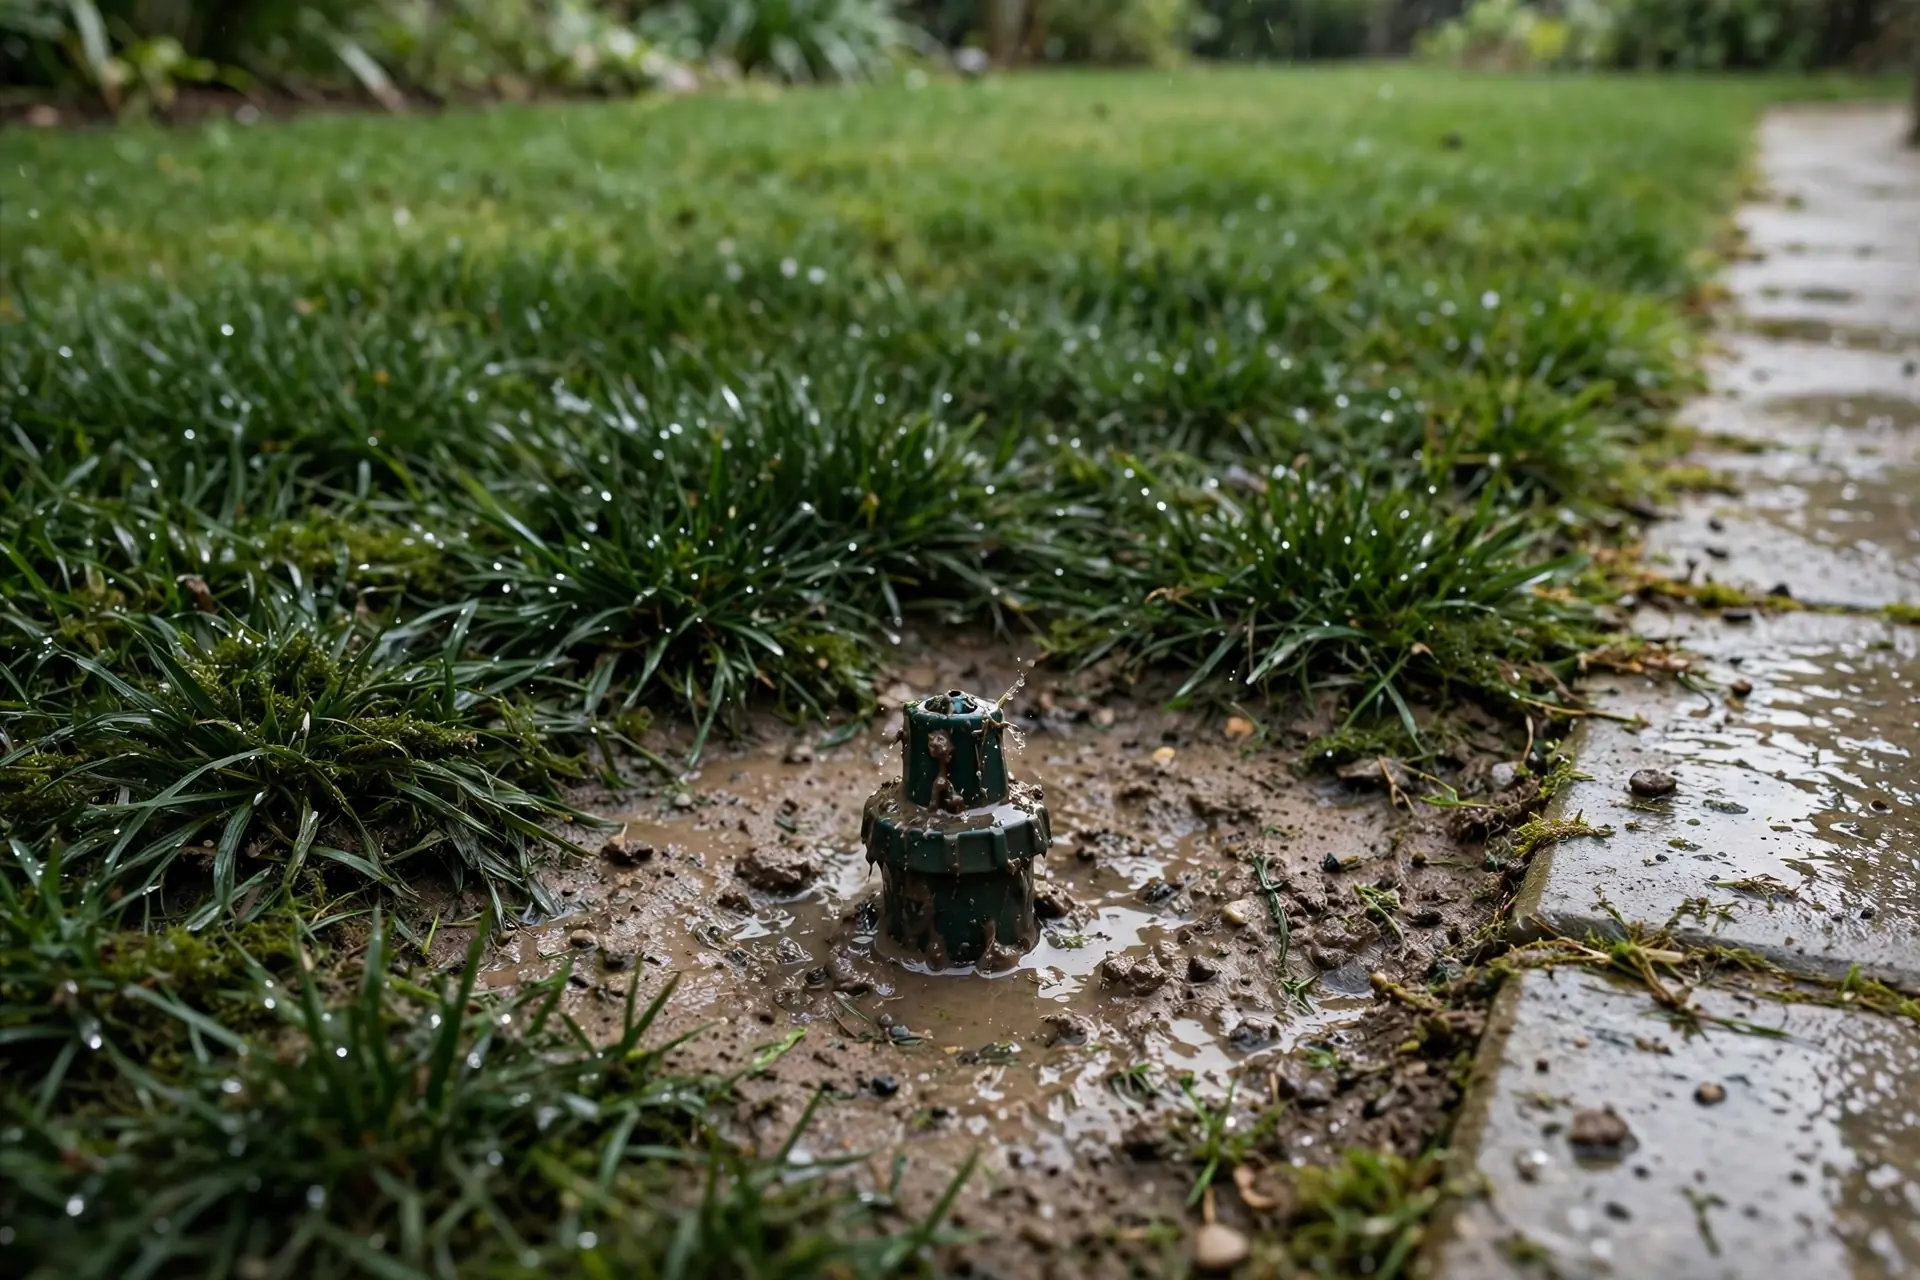
Low pressure is another clue. Heads may pop up slowly. They may spray weakly or mist instead of throwing a clean arc. One zone may look tired while other zones look normal. That gap often points to water escaping before it reaches the heads.
Your water bill can tell the same story. A sudden jump with no change in your watering schedule is worth checking. First, rule out a running toilet or a dripping tap inside. Then turn your focus outside. A hidden outdoor leak can run for weeks before anyone sees it.
Irrigation Leak Detection: Start With the Water Meter
The water meter test is the fastest way to confirm a leak. You do not need fancy tools for this step. You just need a quiet period with no water use. Pick a time when no one will shower, wash clothes, or run a tap.
First, turn off every tap and appliance that uses water. Then go to your meter and note the reading. Then take a clear photo of the dial. That photo gives you a fixed starting point. It also saves you from trying to recall small digits later.
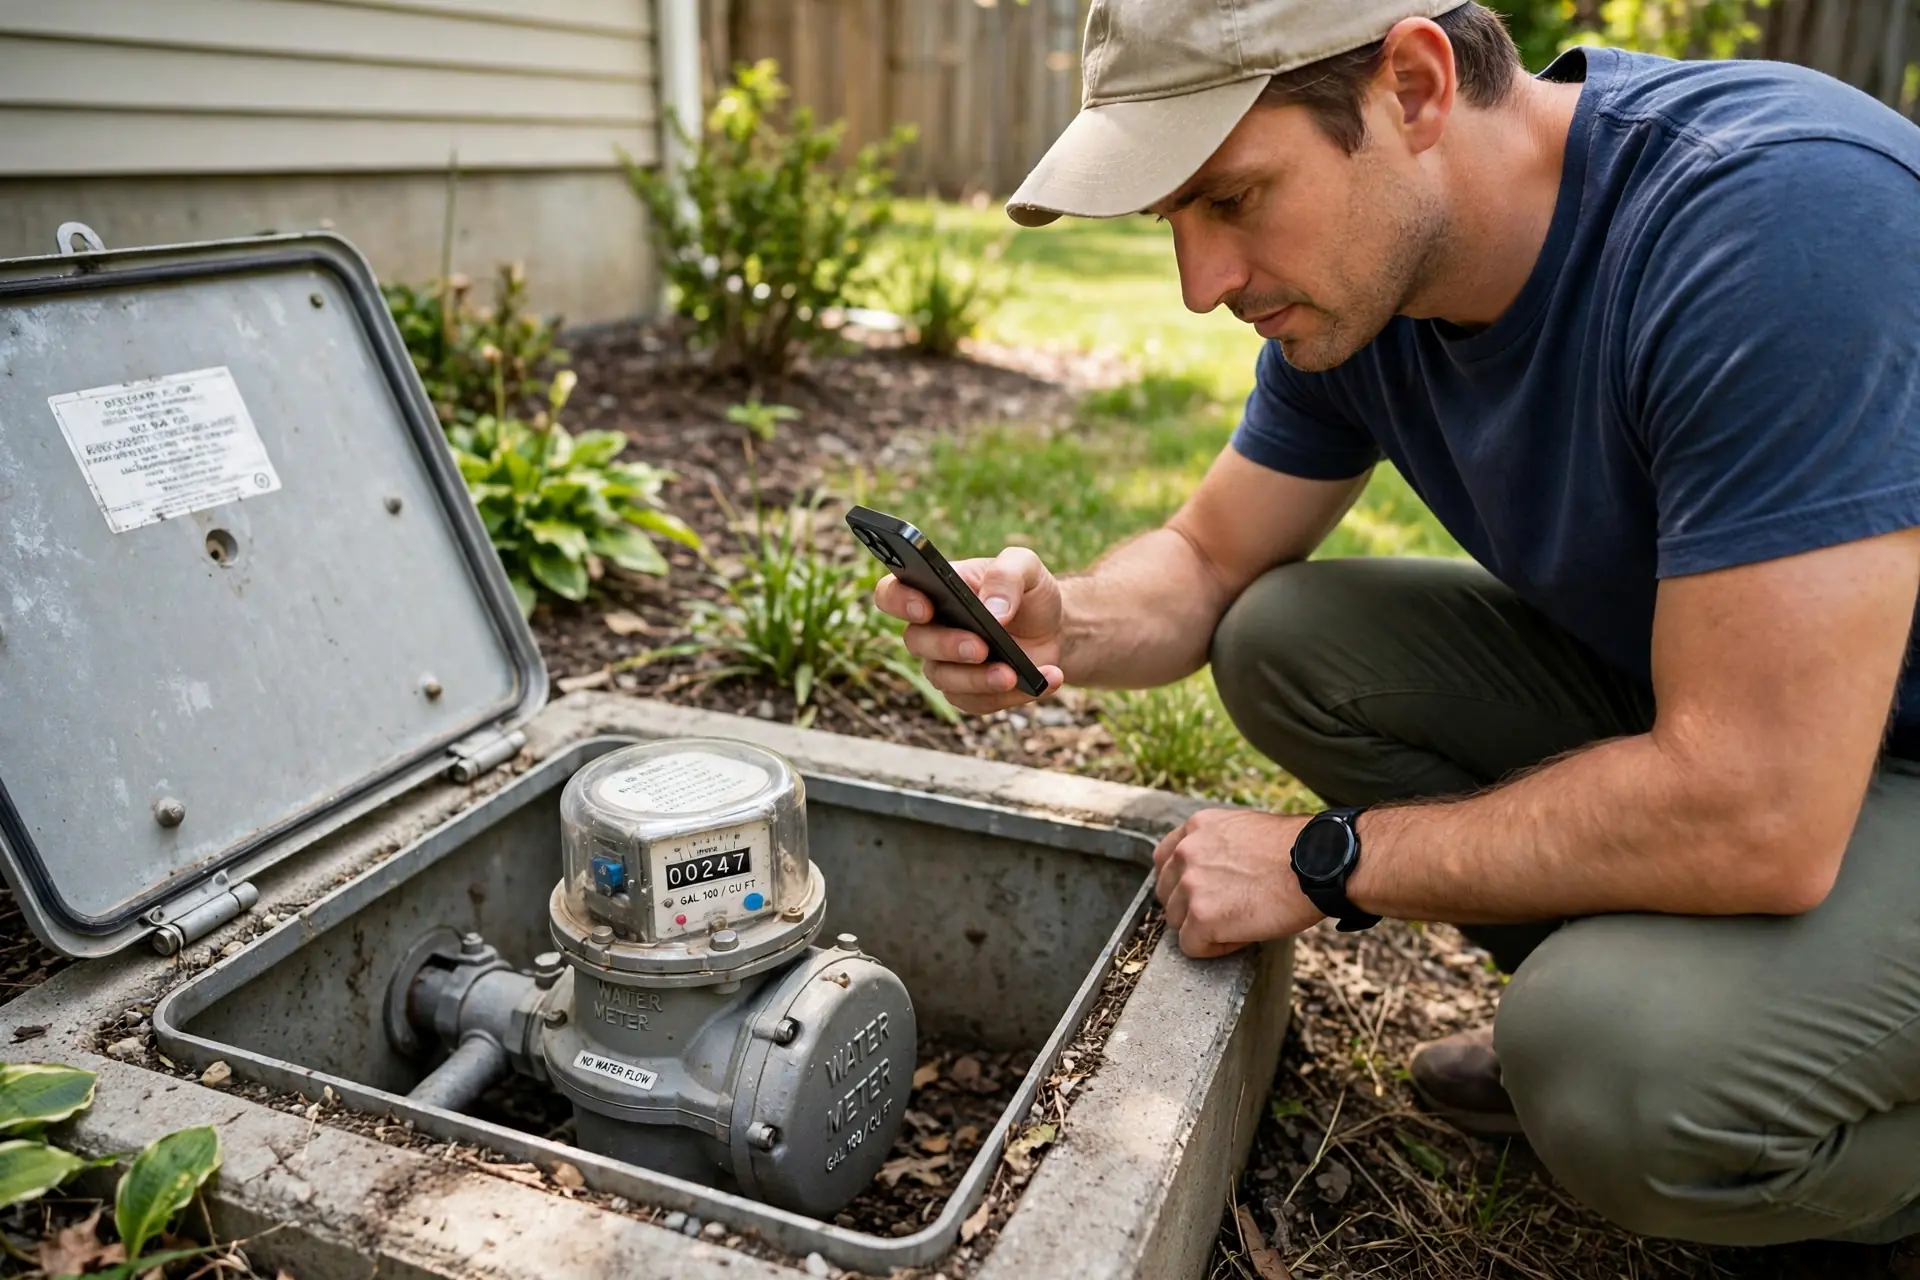
Next, leave all water off for at least two hours. Overnight works even better if you can manage it. When you return, check the reading again. If the dial has moved, water is still flowing somewhere. That result means you have a leak to track down.
Now you need to narrow the search. Shut off the water supply to your irrigation system only. This shutoff is often near the backflow preventer or the main irrigation valve. Leave the house water on. Then watch the meter again for a short period.
If the meter stops moving after that shutoff, the leak is likely in the irrigation system. If it keeps moving, the leak may be inside the house or in the main supply line. That split saves a lot of wasted digging. It tells you which system to test next.
Here is a hands-on detail that makes this test more reliable. Write the time next to each meter photo. A reading that moves overnight is stronger proof than a quick glance. In one overnight check, a dial that had looked still at first glance showed clear movement by morning. That small habit turns a guess into evidence you can act on.
How to Find a Leak in a Sprinkler System, Zone by Zone
Once you know the irrigation system is involved, test one zone at a time. Do not run the whole system at once. A full run hides the problem zone. A single-zone run makes the fault stand out.
Start with the zone closest to your water source. Then turn it on from the controller. Then walk the full zone slowly. Also look at each head as it runs. Listen for hissing near the ground. Watch for water bubbling up between heads.
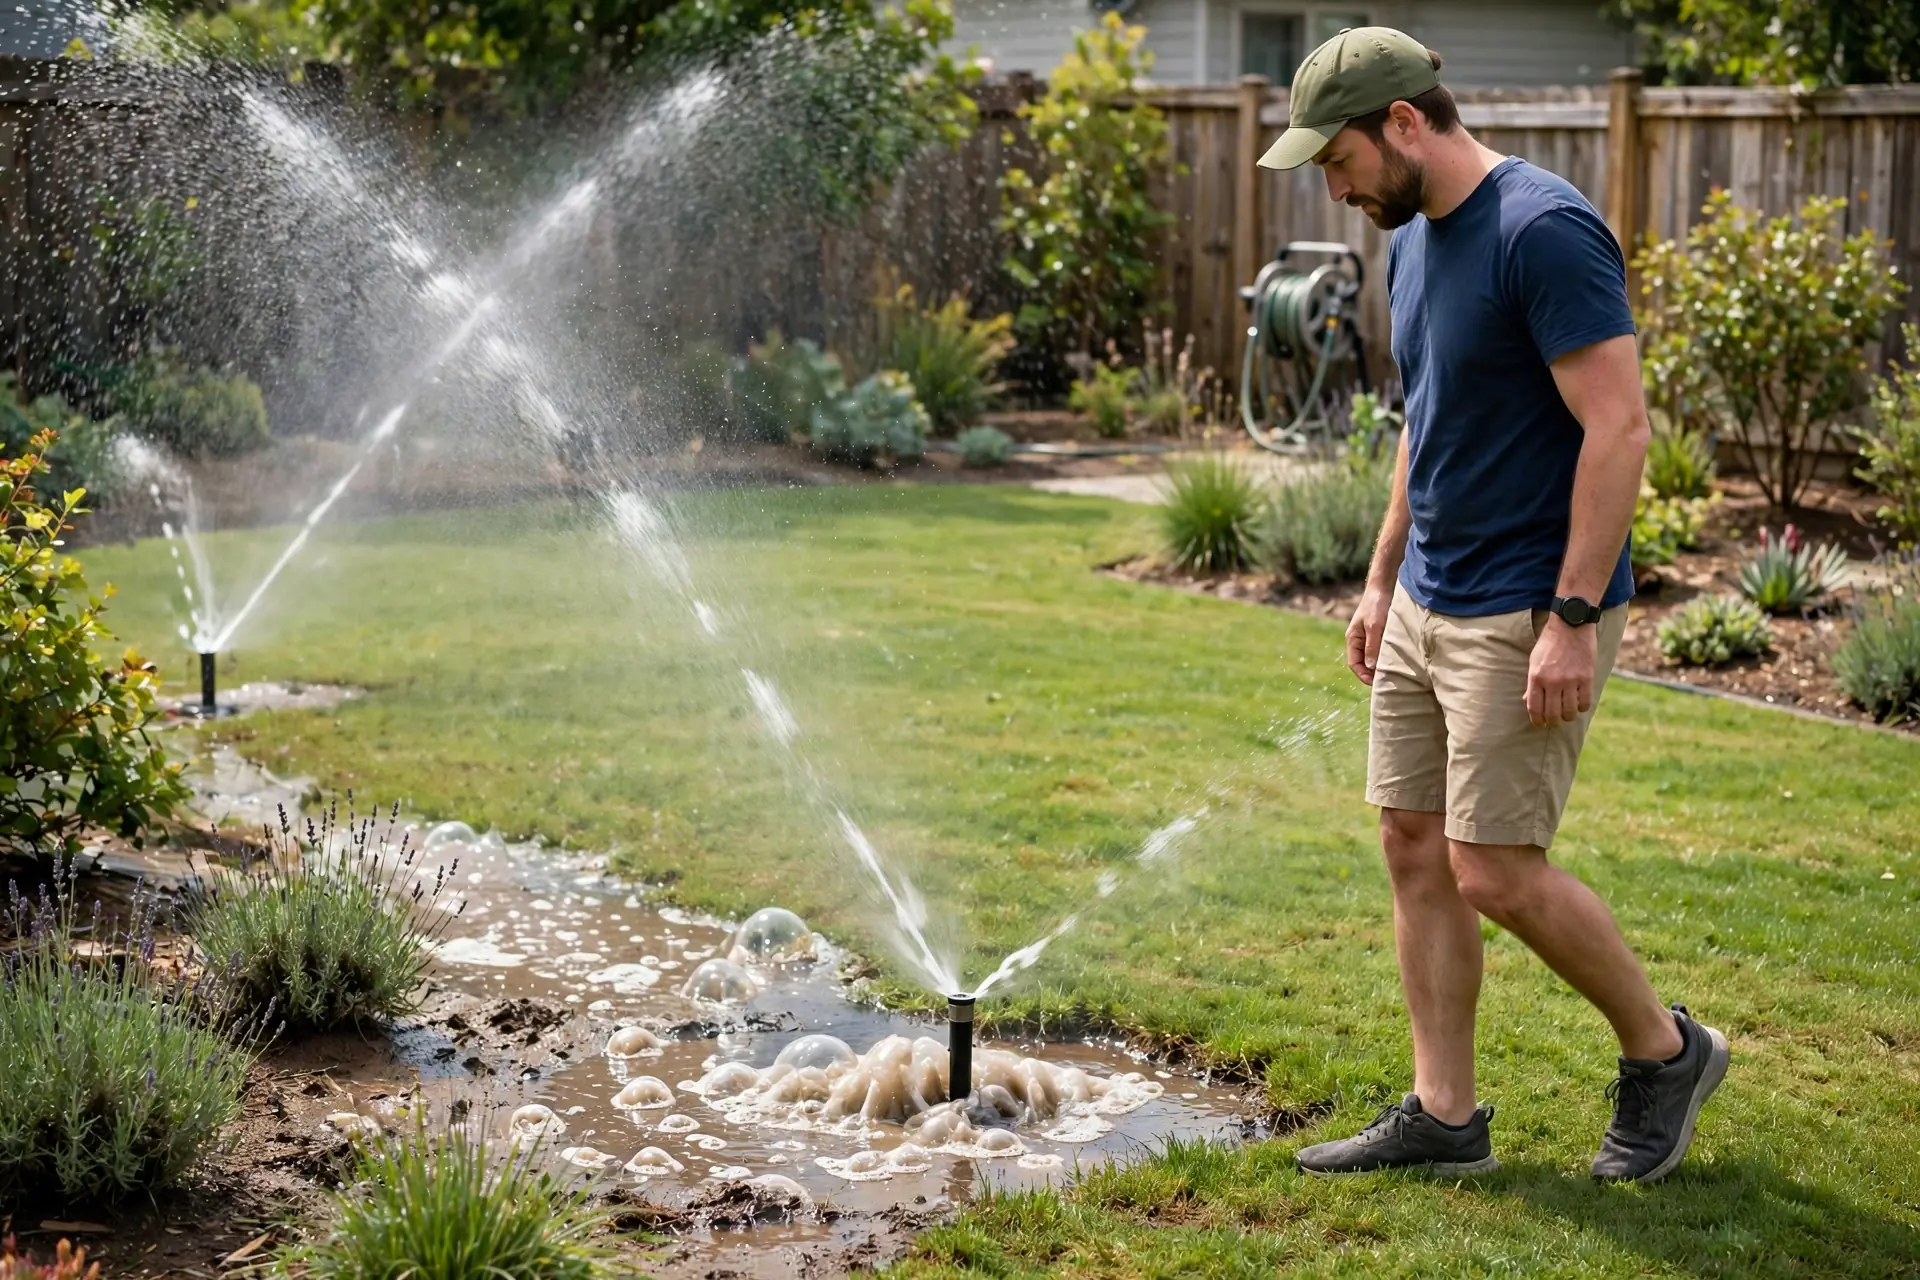
Pay close attention to pressure changes within a zone. If the first heads spray well and the last heads barely lift, the leak may sit between them. Water lost mid-line starves the heads downstream. That pattern narrows your dig area a lot.
Sprinkler System Leak Detection: The Valve Test
Valves cause many slow leaks. A valve that does not close fully lets water seep into a zone all day. The heads in that zone may weep or drip long after the run ends. That drip is easy to miss if you only check during a run.
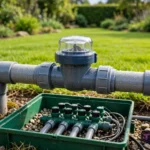
To test a valve, find its valve box. Lift the lid, then look inside. A dry box is normal. Standing water or damp soil inside the box is not normal. Also check the wires and fittings for mud or mineral crust. Those marks can point to a slow seep.
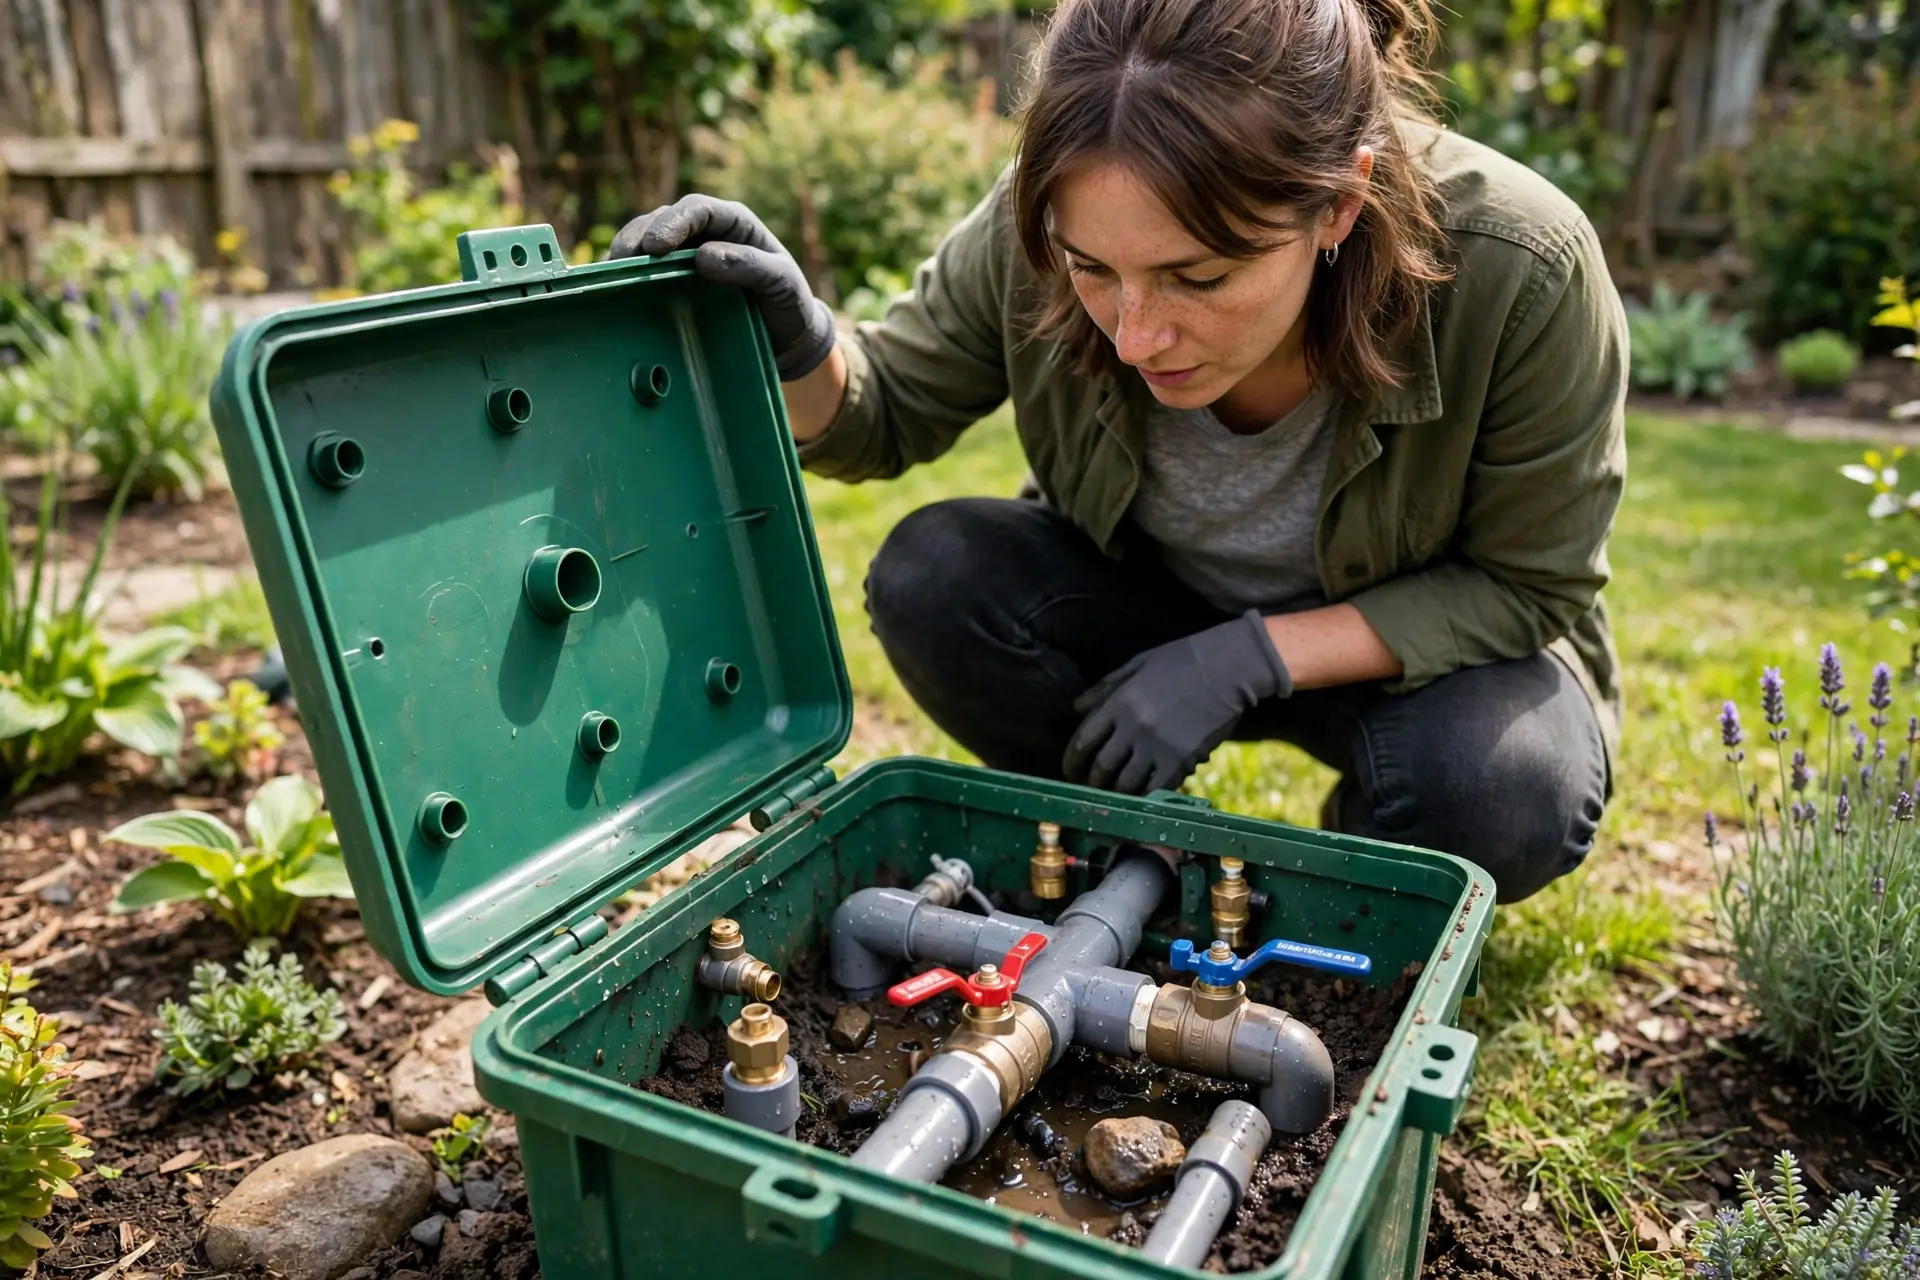
Then turn that zone on and off from the controller. Watch the heads after shutdown. Do they stop within a minute or two? If one zone keeps weeping while others stop cleanly, suspect its valve. Next, try the manual bleed screw if your valve has one. Use it gently and only as the maker directs.
The Head-by-Head Walk
Heads take a beating from mowers, feet, and pets. So a head-by-head walk is worth doing with care. Look for a head that sits too low or tilts to one side. A tilted head sprays the wrong area, then wastes water. It can also hide a cracked riser below the surface.
Watch each head pop up. A head that sticks halfway may have dirt in its seal. A head that sprays from its base may have a broken seal or a cracked body. In both cases, water pools at the base instead of reaching the lawn. That pool is a clear sign to inspect that head.
When you plan any digging near heads or lines, remember that outdoor lines often share ground with other outdoor work. A guide to smart home wiring design ideas can help you think through outdoor routes before you cut into a lawn. That planning step matters when valve wires and other cables run through the same beds.
Common Leak Spots and What They Look Like
Most leaks cluster in a few places. Heads and risers lead the list because they sit near the surface. They crack after a mower strike or a freeze. Next come fittings and joints. Those joints loosen with soil movement over time.
Valve boxes are another common spot. Water in a box often means a valve seal or a fitting has failed. Also check the backflow preventer. A steady drip from its relief outlet needs attention. Do not ignore it just because the drip looks small.
Main lines leak less often,, however,they matter more when they do. A main line stays under pressure even when no zone runs. So a main line leak can waste water around the clock. If your meter moves with the system off, yet no zone weeps, suspect the main line or a valve that feeds it.
Lateral lines leak only when their zone runs. That timing is a useful clue. If the meter moves only during one zone, focus on that zone’s laterals. If it moves all the time, focus on the main line and valves first. That split keeps your search tight.
Digging for other garden work can also break a line. Low voltage garden lighting often goes into the same beds as irrigation pipe. A sizing guide for low voltage transformer sizing for landscape lighting shows how outdoor power work is planned, and that same care applies when you dig near a known pipe run. Mark your pipe route before any new trench goes in.
How to Detect a Leak in a Sprinkler System Without Digging First
You can learn a lot before you lift a shovel. Start with the meter test above. Then do the zone walk. Then check valve boxes and heads. Those three steps catch many leaks with no digging at all. They also give you a short list of suspect spots.
A simple listening trick helps on quiet mornings. Put your ear near the ground at a suspect spot, or press a long screwdriver to the soil, then listen at the handle. A hiss or a rushing sound can point to a pressurised break. This trick works best when traffic and wind are low.
Smart controllers add another layer of help. Some controllers track flow and flag odd use. If yours does, check its flow history after a suspect run. A zone that uses far more water than its neighbours deserves a second walk. For outdoor routines in general, a guide to automating outdoor lights at sunset and sunrise with Home Assistant shows how outdoor systems can be scheduled and watched from one place. The same habit of checking a schedule helps you spot a zone that runs when it should not.
Fix It Yourself or Call a Pro?
Some fixes are fair for a careful homeowner. A cracked head is a common DIY job. A clogged nozzle is simpler still. A loose fitting in an open valve box may also be within reach. In each case, shut the water off first. Then take a photo before you undo anything.
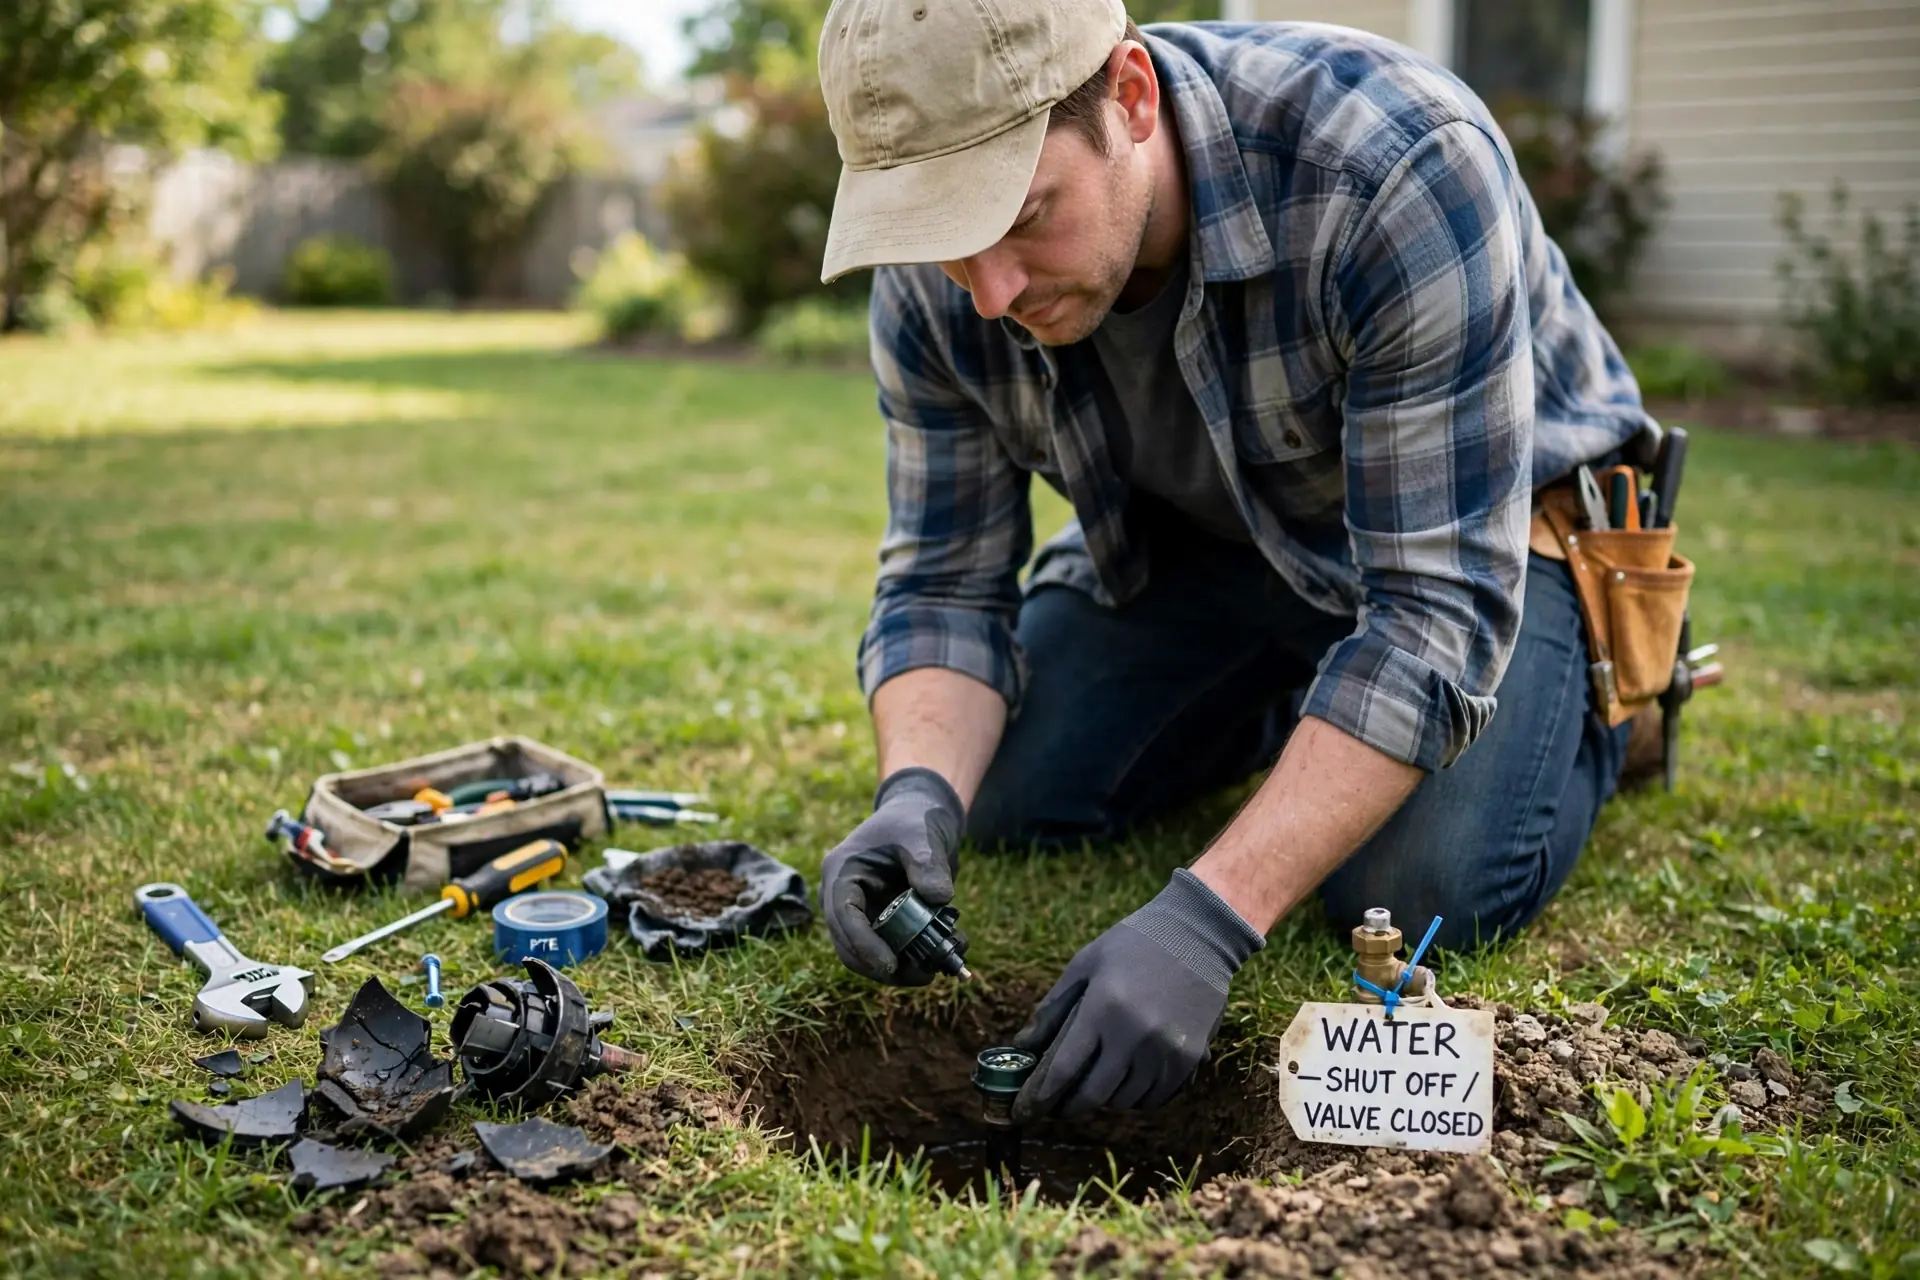
Call a pro for main line breaks, deep pipe work, and backflow faults. Those jobs sit under pressure and near drinking water safety parts. A pro also makes sense if you cannot find the leak after a full zone walk. A second pair of eyes with listening gear can find a break you missed.
Also call a pro if the leak sits under concrete, a driveway, or a large tree root mass. Digging there can cause more harm than the leak itself. A pro can test from access points and plan a route that avoids fresh damage. Ask what the test showed before any trench is opened.
When you do call someone, share your notes. Show your meter photos with times. Show your zone sketch and your flagged spots. That record cuts guesswork, then keeps the visit short. It also helps you check that the fix worked, because you can repeat the same meter test after the repair.
Table: What each test result usually points to
| Test | Result | Likely area to check |
|---|---|---|
| Meter test, system on | Dial moves with all taps off | A leak somewhere on your side of the meter |
| Meter test, irrigation off | Dial stops moving | Main line, valves, or zone lines |
| Meter test, irrigation off | Dial keeps moving | House plumbing or main supply line |
| Zone walk | One zone sprays weakly | That zone’s heads, fittings, or lateral line |
| Valve box check | Box holds standing water | That valve, its seals, or nearby fittings |
Preventing the Next Leak
Prevention is mostly about small, regular checks. Walk your zones once a month during the watering season. Look for tilted heads and wet boxes. Catching a small fault early keeps it from turning into a washed-out trench.
Mark your pipe routes on a simple yard sketch. Keep that sketch with your controller manual. Future digging, planting, or lighting work will be safer with that map in hand. Outdoor lighting paths also cross garden beds, so a guide to smart outdoor pathway lights with no wiring is a useful reminder to plan routes before you dig. A marked route protects both systems at once.
Irrigation Leak Detection in Each Zone: A Simple Routine
This routine also answers the wider question of how to find a sprinkler system leak without tearing up the whole lawn. You narrow the area step by step. Each test cuts the search down. By the end, you should have one zone and a short list of spots. This is how to find leak in sprinkler system zones step by step. It is also how to detect leak in sprinkler system parts without guesswork. And it shows how to find sprinkler system leak spots before you dig. The same steps cover irrigation system leak detection in full.
For water saving context, the EPA WaterSense program offers guidance on outdoor water use and efficient watering. That guidance pairs well with leak checks. A system that does not leak still needs a sensible schedule, and a good schedule will not hide a leak for long.
FAQs
How do I know if my sprinkler system has a leak?
Look for soggy patches, grass that grows faster in one spot, weak heads, and a bill that jumps with no schedule change. Then run the meter test with all taps off. If the dial moves, water is flowing somewhere it should not. That result, plus a zone walk, usually confirms a leak.
How can I find a leak in my sprinkler system without digging?
Start with the meter test, then run one zone at a time and walk it fully. Check valve boxes for standing water and watch heads after shutdown. Mark wet spots and recheck them after the area dries. Those steps often point to one zone and a short list of spots before any digging starts.
What is the most common place for an irrigation leak?
Heads and risers are the most common spots because they sit near the surface and take hits from mowers and feet. Valve boxes and fittings come next. Main lines fail less often, but they leak around the clock because they stay under pressure even when no zone runs.
Why does one zone have low pressure while others look fine?
Low pressure in one zone often means water escapes before it reaches the heads. A cracked lateral, a loose fitting, or a damaged head can all cause it. Check that zone head by head. If early heads spray well and later heads fail, the break likely sits between those two points.
Should I call a pro for a sprinkler leak?
Call a pro for main line breaks, deep pipe work, backflow faults, and leaks under concrete or large roots. Also call one if a full zone walk finds nothing. DIY suits a cracked head, a clogged nozzle, or a loose fitting in an open valve box, as long as you shut the water off first.
How do I check a sprinkler valve for a leak?
Open the valve box and look for standing water, damp soil, or mineral crust. A dry box is normal. Then run the zone and switch it off. Watch the heads for weeping after shutdown. If one zone keeps dripping while others stop cleanly, its valve seal is the prime suspect.
Conclusion
Irrigation leaks hide well,, however,they leave clues. A meter test confirms the problem. A zone walk narrows it down. Valve and head checks point to the exact fault in many cases. Work through those steps in order, keep notes with times and photos, and do not dig until two clues point to the same spot. Your next step is simple: run the meter test tonight, with all taps off, and see what the dial tells you by morning.