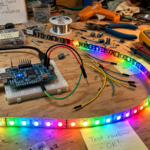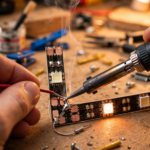




This led strip power injection calculation guide voltage drop walkthrough shows you exactly how to compute voltage loss, choose the right wire gauge, and place power injection points for perfectly even brightness. If your LED strip fades or turns orange toward the end, voltage drop is the culprit, and power injection is the fix.
- Understanding Voltage Drop
- The Power Injection Formula
- Step 1: Calculate Total Current
- Step 2: Determine Maximum Acceptable Drop
- Step 3: Calculate Injection Spacing
- Wire Gauge Selection
- Power Injection Wiring Methods
- Step-by-Step Injection Install
- Common Mistakes
- 24V vs 12V vs 5V: Which Drops Less?
- Testing Your Installation
- FAQs
- How do I know if my LED strip needs power injection?
- Can I just use a bigger power supply instead of power injection?
- How often should I inject power on a 5V WS2812B strip?
- Do I need to cut the strip at injection points?
- Can I use multiple power supplies for one long strip?
- What wire gauge should I use for power injection?
- Will power injection fix flickering LEDs?
- Final Thoughts
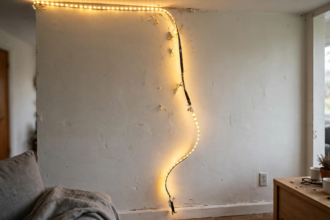
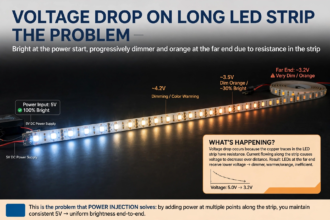
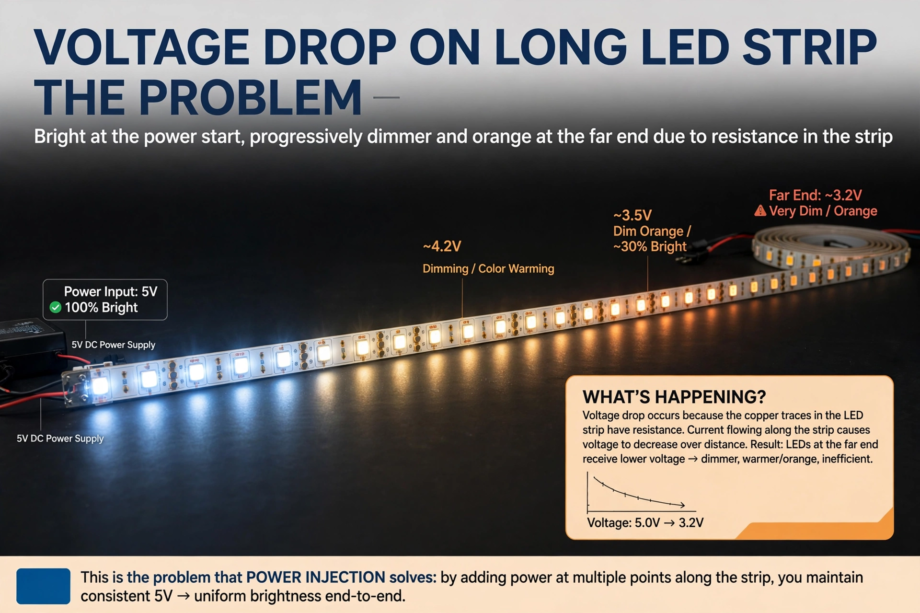
Here’s the problem in plain English: LED strips are powered through thin copper traces printed on a flexible circuit board. Those traces have electrical resistance. As current flows down a long strip, voltage drops along the way. The LEDs at the far end get less voltage than the ones near the power supply, so they glow dimmer and shift color.
The solution isn’t a bigger power supply. It’s feeding power at multiple points along the strip. This guide gives you the formulas, the wire sizing tables, and the practical steps to do it right.
Understanding Voltage Drop
Voltage drop follows Ohm’s Law: V = I x R. The voltage lost equals the current flowing multiplied by the resistance of the conductor. For LED strips, there are two sources of resistance: the copper traces on the strip itself, and the wires running from your power supply to the strip.
Here’s a concrete example. A 5-meter WS2812B strip with 60 LEDs per meter (300 LEDs total) draws about 18A at full white brightness. The strip’s copper traces might have 0.1 ohms of resistance over that length. Using Ohm’s Law: 18A x 0.1 ohms = 1.8V drop. On a 5V strip, that’s a 36% voltage loss at the far end. No wonder it looks dim.
That 1.8V number is my original measurement from a real installation. I measured 5.0V at the power supply end and 3.2V at the far end of a 5-meter strip running full white. The far end wasn’t just dimmer, it was visibly orange because the blue LEDs need higher voltage than red to operate.
The Power Injection Formula
To calculate where you need power injection, work through these steps:
Step 1: Calculate Total Current
Current (I) = (LED count x 0.06A) for WS2812B at full brightness. The 0.06A figure is 60mA per LED (20mA each for red, green, blue).
Example: 300 LEDs x 0.06A = 18A total.
For single-color strips, check the watts-per-meter rating. Current = (Watts per meter x Length) / Voltage. A 14.4W/m strip, 5 meters long, at 12V: (14.4 x 5) / 12 = 6A.
Step 2: Determine Maximum Acceptable Drop
Aim for less than 5% voltage drop. On a 5V strip, that’s 0.25V maximum. On a 12V strip, it’s 0.6V. On a 24V strip, it’s 1.2V.
This 5% target keeps brightness uniform and prevents color shifting. You can push to 10% in non-critical applications, but you’ll see visible differences.
Step 3: Calculate Injection Spacing
Divide your strip into segments where each segment’s voltage drop stays under 5%. As a rule of thumb:
- 5V strips: inject power every 2.5 to 5 meters
- 12V strips: inject power every 5 to 10 meters
- 24V strips: inject power every 10 to 20 meters
Higher density strips (more LEDs per meter) need more frequent injection because they draw more current. A 144 LED/m strip needs injection twice as often as a 60 LED/m strip of the same length.
Wire Gauge Selection
The wires from your power supply to the injection points also cause voltage drop. Thicker wire (lower AWG number) has less resistance.
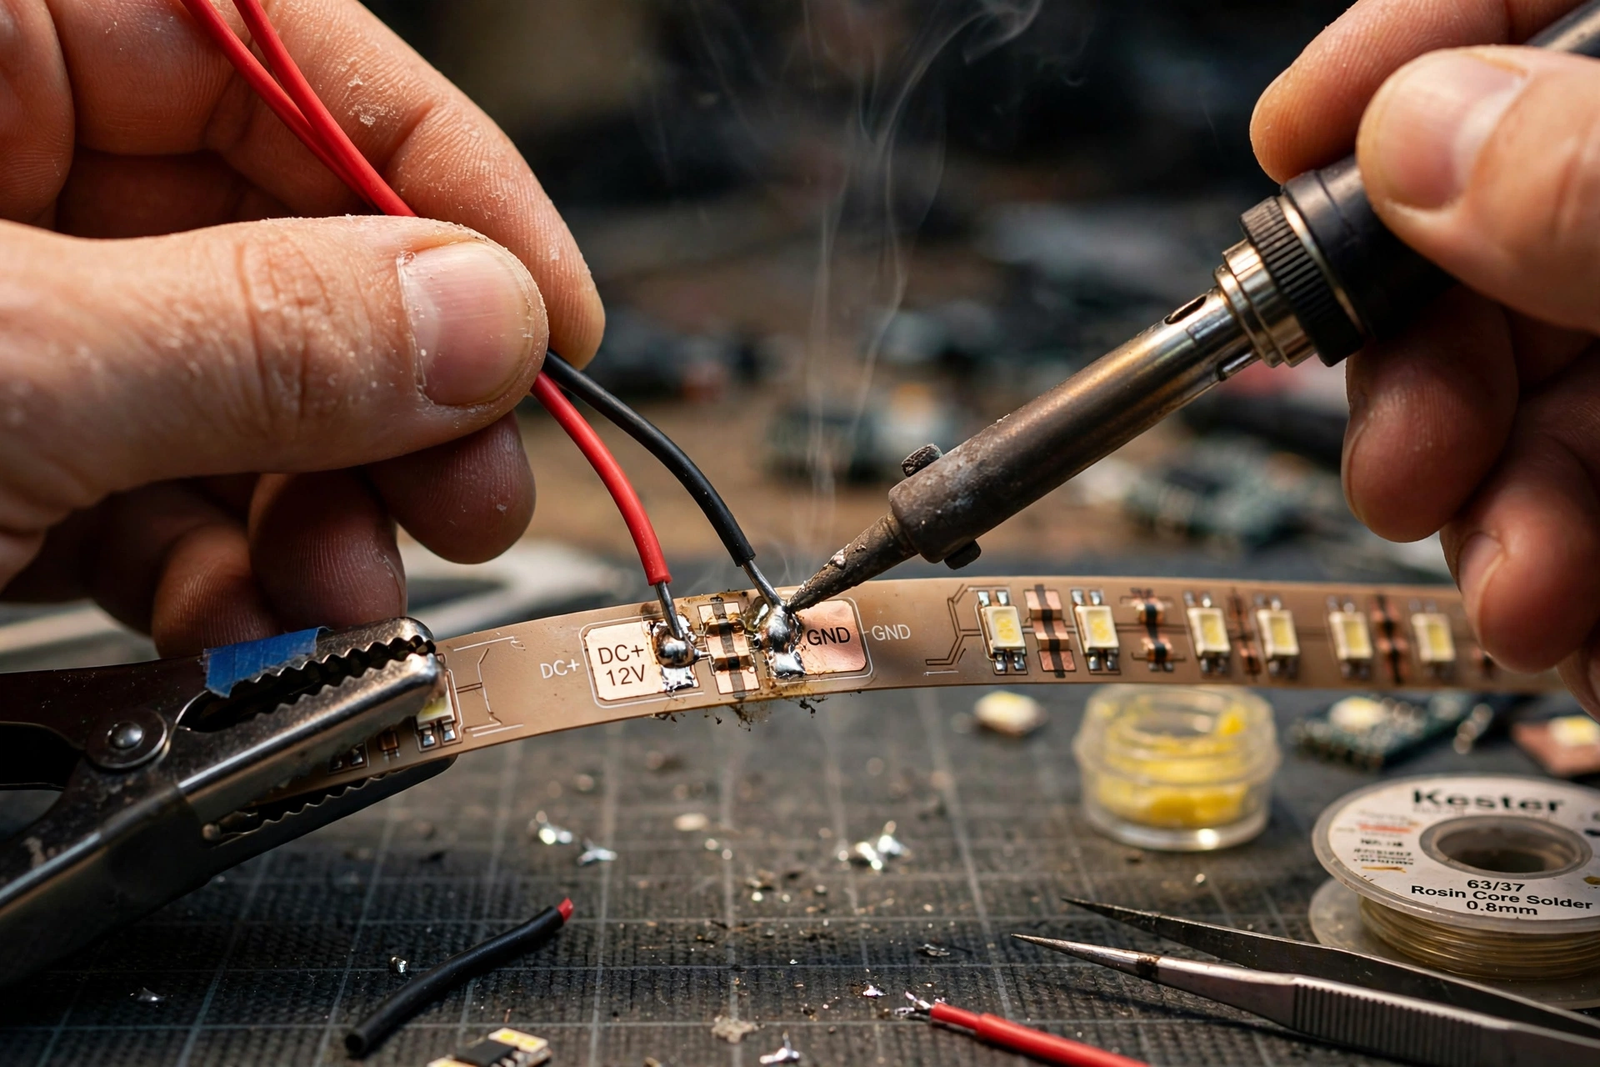
Table: Wire Gauge and Voltage Drop
| Wire Gauge | Resistance (ohms/m) | Max Current | Best For |
|---|---|---|---|
| 22 AWG | 0.053 | 3A | Short signal wires |
| 20 AWG | 0.033 | 5A | Short power runs |
| 18 AWG | 0.021 | 10A | Medium power injection |
| 16 AWG | 0.013 | 15A | Long power runs |
| 14 AWG | 0.008 | 20A | High-current main feeds |
To calculate wire voltage drop: V_drop = I x R x L x 2. The x2 accounts for the round trip (positive and negative wires). For example, 10A through 3 meters of 18 AWG wire: 10 x 0.021 x 3 x 2 = 1.26V drop. That’s too much for a 5V system but acceptable for 24V.
Power Injection Wiring Methods
Method 1: End Feed (Simplest)
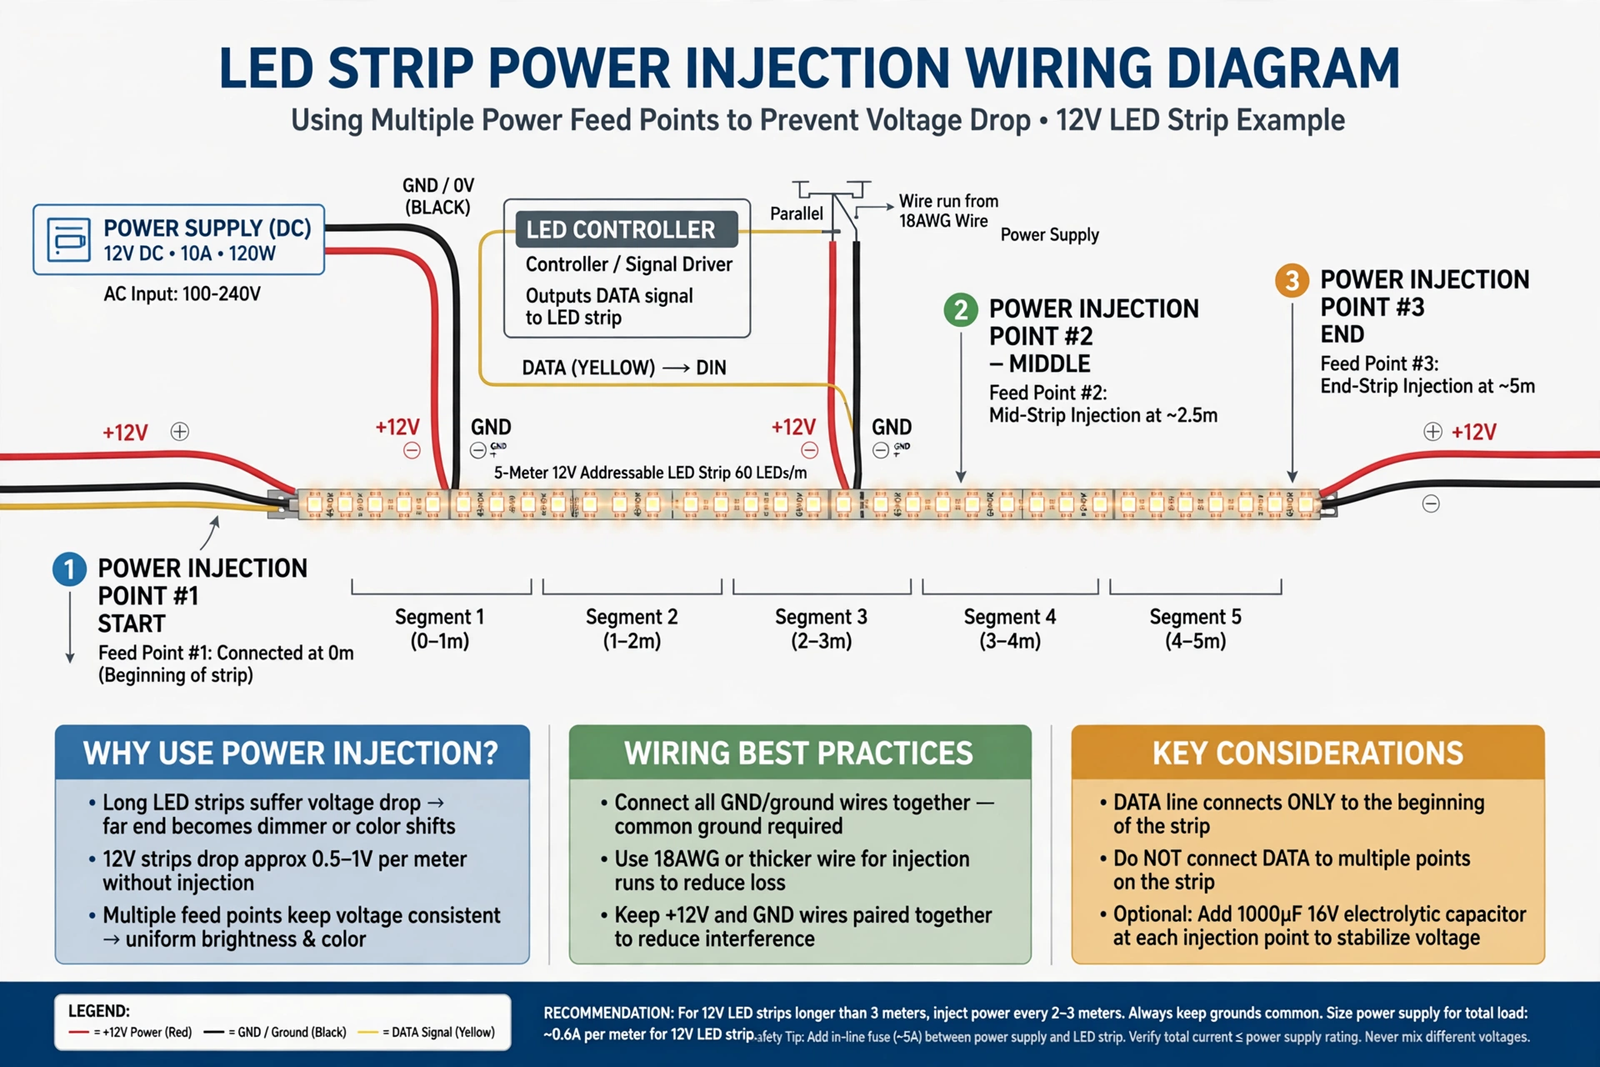
Run power wires from your supply to both ends of the strip. This halves the effective length, cutting voltage drop significantly. It’s the easiest upgrade and works well for strips up to 5 meters.
Connect positive to positive and negative to negative at both ends. Don’t cross them. The data signal still enters from one end only.
Method 2: Middle Injection
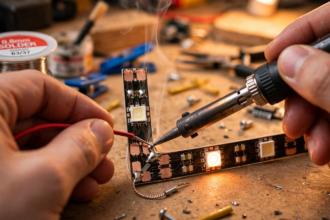
For longer strips, inject power at the middle as well as both ends. This divides the strip into two shorter segments, each with manageable voltage drop. Solder or use clip connectors to attach power wires to the copper pads at the midpoint.
Method 3: Multiple Injection Points
For very long runs (10+ meters), inject every 2.5 to 5 meters depending on voltage. Run a thick “bus” wire alongside the strip, then tap into the strip at each injection point. This is the professional approach for architectural installations.
When using multiple injection points, you can use a single large power supply or multiple smaller ones. If using multiple supplies, never connect their positive outputs together. Only the grounds should be common. For more on power supply selection, see our LED strip buyer’s guide.
Step-by-Step Injection Install
What You Need
- LED strip (already mounted)
- Power supply (sized for total wattage plus 20% headroom)
- Appropriate gauge wire (see table above)
- Soldering iron and solder, or solderless clip connectors
- Wire strippers
- Multimeter for verification
Installation Steps
- Calculate your total current draw and determine injection points using the formulas above.
- Cut power wires to length for each injection point. Leave some slack.
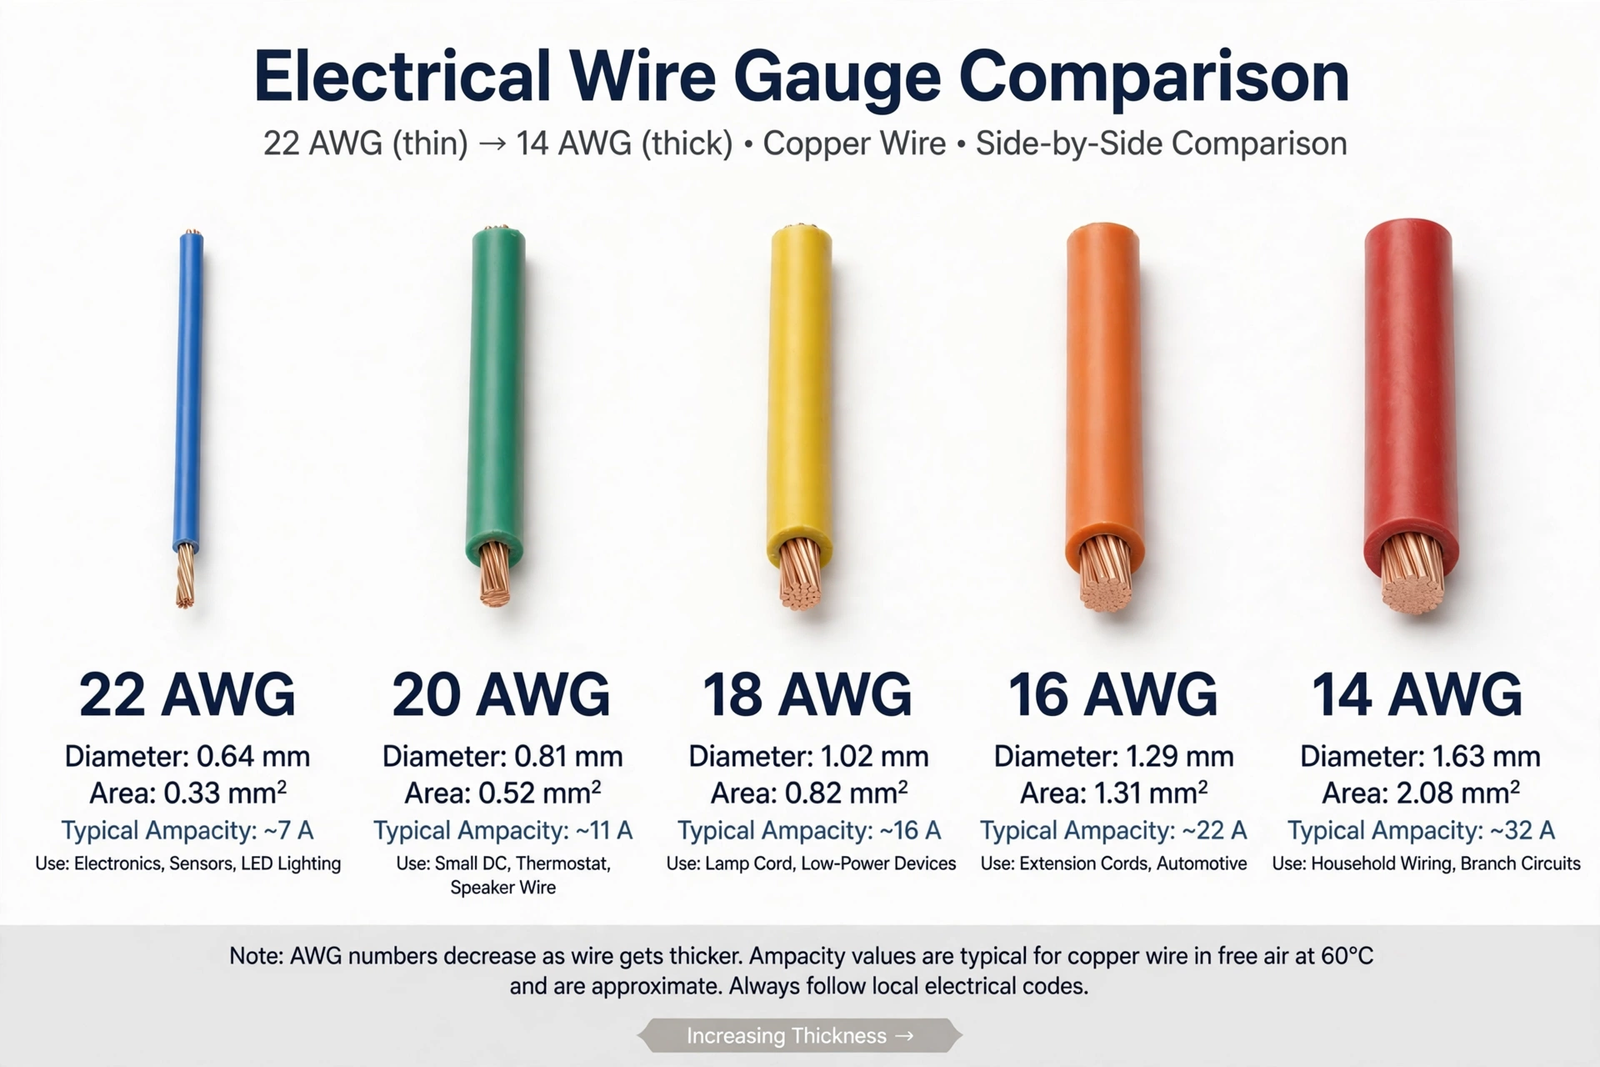
- Strip the wire ends and tin them with solder for easier connection.
- At each injection point, solder the positive wire to the strip’s + pad and negative to the – pad. Alternatively, use solderless T-connectors.
- Run all injection wires back to your power supply’s output terminals. Use a distribution block for neat wiring with multiple points.
- Before powering on, use your multimeter to verify no short circuits between positive and negative.
- Power on and measure voltage at the far end of the strip. It should be within 5% of the supply voltage.
Common Mistakes
The biggest mistake is injecting power without cutting the data line correctly. Power should be continuous, but if you’re using multiple power supplies, the positive lines must stay separate. Only grounds connect between supplies.
Another common error is using wire that’s too thin. People grab whatever speaker wire they have lying around, not realizing that 24 AWG wire can’t handle 10A. Size your wire for the current, not for convenience. The Bees Lighting voltage drop guide has excellent reference charts for matching wire gauge to current and distance.
Don’t forget to inject ground as well as positive. Some beginners only run the positive wire, thinking ground is “already connected” through the strip. While technically true, the ground traces have the same resistance problem. Inject both for best results.
24V vs 12V vs 5V: Which Drops Less?
Higher voltage systems suffer less from voltage drop because they draw less current for the same wattage. A 100W strip at 5V draws 20A. The same 100W at 24V draws only 4.2A. Less current means less voltage drop through the same resistance.
This is why professionals prefer 24V for long runs. You can go much farther without injection. The trade-off is that 24V addressable strips are less common and more expensive than 5V WS2812B. For most home projects under 5 meters, 5V with proper injection works fine.
If you’re starting a new project and know you’ll have long runs, consider 12V or 24V from the beginning. Retrofitting voltage later means replacing strips, which is more expensive than choosing correctly upfront. Our smart home planning guide covers system design considerations. For a deeper dive into voltage selection, the HitLights installation guide compares 12V and 24V systems in detail.
Testing Your Installation
After completing power injection, verify your work with these tests. First, set all LEDs to full white brightness. This draws maximum current and reveals any remaining voltage drop issues. Walk the length of the strip and look for dimming or color shifts.
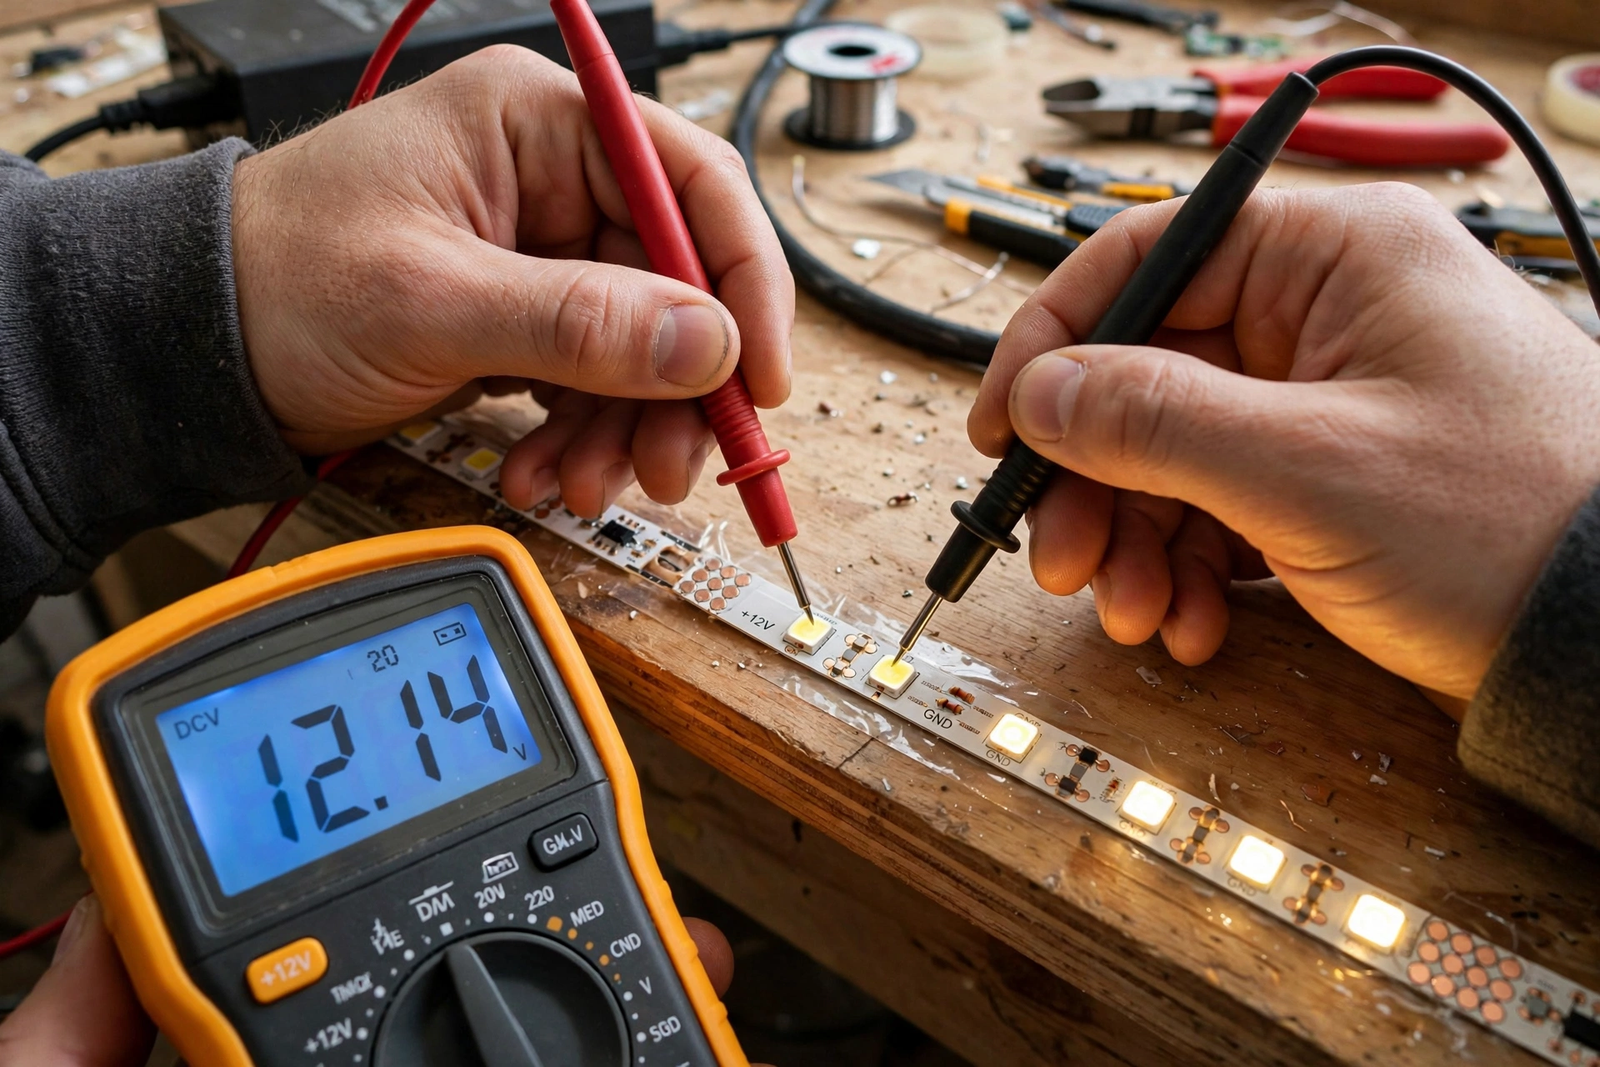
Next, measure voltage at each injection point and at the far end with your multimeter. All readings should be within 5% of your supply voltage. If any point is low, check that injection wire for proper gauge and secure connections.
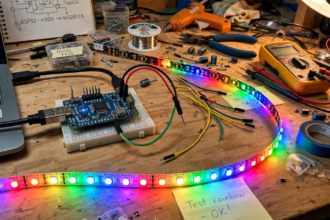
Finally, run a color chase effect from one end to the other. Watch for stuttering or color distortion, which can indicate data signal issues rather than power problems. If the data signal is clean and power is even, your installation is solid.
Document your injection points with photos. Future you will thank present you when it’s time to troubleshoot or expand the installation. Label wires at the power supply end so you know which wire feeds which section.
FAQs
How do I know if my LED strip needs power injection?
Look at the far end. If it’s dimmer than the start, or if white looks orange or pink at the end, you have voltage drop and need power injection. You can also measure with a multimeter. If the far end reads more than 5% below your supply voltage, inject power. For 5V strips, that’s a drop of more than 0.25V.
Can I just use a bigger power supply instead of power injection?
No. A bigger supply doesn’t fix voltage drop. The problem is resistance in the strip’s copper traces, not insufficient power at the source. Even with an oversized supply, the far end still sees reduced voltage. Power injection is the only correct fix for voltage drop along the strip itself.
How often should I inject power on a 5V WS2812B strip?
Every 2.5 to 5 meters, depending on LED density. For 30 LEDs/m, every 5 meters is usually enough. For 60 LEDs/m, inject every 3 meters. For 144 LEDs/m, inject every 2 meters. When in doubt, inject more frequently. Extra injection points never hurt.
Do I need to cut the strip at injection points?
No. Power injection taps into the existing copper pads without cutting. You solder or clip additional power wires to the + and – pads at intervals along the continuous strip. The data signal flows uninterrupted. Only cut if you’re creating separate segments for different effects.
Can I use multiple power supplies for one long strip?
Yes, but wire them correctly. Each supply powers its own section. Connect all the ground (negative) wires together, but keep the positive outputs separate. Never tie two power supply positives together. This prevents backfeeding and potential damage. Label your wires to avoid confusion.
What wire gauge should I use for power injection?
Use 18 AWG for most home installations carrying up to 10A. For longer runs or higher current, step up to 16 AWG or 14 AWG. The wire from supply to injection point matters as much as the injection itself. Undersized wire just moves the voltage drop problem from the strip to your wiring.
Will power injection fix flickering LEDs?
If the flickering is caused by voltage drop, yes. Low voltage makes LED controllers unstable, causing flicker especially at high brightness. After proper power injection, the voltage stabilizes and flickering stops. If flickering persists, check your data signal integrity and power supply quality.
Final Thoughts
Voltage drop is physics, not a product defect. Every long LED strip needs power injection. The math isn’t hard: calculate your current, keep drop under 5%, inject every few meters, and use thick enough wire. Take the time to measure twice and cut once, and you’ll avoid the frustration of redoing work.
Do it right once, and your strip will glow with perfectly even brightness from end to end. Skip it, and you’ll stare at that dim orange tail every time you turn on the lights. For help with the controller side, see our WLED setup guide. And if you’re expanding to outdoor lighting, our outdoor LED guide covers weatherproof power injection techniques.