

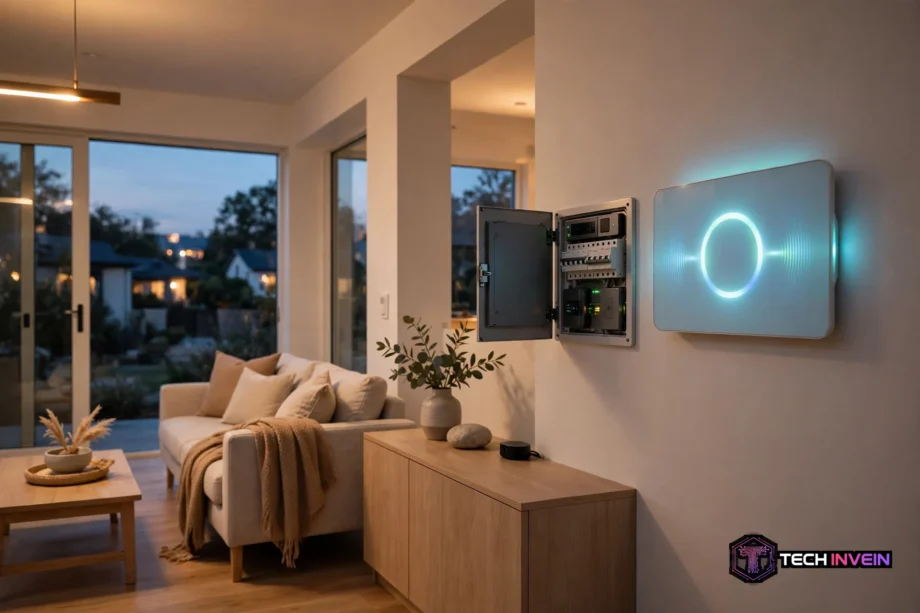
A home energy monitor shows how much electricity your house uses in real time, circuit by circuit or for the whole home at once. It turns a vague monthly bill into live watts, daily kilowatt-hours, and clear costs you can act on.
- What your monitor actually measures
- How panel monitors read your home
- CT clamps, smart meters, and plug monitors compared
- Whole-home totals versus circuit-level detail
- Home Assistant and local energy data
- Choosing a home energy monitor
- Installation, safety, and setup tips
- What a monitor will not do for you
- FAQs
- Do I need an electrician to install one?
- Will one lower my electricity bill?
- Can I track individual appliances?
- Does it work with solar panels?
- Is my energy data private?
- How accurate are these monitors?
- Conclusion
Most homes waste power in places no one notices. A water heater may cycle too often, or an old freezer in the garage may run all day. Your bill shows only the total, so you cannot tell which device is to blame. A monitor fills that gap.
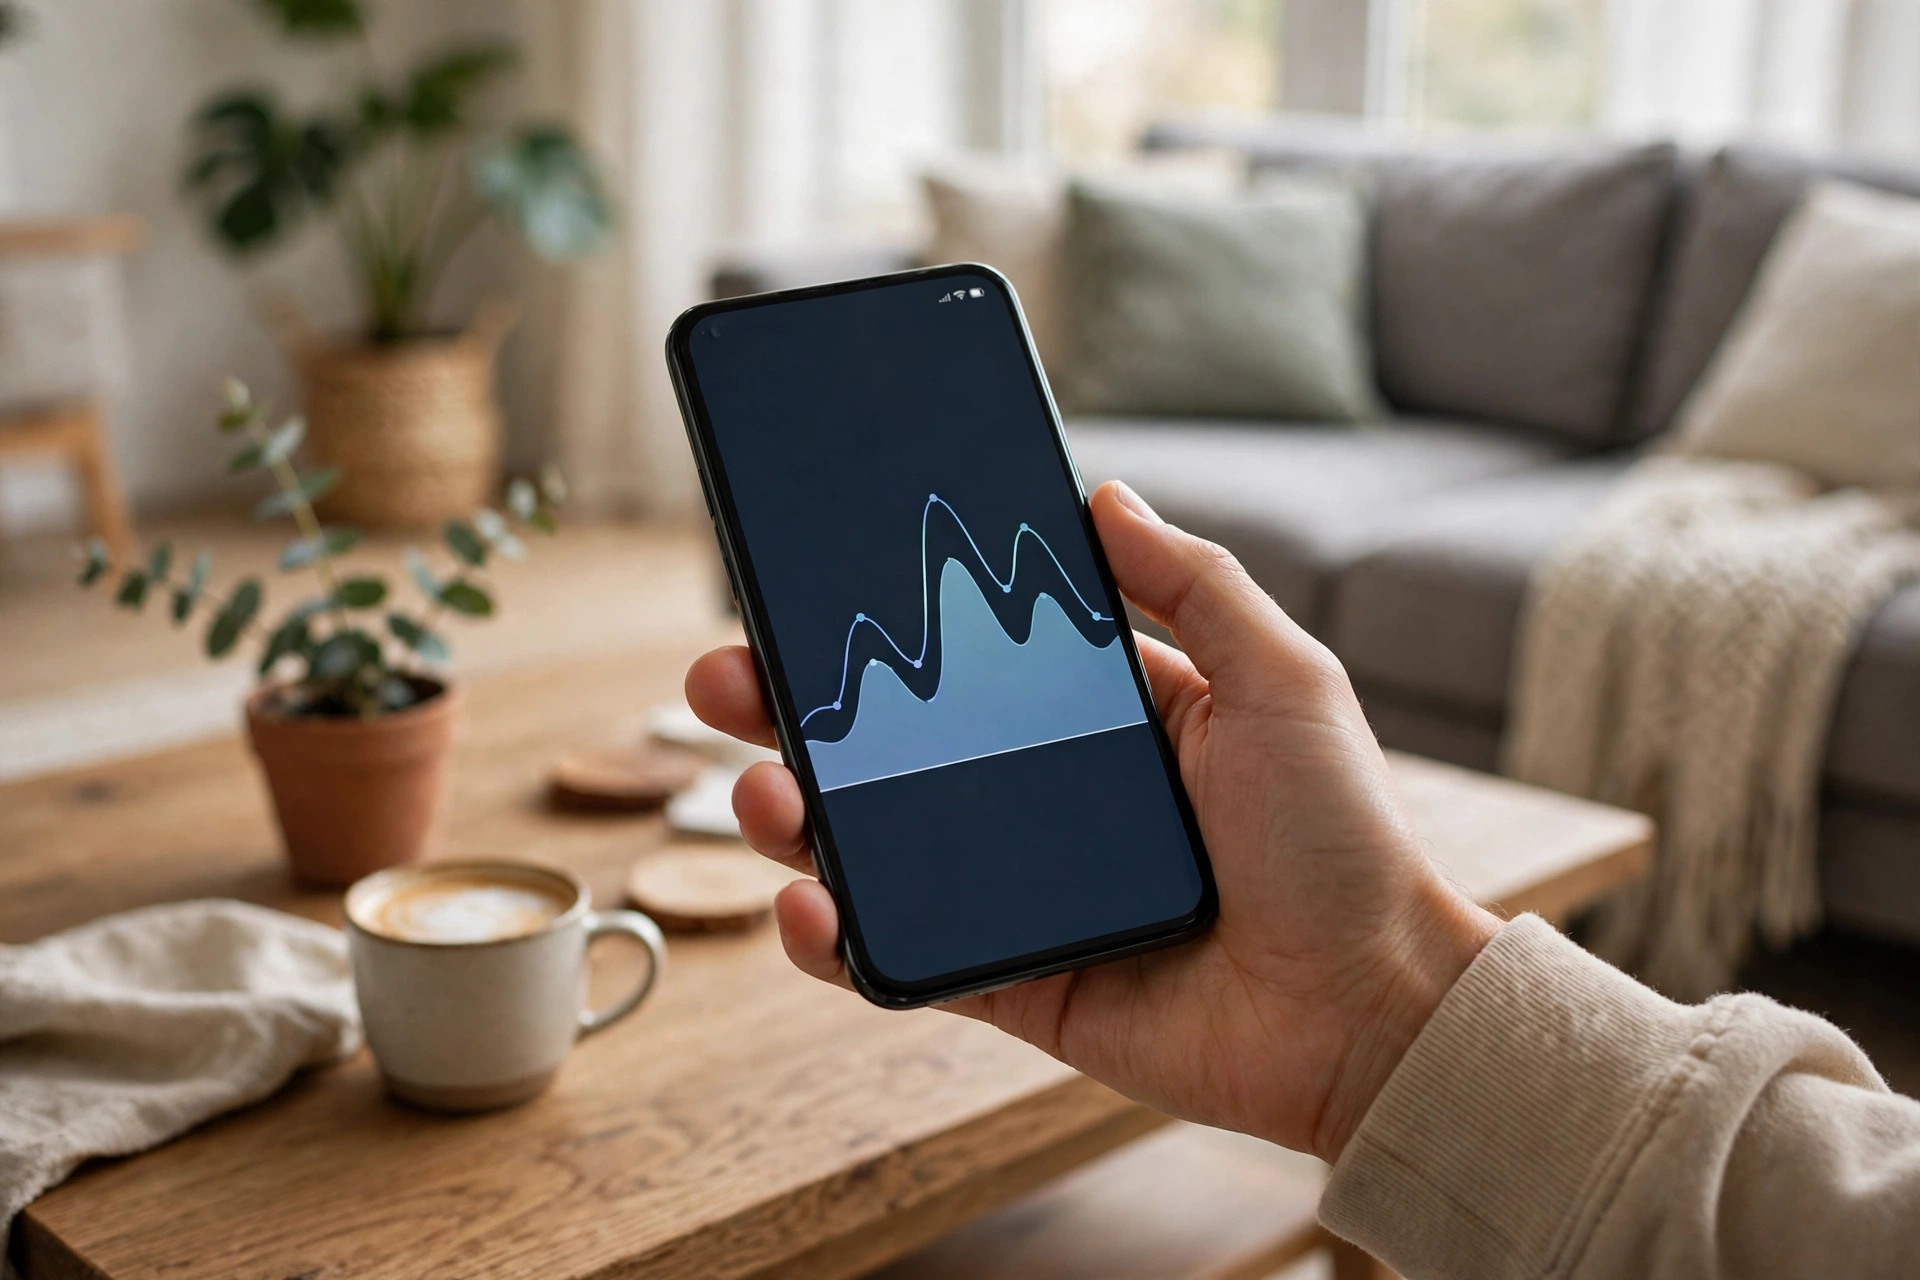
You don’t need to be an electrician to understand the results. The app shows a live number, a graph for today, and a breakdown by hour, day, or month. Once you see a spike, you can match it to what just switched on.
What your monitor actually measures
A monitor measures power, energy, and sometimes voltage and current. Power is the rate you use electricity right now, shown in watts. Energy is power over time, shown in kilowatt-hours, and that is what your utility charges for. A 1,000 watt heater running for one hour uses one kilowatt-hour.
In addition, good monitors show cost. You enter your electricity rate, and the app converts kilowatt-hours into dollars. Some support time-of-use rates, so evening power costs more than overnight power in the math.
Also, many monitors track solar too. If you have panels, the monitor can show what you generate, what you use at home, and what you send back to the grid. Without that split, you know your bill went down, but you don’t know why.
The best first use is simple: watch your home for one week and note the patterns. You will learn your overnight baseline and your morning and evening peaks. From there, every change you make has a number attached to it.
How panel monitors read your home
Most whole-home monitors use current transformer clamps, usually called CT clamps. A CT clamp opens like a clip and closes around a single wire inside your breaker panel. It never cuts the wire. It senses the magnetic field around the wire and turns that field into a small signal the monitor can read.
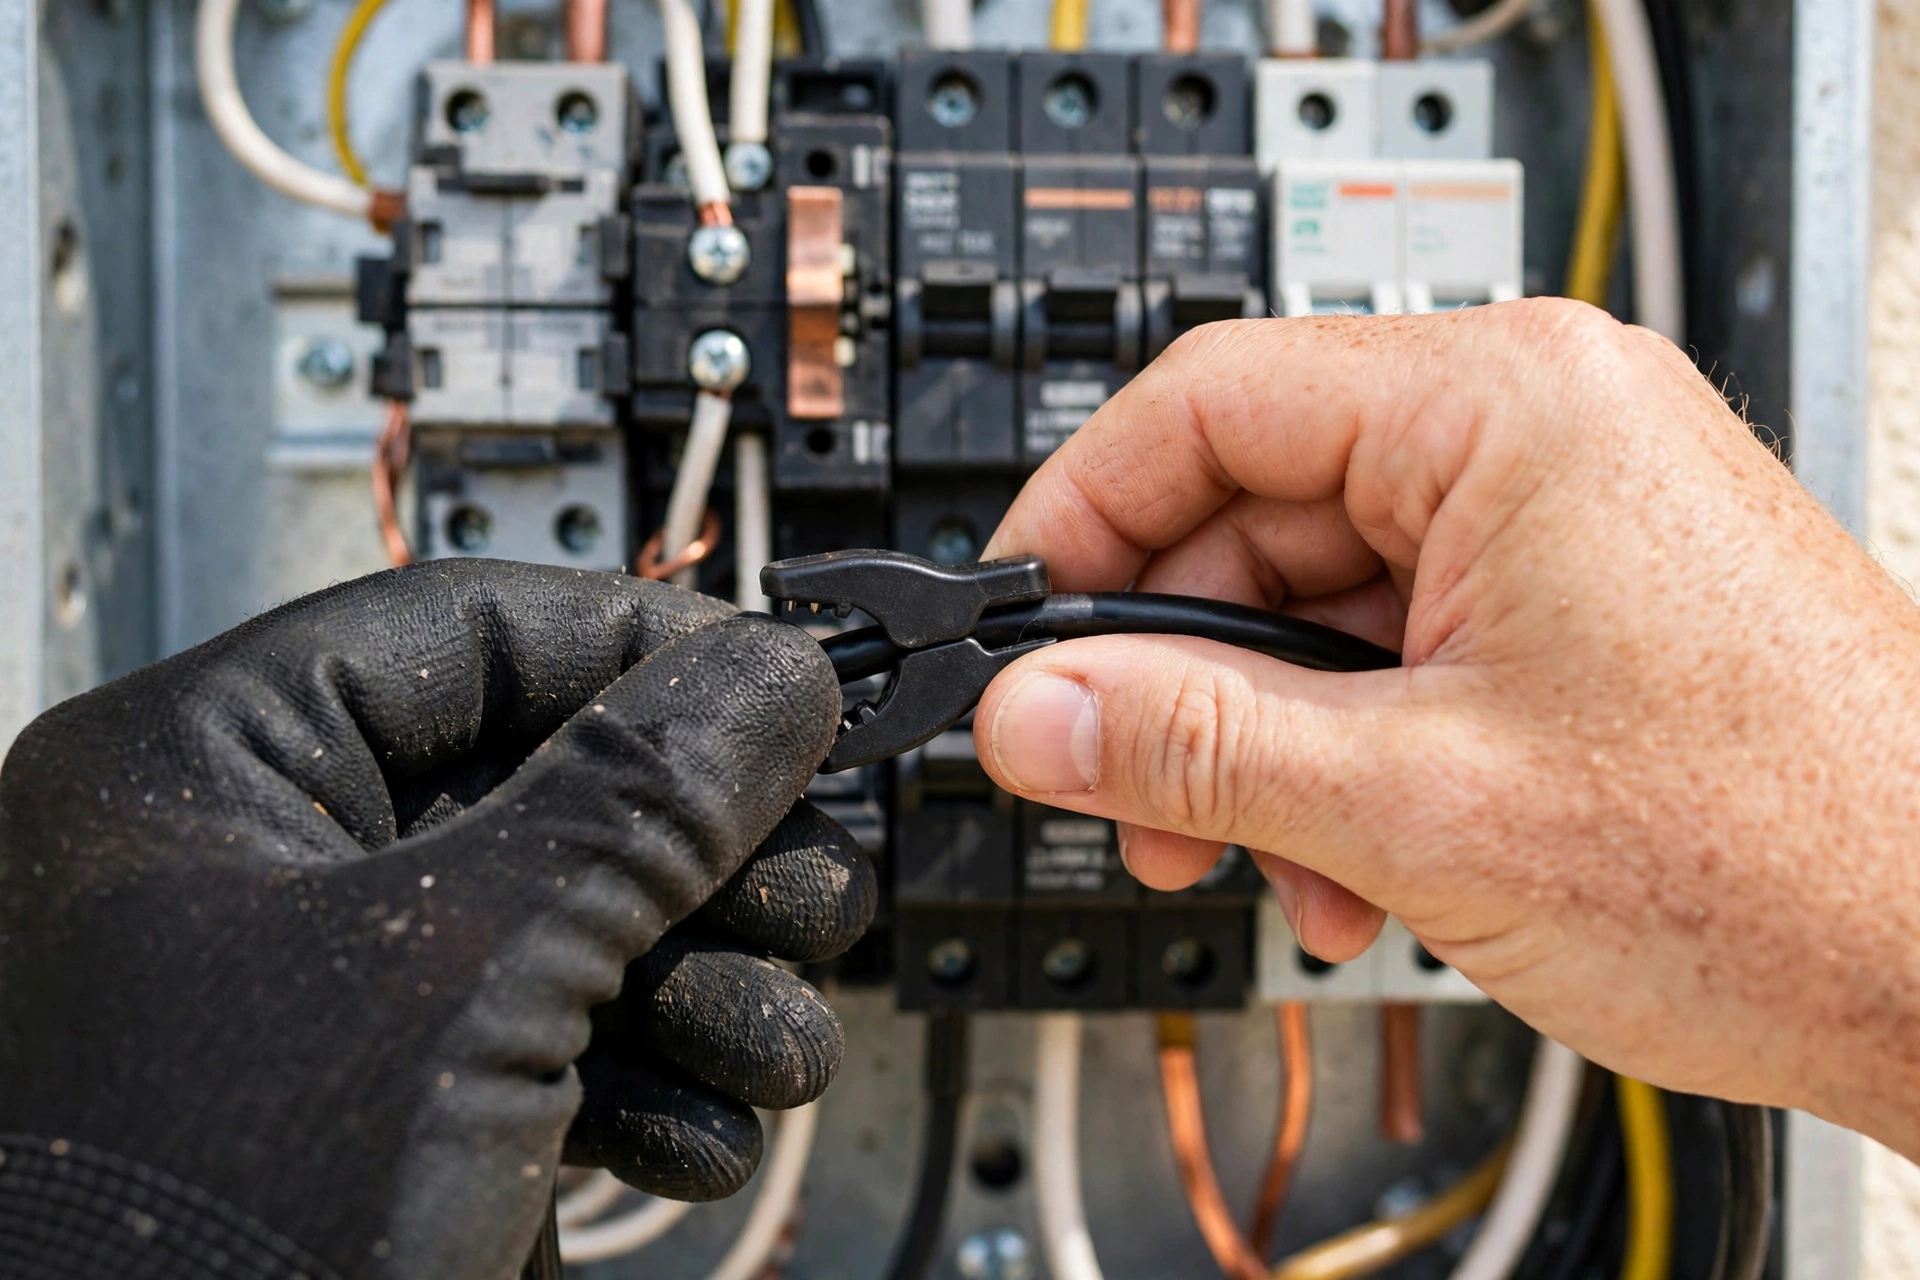
For example, you need one clamp on each main feed wire in a typical split-phase home in the United States. The monitor also needs a voltage reference, usually from a breaker connection, so it can turn current into real power.
Why does power factor matter? Motors and compressors draw current that does not line up neatly with voltage. A cheap plug meter may report apparent power and overstate the real draw. A panel monitor that also measures voltage gives a closer read on what you pay for.
Overall, accuracy varies by model. Emporia states about plus or minus 2 percent for its Vue monitors, with sampling 24,000 times per second. Sense samples about one million times per second to spot appliance patterns. Faster sampling catches short spikes that a slow meter would miss.
Don’t open your breaker panel unless you know what you are doing. The main service wires stay live even when you switch off the main breaker in many panels. If you feel unsure, hire an electrician. The install often takes under an hour for a pro.
CT clamps, smart meters, and plug monitors compared
You have three main ways to track home energy use. Each one sees a different slice of the picture. The right pick depends on what question you want answered.
CT-clamp monitors sit in your panel and see everything through your mains. Add extra clamps and they can see single circuits too. They give the fullest picture, but they need panel access and care during setup.
Meanwhile, smart-meter readers take a different route. They read data from your utility meter through an optical port, a home-area link, or a utility-approved adapter. You do not open your panel at all. The trade-off is detail: you get whole-home totals, not circuit numbers, and support depends on your meter and utility.
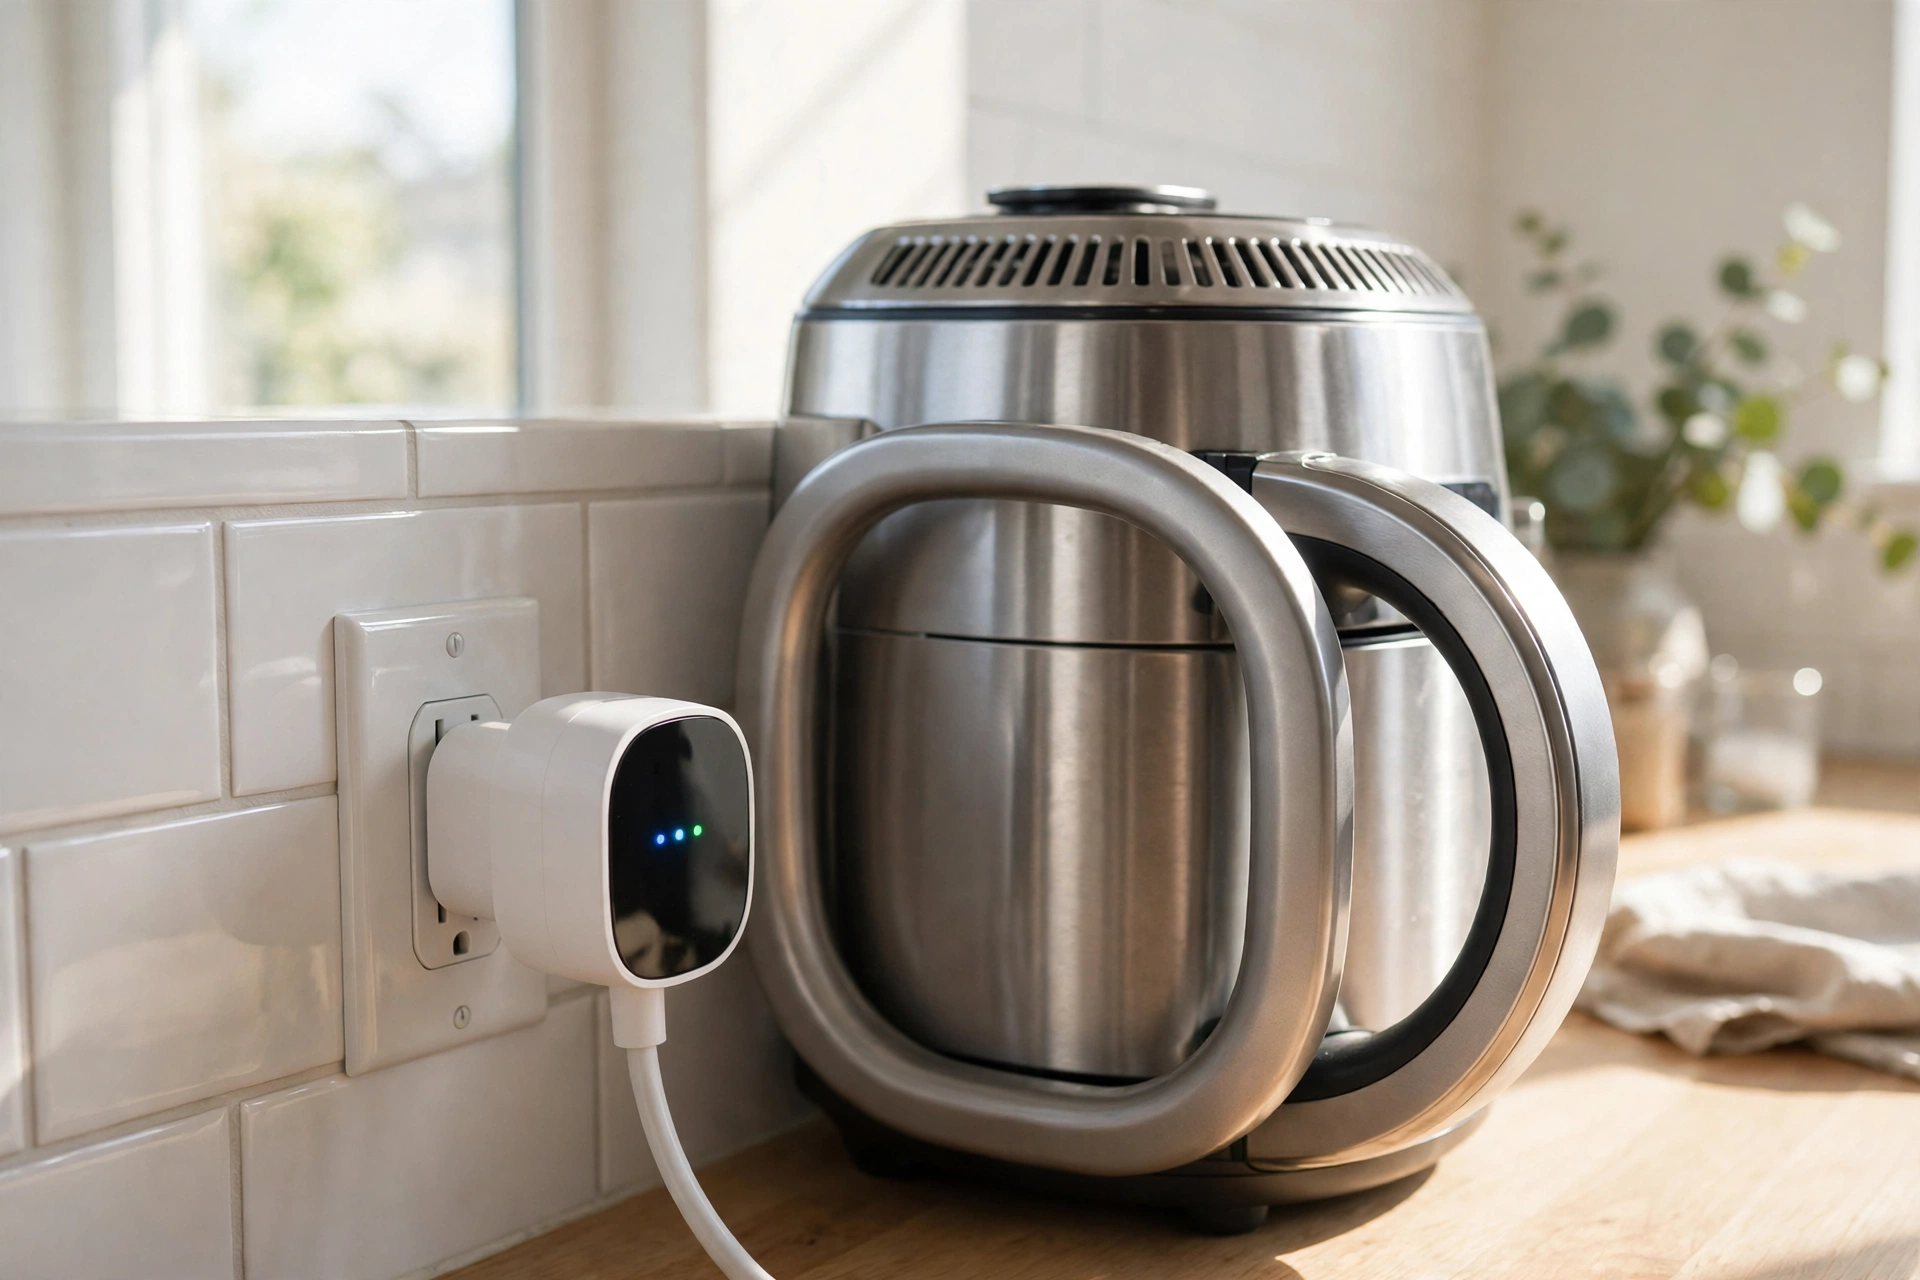
By contrast, plug-level monitors are the simplest option. A smart plug with energy tracking sits between an outlet and one device and reports that device alone. They suit renters and testing one suspect appliance, but they cannot show your whole home.
Table: Monitoring methods compared
| Method | What it sees | Install effort | Best for |
|---|---|---|---|
| CT clamps in panel | Whole home plus circuits | Panel work, often a pro | Full picture and big loads |
| Smart meter reader | Whole home total only | No panel work | Renters and simple totals |
| Plug-level monitor | One device per plug | Plug in and pair | Testing one appliance |
Many homes end up with a mix: a panel monitor for the house, plus two or three smart plugs for devices that share a circuit with other loads.
Whole-home totals versus circuit-level detail
First, a whole-home total answers one question: how much are we using right now? That alone can change habits. You notice the jump when the dryer starts, and you may catch a load you forgot, like a heater left on in a spare room.
Next, circuit-level data answers a sharper question: which circuit caused the spike? Put clamps on the HVAC, water heater, kitchen, and laundry circuits, and the guesswork drops away. If the water heater used 4 kilowatt-hours yesterday and the dryer used 2, that ranking tells you where to spend effort first.
Similarly, some monitors try to name appliances from the whole-home signal alone. This is called disaggregation: matching the shape of each switch-on event to a known pattern. A kettle jumps fast to about 3,000 watts and stays flat for a few minutes, while a fridge adds about 100 watts in a repeating cycle.
But disaggregation has limits. Small devices look alike, and detection can take weeks while the system learns your home. If you want certain answers for a specific circuit, a physical clamp on that circuit beats a guess every time.
As a result, start with the circuits that carry the biggest loads: heating, cooling, water heating, laundry, and cooking. If your monitor supports 16 circuit sensors, you do not need to fill all 16 on day one. Cover the top five first.
Home Assistant and local energy data
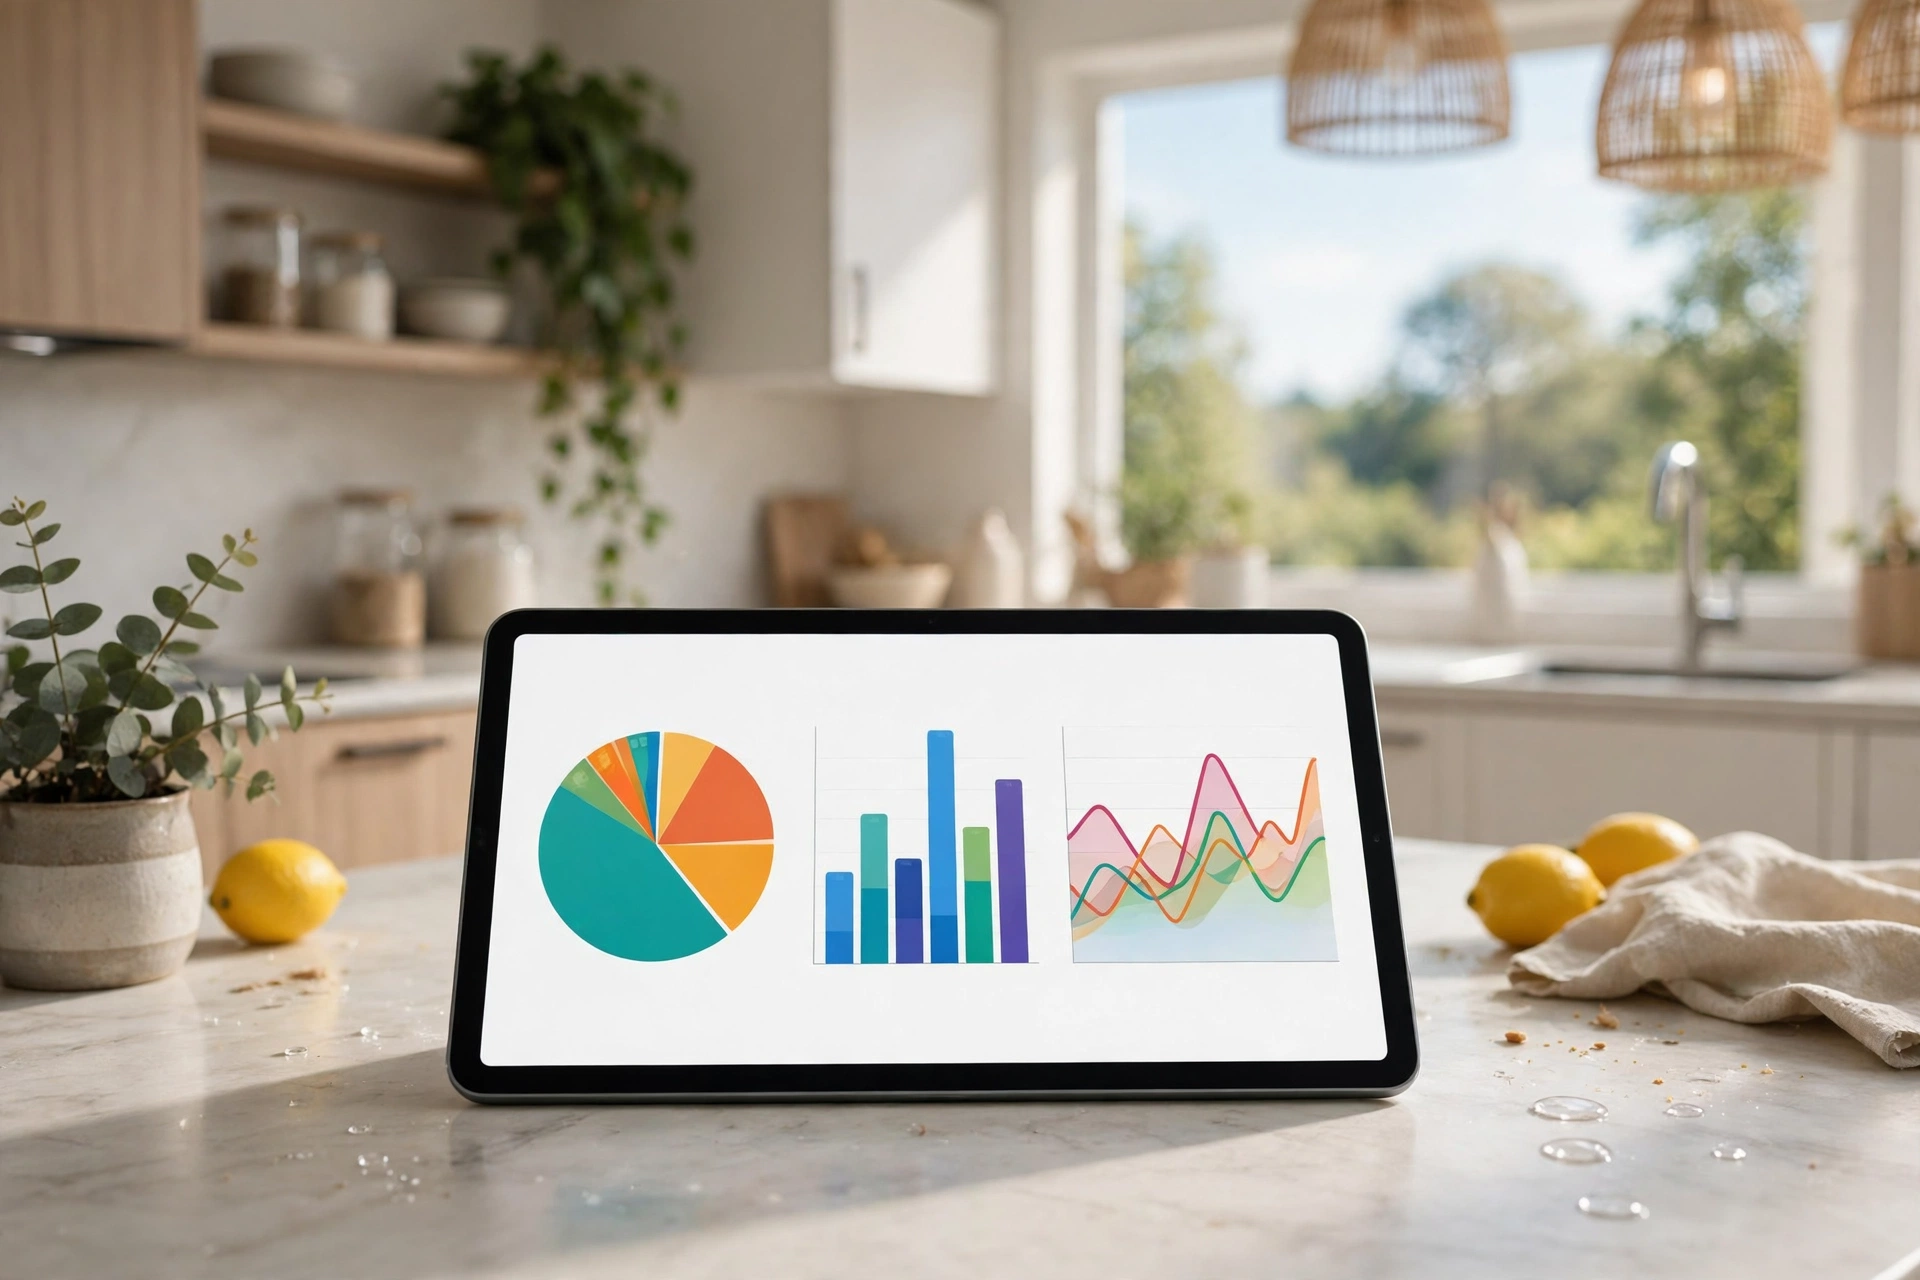
Home Assistant has a built-in Energy dashboard that pulls power and energy sensors into one view. It shows grid use, solar production, and battery flow if you have them, plus cost per day. You set it up by pointing the dashboard at sensors your monitor already exposes.
In fact, local control is the reason many smart-home owners pick a monitor with Home Assistant support. Cloud-only monitors suffer if the vendor changes its app or shuts down a service. A monitor with a local API or MQTT keeps feeding your dashboard even when the internet drops.
For instance, models built for this use case include the Refoss EM16P and the Shelly EM Gen3, both of which expose local data to Home Assistant. The Emporia Vue line leans more on its own app and cloud. Also, check the integration page for your exact model before you buy.
Once the data lands in Home Assistant, you can build automations on top of it. One useful rule: when solar export passes a threshold, switch on the water heater or start the dishwasher, using free solar power instead of sending it to the grid for a low credit. Another rule: alert your phone if total draw stays high for ten minutes while no one is home.
If you already run Home Assistant for lights, the energy dashboard slots in neatly beside it. Our guide to Home Assistant motion sensor lighting shows the same local-automation pattern applied to lights, and the same thinking works for energy: sense first, then automate on the numbers.
Local automations like these keep working when your internet drops.
For lighting schedules, the same hub can run sunset routines too. See how to automate outdoor lights at sunset and sunrise in Home Assistant if you want your evening lights to follow the same local logic as your energy rules.
Choosing a home energy monitor
First, start with your panel, not the product page. Check whether you have a standard split-phase panel, how much spare room sits inside it, and whether your Wi-Fi reaches it. Panels in basements or garages often sit far from the router, and a monitor that loses Wi-Fi loses data.
Then, decide how much detail you need. Whole-home only is cheaper and simpler, and it suits a first monitor. Circuit sensors cost more and take longer to install, but they end the guessing about which load drives the bill.
After that, check the data rules. Does it need a subscription for history or alerts? Does it store data locally, in the cloud, or both? A monitor that locks your own usage data behind a monthly fee is a worse deal than it first looks.
Solar and EV owners should check two extras. First, net metering support, so the monitor can tell import from export instead of mashing them into one number. Second, support for high-current circuits, since an EV charger can pull 40 amps or more for hours. If you are still planning that install, read our breakdown of the cost of installing a home EV charger before you size anything.
Get the charger size right first, because it sets the circuit size your monitor will watch.
Also confirm the charger side of the picture. A monitor shows the load, but the charger itself sets the draw, so it helps to know what an EV charger is and how it works before you pair the two.
Finally, weigh accuracy claims with care. A maker that states plus or minus 1 or 2 percent gives you a testable claim. A maker that states no figure asks you to trust the app. A 2 percent error on a 900 kilowatt-hour month is 18 kilowatt-hours, small next to the savings from finding one wasteful load.
Installation, safety, and setup tips
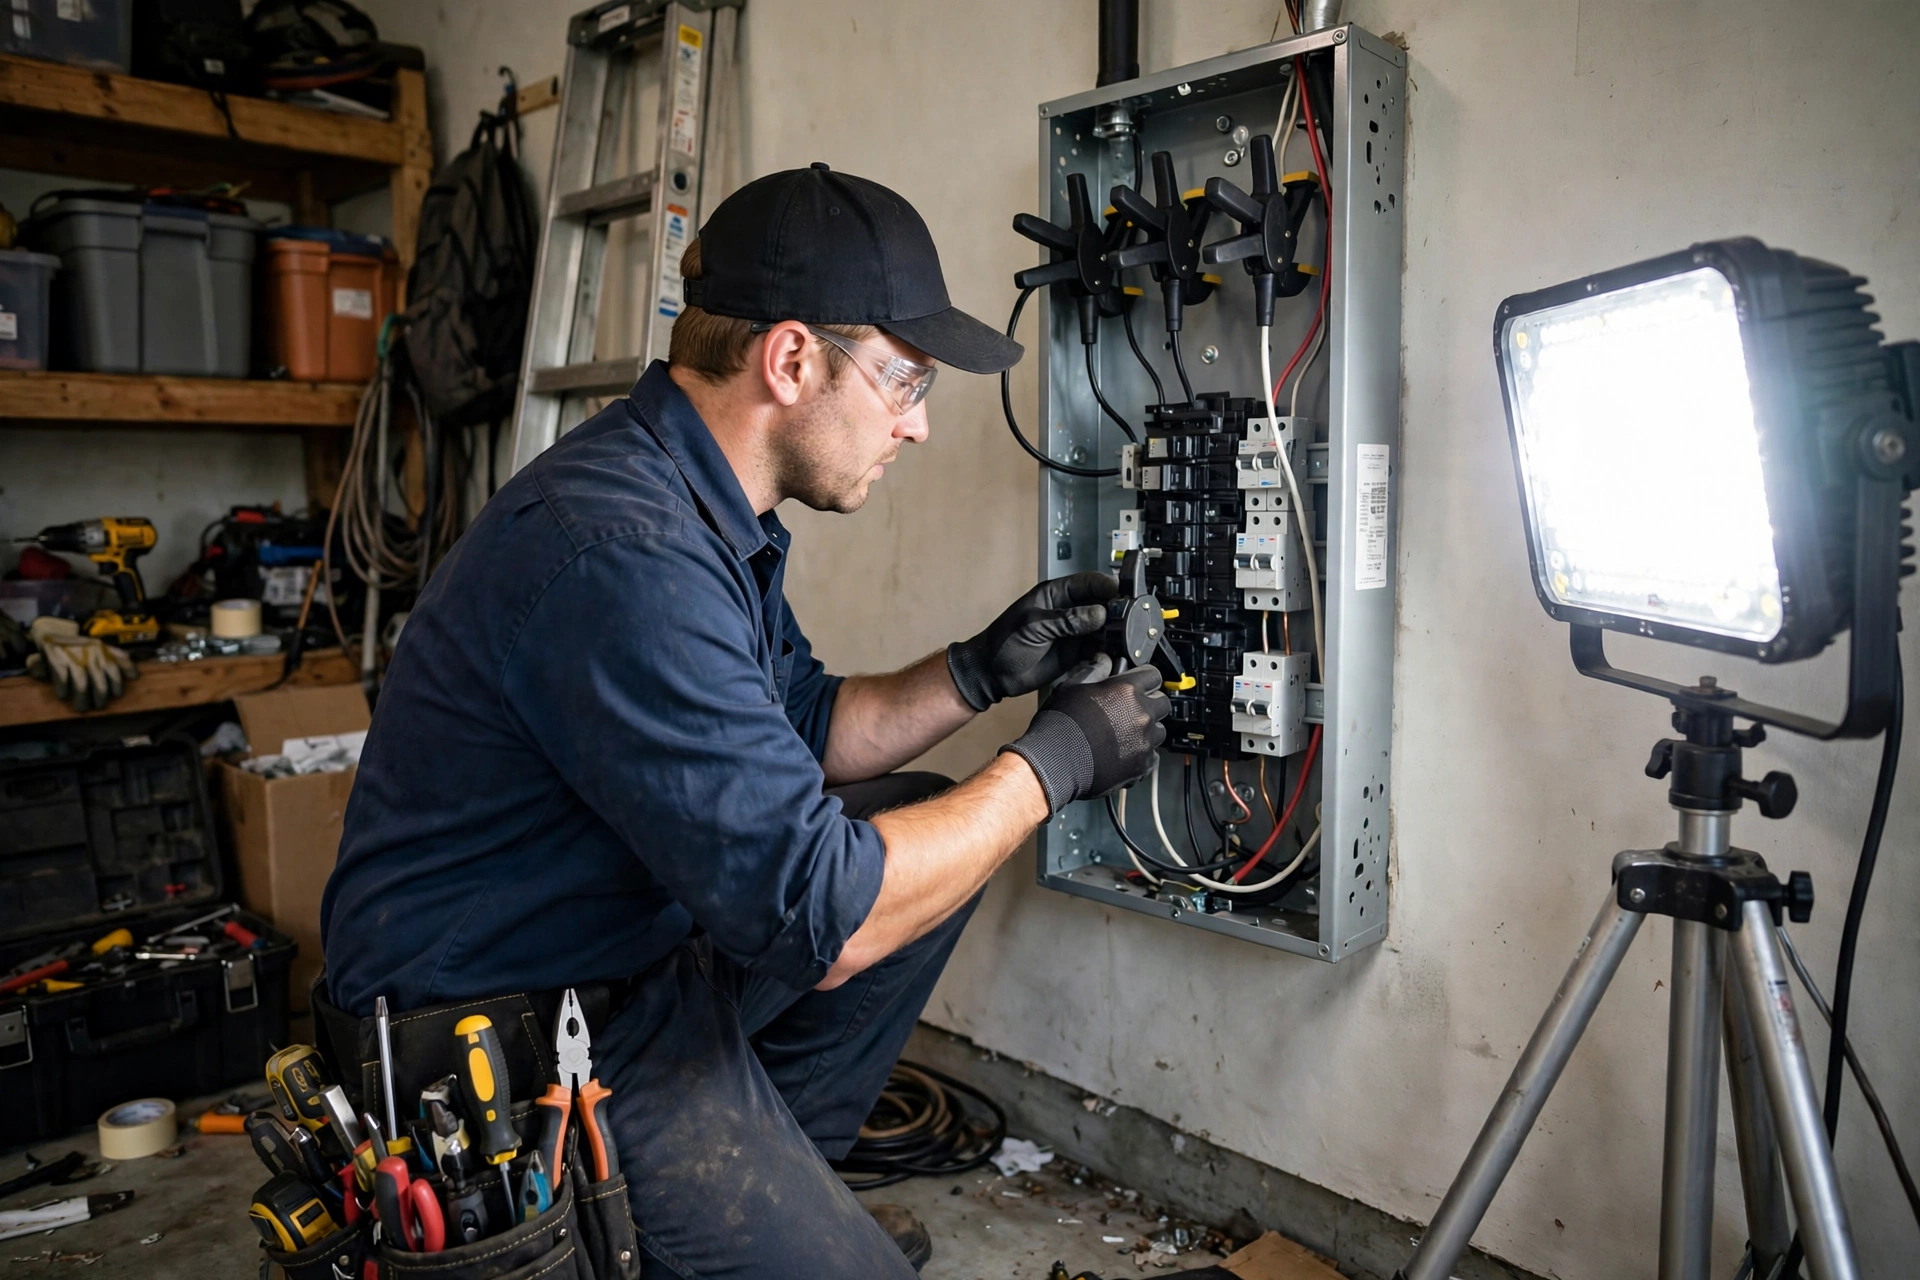
Panel monitors ship with clamps, a hub, and a wiring guide. The usual steps are: switch off nearby branch breakers, remove the panel cover, clip the main CTs around the two main feeds, add circuit clamps if you bought them, connect the voltage leads, then close the cover and pair the app.
That sounds simple, but the panel cover hides live bus bars, and a slipped screwdriver can bridge them. If your panel is old, crowded, or poorly labeled, book an electrician and tell them in advance that you want CT clamps fitted.
After install, check three things before you trust the numbers. Does the live reading drop near zero when you switch off the main loads? Does it jump sensibly when you run the kettle? Does the daily total roughly match your utility meter over a week? A clamp fitted backwards can flip the sign on one leg, so a wrong total often means a clamp direction fix, not a broken device.
Meanwhile, set your electricity rate on day one. Without a rate, the app shows kilowatt-hours only, and most people think in money. Add your real rate, and the savings from each change become obvious.
What a monitor will not do for you
However, a monitor does not save energy by itself. It shows you where power goes, but you still need to act: shorten a pump schedule, fix a thermostat setting, or replace a failing appliance.
It also will not fix a bad rate plan or a broken appliance. If your water heater thermostat is stuck, the monitor will show high use, but only a repair fixes the cause. Think of it as a gauge on a car dashboard: it tells you the speed, but you still drive.
Therefore, set a weekly habit instead. Spend five minutes each Sunday checking total use, top circuits, and any new overnight load. That routine catches problems early, like a heater that starts running at night.
For lighting, the same weekly check pairs well with a circadian setup that already runs on your hub. Our circadian lighting setup in Home Assistant keeps lights in step with the day, and its schedules are easy to review beside your energy graphs.
In short, monitoring is not storage. A monitor measures and reports power, while a battery stores it for later. Keep the two jobs separate in your plan, because the products, costs, and payback math differ.
FAQs
Do I need an electrician to install one?
Not always, but it is the safe choice for most people. Plug monitors need no electrician. Panel monitors need you to open the breaker panel and work near live parts, so if you lack experience, hire a pro. The job is usually quick.
Will one lower my electricity bill?
It can, but only if you act on what it shows. Studies and user reports often point to savings from spotting waste, like a heater running too long or a pump on the wrong schedule. The monitor itself uses very little power. Your savings come from the changes you make after you see the numbers.
Can I track individual appliances?
Yes, in two ways. Circuit clamps track every device on one circuit, which is exact for dedicated circuits like a water heater. Plug monitors track one device on a shared outlet. Whole-home disaggregation tries to guess devices from patterns, but it is less certain than a physical sensor on that circuit or plug.
Does it work with solar panels?
Many do, if the model supports net metering and solar CTs. It should show solar production, home use, and grid export as separate numbers. Check that support before you buy, because a monitor without solar handling may lump import and export together and give you a misleading total.
Is my energy data private?
It depends on the model. Cloud monitors send usage data to the vendor’s servers for the app and history. Local models with Home Assistant or MQTT keep data in your home. If privacy matters to you, pick a local-first model and check what the vendor stores, how long it keeps it, and whether you can export it.
How accurate are these monitors?
Most panel monitors claim accuracy within 1 to 2 percent, which is fine for household decisions. Plug monitors vary more, and cheap ones may report apparent power instead of real power. Compare a week of monitor totals against your utility meter to check your own setup, and fix clamp direction first if the numbers look wrong.
Conclusion
A home energy monitor turns your electricity bill from a mystery into numbers you can work with. Pick a panel monitor for the full picture, add circuit clamps for the big loads, and feed the data into Home Assistant for local control.
Your next step is simple: check your panel space, your Wi-Fi reach, and whether you want solar or EV tracking, then shortlist one whole-home model and one local-first model. Install it, watch one week of data, and fix the biggest waste you find first.