
For most homes, the recommended hardware specs for a Home Assistant server are a 64-bit quad-core processor, 4 GB of RAM, and a 64 GB SSD. That setup runs lights, sensors, and automations with room to grow. The official minimum is lower, at 2 GB of RAM and 32 GB of storage, but it leaves little headroom for add-ons.
- Recommended hardware specs home assistant server: minimum vs recommended
- What your Home Assistant server actually does all day
- Raspberry Pi 4 vs Raspberry Pi 5
- Home Assistant Green vs Yellow
- When a mini PC is the better Home Assistant server
- Storage: why an SSD beats an SD card
- How many devices and automations can each tier handle?
- RAM, CPU, and the recorder database
- Radios: Zigbee, Z-Wave, Thread, and Matter
- Backup and migration: plan the move before you need it
- Setup checklist and mistakes to avoid
- FAQs
- What are the recommended hardware specs for a Home Assistant server?
- Can I run Home Assistant on a Raspberry Pi 4?
- Is 4 GB of RAM enough for Home Assistant?
- Do I need an SSD, or will an SD card work?
- Is Home Assistant Green better than a Raspberry Pi?
- How do I move Home Assistant to new hardware?
- Conclusion
Watch this home-server starter guide:
Recommended hardware specs home assistant server: minimum vs recommended
Start with the short answer, then match it to your home. A quad-core 64-bit processor, 4 GB of RAM, and a 64 GB SSD cover a typical home with ease. This is the sweet spot for most people. It also handles dozens of devices, a handful of add-ons, and daily automations without lag.
Still, the official floor is lower. Home Assistant asks for a 64-bit CPU, 2 GB of RAM, and 32 GB of storage at minimum. That floor will boot and run. But it struggles once you add a camera feed, a voice pipeline, or a few hungry add-ons. So treat the minimum as a starting point, not a goal.
Table: Minimum vs recommended Home Assistant server specs.
| Spec | Minimum | Recommended | Best for large homes |
|---|---|---|---|
| CPU | 64-bit, 2 cores | 64-bit, 4 cores | Quad-core x86, N100 class |
| RAM | 2 GB | 4 GB | 8 to 16 GB |
| Storage | 32 GB | 64 GB SSD | 128 to 256 GB NVMe SSD |
| Network | Wi-Fi or Ethernet | Wired Ethernet | Wired Ethernet |
What your Home Assistant server actually does all day
Your server is a small computer that never sleeps. It listens to sensors, runs automations, and keeps a history of every state change in your home. For example, a motion sensor fires, a light turns on, and the server logs both events. Then that work repeats all day, every day.
Still, most of that work is light. For instance, a single sensor reading is tiny. But hundreds of readings per hour add up, and the recorder database grows with them. By default, Home Assistant keeps 10 days of history and purges old records each night. So storage speed matters more than raw processor speed in a normal home.
In fact, add-ons change the picture. A Zigbee radio handler, a voice assistant, and a camera recorder each take their own slice of RAM. For example, one add-on is fine on 2 GB. Five add-ons are not. So count your add-ons before you count your devices.
Raspberry Pi 4 vs Raspberry Pi 5
First, the Raspberry Pi is the classic way to run Home Assistant. It is cheap, small, and sips power. A Pi 4 with 4 GB of RAM still runs a small home well. A Pi 5 is faster, and it handles add-ons with more ease. For a new build, pick the Pi 5.
So pick 4 GB of RAM for a basic setup. Then pick 8 GB if you plan to run cameras, local voice, or several add-ons at once. Also buy the official power supply. A weak charger causes random reboots, and random reboots corrupt databases.
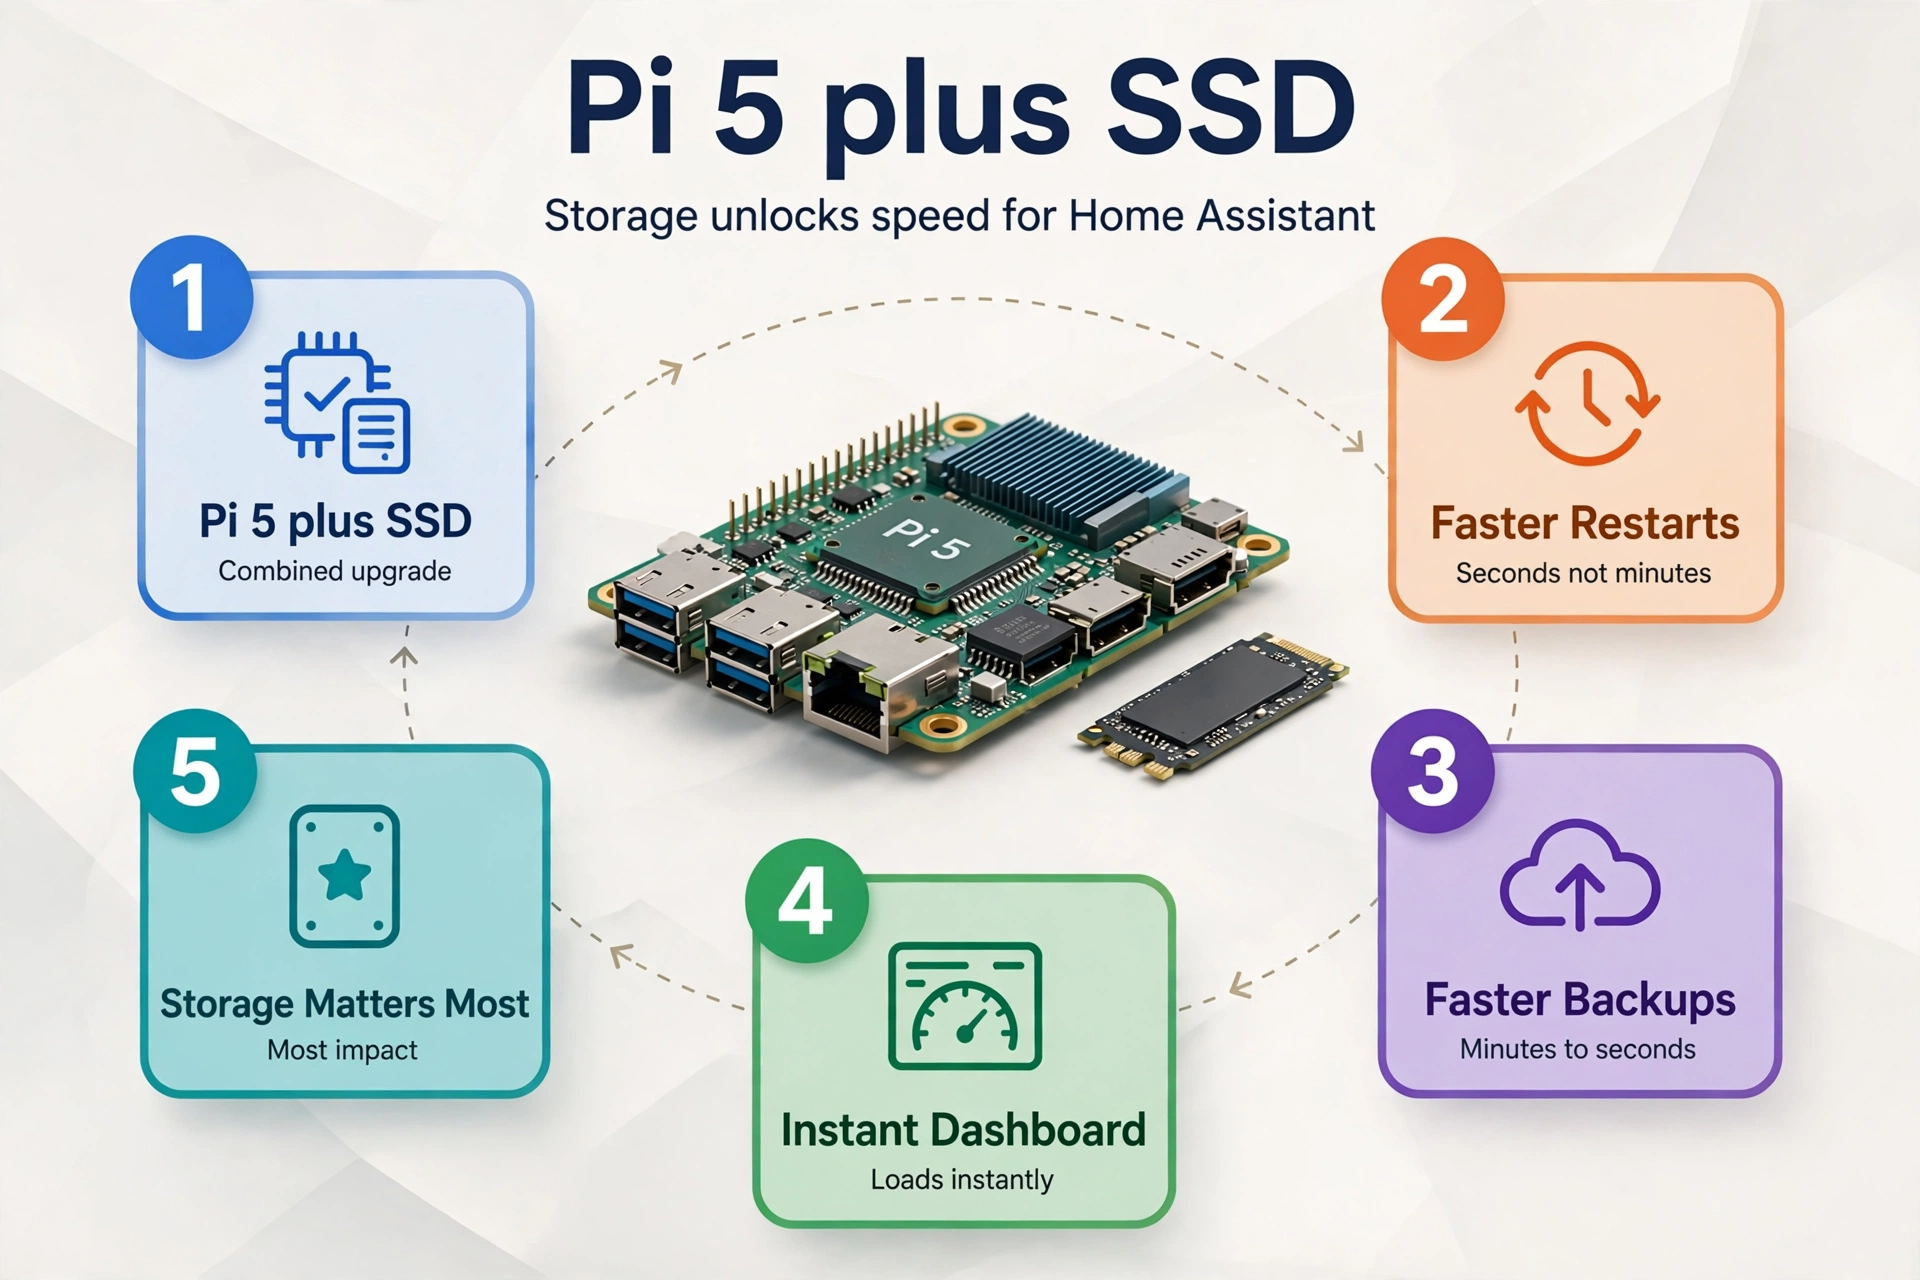
A Pi 5 with an SSD feels like a different machine from a Pi 4 on a card. Restarts finish faster, backups finish faster, and the dashboard loads without delay. The board is only half the story. Storage is the other half, and it matters more.
If you want the full step-by-step build, read our Raspberry Pi guide for the flashing and first-boot steps.
Home Assistant Green vs Yellow
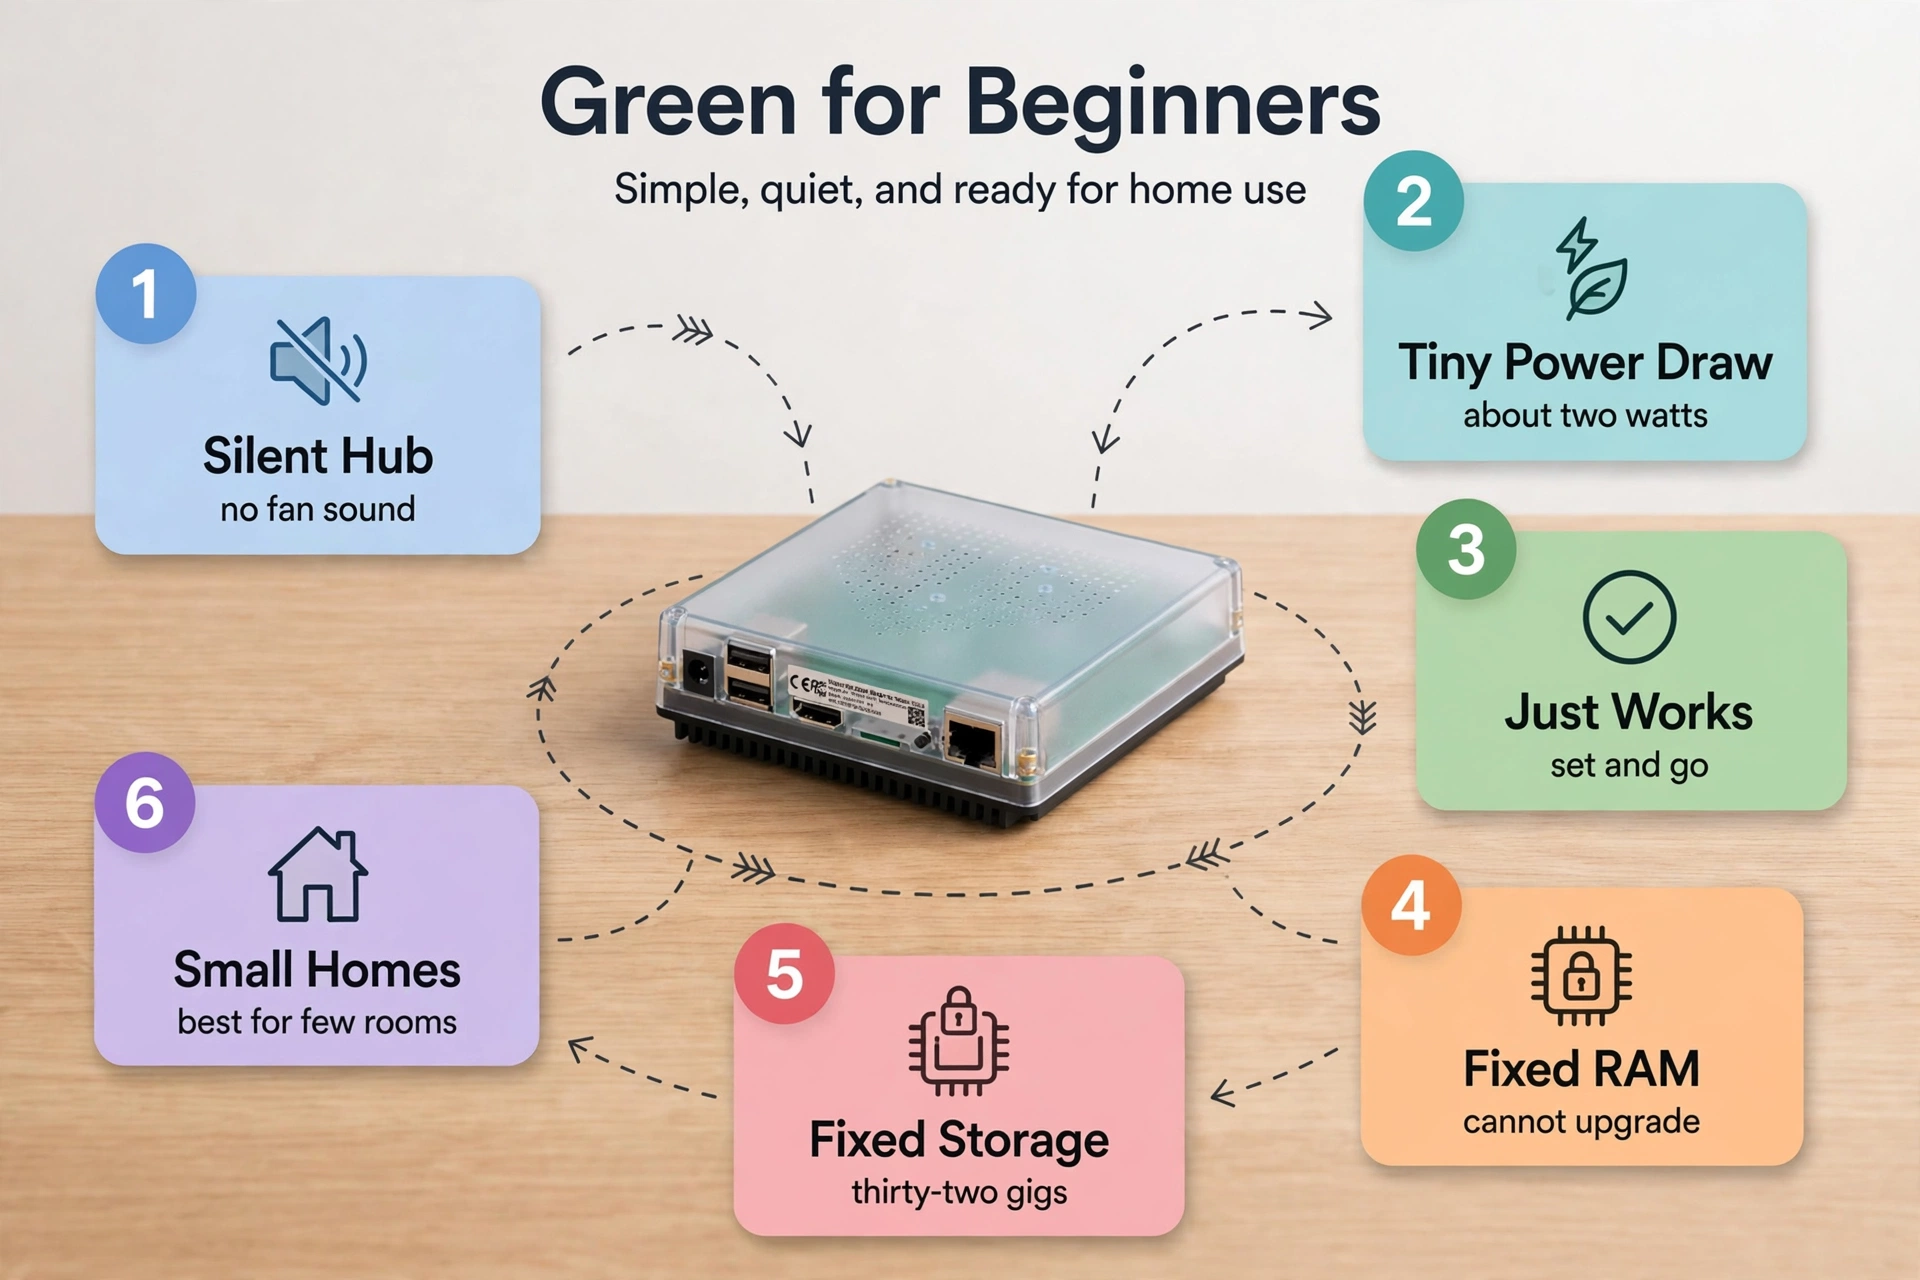
In short, Home Assistant Green is the official plug-and-play box. It ships with Home Assistant OS already installed. You plug it in, open homeassistant.local:8123 in a browser, and start adding devices.
Green suits a first-time user who wants a hub, not a hobby project. It is silent, uses about 2 watts at idle, and just works. Its limits are fixed hardware and fixed storage. You cannot add more RAM later, and the 32 GB of storage cannot grow. So Green fits small to medium homes, not camera-heavy ones.
Meanwhile, Home Assistant Yellow was the enthusiast sibling. It took a Raspberry Pi Compute Module, added an M.2 NVMe slot, and built in a Zigbee and Thread radio. Production ended in October 2025, but software support continues. If you already own one, it still works well.
Our Green vs Yellow comparison walks through both boxes side by side, with the specs and the trade-offs in one place.
Home Assistant publishes its install guides on the official docs site, so check the official Home Assistant installation docs before you flash anything.
When a mini PC is the better Home Assistant server
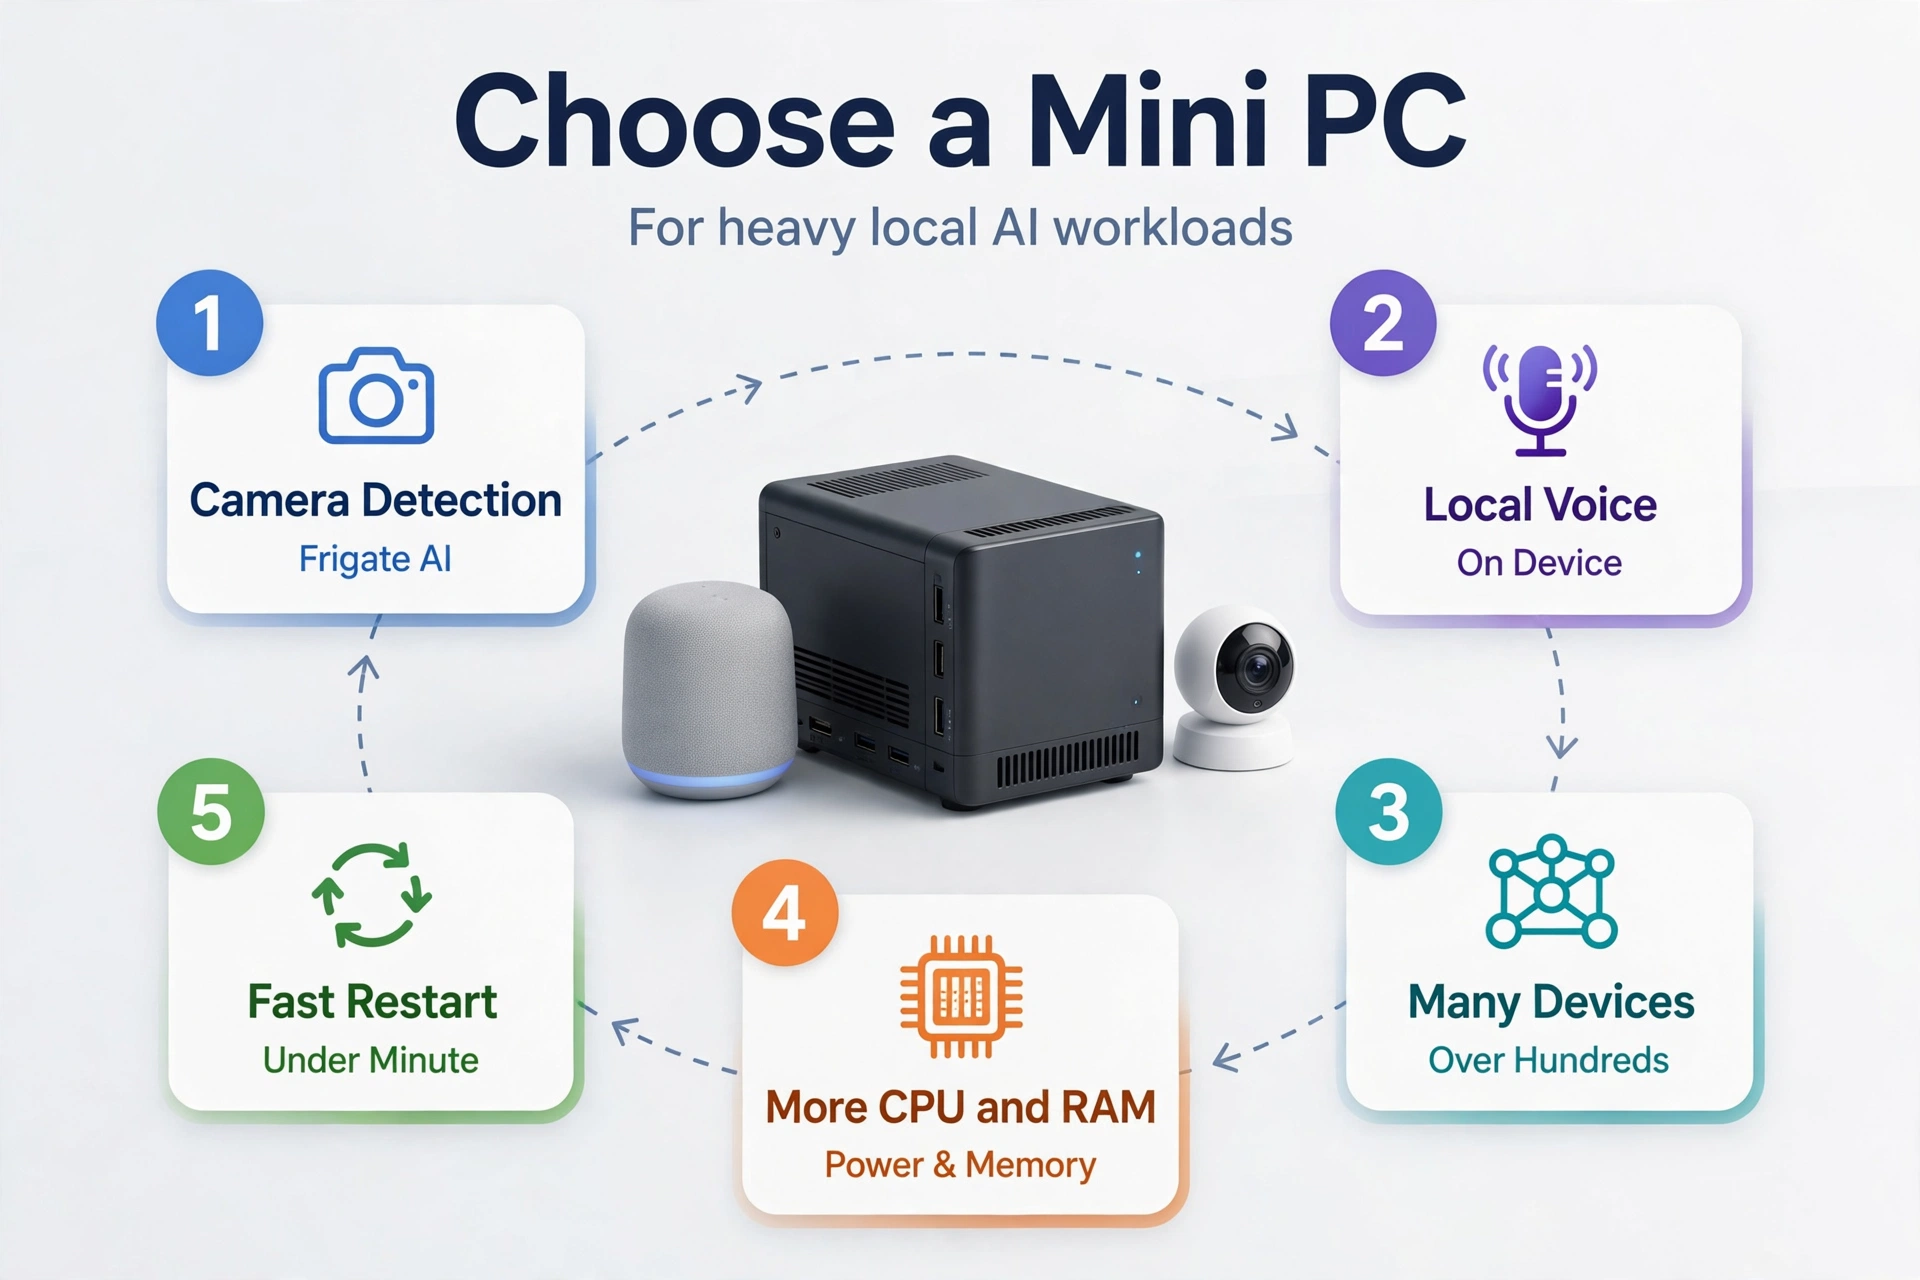
In contrast, a mini PC is a small x86 computer, often built around an Intel N100 chip. It costs more than a Pi and uses more power. In return, you get real headroom. An N100 with 8 GB of RAM and a 256 GB NVMe drive handles cameras, voice, and a dozen add-ons without strain.
Specifically, pick a mini PC when your plans include Frigate camera detection, local voice processing, or more than 200 devices. Those workloads need CPU power and RAM that a Pi cannot offer. A mini PC also restarts in under a minute in most cases, while a loaded Pi can take several minutes.
One caution applies here. A mini PC must boot in UEFI mode, and Home Assistant OS cannot boot from a native 4K-sector drive. So check the drive format before you flash. A standard NVMe drive from a known brand works fine in most cases.
Table: Home Assistant server hardware compared.
| Option | CPU and RAM | Storage | Best for |
|---|---|---|---|
| Home Assistant Green | Quad-core ARM, 4 GB | 32 GB eMMC | First setup, small home |
| Raspberry Pi 4 | Quad-core ARM, 4 to 8 GB | SSD over USB | Budget DIY, light setup |
| Raspberry Pi 5 | Quad-core ARM, 4 to 8 GB | SSD or NVMe | DIY with headroom |
| Home Assistant Yellow | Compute Module, varies | NVMe slot | Existing owners |
| Mini PC, N100 class | Quad-core x86, 8 to 16 GB | 256 GB NVMe SSD | Cameras, voice, large home |
Storage: why an SSD beats an SD card
In fact, storage is where most Home Assistant builds fail. The recorder writes every state change to its database, day and night. A microSD card was never built for that kind of constant small write. It wears out, and then the system stops booting one morning with no warning.
As a result, cheap cards often die within months under this load. Good cards last longer, but they still wear out faster than an SSD. An SSD handles the same writes with ease, and it has far more write endurance. So boot from an SSD, even a small one.
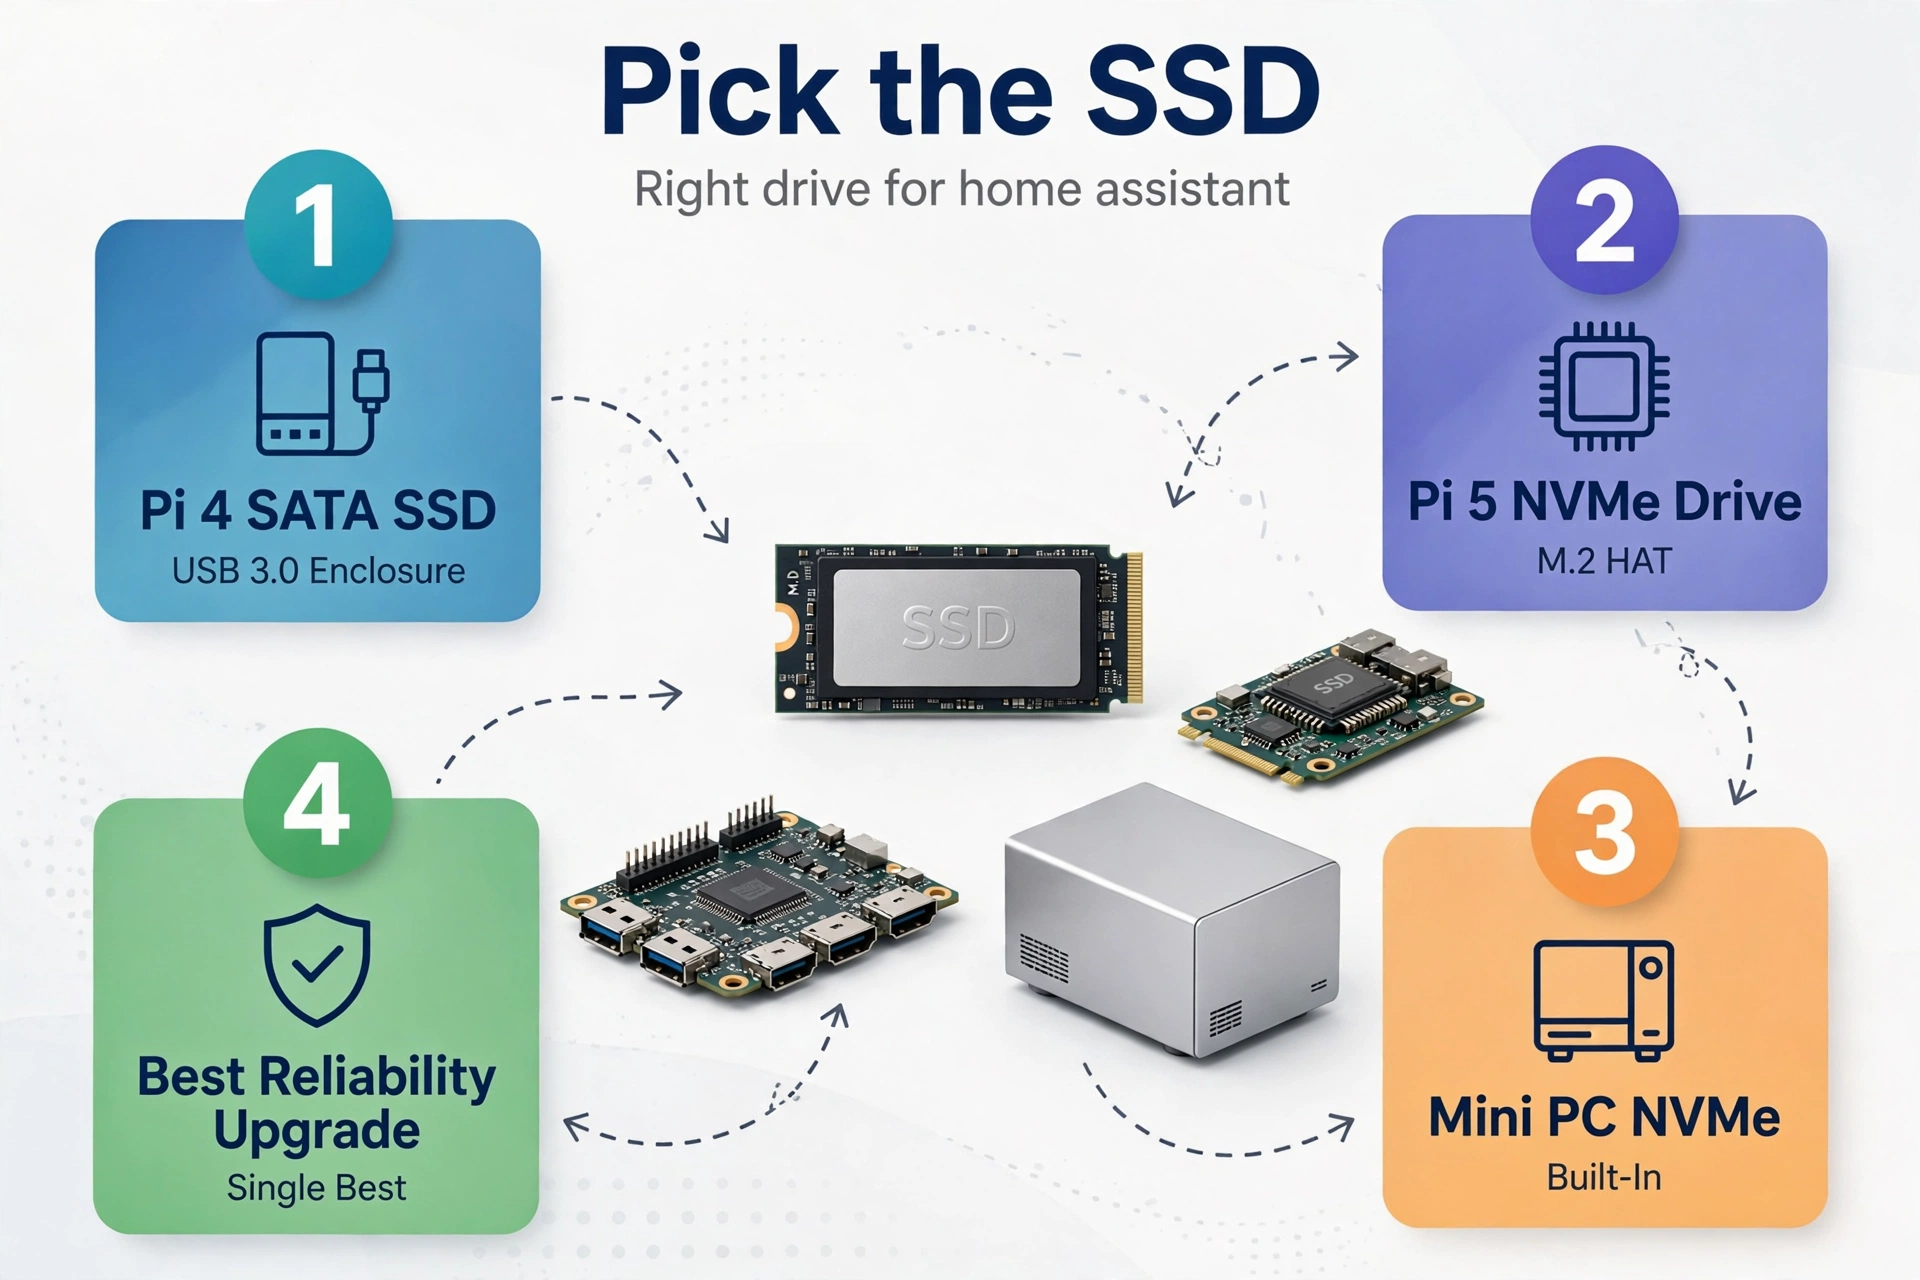
For a Pi 4, use a SATA SSD in a USB 3.0 enclosure. For a Pi 5, use the official M.2 HAT with a small NVMe drive. For a mini PC, use the NVMe drive it ships with. In each case, the SSD is the single best reliability upgrade you can buy.
Also, keep at least 20 percent of the drive free. Backups, updates, and database repairs all need free space. So check free space once a month, and prune old backups before the drive fills up.
How many devices and automations can each tier handle?
Still, device counts are a guide, not a hard limit. A single chatty sensor can write more data than ten quiet light bulbs. Still, rough tiers help you pick. A Green or a Pi 4 on SSD handles up to about 100 devices and a few dozen automations with ease. A Pi 5 stretches that to roughly 150 to 200 devices.
Then a mini PC with 8 GB of RAM handles 200 or more devices, plus cameras and voice, without breaking stride. The jump is not about lights. It is about camera detection, voice processing, and a large history database.
Automations follow the same pattern. So simple time and motion rules cost almost nothing. Presence detection lighting that checks several sensors at once costs more, but still runs fine on a Pi 5. If your automations use cameras or voice as triggers, plan for a mini PC from the start.
Table: Home Assistant server tiers by home size.
| Home size | Devices | Hardware pick | RAM |
|---|---|---|---|
| Small flat | Up to 50 | Green or Pi 4 on SSD | 4 GB |
| Family home | 50 to 150 | Pi 5 on SSD | 4 to 8 GB |
| Large home | 150 to 300 | Mini PC, N100 | 8 to 16 GB |
| Camera heavy | Any size | Mini PC, N100 | 16 GB |
RAM, CPU, and the recorder database
In short, RAM is your breathing room. Home Assistant itself uses only a few hundred megabytes at idle. Add-ons eat the rest. A Zigbee handler, a voice pipeline, and a database add-on can push a 2 GB system to its limit. With 4 GB, that same setup has room to spare.
Still, CPU matters less than most people think. A quad-core ARM chip at 1.8 GHz runs a normal home without strain. The CPU only becomes the limit with camera detection or local voice. If your dashboards feel slow, check storage and RAM first. In most cases, one of those two is the real cause.
The recorder database deserves its own check. It logs every state change, and it grows with every device you add. By default, it keeps 10 days of history. Also exclude chatty sensors you never chart, since fewer writes mean a smaller database and a longer-lived drive.
Radios: Zigbee, Z-Wave, Thread, and Matter
First, none of these boxes has a smart home radio built in, except Yellow. Green, Pi, and mini PC all need a USB radio for Zigbee, Z-Wave, or Thread. Buy the radio for the protocol your devices use. A Zigbee coordinator is the common first buy, since Zigbee bulbs and sensors are cheap and plentiful.
Next, plug the radio into a USB 2.0 port with a short extension cable. That sounds odd, but it matters. USB 3.0 ports create interference in the 2.4 GHz band, and that is the exact band Zigbee uses. A short cable moves the radio away from the noisy port, and your mesh gets more stable as a result.
Also, Thread and Zigbee share the same band, so pick one radio per protocol. Our Thread vs Zigbee guide explains how the two protocols differ and when each one wins. Matter runs over both, so your radio choice shapes your Matter setup too.
Backup and migration: plan the move before you need it
First, backups are part of the hardware spec, not an afterthought. Turn on automatic backups in Settings, then System, then Backups. Keep at least one copy off the device. A backup on the same drive dies with the drive, so it is not a real backup.
Also, Home Assistant backups are encrypted by default. That is good for safety, but it creates one trap. Without the key from your emergency kit, an encrypted backup cannot be restored. So download the emergency kit, store it outside the box, and test a restore once before you need one for real.
Then migration is simple when backups are ready. Create a full backup on the old box, download the file, and set up Home Assistant OS on the new box. During onboarding, upload the backup and let it restore. Your devices, automations, and dashboards come back with it.
If your Zigbee radio moves to a new machine, the device path can change, so check it after the restore.
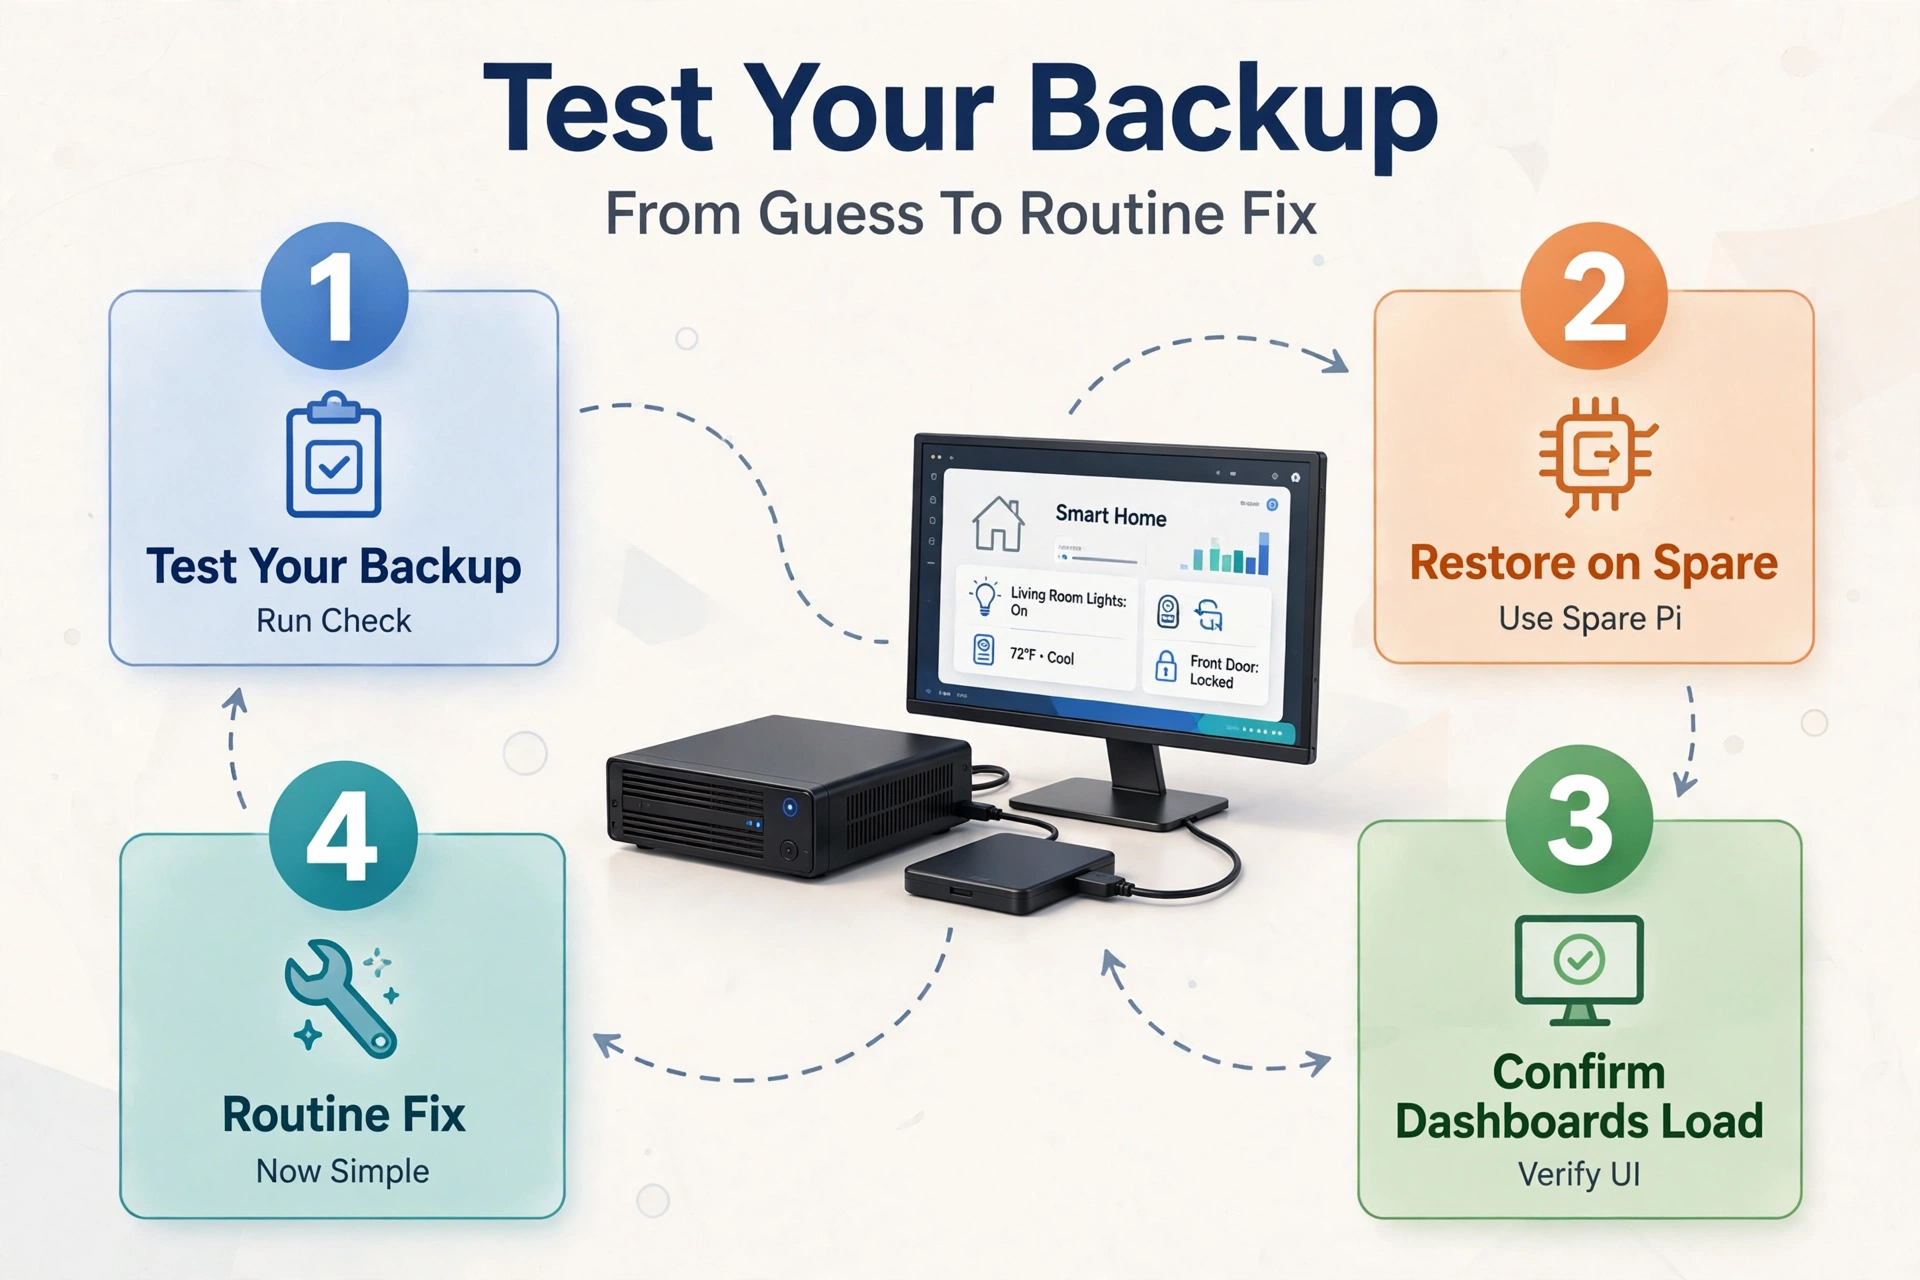
Test your backup every few months. A backup you never tested is a guess, not a plan. Restore it on a spare Pi or a virtual machine, and confirm your dashboards load. That one test turns a scary failure into a routine fix.
Setup checklist and mistakes to avoid
Finally, run through this list before you call the build done. First, use wired Ethernet. Next, boot from an SSD, not a card. Then turn on automatic backups and store one copy off the device. Finally, open the system page and check that RAM and storage have free headroom.
In fact, the most common mistake is buying for today only. A 2 GB Pi runs fine on day one, then struggles once you add voice and cameras. The second mistake is trusting a microSD card for a 24/7 database. The third is skipping the backup test.
FAQs
What are the recommended hardware specs for a Home Assistant server?
For most homes, use a 64-bit quad-core processor, 4 GB of RAM, and a 64 GB SSD. That setup runs lights, sensors, and automations with room for add-ons. It also leaves headroom for cameras or voice later. The official minimum is 2 GB of RAM and 32 GB of storage, but that floor fills up fast.
Can I run Home Assistant on a Raspberry Pi 4?
Yes, a Pi 4 with 4 GB of RAM runs a small home well. Boot it from an SSD over USB 3.0, not from a microSD card. Use the official power supply and wired Ethernet. It handles up to about 100 devices, but it struggles with cameras and local voice, so plan a Pi 5 or mini PC for those.
Is 4 GB of RAM enough for Home Assistant?
Yes, 4 GB is enough for most homes. Home Assistant itself uses only a few hundred megabytes at idle. The rest goes to add-ons like Zigbee handlers, voice pipelines, and camera tools. Pick 8 GB if you run cameras, local voice, or many add-ons at once. Pick 16 GB for a camera-heavy home.
Do I need an SSD, or will an SD card work?
An SSD is the right choice for any serious setup. Home Assistant writes to its database all day, and those constant writes wear out microSD cards. Cards often fail within months under this load. An SSD lasts far longer and makes restarts and backups faster too. Use a card only for a short test.
Is Home Assistant Green better than a Raspberry Pi?
Green is better if you want the easiest start. It ships with Home Assistant OS installed, runs silent, and uses about 2 watts at idle. A Pi is better if you like DIY and want more control. Green has fixed RAM and storage, while a Pi lets you add an SSD and more RAM. Pick Green for ease.
How do I move Home Assistant to new hardware?
Make a full backup on the old box and download it to your computer. Set up Home Assistant OS on the new hardware, then upload the backup during onboarding. Your devices, automations, and dashboards restore with it. Move your USB radio to the new box first, and check its device path after the restore finishes.
Conclusion
Pick hardware for the home you plan to build. A Pi 5 on SSD or a Green covers most homes, and a mini PC covers the rest. Buy the SSD first, turn on backups, and test a restore. Then open homeassistant.local:8123 and start with one room. Your server will grow with you.