


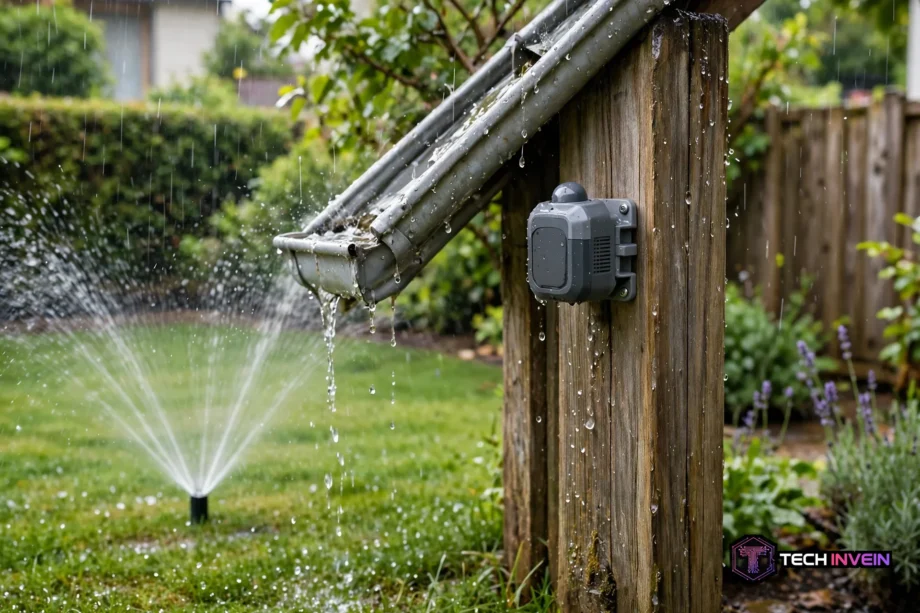
A rain sensor stops your sprinklers from watering when rain has already done the job. It is a small device that sits in your garden and tells the controller when enough rain has fallen. It can save water, protect your lawn from soggy soil, and cut the wear on your sprinkler system from needless cycles.
- What a Rain Sensor Does
- How a Rain Sensor Works
- How an Irrigation Sensor Wires Into a Controller
- Placement Mistakes That Ruin a Good Sensor
- My Hands-On Test: What Actually Happened in the Garden
- Choosing the Right Sensor for Your Home
- When a Sensor Beats a Weather-Based Controller Skip
- Testing, Care, and Simple Troubleshooting
- FAQs
- How does it stop watering for a sprinkler system?
- What is the best rainfall setting for a sprinkler system?
- Do I need a wireless sensor, or will a wired one work?
- Can it replace a smart sprinkler controller?
- Why does my sprinkler still run when it rains?
- How often should I clean and test them?
- Final Check Before You Buy
What a Rain Sensor Does
A rain sensor for sprinkler system use sits outside in open rain. It watches for rainfall, and it tells your controller to pause watering once enough rain has fallen. It does not measure soil moisture at the roots. Instead, it reacts to rain at its own location, which is usually close enough to reflect what fell on your lawn.
When the sensor trips, it breaks or changes the signal that allows your valves to open. However, your controller may show a rain delay, a sensor active message, or a small rain icon. The schedule stays saved. Watering simply waits until the sensor dries out and resets, and then normal watering returns on its own.
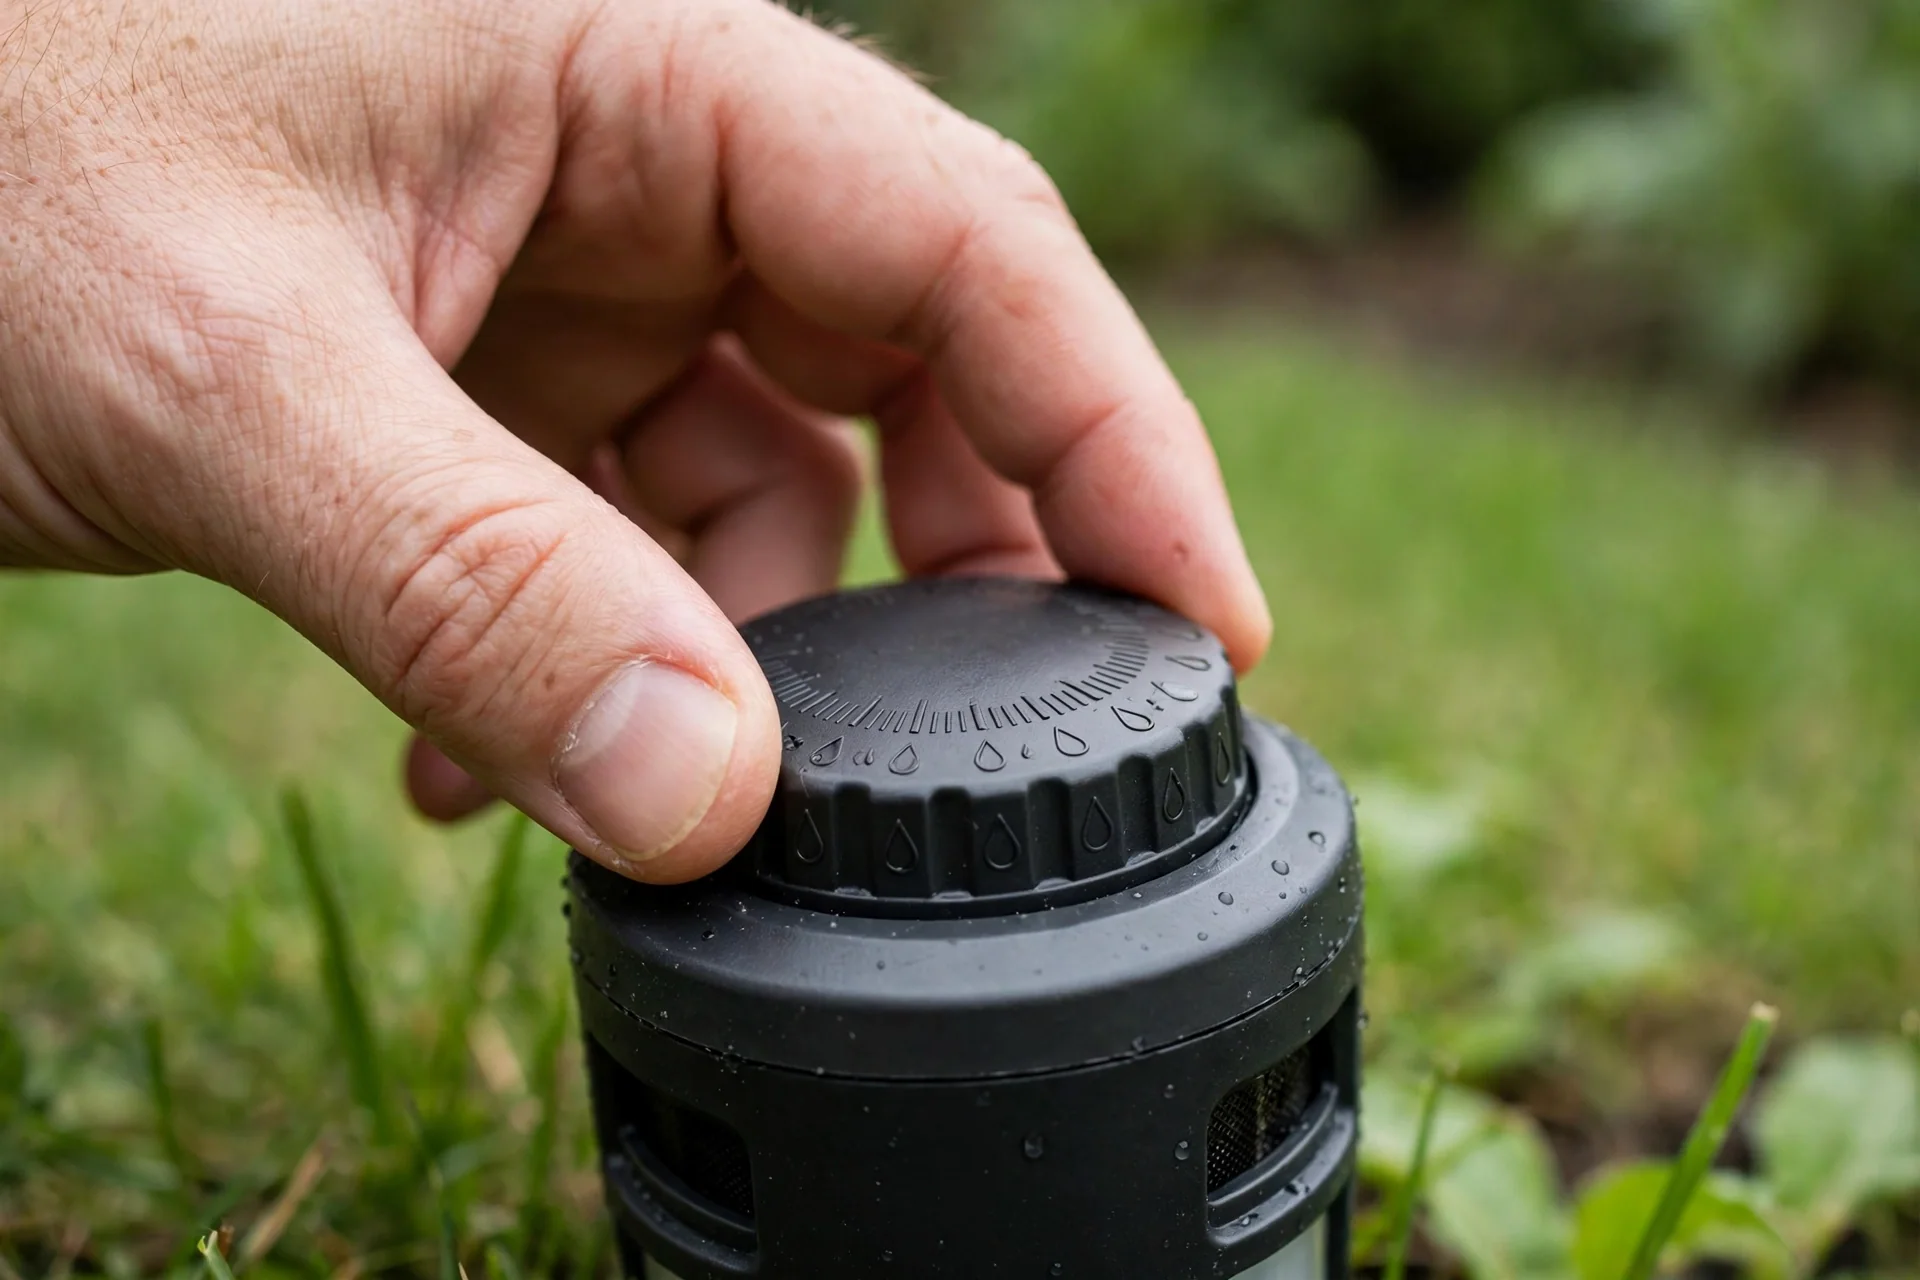
Most homes set the sensor to trip after a small amount of rain. A common starting point is about 3 mm, or roughly one eighth of an inch, for lawns that dry fast. You can raise that setting if your soil holds water well, or lower it if you want a faster stop. The right setting depends on your lawn, your soil, and your local weather, so a short test period helps a lot.
How a Rain Sensor Works
All rain sensors share one basic idea. Rain arrives, the sensor reacts, and the controller pauses. How they react is where the designs split, and each design has its own strengths. The three main types are hygroscopic discs, tipping buckets, and wireless sensors. You will see all three sold as a sprinkler rain sensor.
Hygroscopic discs
A hygroscopic disc sensor uses a stack of absorbent discs, often made from cork or a similar material. First, rain falls into the sensor housing and soaks the discs. As they absorb water, they expand and press a switch. That switch then tells the controller to stop watering.
Disc sensors suit most homes well. They cost less than many electronic options, and they need no battery in the outdoor unit. Their main limit is drying time. The discs may dry faster than deep soil, so your lawn could get water again before the roots truly need it. A controller with a rain delay setting can fix that gap. University extension advice on disc sensors explains the same drying point in plain terms.
Tipping bucket sensors
A tipping bucket sensor works more like a tiny rain gauge. Next, rain flows into a small bucket that tips each time it fills to a set amount. Each tip counts as a fixed amount of rain, and the sensor uses that count to decide when to pause watering.
Still, tipping buckets need care. Leaves, dust, and insects can block the funnel, and a blocked funnel gives a low reading. Level mounting matters too, since a tilted bucket tips early or late. If you choose this type, plan a quick clean every few months and check that it sits level after storms.
Wireless sensors
A wireless sensor puts the rain sensing unit outside and a small receiver near the controller. The two talk by radio, so you do not need to run a long wire across the garden. That freedom makes placement much easier, especially when the best rain spot sits far from the garage or controller box.
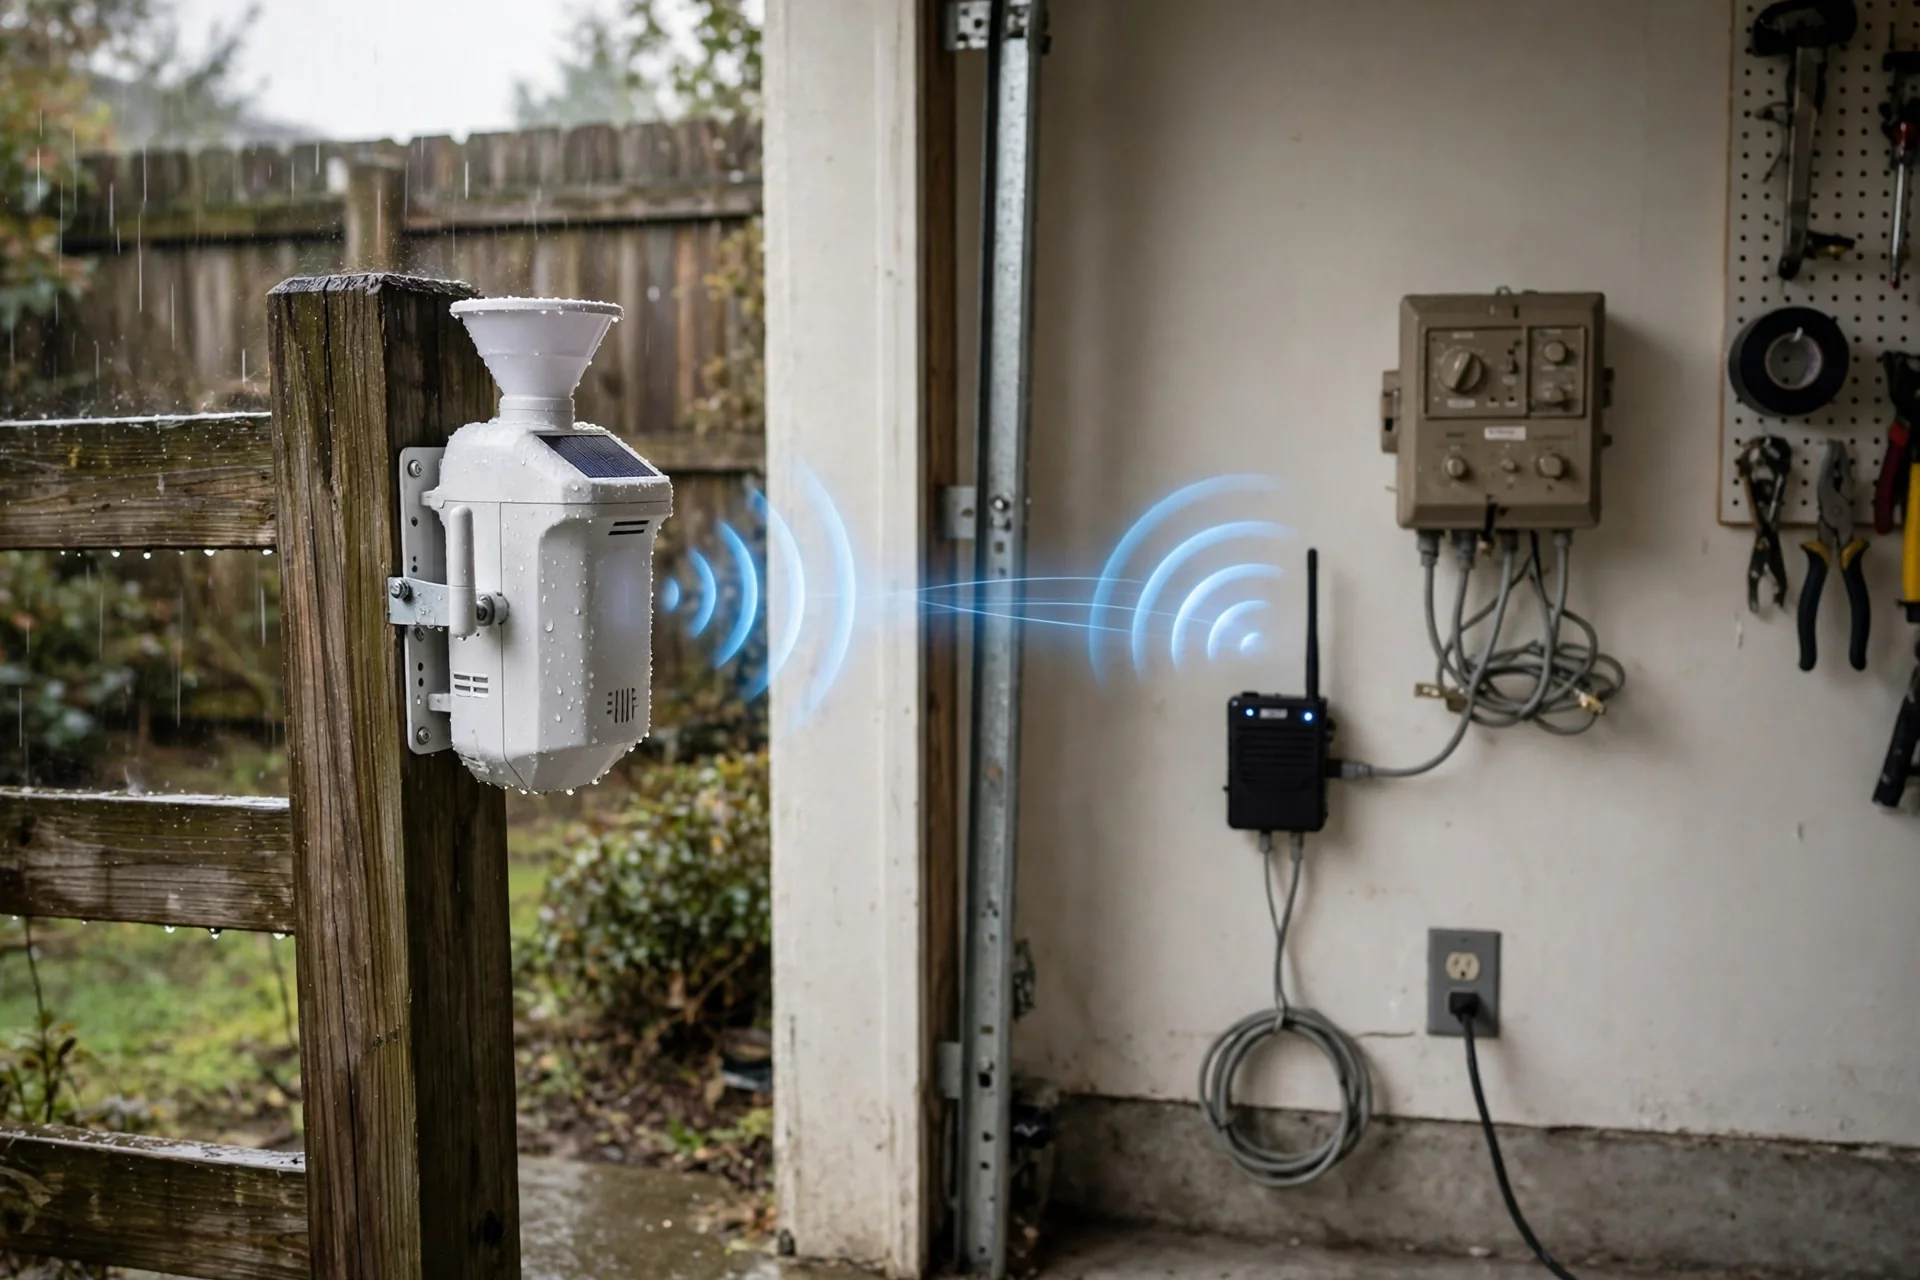
Table: Rain sensor types compared
| Sensor type | How it senses rain | Best for | Watch out for |
|---|---|---|---|
| Hygroscopic discs | Discs expand when wet | Simple, low cost setups | Discs may dry before soil does |
| Tipping bucket | Bucket tips at set rainfall amounts | Measured rainfall tracking | Debris in the funnel |
| Wireless | Disc or gauge plus radio link | Long runs with no wire | Battery and signal range |
How an Irrigation Sensor Wires Into a Controller
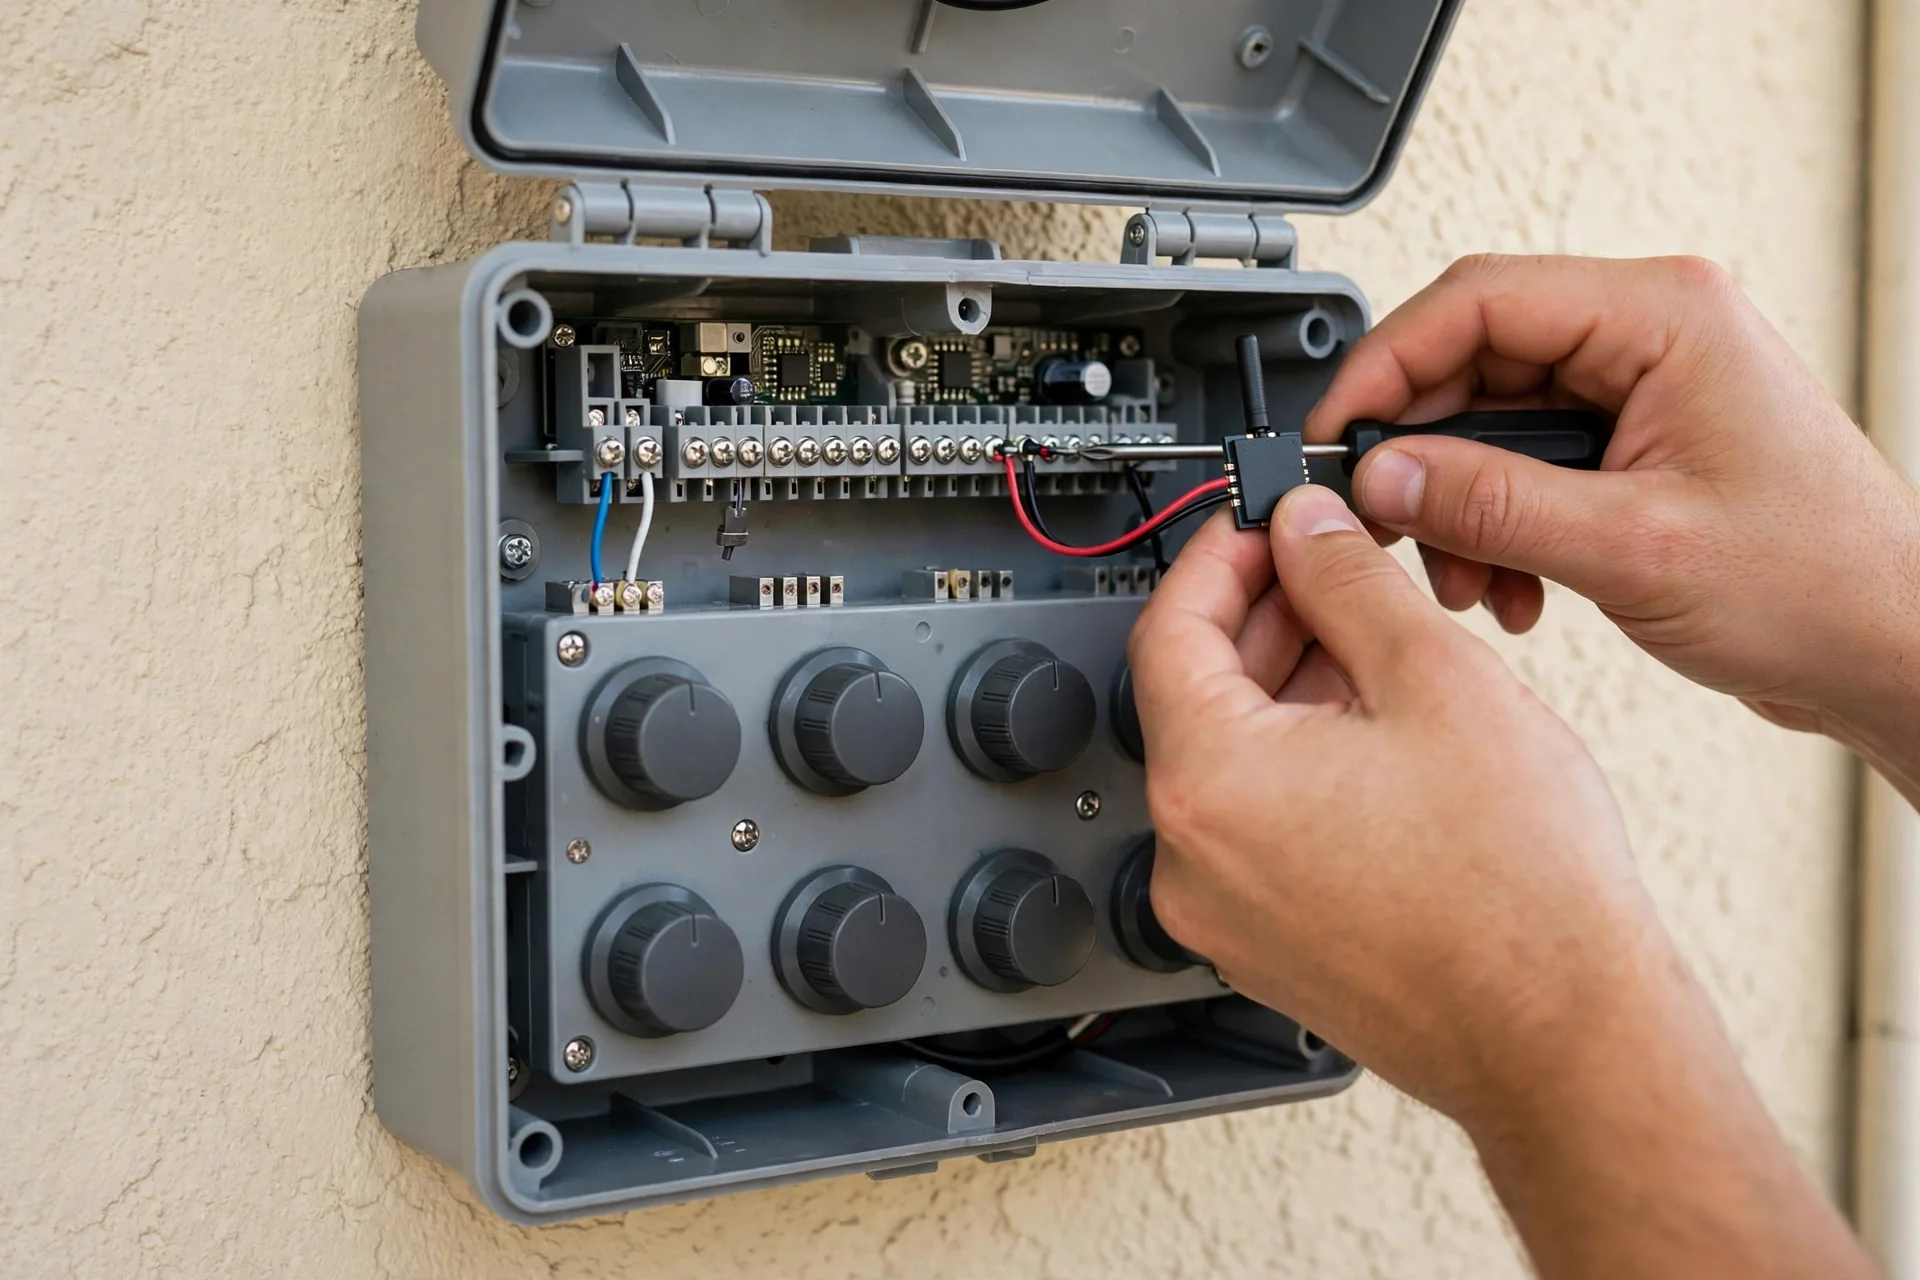
An irrigation rain sensor connects to the sensor terminals on most standard controllers. You will usually find two terminals marked for a sensor, and the manual for your controller will name them clearly. Turn the power off first, then connect the two sensor wires to those terminals. That step alone is enough for many wired models.
Some controllers also have a sensor bypass switch. When the switch sits in the active position, the sensor can pause watering. When it sits in bypass, the controller ignores the sensor and waters on schedule. Bypass is useful for a manual test run or a new seed bed. Still, it is a common cause of a sensor that seems dead. Check that switch before you blame the sensor itself.
Wireless models add one more step. Also, you mount the outdoor sensor, then wire the receiver to the same sensor terminals. After that, pair the two units as the manual describes. Then test the link by wetting the sensor or pressing its test button. If the controller shows a sensor active state, the link works.
Placement Mistakes That Ruin a Good Sensor
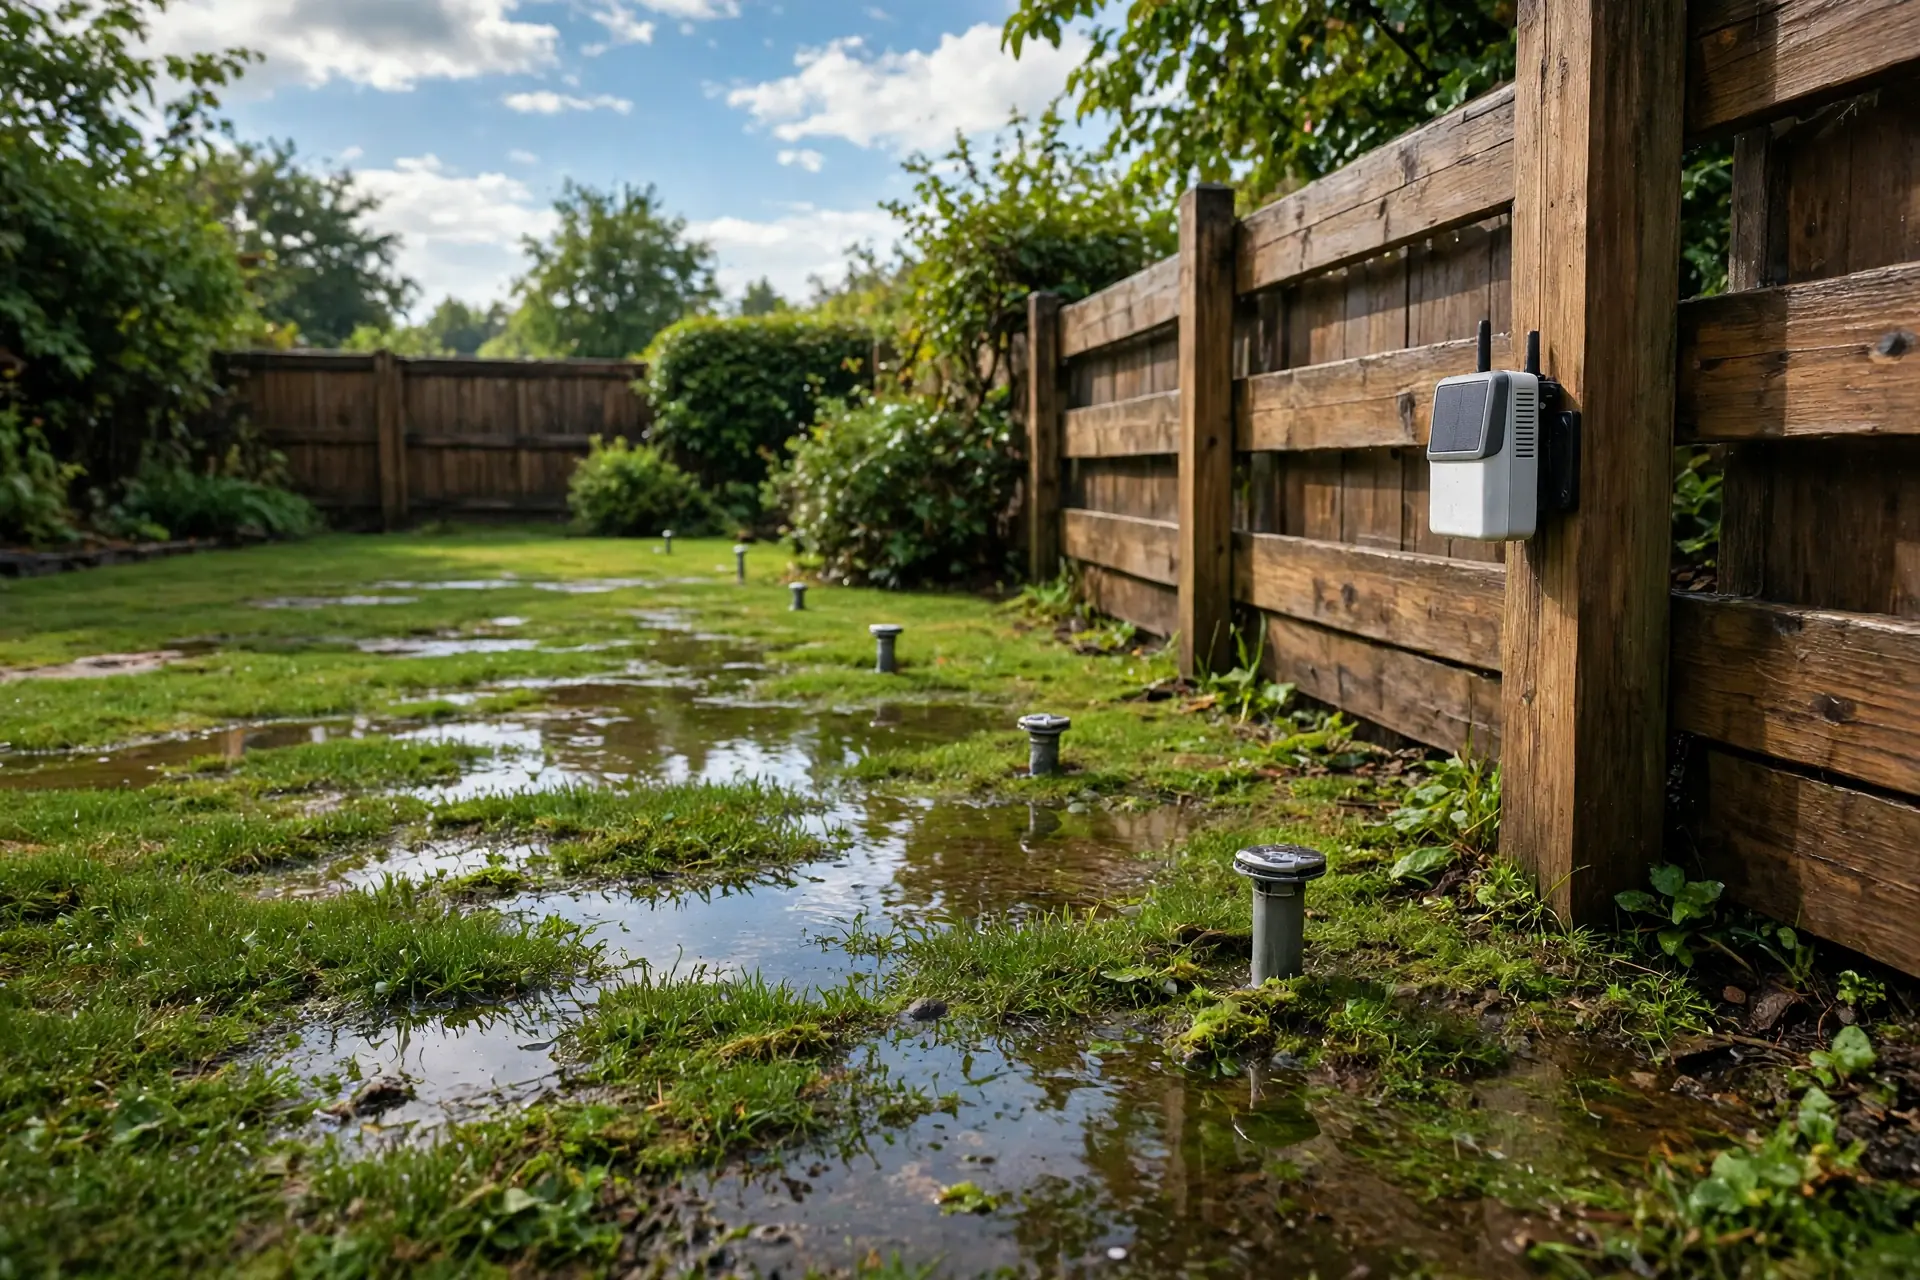
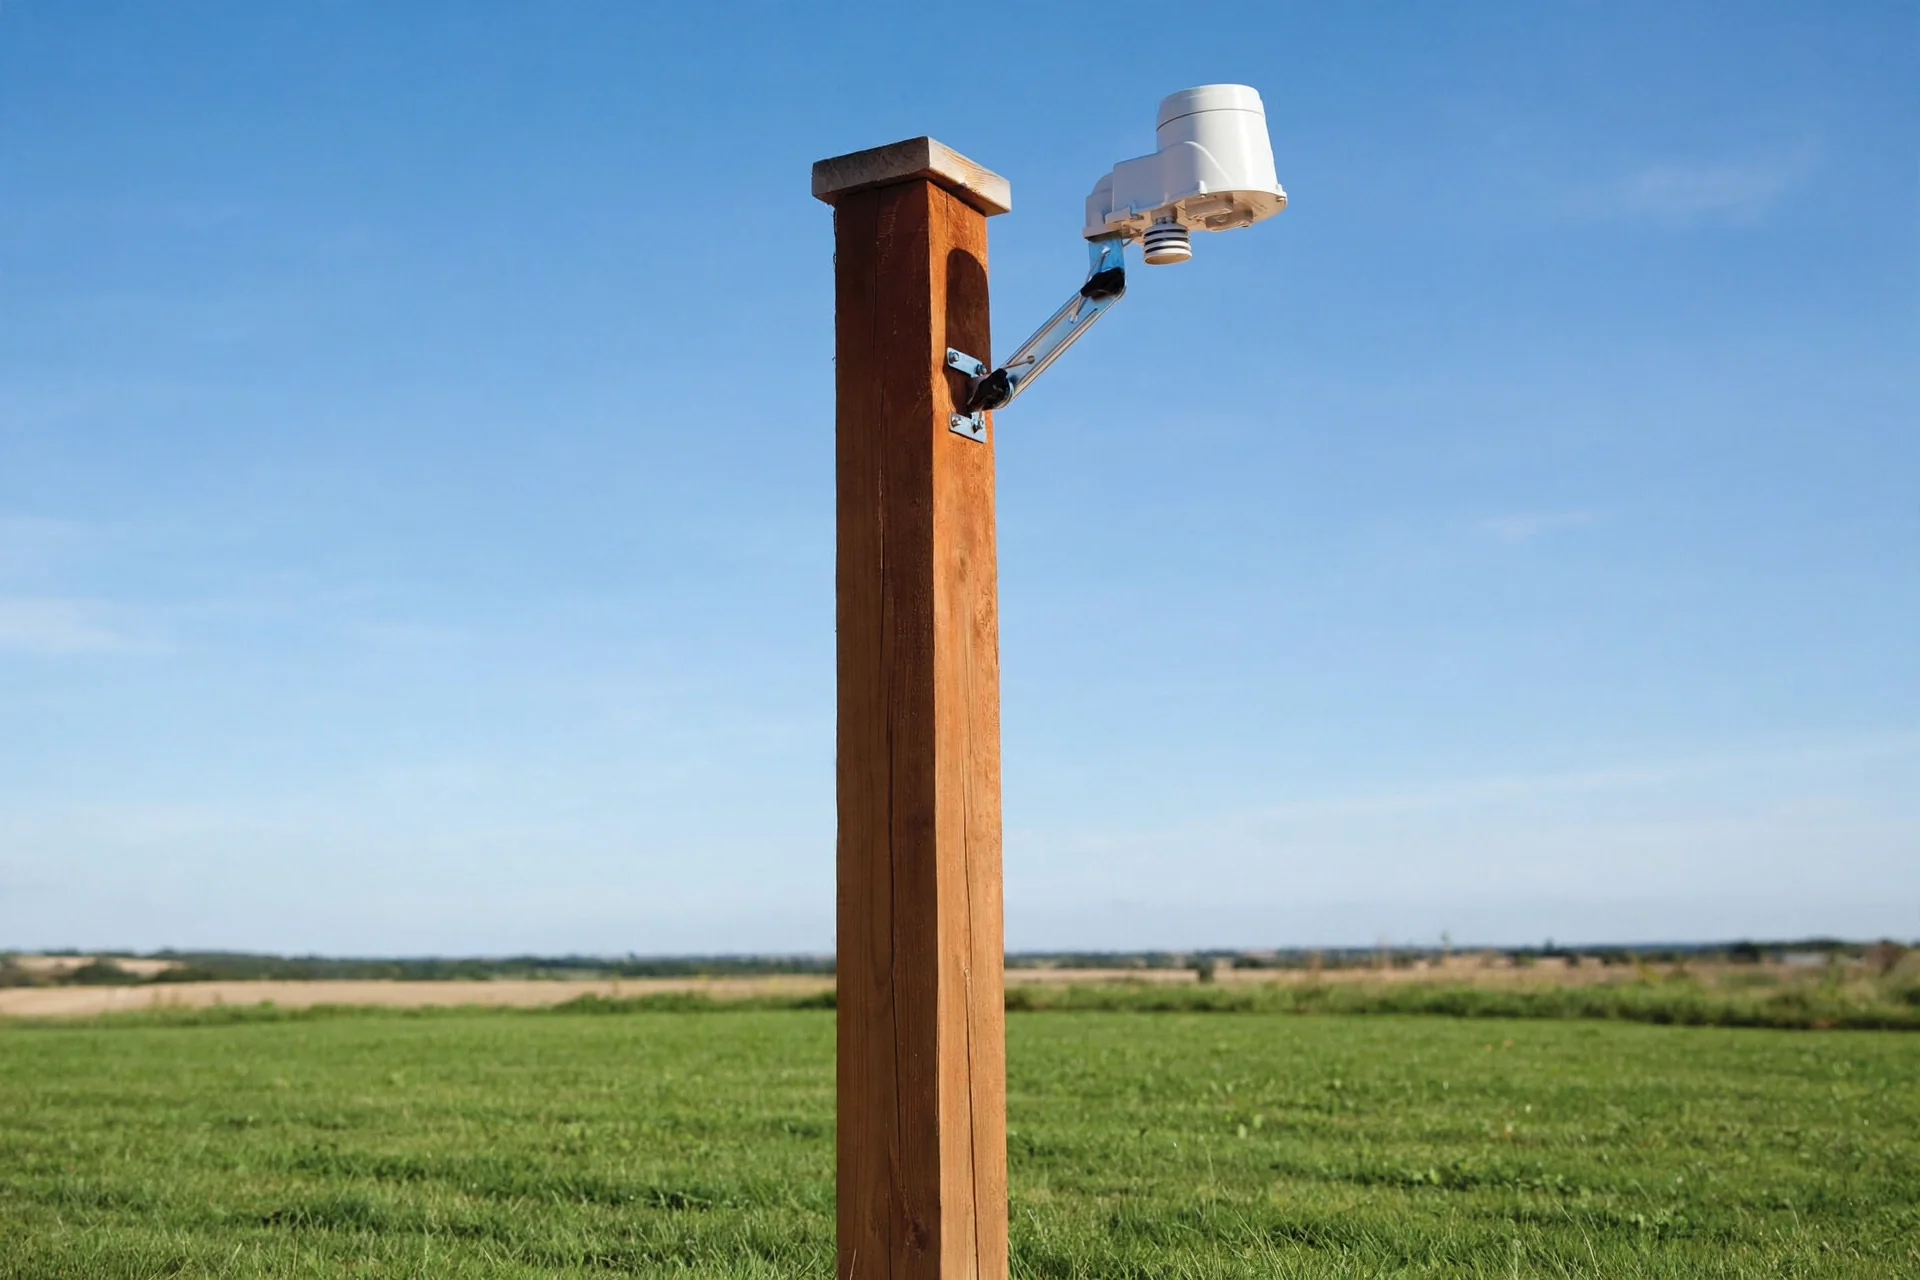
Placement decides whether a rain sensor for irrigation system use works at all. The sensor must catch rain directly, with a clear view of the sky. That sounds obvious. Yet many sensors end up under eaves, under trees, or tucked against a wall where rain never reaches them.
In practice, mount the sensor upright, in the open, and above the height of nearby shrubs. A fence post, a gutter bracket in open sky, or a dedicated post near the lawn all work well. Keep it away from sprinkler heads too, since spray from your own system can trip it and pause watering for no real reason. That false trip is one of the most common complaints, and it is easy to avoid with a little distance.
Outdoor gear lives in the same weather your sensor does, so placement rules matter across the garden. The same open sky logic that helps a sensor also helps solar garden lights. Shade and blocked sky hurt both kinds of device in a quiet, steady way.
My Hands-On Test: What Actually Happened in the Garden
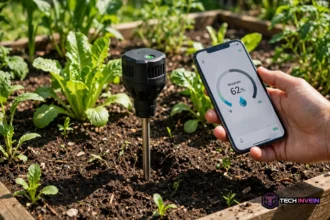
Meanwhile, to check how a disc sensor behaves in real weather, I mounted one on an open fence post, away from eaves and sprinkler spray. I set the cap to the lowest rainfall setting, then watched it through two rain events and the dry days that followed. The goal was simple: see when it tripped, and see when it let watering resume.
In the first event, steady rain fell for about 40 minutes. The sensor tripped before the rain stopped, and the controller showed its sensor active state at the next scheduled start time. Watering stayed off that morning, even though the timer would have run. That was the exact result I wanted, and it happened with no input from me.
The reset took longer than I first guessed. After the rain cleared, the discs needed 31 hours of dry, breezy weather to shrink back and release the switch. On a calm, humid day, that time would likely stretch further. This matters. A fast reset can restart watering while soil is still damp. A slow reset can hold watering back on a hot day.
In the second event, a short, sharp shower tripped the sensor, yet the lawn surface dried within a day. The sensor still held watering off for most of the next day, which was fine for the lawn but showed why a rain delay setting helps. A delay of one extra day after heavy rain gives you extra control. A shorter delay after light rain does the same.
One more detail stood out. After a month outside, a thin layer of dust sat in the housing vents. I brushed it out in under a minute, and the next reset felt quicker. That tiny job is easy to skip, yet it changes how fast the sensor dries. Put it on the same routine as cleaning outdoor pathway lights or checking outdoor gear, and the sensor will stay honest.
Choosing the Right Sensor for Your Home
First, start with your controller. Check the manual for sensor terminals and for a rain delay option. If your controller has no sensor input, you may need a controller upgrade, or a sensor made for your exact model. Do not buy first and check later, since a mismatch wastes time and money.
Then think about your climate. In a wet climate, a sensor that trips early and resets slowly can help a lot. In a dry climate with rare showers, a sensitive setting stops waste. A brief storm would otherwise be followed by a full watering cycle. In a cold climate, check the freeze rating, since some units also pause watering near freezing to stop ice on paths.
When a Sensor Beats a Weather-Based Controller Skip
A weather-based controller skips watering based on forecasts and nearby weather station data. That approach works well for many homes, and it can adjust watering for heat, wind, and season. Still, it has a blind spot: weather data for your town may not match rain on your street.
A rain detector for sprinkler system use fills that gap with local truth. It reacts to rain that actually fell on your property, not rain that fell five miles away. That local check matters most in summer storms, when one street gets soaked and the next stays dry. A forecast skip may miss your storm, while a sensor on your fence will not.
Weather also shapes other outdoor choices at home. When you plan garden lighting or outdoor automation, local conditions matter just as much as forecasts. A device in shade behaves very differently from one in open sky.
Testing, Care, and Simple Troubleshooting
Test your sensor twice a year, once before the main watering season and once mid-season. Use the test method in the manual, and watch for the controller to show a sensor active state. If it does not respond, check the bypass switch, the wires, and the battery for wireless units. Those three checks solve most faults.
Clean the housing when you test it. Brush out dust, leaves, and insect debris, and make sure vents stay open. For a rainfall sensor with a funnel, rinse the funnel gently and check that the bucket moves freely. A blocked funnel is a quiet fault, since the sensor looks fine while it reads low.
If your sensor never trips, check placement first. A sensor under an eave or tree may never get full rain, no matter how good the unit is. Move it to open sky, test again, and only then suspect a faulty switch or dead battery. Most never trips faults trace back to placement, not to the sensor itself, as extension guidance on sensor checks also notes.
Keep a small note of each test date and result. A dated note makes it easy to spot a slow change, such as a sensor that resets later each season. That pattern often points to dirty vents before it points to a faulty switch.
Humidity and dew can confuse a quick check, since damp air alone should not trip a rain sensor. If you want a plain guide to moisture in the air, it helps to know how dew point differs from relative humidity. One number tracks actual moisture, while the other shifts with temperature.
FAQs
How does it stop watering for a sprinkler system?
It interrupts the signal that lets your sprinkler valves open once enough rain has fallen. Your controller keeps its schedule saved, but it skips watering while the sensor stays active. When the sensor dries out and resets, normal watering returns on its own, with no need to reprogram the controller.
What is the best rainfall setting for a sprinkler system?
Start near 3 mm, or about one eighth of an inch, for most lawns. Raise the setting if your soil holds water well, or if light showers keep pausing watering too often. Lower it only if you want a faster stop after brief rain. Watch two or three rain events, then adjust one step at a time.
Do I need a wireless sensor, or will a wired one work?
A wired sensor works well when the best open rain spot sits close to your controller. Choose wireless when the run crosses a path, driveway, or long garden stretch, or when walls make wiring hard. Check signal range and battery access before you buy, since both shape long term ease of use.
Can it replace a smart sprinkler controller?
No, it cannot replace smart scheduling on its own. A sensor reacts after rain falls, while a smart controller plans ahead using forecasts, heat, and season. A sensor also cannot sense soil moisture or adjust run times by zone. Pairing the two gives the best result, with local rain truth backing up forecast planning.
Why does my sprinkler still run when it rains?
Check the bypass switch first, since bypass mode tells the controller to ignore the sensor. Next, check placement, wires, and battery for wireless units. A sensor under an eave or tree may miss rain, while spray from your own heads can cause false trips. Test the sensor by hand to find the fault.
How often should I clean and test them?
Test twice a year, before the main watering season and again mid-season. Clean dust and leaves from the housing and vents at the same time, and check that a tipping bucket moves freely. That short routine keeps readings honest, and it catches a silent fault before it wastes water for months.
Final Check Before You Buy
A rain sensor is a small buy with a clear job. It stops watering when rain has already watered your lawn. Pick a type that fits your controller and garden, mount it in open sky, and test it twice a year. Pair it with a rain delay if your controller offers one, and you will waste less water with almost no effort.
Your next step is simple. Find your controller manual, check for sensor terminals, and measure the distance to the nearest open rain spot. That one check tells you whether wired or wireless fits best, and it turns a vague upgrade into a clear weekend job.