

COB LED strip lights are flexible strips that give off one continuous line of light with no visible dots. COB stands for chip on board, and it describes how the tiny LED chips sit directly on the strip itself. If you want even light under a cabinet or along a shelf, this is the strip style to look at.
- What COB LED Strip Lights Are
- Why the Light Looks Different
- Types You Will See for Sale
- How to Read the Spec Sheet
- Picking Brightness and Color
- Where COB Strips Work Best
- Power, Length, and Voltage Drop
- Installation Step by Step
- Channels, Adhesive, and Heat
- Smart Control and Dimming
- Buying Checklist
- FAQs
- What does COB mean in lighting?
- Do COB strips need a diffuser?
- Can you cut a COB strip to size?
- Which voltage should you pick for a long run?
- Are COB strips good under kitchen cabinets?
- Why does my COB strip feel warm?
- Final Thoughts
What COB LED Strip Lights Are
On a COB strip, bare LED chips are bonded straight onto the flexible circuit board in a tight row. One continuous phosphor coating then covers the whole row. That coating is what you see when the strip is on: a single glowing band, not a row of points.
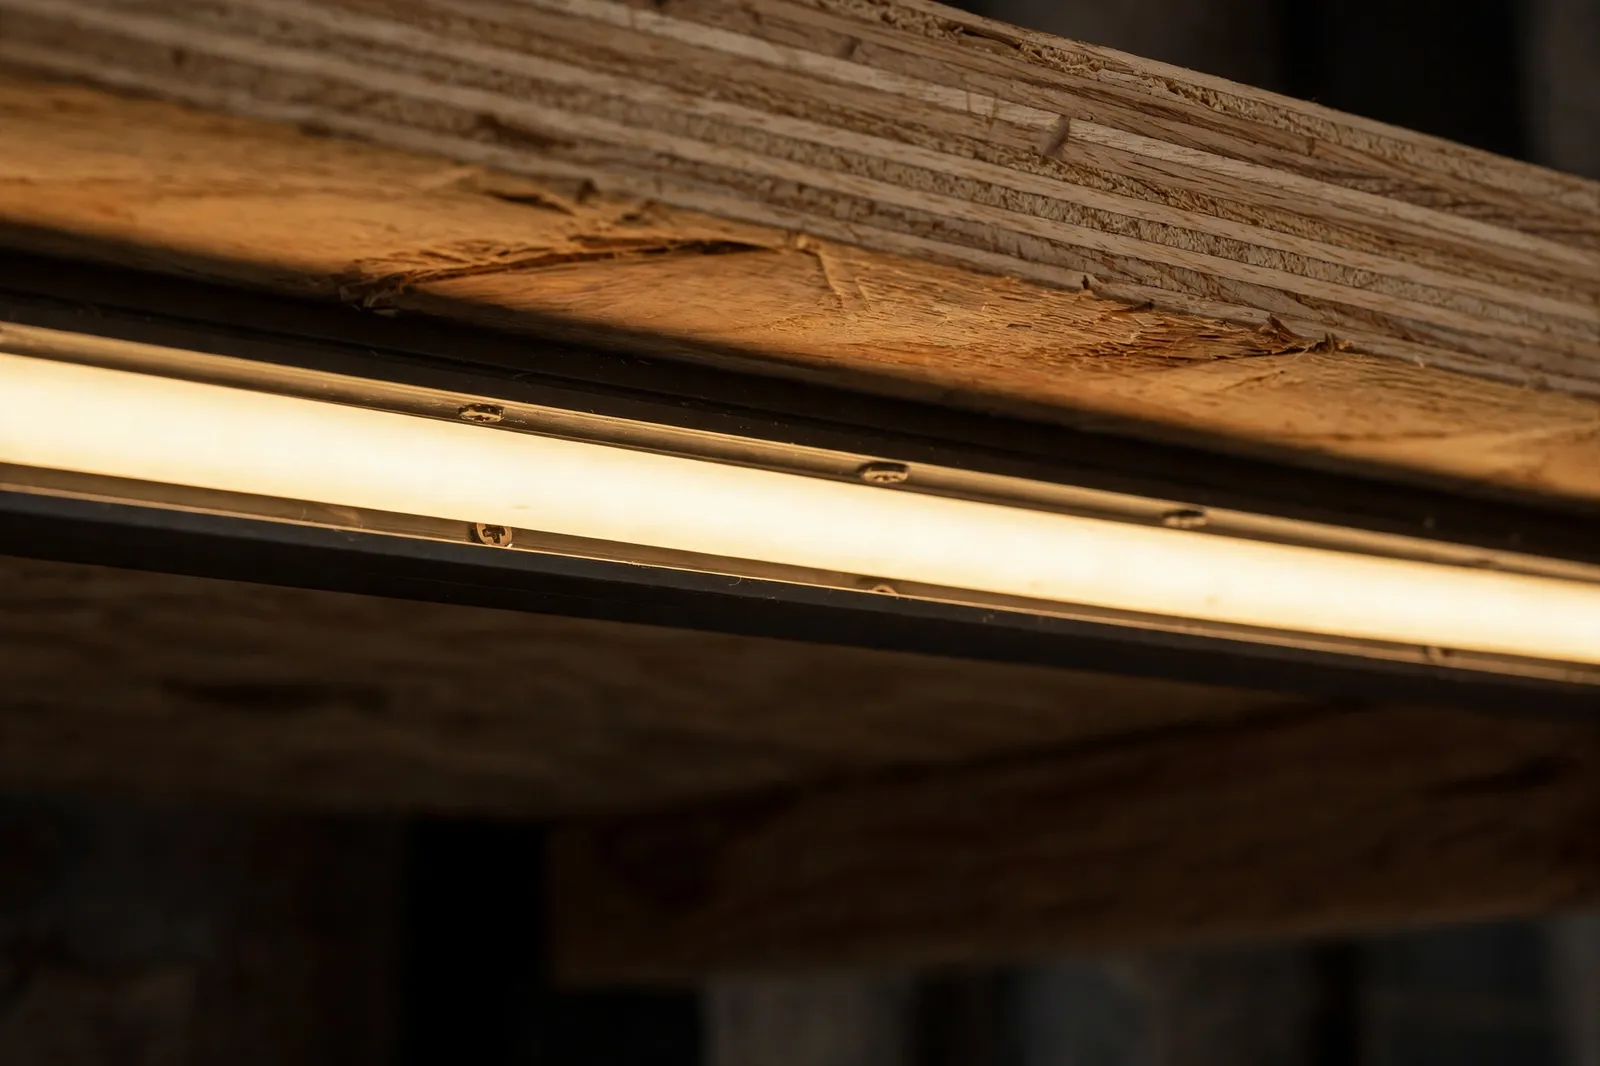
That build is the whole idea. A normal strip mounts each LED as a finished little package, with gaps between each one. Those packages are what your eye picks up as dots. COB strips remove the package, so the sources blend into one line.
Chip counts give a rough sense of density. Many COB strips list 320 to 528 chips per meter, though some go higher. A higher count doesn’t always mean a better strip, so treat it as one clue among several. The Super Bright LEDs guide to COB strips explains the phosphor coating and the dotless effect well.
Why the Light Looks Different
Stand back from a lit COB strip and you see a smooth bar of light. Move closer and it still looks like a bar, not a dotted line. That matters most where the strip reflects off something glossy. A kitchen countertop, a glass shelf, and a bathroom mirror all show every dot from a dotted strip.
The effect also helps in tight spots. Cove lighting, display cases, and shallow shelves leave little room to hide a strip behind a deep diffuser. With a COB strip, you can often use a slim channel, and the light still looks tidy. A channel still helps with heat and protection, though, so don’t skip it.
One honest limit: COB describes how the strip looks, not how bright or efficient it is. Two COB strips can differ a lot in lumens and color accuracy, so judge each product on its own spec sheet.
Types You Will See for Sale
Most home buyers will meet three types. Single color strips give one fixed white, such as warm white for a bedroom or neutral white for a kitchen. They need only a basic dimmer or on-off driver.
Single Color Strips
A single color strip is the easiest starting point. Pick the color temperature once, match the driver, and you are done. These strips suit under-cabinet task light, shelf light, and stair light where the color never needs to change.
Tunable White Strips
Tunable white strips let you shift between warm and cool white, often from around 2700K to 6500K. You will need a controller that supports tunable white, not just a plain dimmer. These strips suit rooms that serve two jobs, like a kitchen used for both cooking and late-night snacks.
Color Changing Strips
Color changing COB strips exist too, using the same dense layout to keep colored light even. They need a matching color controller. For most homes, white or tunable white covers the daily jobs, and color adds setup steps you may never use.
How to Read the Spec Sheet
Listings love big claims, so read past the headline. Voltage, watts per meter, lumens per meter, color temperature, CRI, chip count, and IP rating are the numbers that matter. If a listing hides most of them, shop elsewhere.
Table: Key COB strip specs and what each one tells you
| Spec | What to look for | Why it matters |
|---|---|---|
| Voltage | 12V or 24V DC, matching your driver | Wrong voltage can damage the strip or dim it badly |
| Watts per meter | Listed per meter, not per reel | Sets your driver size and heat level |
| Lumens per meter | A real number, not just watts | Tells you actual brightness |
| Color temperature | 2700K to 6500K range | Sets warm or cool feel |
| CRI | 90 or higher for food, skin, and art | Shows how true colors look |
| IP rating | IP20 indoors, IP65 or higher for damp spots | Guards against dust and water |
One more check helps a lot. Look for the cut marks and the distance between them, often 25 to 100 mm depending on voltage and design. Measure your run first, then plan cuts so each piece ends on a mark. Cutting between marks can kill that section, and it is a common first-timer mistake. For a fuller buying walkthrough, the MyLikeLed guide to buying COB strips covers chip density and spec checks in detail.
Picking Brightness and Color
Compare brightness in lumens, not watts. Watts tell you power draw, while lumens tell you light output. A strip can draw more power and still look dim if its chips and phosphor are poor. For a kitchen counter, aim for a clearly stated lumen figure.
Color temperature shapes the whole room. Warm white near 2700K to 3000K feels relaxed and suits bedrooms and living rooms. Neutral white near 4000K suits kitchens and work desks. Cool white near 5000K to 6500K suits garages, but it can feel harsh in a bedroom at night.
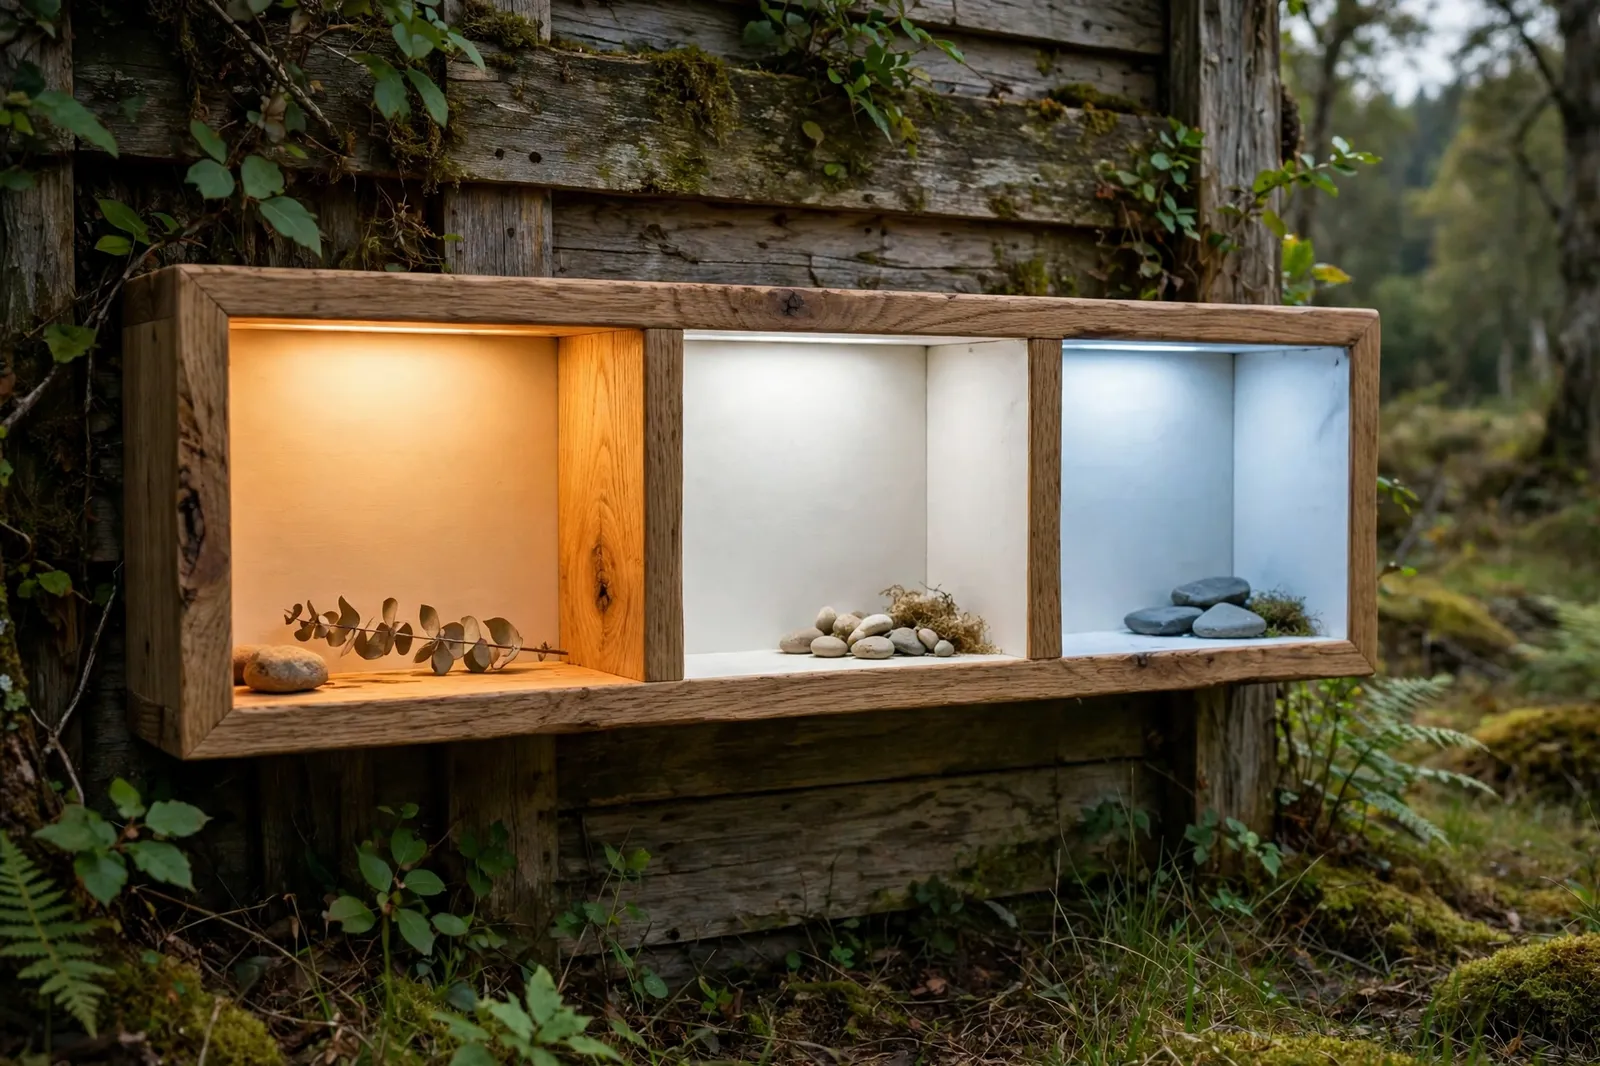
CRI is the number people skip, then regret skipping. It measures how truly colors appear under the light, on a scale up to 100. A CRI of 90 or higher keeps food, skin tones, wood, and artwork looking natural. However, for a hallway glow, a lower CRI may pass fine.
Where COB Strips Work Best
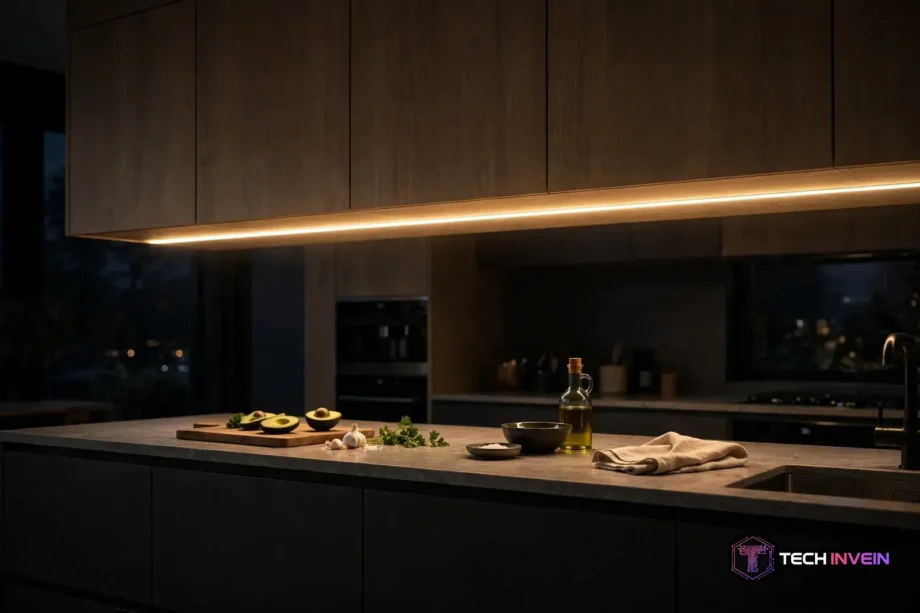
Under-cabinet lighting is the classic win. The strip sits close to the counter, the surface below is often glossy, and any dots would show up at once. A COB strip gives a clean wash of light across the whole counter, with no dotted reflection in a kettle or a glass. If you are planning this job, our guide to installing LED strips under kitchen cabinets walks through placement and wiring for that exact spot.
Shelves, wardrobes, and display cases are close behind. The light itself is often visible there, and a continuous line looks like a designed fitting, not dots taped to a shelf. Vanity mirrors benefit too.
Cove and ceiling details suit COB strips when the cove is shallow. A dotted strip there can throw a dotted pattern onto the ceiling, which ruins the soft glow you wanted. Just leave room for air flow, since heat builds up fast in a closed cove.
Some spots are a poor fit. Long outdoor runs need a proper waterproof rating and sturdy housing, so a basic indoor strip is the wrong buy there. And if you need light you can point or aim, use a spot or downlight instead of a strip.
Power, Length, and Voltage Drop
Every COB strip needs a low-voltage driver, also called a power supply, that matches its voltage. Mixing them up is a fast way to ruin a strip, so check the label on both parts before you connect anything.
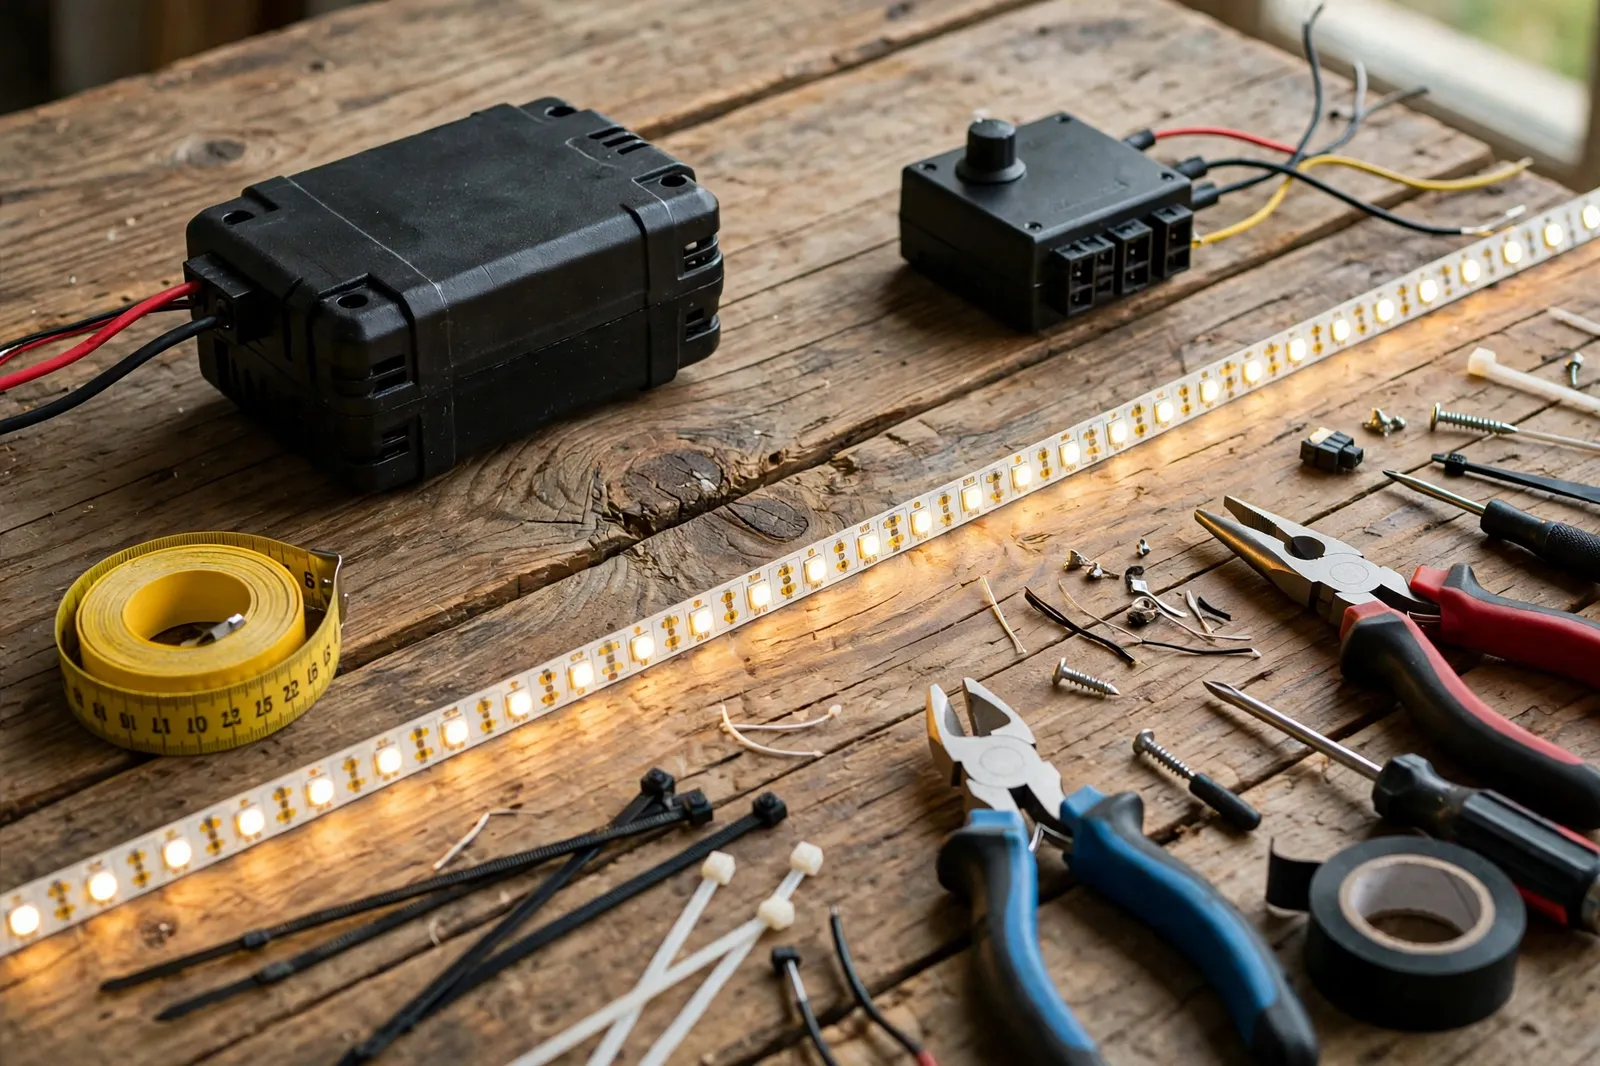
Size the driver with headroom. Add up the watts for your full run, then pick a driver rated about 20 percent higher. Here is a worked example you can copy: a 5 meter run at 14 watts per meter draws 70 watts in total, so you want a driver rated for at least 84 watts, and a 100 watt driver is a sensible pick. Running a driver flat out shortens its life and can cause flicker.
Long runs bring a second problem called voltage drop. The far end gets less voltage than the start, so it looks dimmer. A 24V strip handles longer runs better than a 12V strip. When a run still fades at the far end, feeding power from both ends or the middle fixes it. Our LED strip power injection calculation guide shows when that extra feed is needed.
Do not trust a kit driver blindly. Some cheap kits pair a strip with a driver that barely covers the reel. So check the driver wattage against your own math, and buy a bigger driver if the numbers don’t line up.
Installation Step by Step
Good installs start on the floor, not on the wall. Unroll the strip, connect the driver and controller, and test the full length before you peel any adhesive. This test catches dead sections, wrong colors, and flicker. So fixes are still easy at this stage.
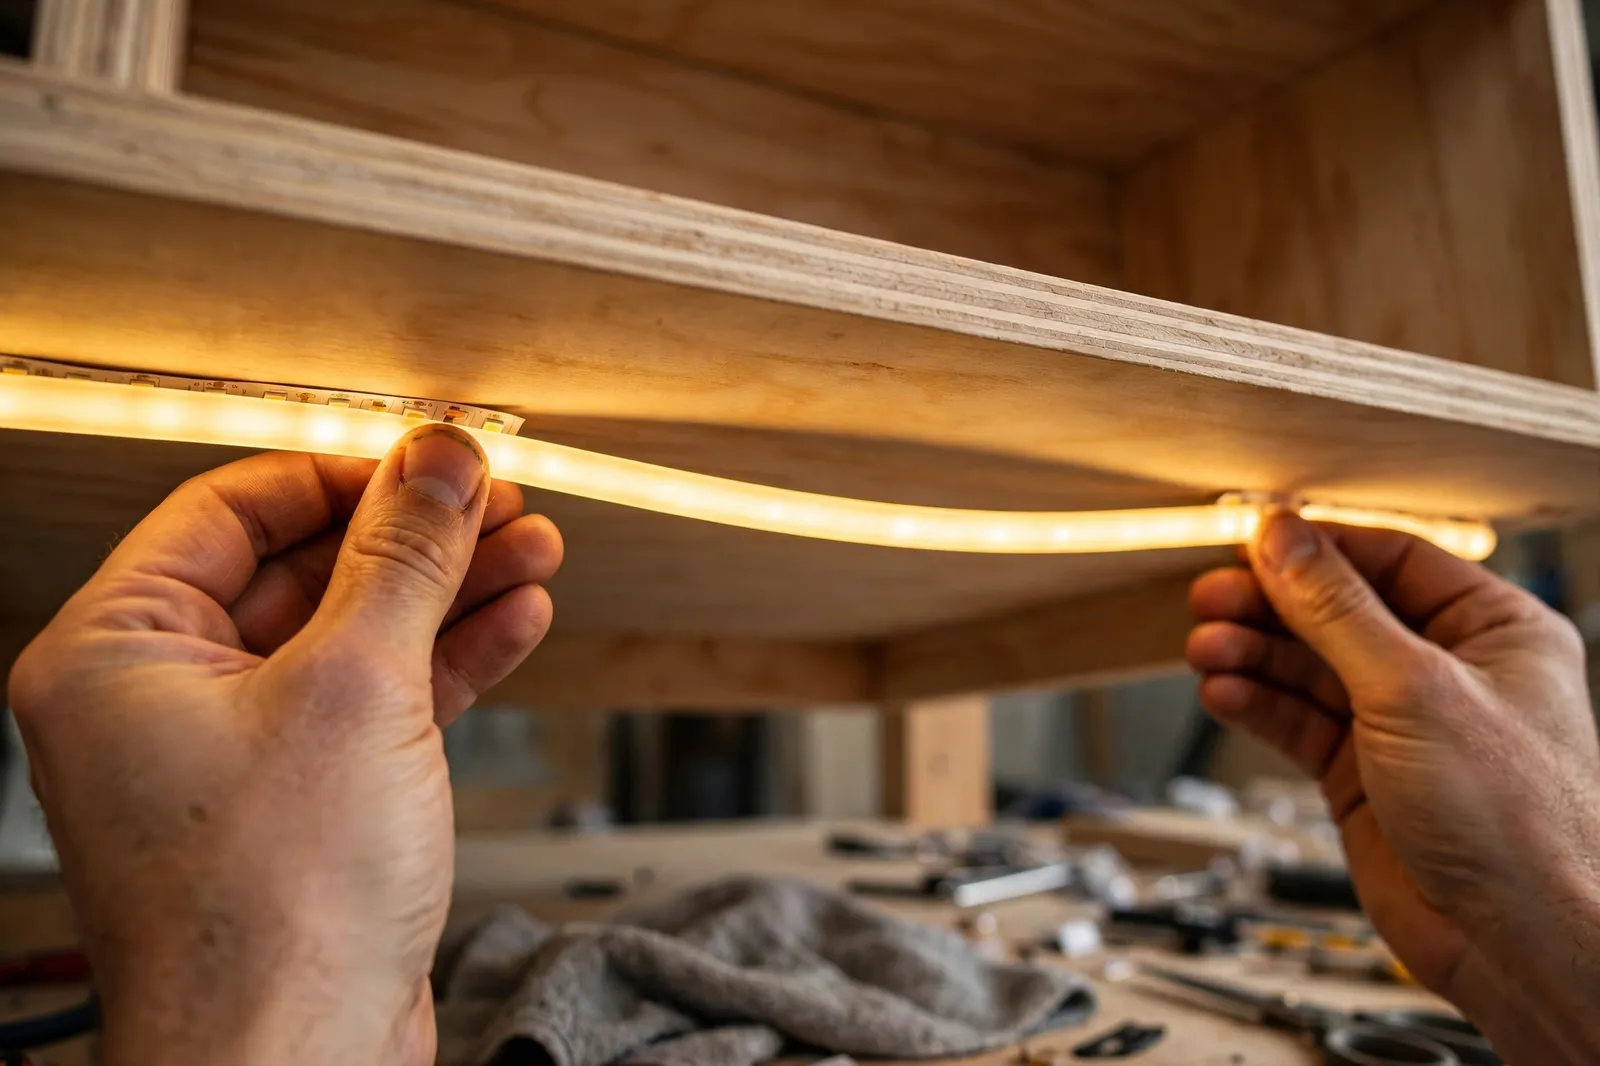
- Measure each run and mark cut points on the strip, cutting only on the marked lines.
- Clean the surface first. Dust and grease weaken tape fast.
- Test the strip on the floor with its driver and controller, checking brightness and color end to end.
- Stick the strip down in short sections, pressing firmly as you go, rather than peeling the whole backing at once.
- Connect power last, then dim the strip up slowly and check the far end for fading.
Corners need care too. A sharp fold can crack the board or the phosphor layer, so use a gentle curve or a proper corner connector, and leave a little slack at each turn.
Channels, Adhesive, and Heat
An aluminum channel does three jobs at once. It gives the strip a flat surface, it spreads heat away from the dense chip row, and it protects the strip from knocks and dust. Heat is the real story here, since warmth concentrates along one narrow band, and that extra cooling helps the strip last.
Pick a channel that fits your strip width, usually 8 or 10 mm, and check that the strip sits flat inside it. Our aluminum LED channel diffuser guide explains channel shapes and diffuser choices. Also, a diffuser softens light further, but with a COB strip it is optional.
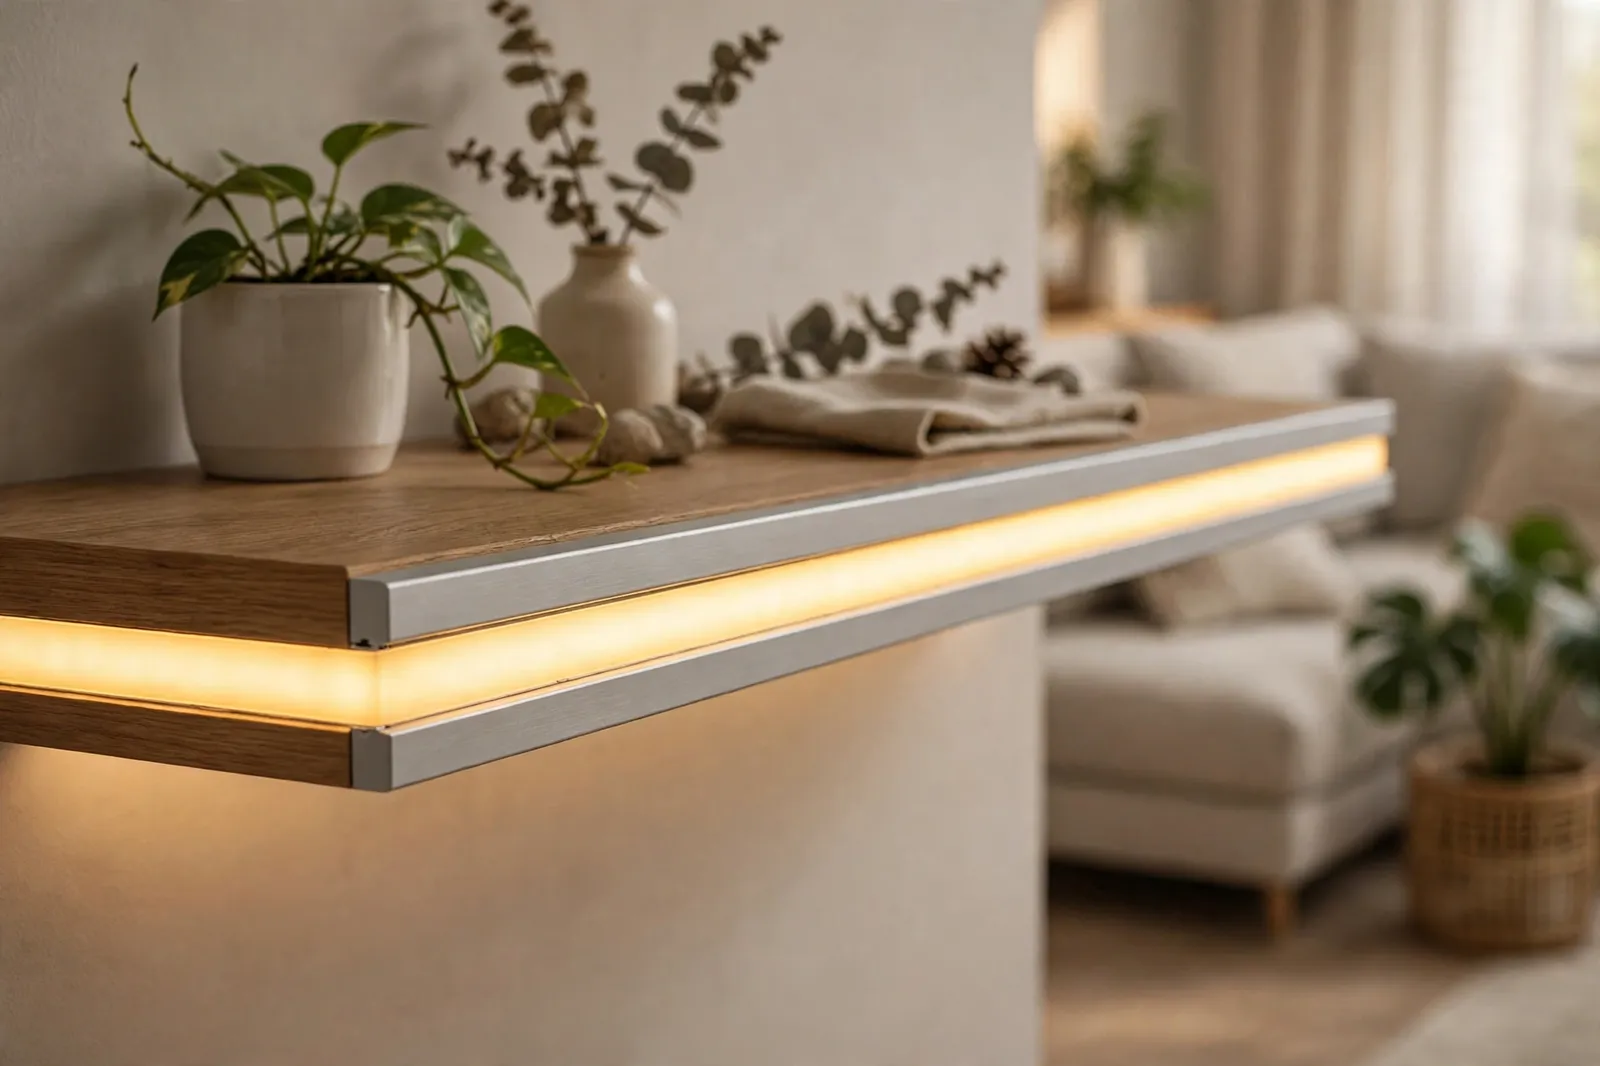
Also, measure the channel before you order, with a little extra for cuts and corners. A channel that stops short of the run end looks unfinished.
Adhesive deserves its own warning. Factory tape holds well on clean, smooth, cool surfaces, but it often fails on warm, rough, or dusty ones. If a strip starts to lift, fix it early with a channel or mounting clips. Our fix for LED strip adhesive peeling off the wall covers the causes and the fixes that hold.
Never trap a COB strip in a sealed box with no air flow. A sealed channel in a hot ceiling cavity will age the phosphor faster, so leave small air gaps and keep the strip away from ovens and radiators.
Smart Control and Dimming
Dimming changes how a strip feels at night. A bright kitchen strip at full power is great for cooking, but the same strip at 20 percent gives a calm evening glow. Check that the strip, driver, and dimmer all support dimming together.
Cheap dimmers can cause flicker or buzz. If you see flicker at low brightness, the dimmer or driver is usually the cause, not the strip itself. First, test dimming across the full range before you fix the strip in place.
Smart control adds scenes and schedules on top of dimming. A tunable white strip can shift warm in the evening and cool in the morning, if your controller and app support that shift. If you use Google Home, our guide to creating lighting scenes in the Google Home app shows how to group lights into voice-triggered scenes.
One practical tip saves grief later. Write down the strip model, voltage, and controller type in a note on your phone. A year later, that note turns a guessing game into a five-minute order, so the habit pays off.
Buying Checklist
Use this list as a final pass before you pay. It takes two minutes and catches most bad buys. If a listing fails more than one item, move on.
Table: Quick COB strip buying checklist
| Check | Pass mark | Red flag |
|---|---|---|
| Chip count | Stated per meter | No chip count listed at all |
| Lumens per meter | Real number given | Only watts quoted as brightness |
| CRI | 90 or higher for living spaces | CRI missing from the listing |
| Voltage and watts | Match your driver plan | Driver undersized for the run |
| Cut spacing | Fits your measured runs | Cuts would land mid-shelf |
| IP rating | Suits the room | Indoor strip sold for outdoor use |
Also check the return policy before you order. Color temperature looks different in your room than in a seller photo, so test one reel first, then order the rest once the color suits your room.
FAQs
What does COB mean in lighting?
COB stands for chip on board. It means bare LED chips are bonded directly onto the strip circuit board and covered with one phosphor layer. That layout removes the separate package around each LED, so the strip glows as one continuous line instead of a row of dots.
Do COB strips need a diffuser?
No, a diffuser isn’t required to hide dots, since a COB strip already glows as one line. A diffuser still helps in some setups by softening glare and protecting the strip from dust and knocks. An aluminum channel with a diffuser also spreads heat, which helps the strip last longer.
Can you cut a COB strip to size?
Yes, you can cut a COB strip, but only on the marked cut lines printed along the strip. Cut spacing often falls between 25 and 100 mm depending on voltage and design. Cutting between marks can kill that section, so measure your run first and plan cuts before you start.
Which voltage should you pick for a long run?
Pick 24V for longer runs, since it suffers less voltage drop than 12V over the same distance. The far end of a long 12V run can look dimmer than the start. For very long runs, feed power from both ends or the middle to keep brightness even along the whole strip.
Are COB strips good under kitchen cabinets?
Yes, under-cabinet use is one of the best jobs for a COB strip. The strip sits close to a glossy counter, where dotted light would reflect badly. A COB strip gives an even wash of light for cooking tasks, and a high CRI version keeps food colors looking natural.
Why does my COB strip feel warm?
Some warmth is normal, since dense chips concentrate heat along a narrow band. Mounting the strip in an aluminum channel spreads that heat and keeps temperatures lower. If the strip feels hot to touch or dims over time, check air flow and driver size before running it further.
Final Thoughts
A COB strip earns its place when the light itself is on show. It gives a clean, even line in spots where dotted strips look unfinished, from kitchen counters to display shelves. In short, buy on the spec sheet, not the label: check lumens, CRI, voltage, and cut spacing, size the driver with headroom, and test the strip before you stick it down. Do those steps, then order one reel, test it in the real room, and only then buy the rest.