

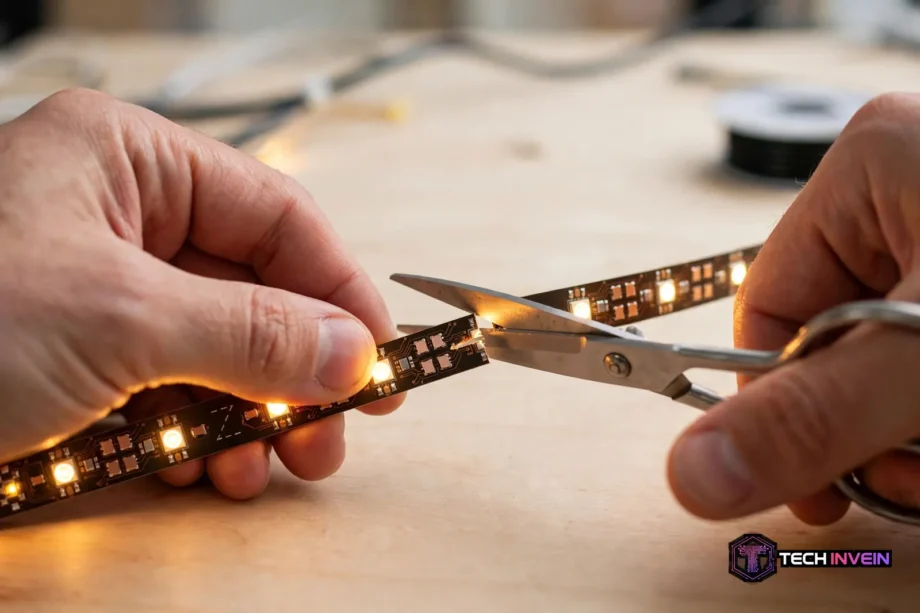
Yes, you can cut LED strip lights, but only at the marked cut points printed on the strip itself. Cut anywhere else and you risk killing a whole section. Get the cut right, and both pieces stay usable for your home.
- Can You Cut LED Strip Lights Without Breaking Them?
- How LED Strips Are Built for Cutting
- Before You Cut: Five Checks That Save a Strip
- Check the strip is cuttable at all
- Confirm the voltage and strip type
- Disconnect the power
- Measure to the nearest mark below your target
- Plan what happens to the offcut
- How to Cut LED Strips Step by Step
- Reconnecting a Cut Strip: Clips or Solder
- Smart and Addressable Strips Need Extra Care
- Waterproof Strips: Cutting Breaks the Seal
- What Goes Wrong After a Cut
- Where Cut Pieces Work Best
- FAQs
- Can I trim a strip to any length I want?
- Will both pieces still work after I cut them?
- Do I need to solder, or will clips do the job?
- What happens if I cut in the wrong place?
- Can waterproof strips be cut for outdoor use?
- Does cutting a strip void its warranty?
- Final Thoughts
Can You Cut LED Strip Lights Without Breaking Them?
Most standard LED strips are built to be trimmed. A reel that arrives too long for your shelf, desk, or TV stand is not a problem you have to live with. You just need to find the right spot to cut, and that spot is printed on the strip itself.
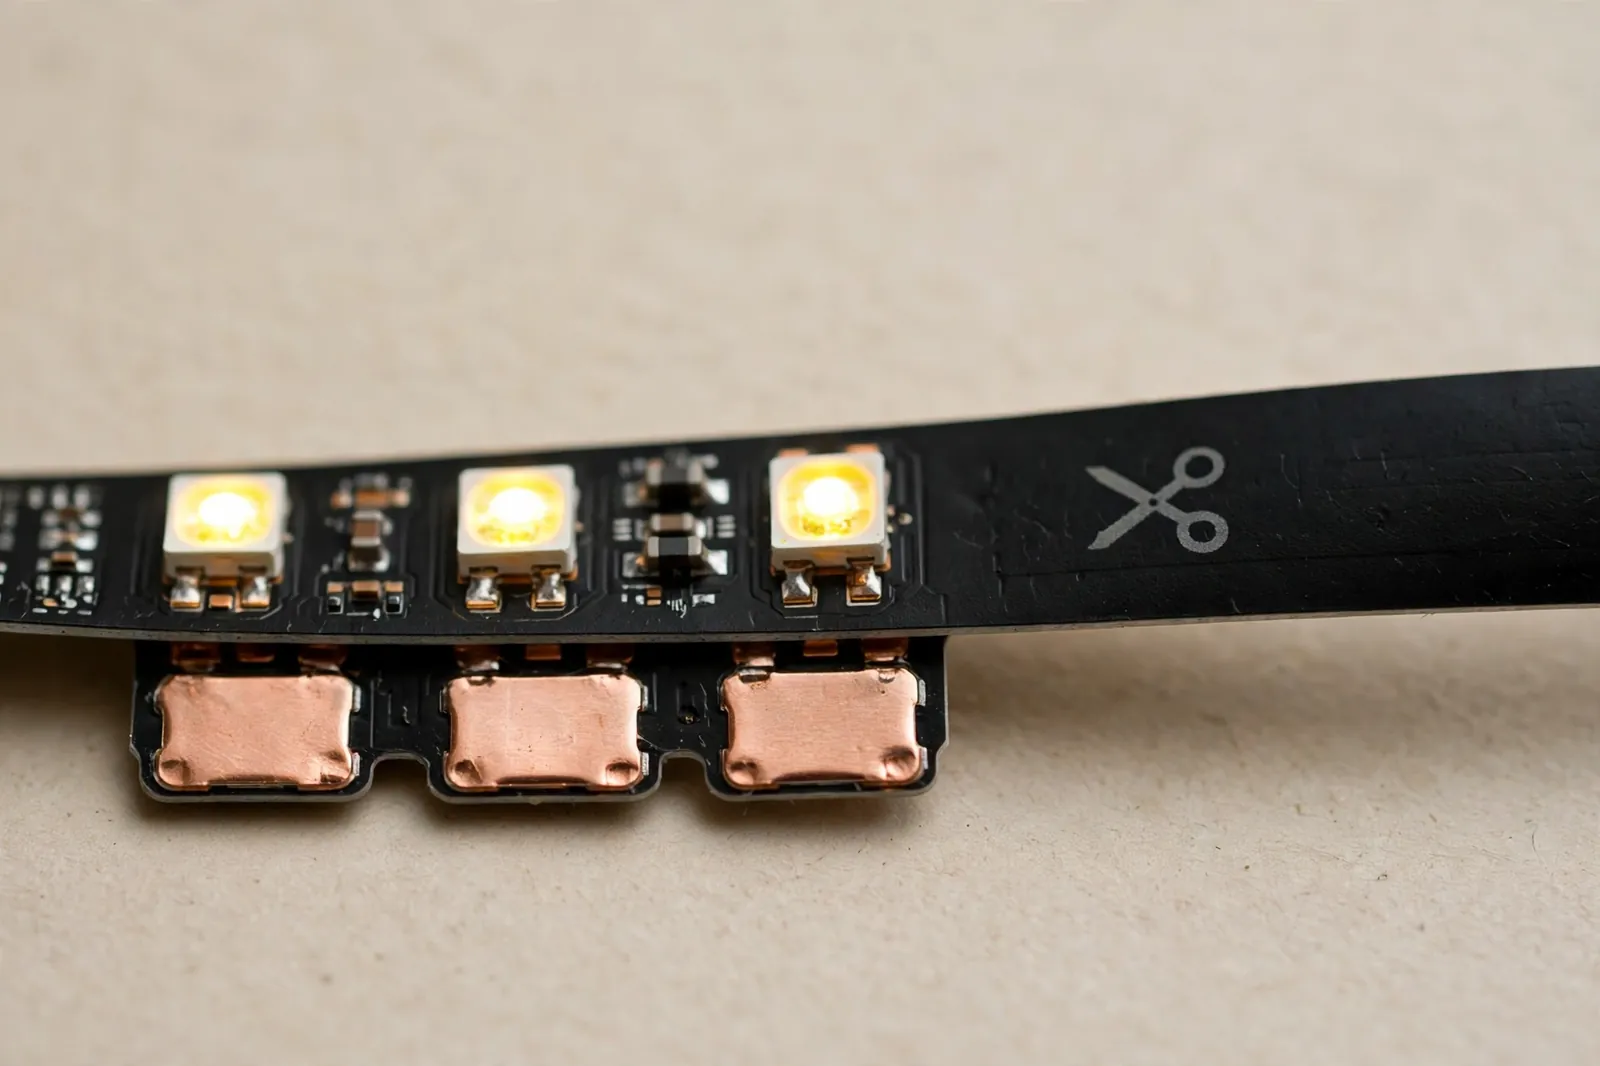
First, look for a small scissor icon, a printed line across the strip, or a pair of copper pads. Those marks show where one circuit section ends and the next begins. Then cut through the middle of that marked area and each side keeps a complete circuit. That’s the whole trick, and it’s also the rule most people break.
One warning up front: cutting usually voids the warranty. Test the full reel before you cut anything. Plug it in and check every section lights up. If a section is dead on arrival, you want to find out while you can still return it, not after you have trimmed it.
How LED Strips Are Built for Cutting
An LED strip is not one long circuit. It is a chain of short sections wired side by side. Each section holds a few LEDs and a resistor, and can run on its own once it has power. The cut marks sit between those sections.
That design is why a clean cut works so well. You are not breaking a circuit in the middle. You are separating two finished circuits at a planned joint. Both pieces can then be powered, as long as each one gets the right voltage and the right polarity.
In fact, the spacing between cut marks depends on the strip. A common 12V strip has a cut mark every three LEDs, while many 24V strips place marks every six LEDs. Some smart strips space marks differently again. Never guess the interval from another strip you own. Read the marks on the strip in front of you.
Before You Cut: Five Checks That Save a Strip
Rushing to the scissors is how strips get ruined. So run through these checks first, and the cut itself becomes the easy part.
Check the strip is cuttable at all
Most flexible strips are cuttable, but not every lighting product is. Neon flex tubes, sealed light bars, and some smart strips have their own rules. If you can’t find cut marks and the manual says nothing about cutting, don’t assume it’s safe. Check the manual or the maker page first.
Confirm the voltage and strip type
Next, read the label on the reel or the power supply. Single color strips usually have two pads, marked plus and minus. RGB strips have four pads, one for power plus red, green, and blue channels. RGBW and tunable white strips add more channels. The connector you buy later must match this layout exactly, so note it down now.
Disconnect the power
Unplug the strip from its power supply before you cut. LED strips run on low voltage, so the shock risk from the strip itself is small, but a live cut can short the pads and damage the strip or the driver. The power supply itself connects to mains power, and that part deserves respect. Unplug it, then cut.
Measure to the nearest mark below your target
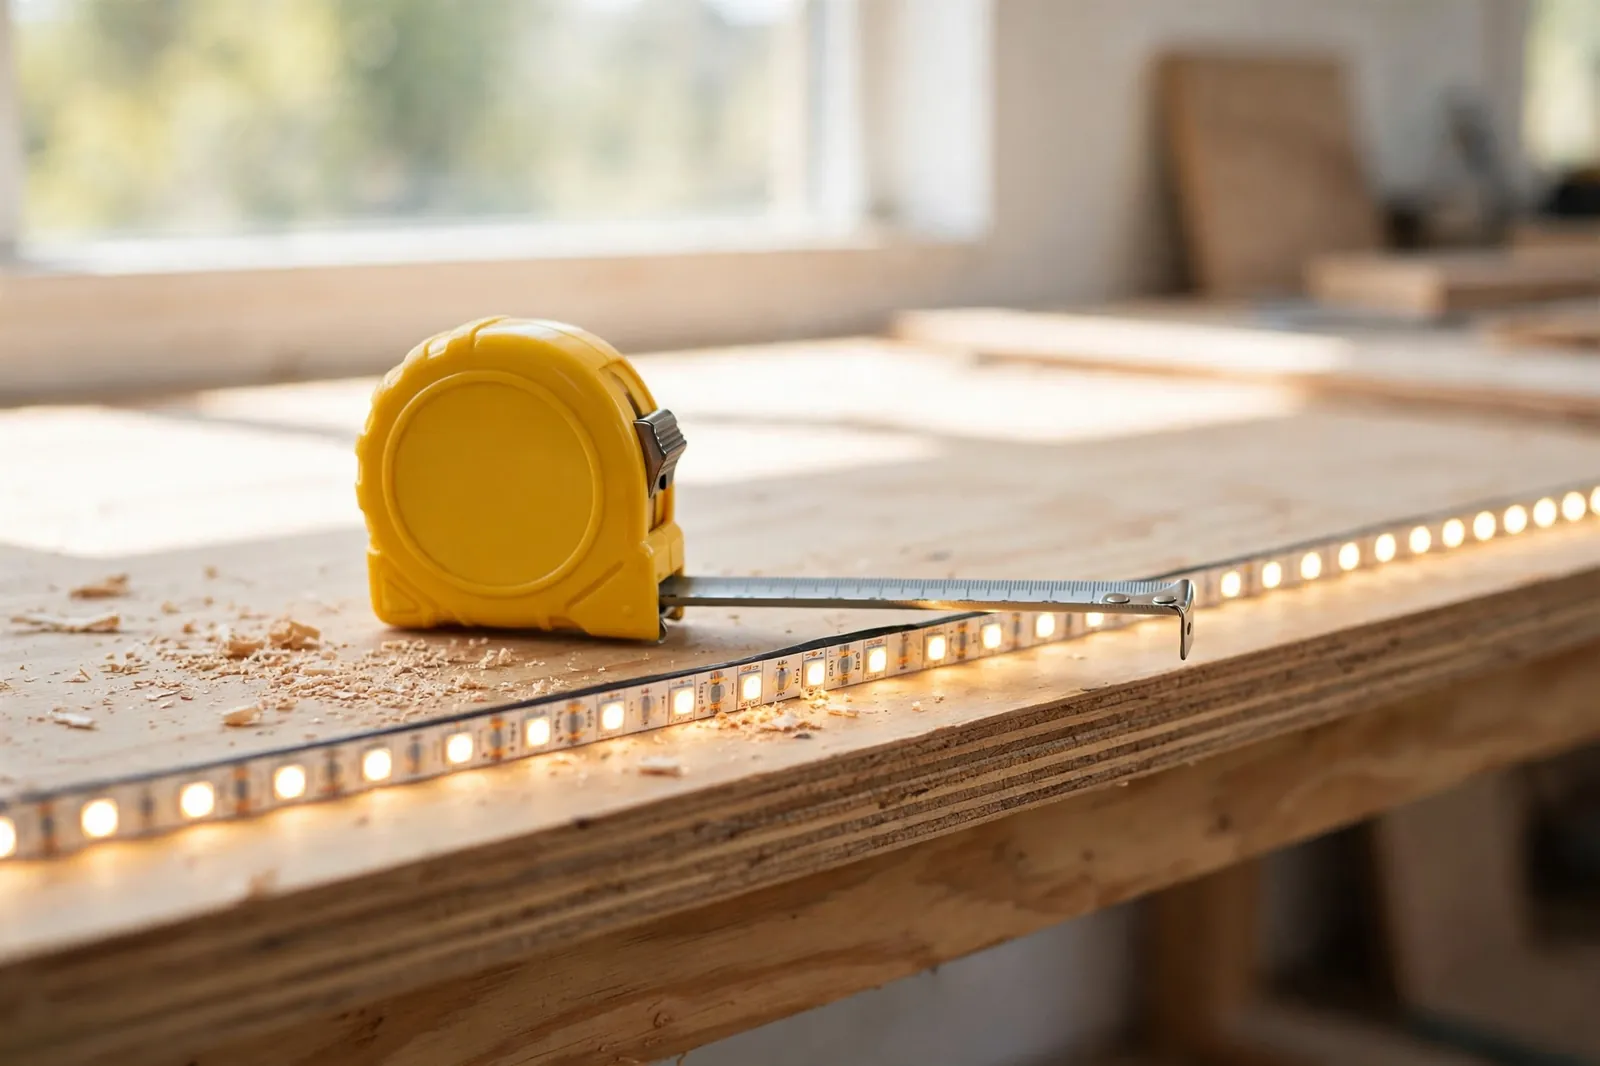
Then measure the space, and pick the cut mark at or just below that length. Going a little short leaves a small gap you can usually hide behind a corner or a clip. Going past your target is worse, because you cannot stretch a cut strip back. Here is a simple example: a shelf measures 142 cm and the marks sit every 10 cm, so you cut at 140 cm and hide the 2 cm gap at the end where nobody looks.
Plan what happens to the offcut
So decide before you cut whether the leftover piece will be used, stored, or thrown away. A piece with no connector cannot be powered until you add one. If you plan to reuse it, keep it clean and dry, and do not peel the adhesive backing until you are ready to stick it down.
How to Cut LED Strips Step by Step
Still, you don’t need fancy tools for this job. Sharp scissors, a tape measure, and a marker will cover most indoor strips. Add a craft knife and some silicone sealant if your strip is waterproof.
- Unplug the power supply and lay the strip flat on a table, lights facing up.
- Measure the run and mark the nearest cut line at or below your target length.
- Check the mark twice. Make sure it is a real cut line, with copper pads on both sides, not just a printed pattern.
- Cut straight across the middle of the marked area with sharp scissors, in one smooth motion.
- Inspect both cut ends. The copper pads should look clean and whole, not torn or crushed.
- Finally, test each piece with power before you mount it. A quick test now beats peeling a mounted strip off later.
Dull scissors crush the strip instead of slicing it, and a crushed pad may not grip a connector later. If your scissors drag or fold the strip, stop and find a sharper pair. A craft knife on a cutting board works too, but cut away from your body.
After the cut, the piece with the factory plug works as before. The new piece will not, because its cut end has bare pads and no plug. That’s normal. You just need a connector or a soldered lead.
Reconnecting a Cut Strip: Clips or Solder
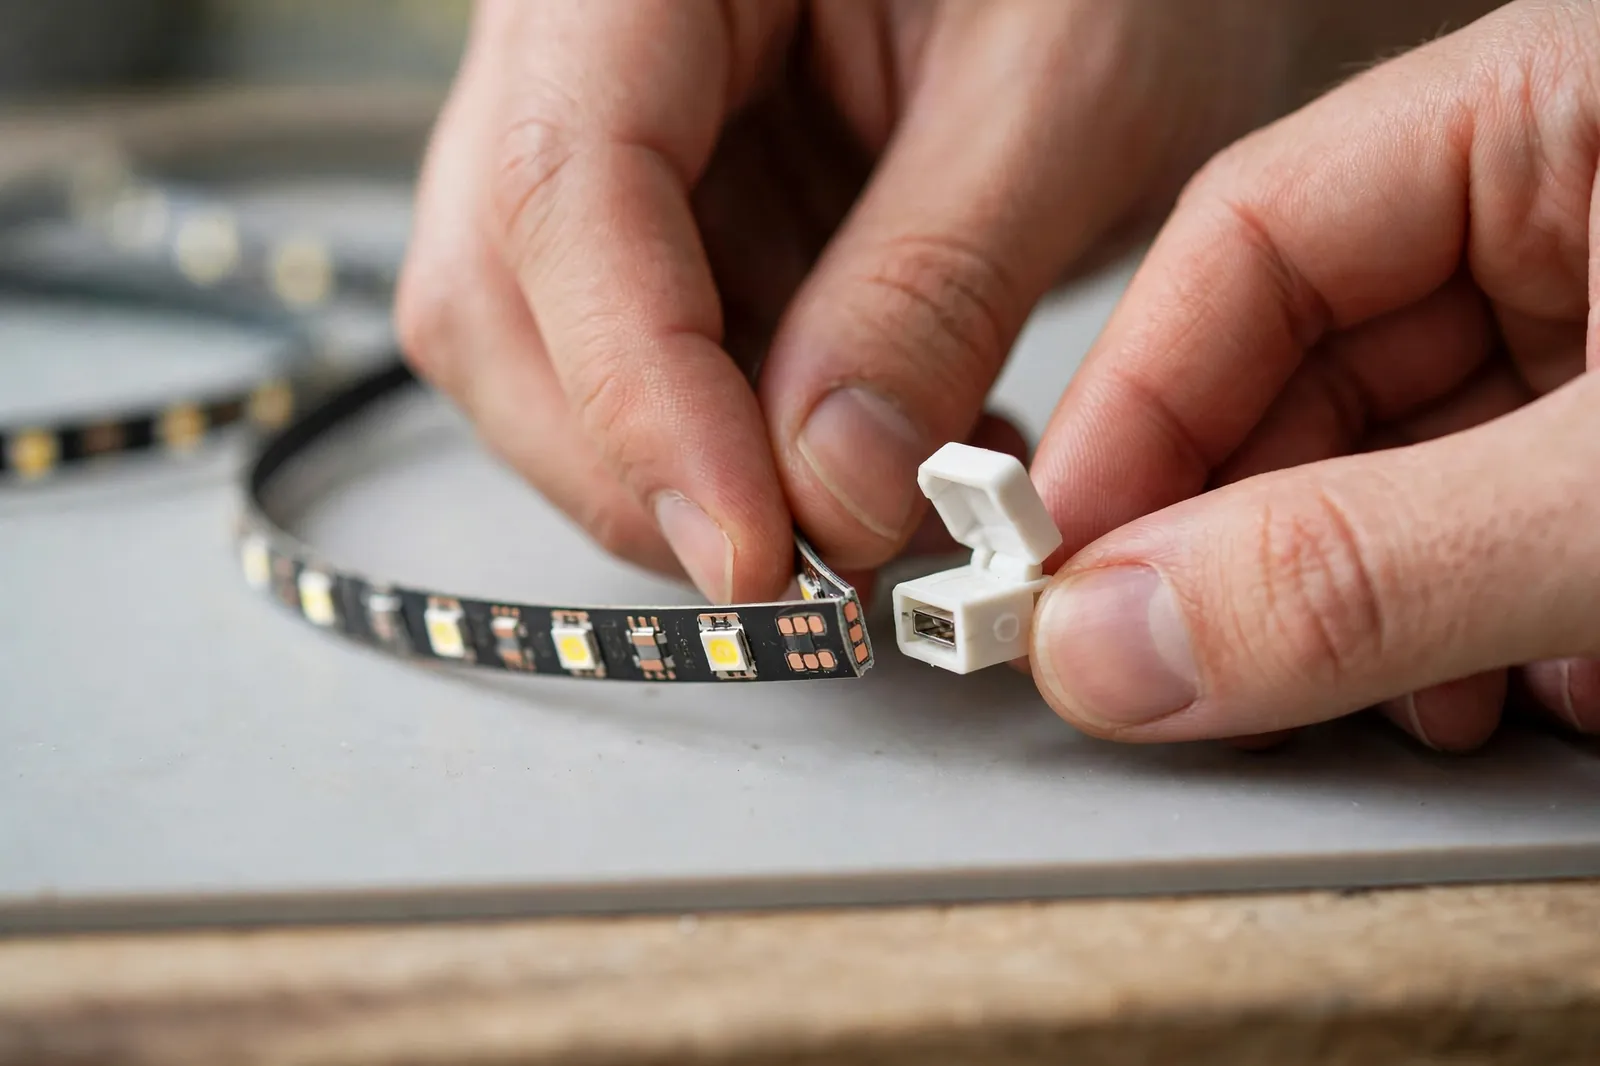
You have two practical ways to reconnect a cut strip. Clip-on connectors need no tools and suit most renters and first timers. Soldering takes more skill but gives a stronger, slimmer joint that holds up better in tight channels and warm spots.
With a clip connector, slide the cut end in so the copper pads sit under the metal pins, then snap the clip shut. Test it before mounting. If only some colors light up on an RGB strip, the strip is usually not pushed in far enough. Open the clip, push it in further, and try again.
Soldering instead means tinning the pads with a small amount of solder, then joining matching wires to matching pads. Keep the joints small and clean. A solder blob bridging two pads will short the strip. That’s a common soldering fault. Let the joint cool before you bend or mount the strip.
Table: Clip connectors vs soldering after a cut
| Method | Tools needed | Best for | Watch out for |
|---|---|---|---|
| Clip-on connector | None | Quick indoor jobs | Loose fit, wrong pin count |
| Soldering | Soldering iron, solder | Permanent, hidden runs | Solder bridges, heat damage |
Whichever method you pick, polarity decides whether the strip lights at all. Plus must meet plus, and minus must meet minus. On RGB strips, each color channel must meet its match too. A swapped pair is easy to miss. The strip may glow in the wrong color rather than staying dark, and that wrong color is your clue.
Here is the specific mistake worth memorizing: reversing the red and green pads on an RGB strip won’t blow anything up, but your app will show red while the strip glows green. People often blame the app or controller. Check the pads first. It takes ten seconds and fixes the problem most of the time.
Smart and Addressable Strips Need Extra Care
Smart strips and addressable strips follow the same cut mark rule, but they add a data line that must stay in the right order. On an addressable strip, data flows in one direction, and the cut piece has a data-in end and a data-out end. Wire the controller to the data-in end, or the LEDs will not respond.
Also, some smart strips have rules about minimum segment lengths or how the controller counts segments. If a cut piece behaves oddly, check the maker instructions for that model first. Generic advice doesn’t cover every smart model.
If you run addressable strips from a custom controller, our guide to setting up WLED on an ESP32 for LED strips walks through wiring and control after the hardware side is sorted.
Once your strips are cut and working, the fun part starts. You can build scenes that match the time of day or the room you are in, and group cut strips into scenes you can trigger with one tap.
Waterproof Strips: Cutting Breaks the Seal
Waterproof strips carry a silicone coating or a sleeve, and that coating is what earns the IP rating. The moment you cut through it, the cut end is open. For a dry indoor shelf, that may not matter much. For a kitchen, bathroom, or outdoor run, it matters a lot.
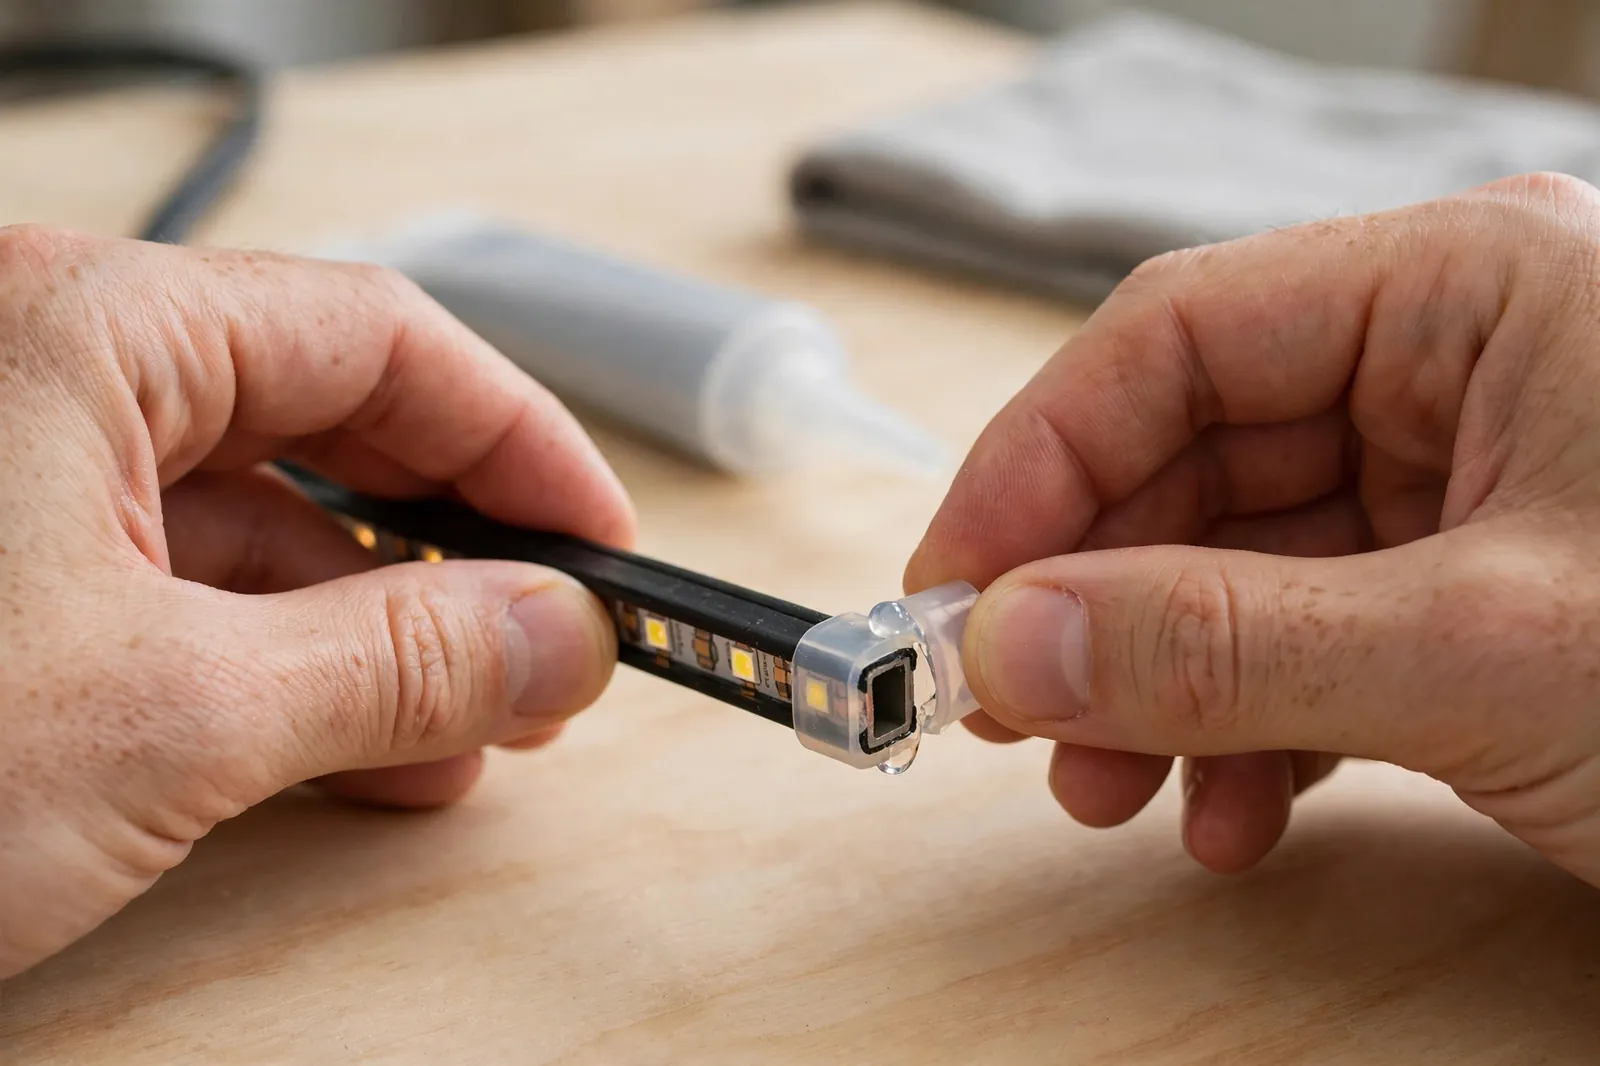
After cutting a waterproof strip, first peel back just enough coating to expose the copper pads, make your connection, then reseal the end. Aqara’s own cutting guide gives the same advice for its LED strip: reseal open ends so moisture cannot get in. Silicone sealant and a matching end cap work well, and heat shrink tubing adds a neater finish. Do not skip this step and hope for the best. Moisture creeping into an open end causes corrosion, and corrosion causes flicker and dead sections weeks later, long after you have forgotten the cut.
Also check the connector. A standard indoor clip won’t protect a cut end outdoors, even if the strip itself is waterproof. Use one rated for the same conditions, or seal the joint inside heat shrink and sealant.
What Goes Wrong After a Cut
In fact, most post-cut problems trace back to a small list of causes. Work through them in order instead of replacing the whole strip.
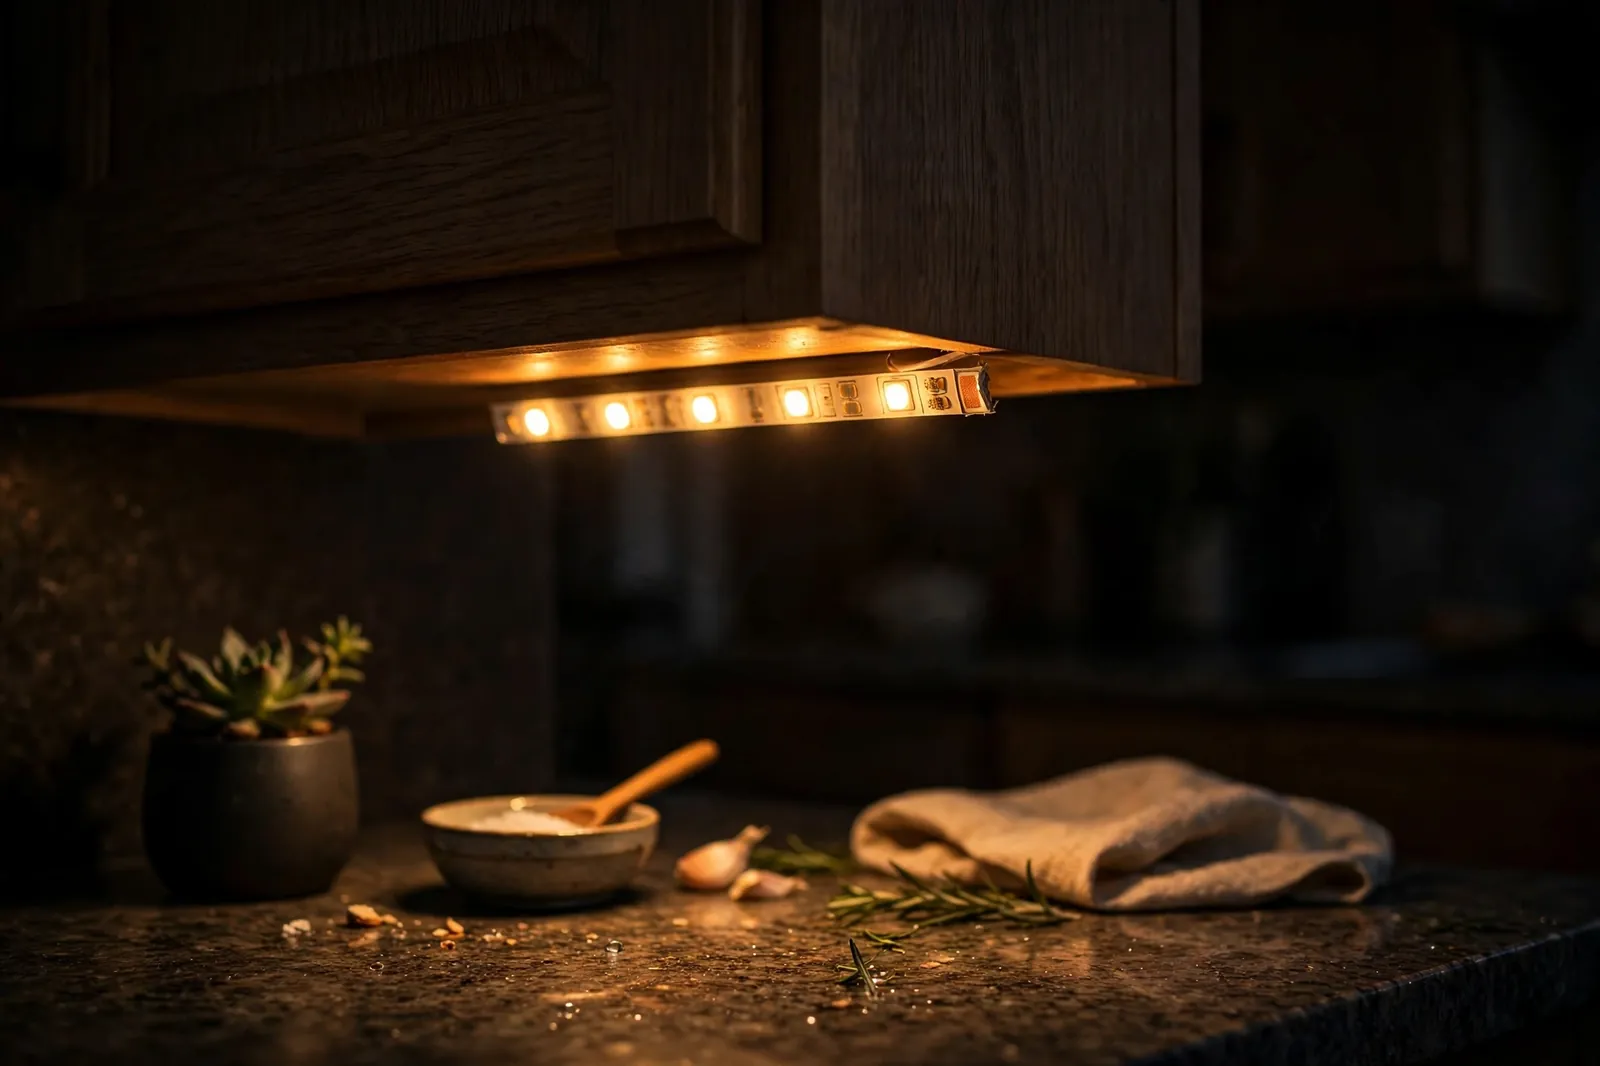
Table: Common problems after cutting LED strips
| Symptom | Likely cause | Fix |
|---|---|---|
| Whole piece stays dark | Reversed polarity or dead power connection | Swap plus and minus, reseat the connector |
| Only one section stays dark | Cut made outside the marked line | Trim back to the nearest cut mark |
| Colors look wrong on RGB | Color channels swapped | Match each channel pad to its pin |
| Strip flickers | Loose connector or weak contact | Reseat, replace the clip, or solder the joint |
| End of a long run looks dim | Voltage drop along the strip | Feed power from both ends or inject power |
If the strip flickers only when you dim it, the cause may sit outside the cut itself. Dimmer and switch problems can look just like a bad joint, so our guide to fixing LED lights that flicker when dimmed helps you tell the two apart before you redo a joint that was fine.
Still, a cut made outside the marked line is the one fault you cannot always fix. Trimming back to the nearest good mark saves the rest of the strip, but the damaged segment between the bad cut and the next mark is usually lost. That’s why the measure twice rule matters more than any tool in this job.
Voltage drop can sneak up on long runs. The far end can look dimmer than the start, even when every cut was perfect. If you plan a long run from cut pieces, read our LED strip power injection calculation guide before mounting anything.
Where Cut Pieces Work Best
In short, offcuts are too useful to bin. Short pieces fit under kitchen cabinets, behind a monitor, inside a wardrobe, or along a bookshelf. Measure the offcut, add a connector, and you have a second light for a small space that never needed a full reel.
Bedroom offcuts are a good example. A short strip behind a headboard gives soft evening light without lighting the whole room. If you want that light to shift with the time of day, our circadian lighting setup in Home Assistant shows how to automate color temperature through the day.
FAQs
Can I trim a strip to any length I want?
No, you can only cut at the marked points, so your finished length will land on the nearest mark below your target. Measure the space first, then choose that mark. A small gap at the end is easy to hide, but a strip cut past its mark may lose a whole section.
Will both pieces still work after I cut them?
Yes, if you cut on a marked line, both pieces keep complete circuits and both can work. The piece with the factory plug works as before. The other piece needs a new connector or soldered lead before it can take power, since its cut end has bare pads only.
Do I need to solder, or will clips do the job?
Clips do the job for most indoor runs and they need no tools, which makes them ideal for a first attempt. Soldering gives a stronger, slimmer joint for hidden channels, warm spots, or places where a clip might work loose. Test either joint before you mount the strip.
What happens if I cut in the wrong place?
The section between the bad cut and the next good mark usually stops working, because its circuit is broken. You can often save the rest of the strip by trimming back to the nearest marked line. The damaged segment itself is rarely worth repairing, so measure carefully before each cut.
Can waterproof strips be cut for outdoor use?
Yes, many waterproof strips can be cut, but you must reseal the cut end to keep moisture out. Use silicone sealant with an end cap, or heat shrink tubing, and use a connector rated for outdoor conditions. An unsealed cut end will corrode over time and cause flicker or dead sections.
Does cutting a strip void its warranty?
In most cases, yes, cutting or soldering a strip counts as modification and the maker may refuse a later claim. That is why testing the full reel before you cut matters so much. If a section arrives dead, raise it with the seller first, while the strip is still untouched.
Final Thoughts
Cutting LED strips is a simple job once you respect one rule: cut only where the strip tells you to. Find the marks, measure to the nearest one below your target, cut with sharp scissors, and test before you mount. Do that, and a reel that was too long becomes a perfect fit, plus a useful offcut for another spot.
Your next step is easy. Pick the strip you want to trim, test the full reel, and mark your cut line with the power unplugged. If you need help with power for a longer run, with smart control after the cut, or with creating lighting scenes in the Google Home app, the guides linked above cover all three.