
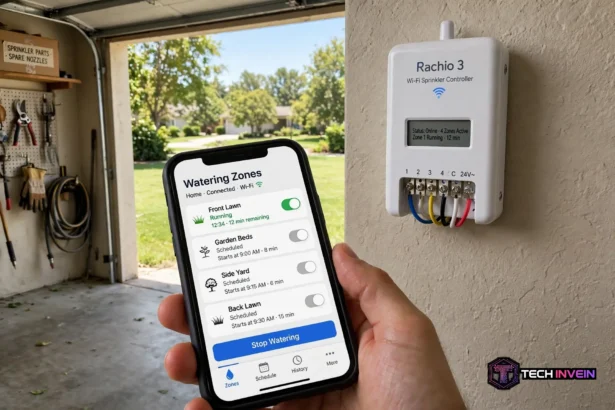

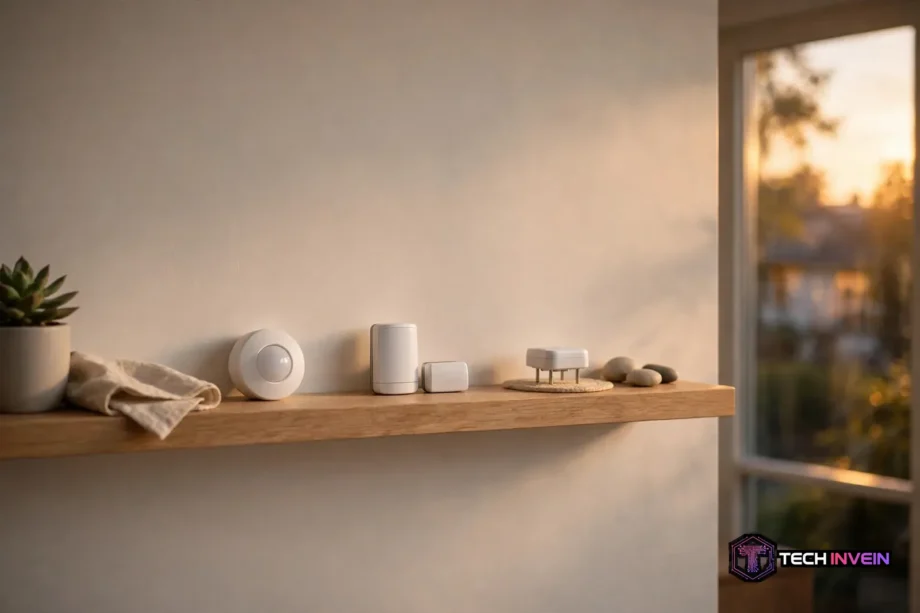
Smart home sensors are devices that notice changes at home and tell your smart home system about them. One can spot movement, an open door, a water leak, or a rise in temperature, and your lights, heating, or phone alert can react on their own. You don’t need dozens: a few placed sensors beat a box fitted at random.
- What a Sensor Actually Does
- The Main Sensor Types at a Glance
- Motion Sensors
- Presence Sensors
- Contact Sensors for Doors and Windows
- Leak Sensors
- Temperature and Humidity Sensors
- Light, Smoke, and Carbon Monoxide Sensors
- How to Choose Smart Home Sensors
- Placement Rules That Prevent False Alerts
- A Sensible Starter Plan, Room by Room
- FAQs
- How many sensors does an average home need?
- Do I need a hub for wireless sensors?
- What is the difference between motion and presence detection?
- Where should I put a leak sensor?
- Can one sensor work with Alexa, Google, and Apple at once?
- Why does my motion sensor keep giving false alerts?
- Final Thoughts
What a Sensor Actually Does
Think of a sensor as your home’s sense of touch and sight. It watches one thing, all the time. Then it reports a simple change: open or closed, wet or dry, warm or cool, someone here, or no one here. That simple report makes automation possible. Your hub can act on it without you lifting a finger.
Most sensors are wireless and battery powered, so you can stick one to a door frame or tuck one under a sink in minutes. The sensor talks to your hub over Zigbee, Z-Wave, Wi-Fi, Thread, or Bluetooth. Next, your hub runs the rule you set: it might turn on a light, or send a phone alert. If the sensor can’t reach your hub well, the automation will feel flaky.
The Main Sensor Types at a Glance
Before you buy anything, look at the whole landscape in one place. Each sensor type answers a different question about your home. Most homes need a mix, not a pile of one kind. So use the table below to match your question with the sensor that answers it.
Table: Sensor types, what they detect, and where they work best
| Sensor type | What it detects | Best spot | Typical use |
|---|---|---|---|
| Motion (PIR) | Movement across its view | Hallways, entries, stairs | Lights on, security alerts |
| Presence (mmWave) | Someone still in the room | Living room, office, bathroom | Lights that stay on |
| Contact | Door or window open or closed | Doors, windows, gates | Security, reminders |
| Leak | Water on the floor | Under sinks, near washers | Early leak alerts |
| Temperature and humidity | Room climate readings | Bedroom, bathroom, basement | Heating, fans, dehumidifier |
| Light | Brightness in lux | Near windows, outdoors | Daylight-based lighting |
| Smoke and carbon monoxide | Fire and dangerous gas | Hallways, near bedrooms | Safety alerts anywhere |
Motion Sensors
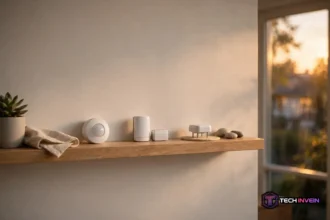
Most motion sensors use passive infrared, or PIR. They pick up changes in heat as a person moves across their view. In other words, they watch for a warm body crossing their field. They are also cheap and sip battery power. They work well for switching lights on in a hallway. But they have one blind spot you should know about. A PIR sensor notices movement, not stillness. Sit quietly reading for twenty minutes, and it may decide the room is empty.
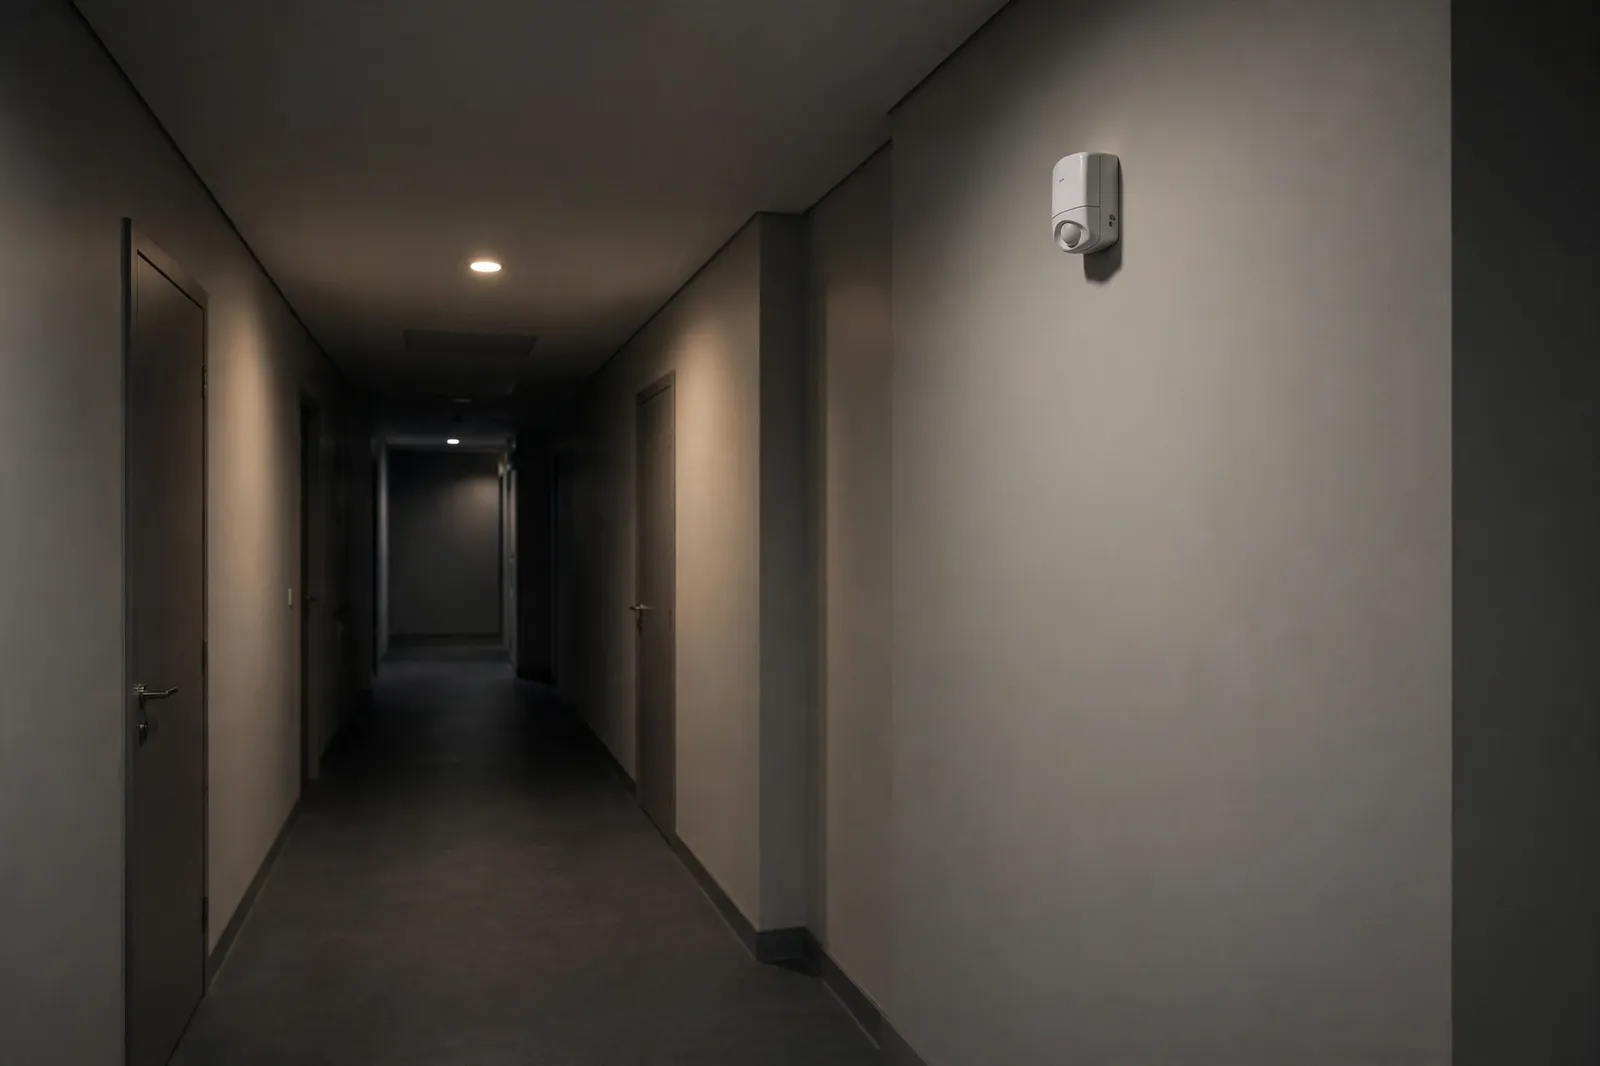
That’s why motion sensors suit busy, pass-through spaces like hallways, entries, and garages. In a living room or office, motion-only control often switches lights off mid-task.
If you want lighting that follows you, start by picking the right unit. This roundup of the best motion sensor for smart lighting on Zigbee is a good place to start. Pay attention to the detection angle. Then check the timeout setting. Those two details decide whether the light feels instant or annoying.
Presence Sensors
Presence sensors answer a better question than motion sensors. Is someone actually in this room right now? Specifically, they track stillness as well as movement. The most common kind uses mmWave radar. It can pick up tiny movements, like breathing or a hand shifting on a keyboard. As a result, the lights stay on while you work, read, or watch a film, even if you barely move.
They cost more than PIR sensors. They also need a bit more care in setup. Radar can see through thin walls in some cases. So a badly aimed presence sensor may report the next room as occupied. Mount it where its view covers the seating area, not the hallway beyond. Then test it for a day before you trust its readings.

Presence sensing shines in rooms where people linger. A desk, a sofa, and a bathroom are all spots where motion-only control frustrates people. For routines built around this, read this guide to presence detection lighting in Home Assistant.
Contact Sensors for Doors and Windows
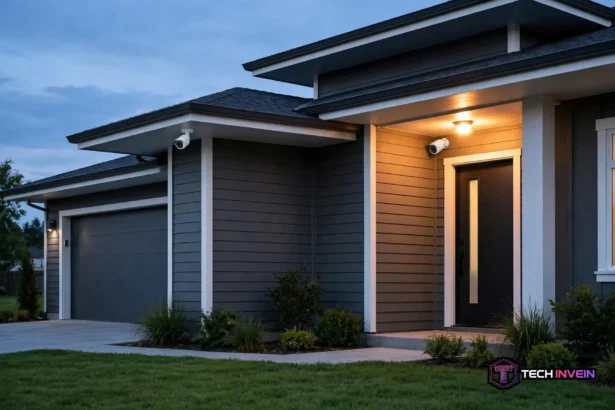
A contact sensor has two parts: a small sensor body and a magnet. When the door or window opens, the magnet moves away. As a result, the sensor reports “open” at once. It’s the simplest sensor you can buy. It’s also one of the most useful. An open-or-closed signal can drive security alerts, heating rules, and simple reminders. For example, it can warn you when a door stays open.
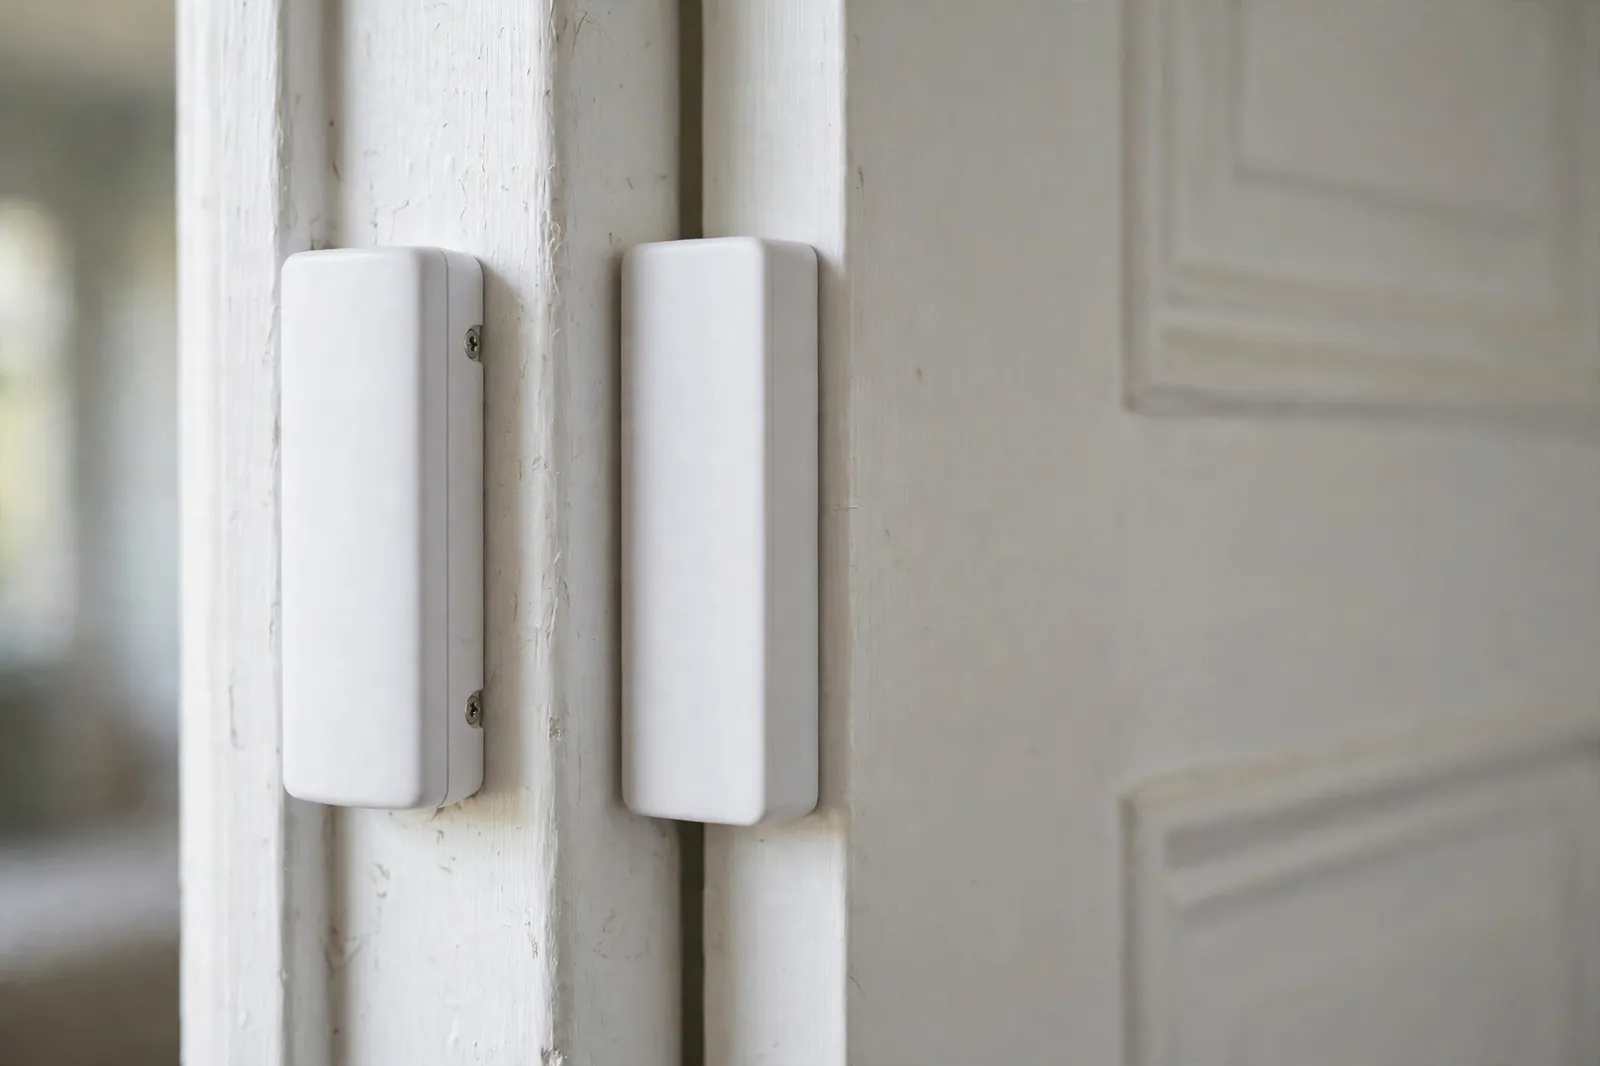
Put them on the doors you actually use and worry about. That means the front, back, and side doors. It also means the door from the garage into the house. In addition, ground-floor windows hidden from the street matter too. First cover the easy entry points, then add more later.
One honest limit: a contact sensor tells you the door is closed, not that it is locked. A closed but unlocked door reads exactly the same as a locked one. So if lock status matters to you, pair the contact sensor with a smart lock that reports its own state. For the basics of how these units fit and work, see this explainer on the door and window sensor and where it belongs in a home setup.
Leak Sensors
A leak sensor sits on the floor and waits for water to touch its probes. That sounds boring until you think about a slow leak under a washing machine. In fact, a weekend leak can ruin a cabinet floor. A small sensor under a sink can be the difference between a mop-up and a repair bill. That’s why they top my list for laundry rooms and kitchens.
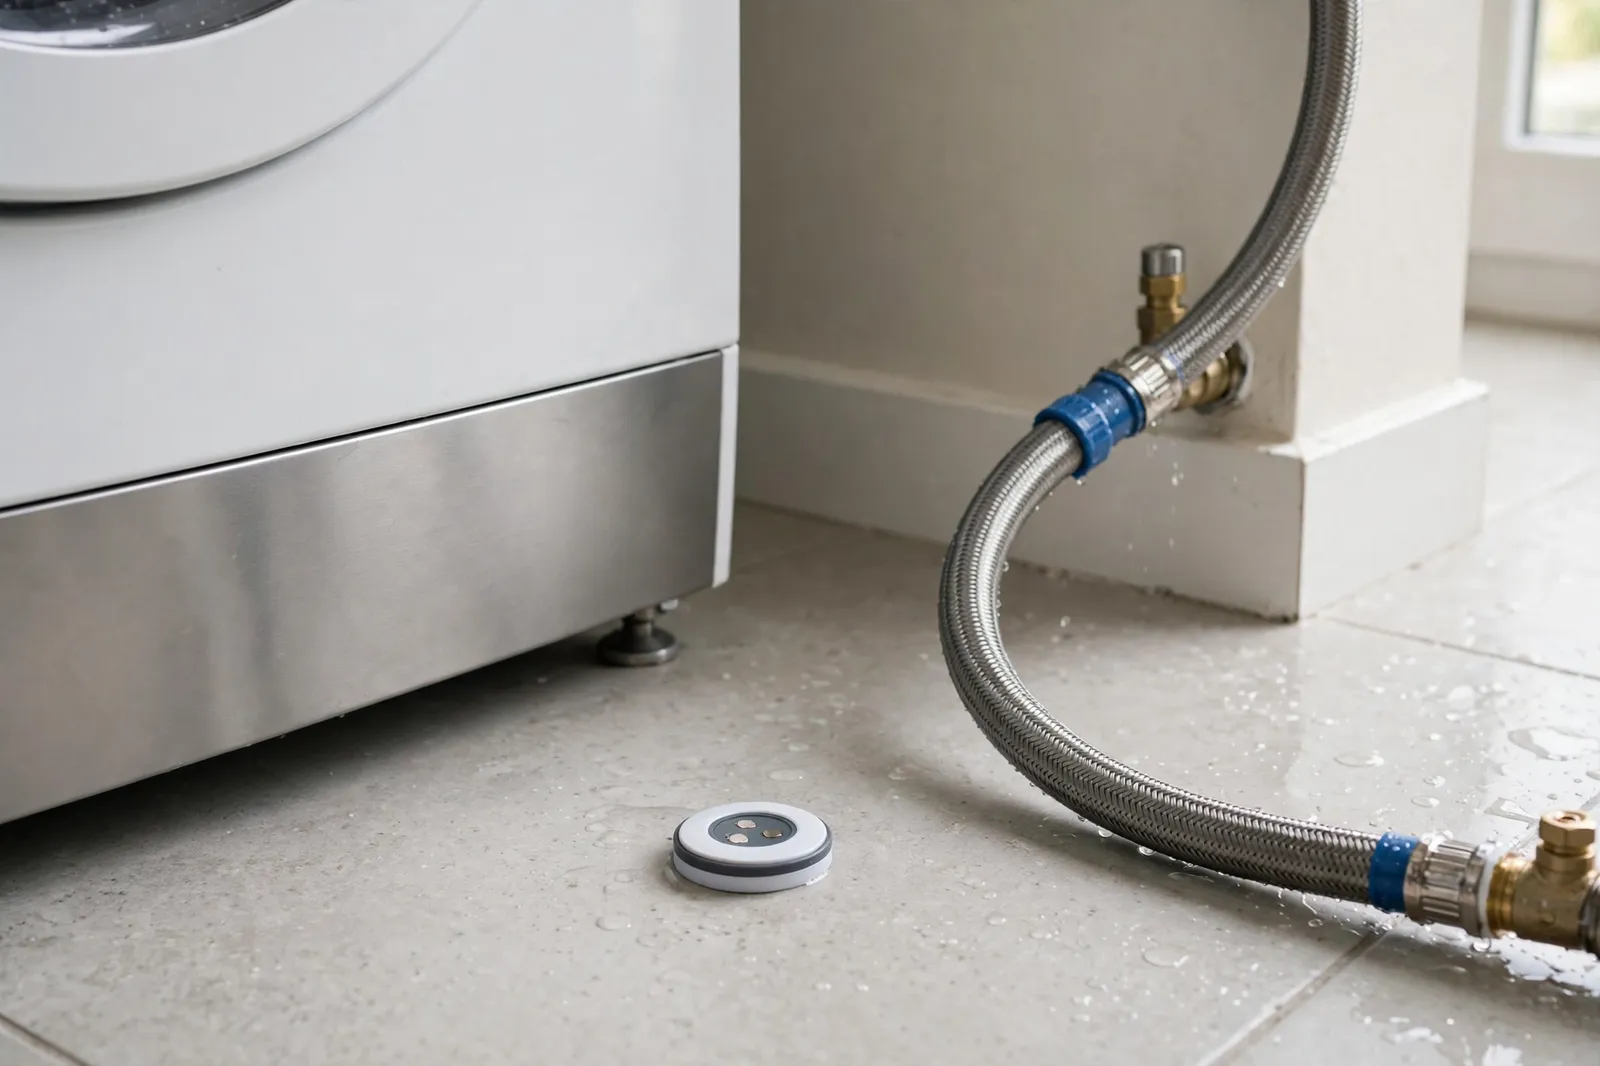
Placement is everything here. A leak sensor only catches water that reaches it. Therefore, think about where water would pool first, not where the sensor looks tidy. So put one under each sink, add one beside the washing machine, and place another next to the water heater. Use one behind the toilet if you have the space, since floors are rarely dead flat.
Temperature and Humidity Sensors
Temperature and humidity sensors report the climate of a room. Then your heating, fan, or dehumidifier can respond to real readings. Meanwhile, a single thermostat on one wall cannot see the whole house. A bedroom that runs cold at night is a good case for one. So is a bathroom that stays damp after showers.
Place the sensor where you actually live in the room, away from radiators, sunny windows, and outside walls. A reading taken two feet from a heater tells you about the heater, not the room. Chest height on an inside wall works well, out of direct sun and draughts.
Humidity readings also help you spot damp problems early. If your bathroom sensor still shows high humidity an hour after a shower, your fan run time may be too short. For what the numbers mean, read this guide to dew point versus humidity.
Light, Smoke, and Carbon Monoxide Sensors
Light sensors measure brightness, usually in lux. They are also the quiet partner of good lighting automation. A light sensor near a window can tell your system the room is already bright. Then the lamps stay off even when motion is detected. In particular, this stops lights switching on pointlessly at midday, and that one rule saves energy.
Smoke and carbon monoxide sensors belong in a different class: safety, not comfort. A smart smoke alarm sends an alert to your phone as well as sounding at home. That matters if a fire starts while you are out. Carbon monoxide has no smell and no colour, so a connected CO alarm is the only way most homes will know about it in time. Put smoke alarms on ceilings in hallways and near bedrooms, and follow your local fire guidance for exact placement.
Never treat an ordinary temperature sensor as a fire detector. It will not react fast enough to smoke or gas. If you are unsure which alarm type your home needs, this rundown of smoke detector types lays out the options in plain language.
How to Choose Smart Home Sensors
Start from the problem, not the product page. First, write down the three things you most want your home to notice. A leak, an intruder, a cold room, or a door left open. Then buy the sensor type that answers each problem. This keeps you from buying gadgets that all do the same job.
Next, check compatibility before you check the price. A sensor must speak a protocol your hub supports. That could be Zigbee, Z-Wave, Thread, or Wi-Fi. It must also work with your platform, like Alexa, Google Home, Apple Home, or Home Assistant. The Connectivity Standards Alliance keeps the current Matter standard. It aims to make devices from different brands work together. Its Matter overview is a good place to confirm what the standard covers.
Battery life and range matter more than fancy features. Zigbee and Z-Wave sensors build a mesh, where mains-powered devices relay signals for battery ones. So adding a smart plug halfway can fix a flaky sensor at the far end of the house.
Placement Rules That Prevent False Alerts
Most sensor complaints are placement complaints, not product faults. Motion sensors aimed at windows catch passing cars and swaying trees. Sensors above radiators react to heat changes. A contact sensor on a loose door frame reports open each time the wind rattles the door. So walk the room first. Ask what else could trigger the sensor before you stick it down.
Mount motion sensors in a corner, about head height or a little above. Next, aim them across the path people walk, not straight at the door. Specifically, a sideways view gives the sensor a clear change to notice. Keep them out of direct sunlight. Keep them away from heat sources too. Then test the spot for a full day, including at night, before you build automations on it.
Here is a mistake from my own setup that taught me this lesson. I mounted a hallway motion sensor facing the front door, and it worked fine. Then I moved the same sensor to face along the wall during a tidy-up. Afterward, I ran a simple walk test of five passes, and it missed two. People walked straight toward it instead of across its view. Moving it back to a corner, aimed across the doorway, caught all five passes again. The fix cost nothing but ten minutes of testing.
A Sensible Starter Plan, Room by Room
You don’t need to sensor every room on day one. Start with the spots where a sensor prevents damage or answers a daily question. The plan below covers a typical three-bedroom home with about ten devices.
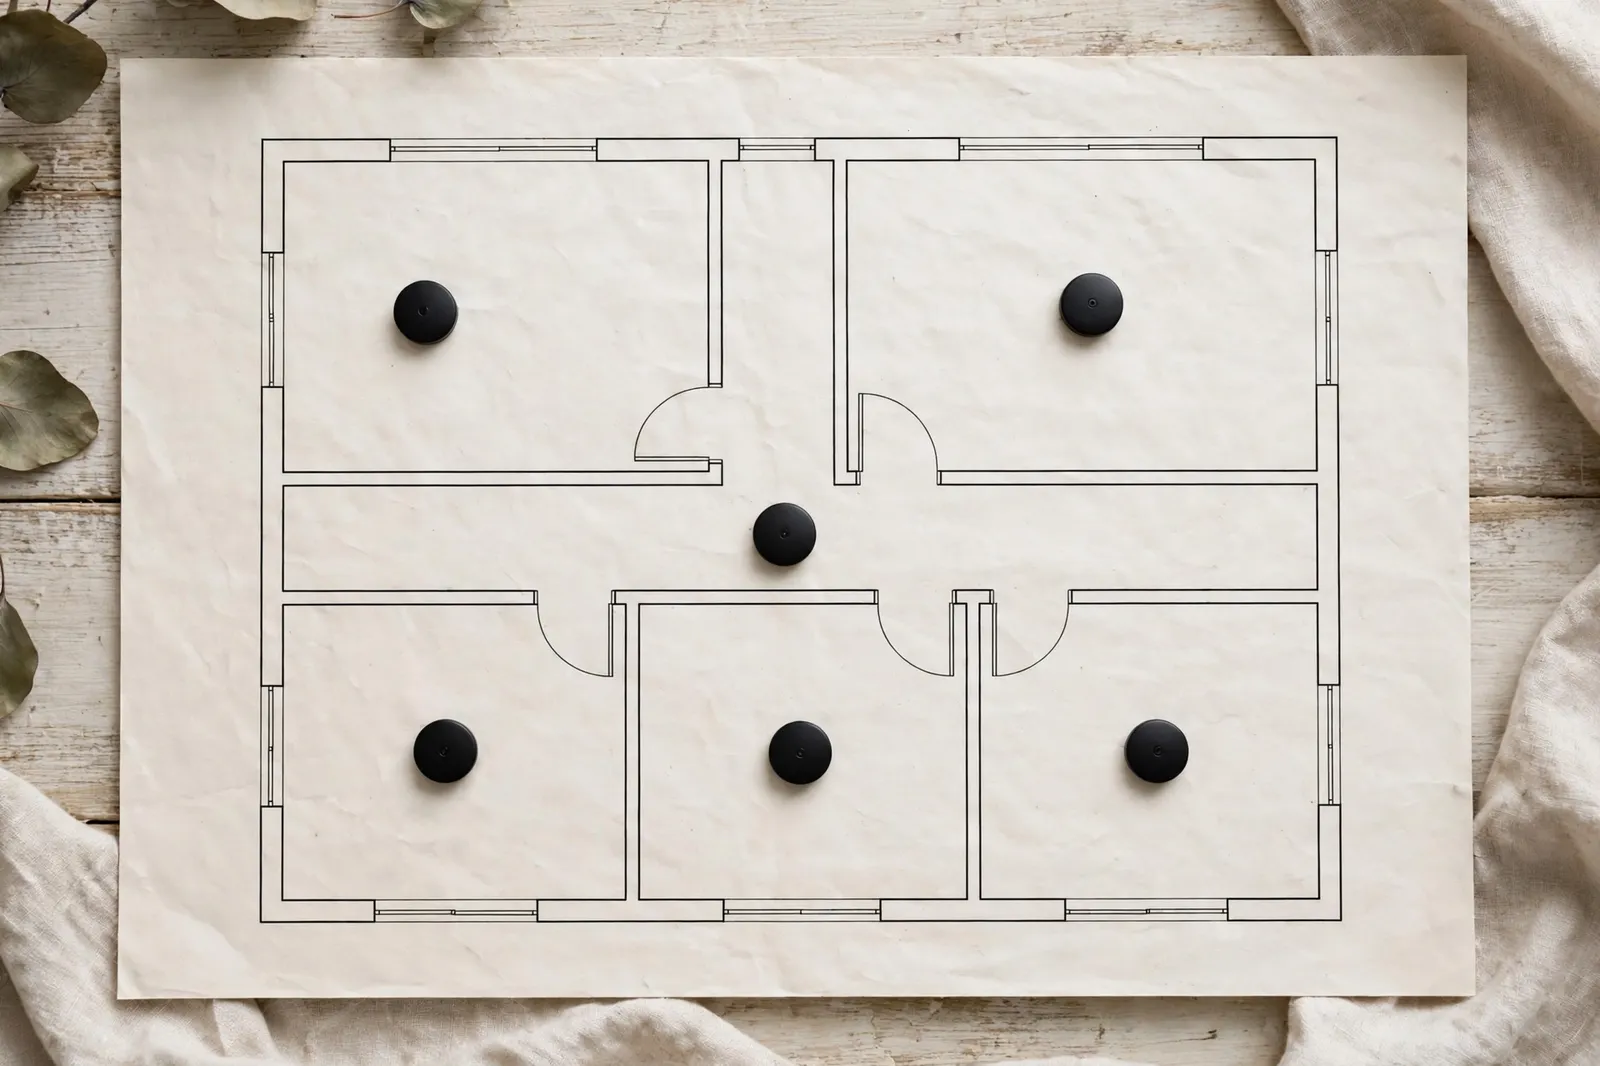
- Front and back doors: one contact sensor each.
- Hallway and stairs: one motion sensor for night lighting.
- Kitchen: one leak sensor under the sink.
- Utility room: one leak sensor by the washer.
- Living room: one presence sensor.
- Main bedroom: one temperature and humidity sensor.
- Bathroom: one humidity sensor for fan control.
- Hallway ceiling: smart smoke and CO alarms.
Live with that set for a month before you add more. You will learn which alerts you act on and which ones you mute. A sensor you mute every day is in the wrong place or has the wrong rule. So fix the rule first, then move the sensor.
FAQs
How many sensors does an average home need?
Most three-bedroom homes do well with eight to twelve sensors to start. Use contacts on main doors, a motion sensor in the hallway, leak sensors near water appliances, and one or two climate sensors. Start with the risks that worry you most. Then live with the set for a month, and add more only where a real gap shows up.
Do I need a hub for wireless sensors?
Wi-Fi sensors connect straight to your router and need no hub. But Zigbee, Z-Wave, and Thread sensors do need a compatible hub or border router. So check what your voice assistant or home platform already supports before you buy. A hub you already own may cover the protocol you picked.
What is the difference between motion and presence detection?
Motion detection notices movement across a sensor’s view. Presence detection notices that someone is still in the room, even when sitting quietly. So PIR motion sensors suit hallways and entries. Meanwhile, mmWave presence sensors suit rooms where people linger, like living rooms and home offices.
Where should I put a leak sensor?
Put leak sensors on the floor where water would pool. That means under sinks, beside washing machines and dishwashers, near water heaters, and behind toilets. Floors are rarely flat, so follow the low spots rather than the tidy spots. A sensor that water never reaches can’t warn you in time.
Can one sensor work with Alexa, Google, and Apple at once?
Some Matter-certified devices can join more than one platform at once through multi-admin sharing. But many sensors still work best with one main platform. So check the product page for the exact platforms and protocols listed. Then test the pairing in your own app before you buy a full set.
Why does my motion sensor keep giving false alerts?
False alerts usually come from placement. Sunlight through a window, heat from a radiator, pets crossing low in the view, or a sensor aimed at a busy street can all trigger it. So move it to a corner aimed across the walking path. Raise it above pet height where possible. Then use your app’s sensitivity setting to tame edge cases.
Final Thoughts
A good sensor setup is quiet. It notices the leak before the floor warps. It keeps the hall light on when you carry laundry upstairs. Pick the sensor that matches each real problem. Place it with care. Test it for a day. Then build from doors, water, and one hallway light.