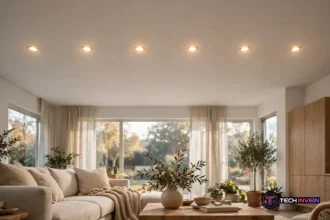


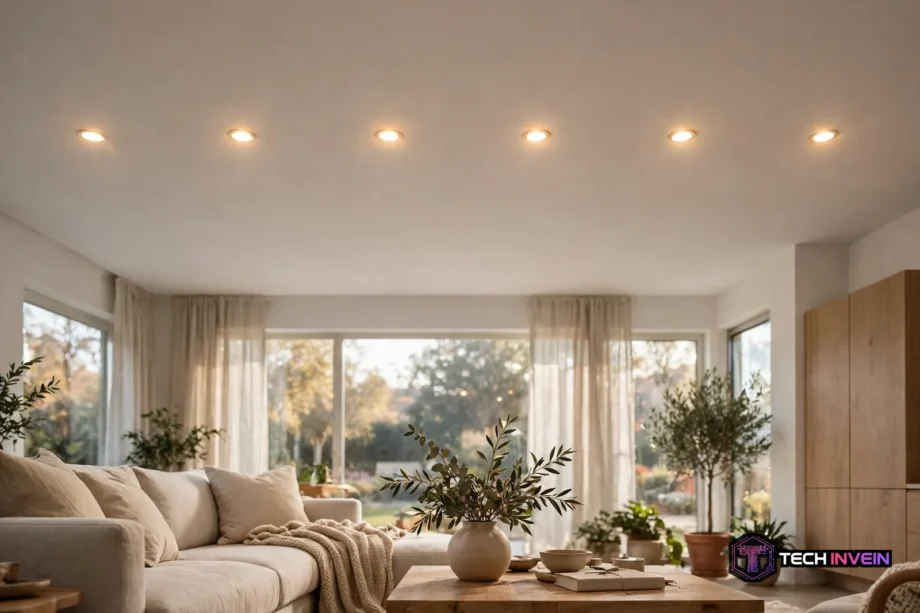
Wafer lights are thin, canless LED downlights that sit almost flush with your ceiling and need no bulky metal housing above it. A small driver box handles the wiring, while spring clips hold the flat disc in place. They suit finished ceilings, shallow joist bays, and remodels where a traditional can simply will not fit.
- What Are Wafer Lights?
- How They Differ From Traditional Can Lights
- Choosing the Right Size and Brightness
- Color Temperature, Dimming, and Smart Control
- Where They Work Best in a Home
- Installation Steps
- Common Mistakes to Avoid
- Are They Worth It, and What Do They Cost?
- FAQs
- Can I install these fixtures in a finished ceiling?
- How far apart should I space them?
- Do they work with a dimmer switch?
- What does IC rated mean?
- Can I put one above a shower?
- What happens when one stops working?
- Final Thoughts
What Are Wafer Lights?
In simple terms, a wafer light is a flat LED fixture, often less than an inch thick. It mounts straight into a round hole in the drywall. However, there is no tall metal can behind it. Instead, a separate junction box, sometimes called a driver box, sits nearby in the ceiling space. A short cable links that box to the light itself.
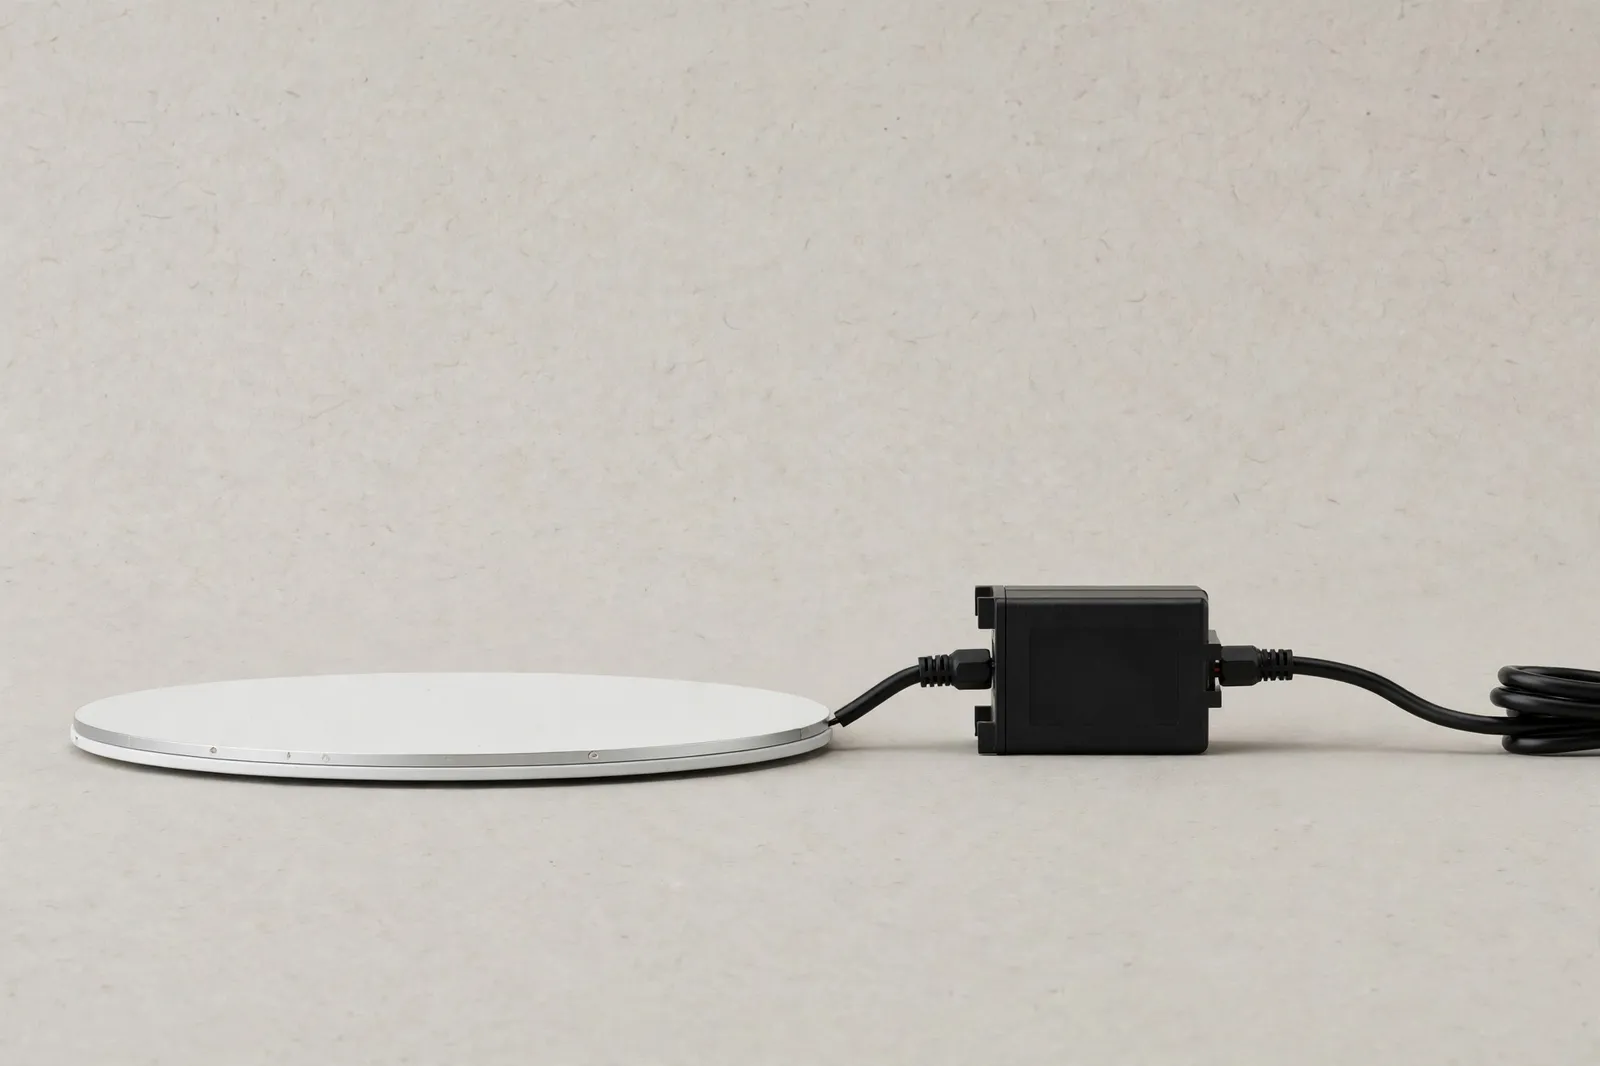
Why does that matter? Most older recessed lights need five to seven inches of clear space above the ceiling. A wafer fixture needs far less, often little more than the drywall thickness plus room for the cable. That is why they show up so often in basements and kitchens, where ducts and joists crowd the ceiling.
In stores, you will also see them sold as canless downlights or slim downlights. The light source, lens, and trim come as one sealed unit. Therefore, when the LEDs eventually wear out, you replace the whole fixture rather than swapping a bulb.
How They Differ From Traditional Can Lights
By contrast, can lights use a metal housing that is fixed to the joists before the drywall goes up. The bulb sits inside that housing. You can change the bulb later, and you can often change the trim too. But the housing takes space, and it can be a chore to add one to a finished ceiling.
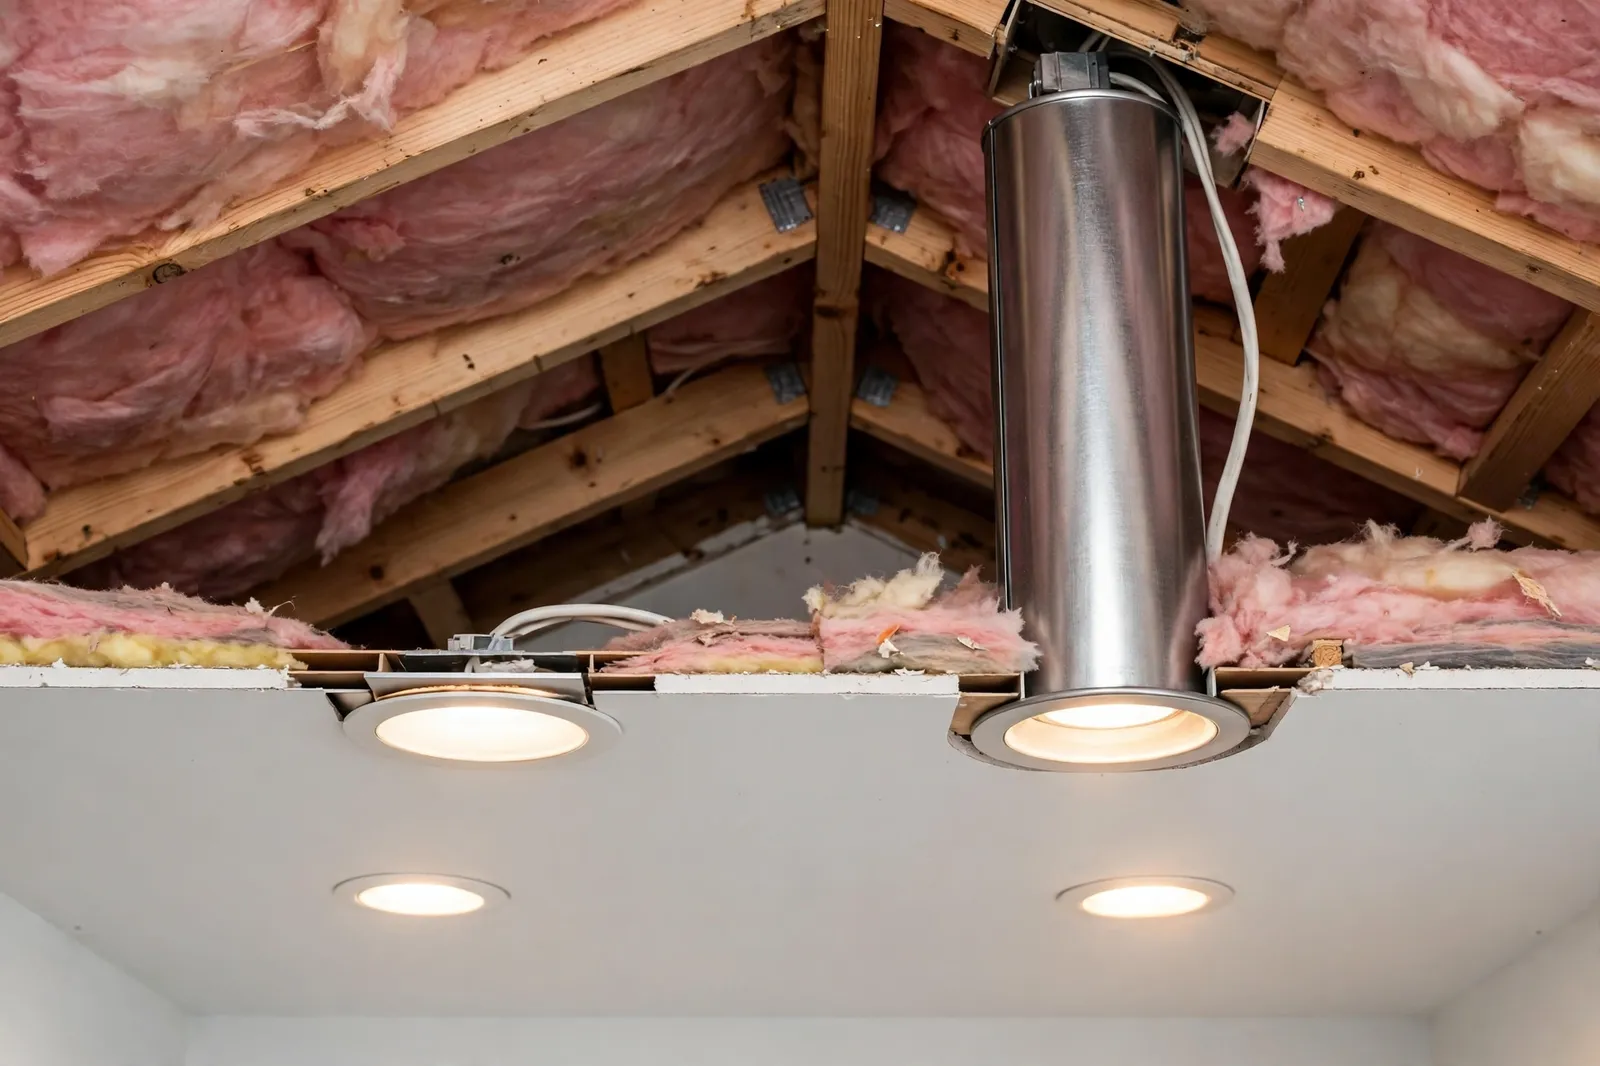
In contrast, canless fixtures flip that process around. You cut the hole after the ceiling is finished, fish the cable through, wire the driver box, and clip the fixture in from below. There is no housing to wrestle into place. In addition, for a retrofit, that difference alone can save hours of work.
One more difference: a can light can leak air into the attic through gaps around the housing. Many wafer fixtures are rated airtight, which keeps conditioned air where it belongs. Below an attic, that rating affects both comfort and energy bills.
Table: Wafer lights compared with traditional can lights
| Feature | Wafer fixture | Traditional can light |
|---|---|---|
| Ceiling depth needed | About 1 to 2 inches | About 5 to 7 inches |
| Housing | None, remote driver box only | Metal can fixed to joists |
| Best for | Finished ceilings and remodels | New construction and open ceilings |
| Light source | Built-in LED, whole unit replaced | Replaceable bulb or module |
| Air sealing | Often airtight rated | Depends on the housing and trim |
Neither wins in every room. On the other hand, if your ceiling is already open and you want to swap bulbs for years, a can still makes sense. If the ceiling is finished and space is tight, the wafer fixture is usually the simpler path.
Choosing the Right Size and Brightness
As for sizes, wafer fixtures commonly come in 3 inch, 4 inch, and 6 inch sizes. Smaller fixtures look neat in hallways and over counters. Larger ones suit open living areas where you want broad, even light. Do not pick by looks alone. Brightness matters more than diameter.
For brightness, check the lumens on the box, not just the wattage. A typical 4 inch model puts out around 650 to 750 lumens, while a 6 inch model may reach 1,000 lumens or more. For a standard room, look for roughly 800 to 1,100 lumens per fixture as a starting point, then adjust for ceiling height and wall color. The HALO LT canless downlight specifications list lumen output by size, which shows how much a step up in diameter can add. Dark walls swallow light. As a result, a room with dark paint may need an extra fixture or a brighter model.
Next, spacing matters just as much. A common rule of thumb is to space fixtures about half the ceiling height apart. In a room with 8 foot ceilings, that means roughly 4 feet between lights, with the first row about 2 feet from the walls. This is only a starting point. However, beam angle, brightness, and the job of the room all shift the final layout, so mark the positions on the ceiling and step back before you cut anything.
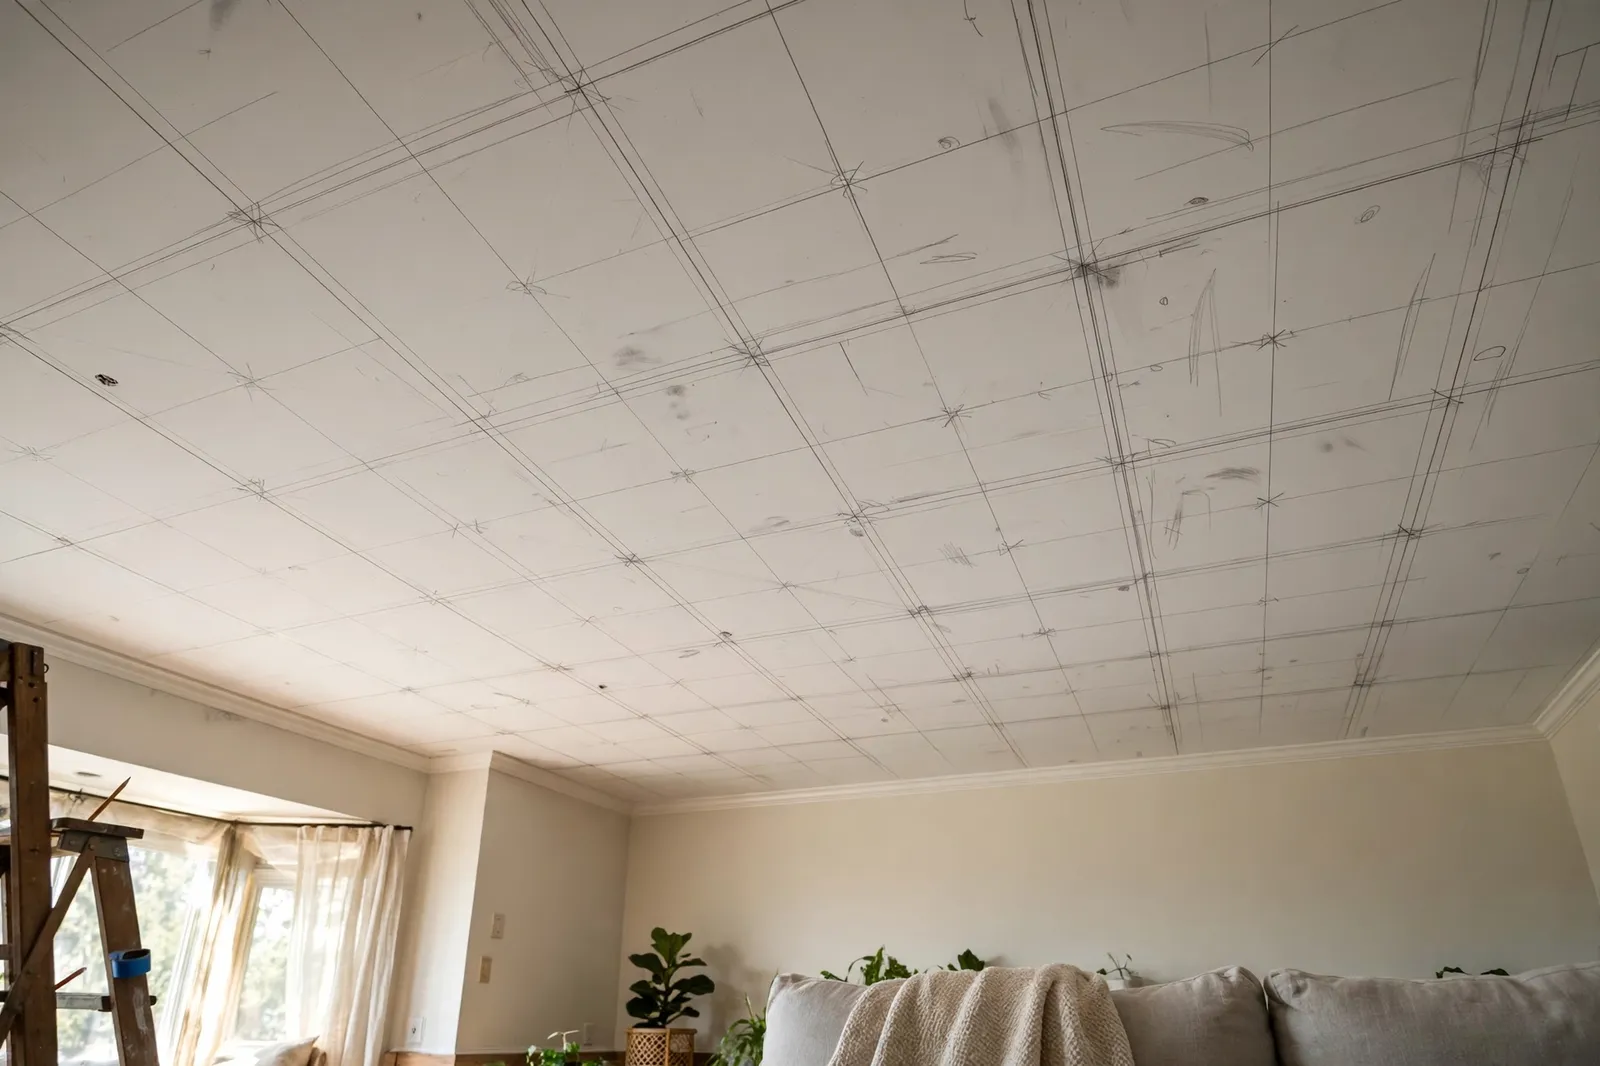
For kitchens, placement deserves special care. Place lights over the front edge of the counters, not over the middle of the floor, so your body does not block the light while you work. In a living room, fewer lights plus a dimmer often look better than a grid that turns the room into an office.
Color Temperature, Dimming, and Smart Control
First, color temperature, measured in Kelvin, describes whether light looks warm or cool. Lower numbers look warm and yellow. Higher numbers look bright and white. For bedrooms and living rooms, 2700K or 3000K feels relaxed. For kitchens and home offices, 4000K to 5000K feels alert and clear.
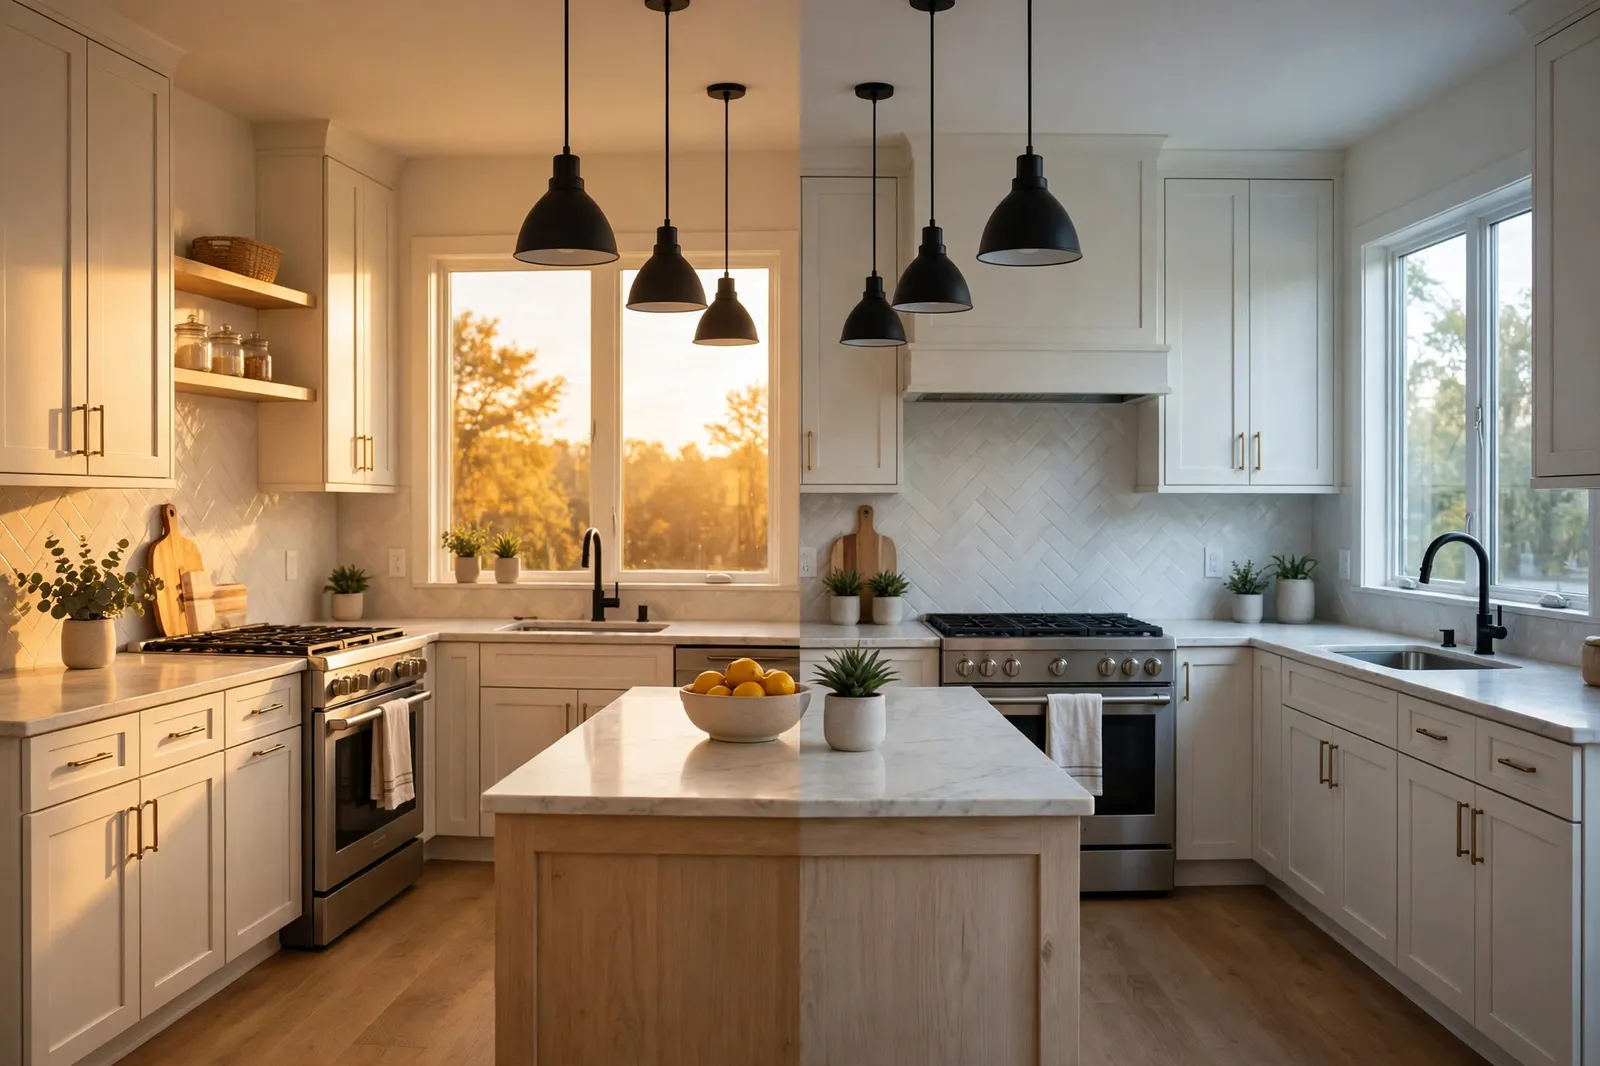
In fact, many wafer fixtures let you pick the color before you install them. A small switch on the driver box offers five settings, often from 2700K to 5000K. In addition, set it before the fixture goes into the ceiling, because reaching that switch later means pulling the fixture back out. This is the single most common regret I hear from first-time buyers, and it is easy to avoid with one minute of planning.
After color, dimming is the next decision. Most wafer fixtures are dimmable, but only with a compatible LED dimmer. However, an old dimmer built for incandescent bulbs can cause flicker, buzzing, or lights that refuse to dim low. If you plan to dim your new lights, check the fixture maker’s compatibility list first and pick a dimmer from it. Our guide to the best smart dimmer switch for LED lights walks through options that avoid buzzing and flicker.
Before you buy a dimmer, note the minimum load and the lowest dimming level on the spec sheet. Some fixtures dim smoothly to 5 percent, while others stop at 10 percent.
Want to go further than a wall dimmer? For example, smart wafer fixtures and smart dimmers let you set scenes, schedules, and voice control. For instance, you can dim the kitchen for dinner, brighten it for cooking, and turn everything off with one command at bedtime. If you use Google Home, our walkthrough on how to create lighting scenes in the Google Home app shows how to group lights into scenes that match real routines.
Smart control also changes how you use a room through the day: a bright kitchen in the morning can shift to a warm, low glow for dinner without anyone touching a switch.
One more point on color. Still, warm light in the evening helps your body wind down, while bright cool light late at night can make sleep harder. Consequently, the color you pick for a bedroom matters more than the color you pick for a garage. Our guide to the best color temperature for sleep at night explains which settings support better rest.
Where They Work Best in a Home
As an example, kitchens are the classic use case. Wafer fixtures fit under joists, sit flush with the ceiling, and spread light evenly over counters. Basements suit them too, where ceiling height is already tight and a deep can would clash with ducts.
Similarly, bathrooms are another strong fit, as long as you pick a model rated for damp or wet locations. Therefore, check the rating on the box before you buy. A fixture meant for a dry bedroom does not belong above a shower, even if it fits the hole.
Likewise, hallways, closets, and laundry rooms benefit too, since these spaces rarely justify a full can installation. A single small fixture can replace a dated flush mount and make a narrow space feel taller. In living rooms, pair them with lamps for warmth rather than relying on ceiling lights alone.
Beyond single rooms, they can also support a circadian lighting setup, where brightness and color shift through the day: bright and cool in the morning, warm and low in the evening. If that idea appeals to you, our circadian lighting setup for Home Assistant shows how to automate those shifts once your fixtures are in place.
Installation Steps
First, turn off power to the circuit at the breaker, not just at the wall switch. Test with a non-contact voltage tester to confirm the wires are dead. If you are not comfortable working with mains wiring, hire an electrician. This is not the job to learn on.
- Plan the layout on paper first, then mark each fixture position on the ceiling with a pencil. Check for joists, ducts, and pipes with a stud finder before you cut.
- Use the template that comes in the box to trace the hole. Cut it with a hole saw for a clean, round edge that the spring clips can grip.
- Fish the circuit cable to the first fixture location, then from fixture to fixture. Keep the cable runs neat and clear of sharp edges.
- Wire the driver box following the maker’s diagram: hot, neutral, and ground to their matching terminals. Close the box cover before you push it into the ceiling.
- Set the color temperature switch on the driver box now, while you can still reach it. Then connect the fixture cable to the driver box.
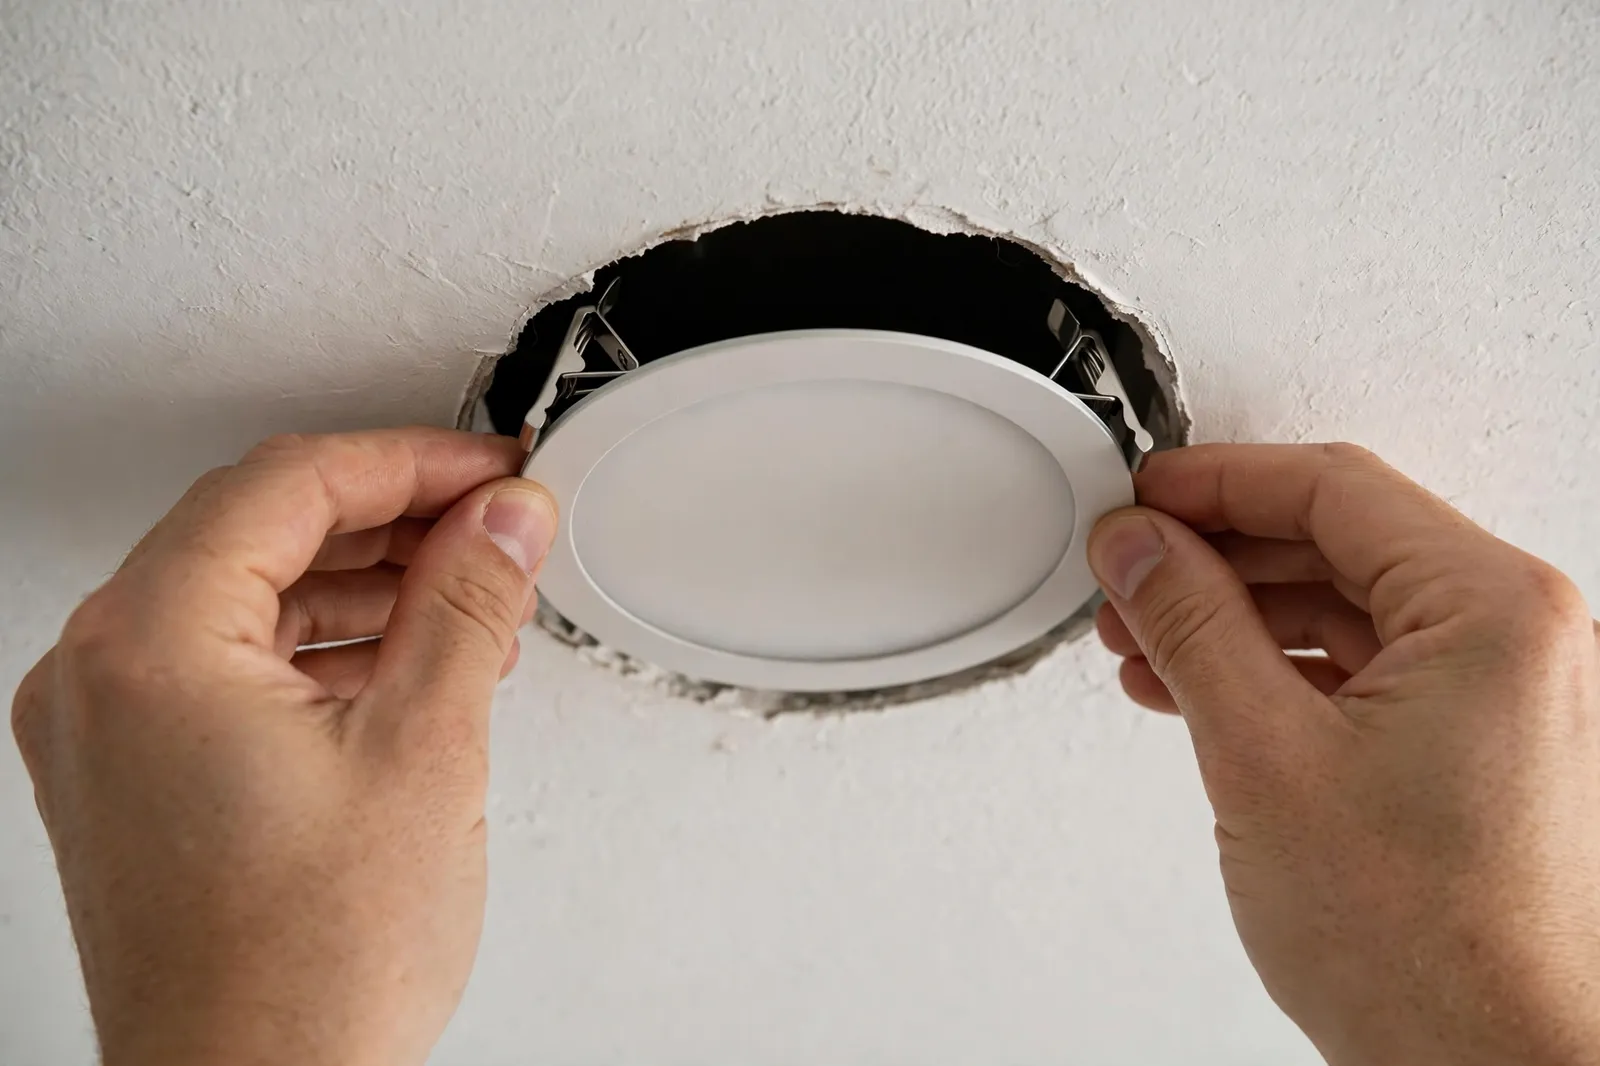
- Fold the spring clips up, push the fixture into the hole, and let the clips pull it flush against the drywall. Restore power and test the light and the dimmer.
Test every fixture and dimmer setting before you move on to the next hole. After all, fixing a wiring mistake is far easier while the tools are still out than after the room is cleaned up.
Common Mistakes to Avoid
Above all, the biggest mistake is buying a non-IC fixture for a ceiling that touches insulation. IC stands for insulation contact. If the fixture will sit against attic insulation, it must carry that rating, or it can overheat. Check the box and the spec sheet, not just the store listing, before you buy.
Then, the second mistake is picking the wrong dimmer. Flicker at low brightness, buzzing, or lights that snap off instead of fading are classic signs of a mismatch. However, if you already have flicker, do not just live with it. Our guide on fixing LED lights that flicker when dimmed walks through the causes and the fixes in order.
After that, the third mistake is spacing lights by guesswork. Too few fixtures leave dark patches. Too many turn a cozy room into a showroom and waste money. In short, mark the layout, look at it from the doorway, and adjust before cutting. A few minutes here saves a ceiling full of regrets.
Lastly, the fourth mistake is burying the driver box where you cannot reach it. The box should sit in the ceiling space near the fixture, not wedged behind a duct you cannot move. If a driver fails in a few years, you will thank yourself for leaving it accessible through the fixture hole.
Here is the original detail worth keeping in mind. In a recent kitchen retrofit I planned, the ceiling had only about 1.5 inches of clear space where a duct crossed the room. A standard can needed more than five inches, so it was out. A wafer fixture fit with room to spare, and the driver box slid sideways into the next joist bay. That one measurement, taken before ordering, decided the whole fixture choice. Measure your shallowest spot first, not your roomiest one.
Are They Worth It, and What Do They Cost?
Overall, for most remodels, yes. You get a clean, modern ceiling, even light, and a much easier install than cans in a finished ceiling. The main downside is the sealed design. When a fixture dies, you replace the unit, not a bulb. Keep a spare fixture from the same batch if your room uses several, so a replacement matches in color and brightness.
On cost, prices vary a lot by brand, size, and features, so check current prices on the maker’s page or a trusted retailer before you budget. However, fixture prices are only part of the job. If you need new wiring, a new circuit, or an electrician, labor will likely cost more than the fixtures. Get a quote that separates parts from labor so you can compare fairly.
Finally, energy use is a quiet win. In addition, LEDs use far less power than the incandescent bulbs old cans often held, and they run cooler. Over a room full of fixtures, that difference adds up across a year.
FAQs
Can I install these fixtures in a finished ceiling?
Yes, that is one of their main strengths. You cut a round hole in the existing drywall, fish the cable through the joist bays, wire the remote driver box, and clip the fixture in from below. No large housing needs to fit above the ceiling.
How far apart should I space them?
Start with half the ceiling height as the gap between fixtures. For 8 foot ceilings, that means about 4 feet apart, with the first row roughly 2 feet from the walls. Adjust for beam angle, brightness, room purpose, and dark walls that absorb light.
Do they work with a dimmer switch?
Most models are dimmable, but only with a compatible LED dimmer. An old incandescent dimmer can cause flicker, buzzing, or poor low-end dimming. Check the maker’s compatibility list before buying, and test the full range after install, from full brightness down to the lowest setting.
What does IC rated mean?
IC stands for insulation contact. An IC rated fixture is designed to sit safely against ceiling insulation without overheating. If your ceiling sits below an attic, choose an IC rated model and confirm the rating on the box before installation.
Can I put one above a shower?
Only if the model is rated for wet locations. Check the rating on the box and the spec sheet first. A dry-location fixture does not belong above a shower, even if it fits the hole and looks the same as a rated model.
What happens when one stops working?
Because the LED is built in, you replace the whole fixture rather than a bulb. Pull the fixture down through the hole, disconnect it from the driver box, and fit a matching replacement. Keep a spare from the same batch for an exact color match.
Final Thoughts
Wafer lights earn their popularity for a simple reason. They solve the hardest part of recessed lighting: fitting a fixture into a ceiling that was never built for one. To sum up, measure your shallowest ceiling space, pick the right size and color temperature, and match the dimmer before you buy. Start with one room, test the layout and dimming, then repeat it elsewhere.