

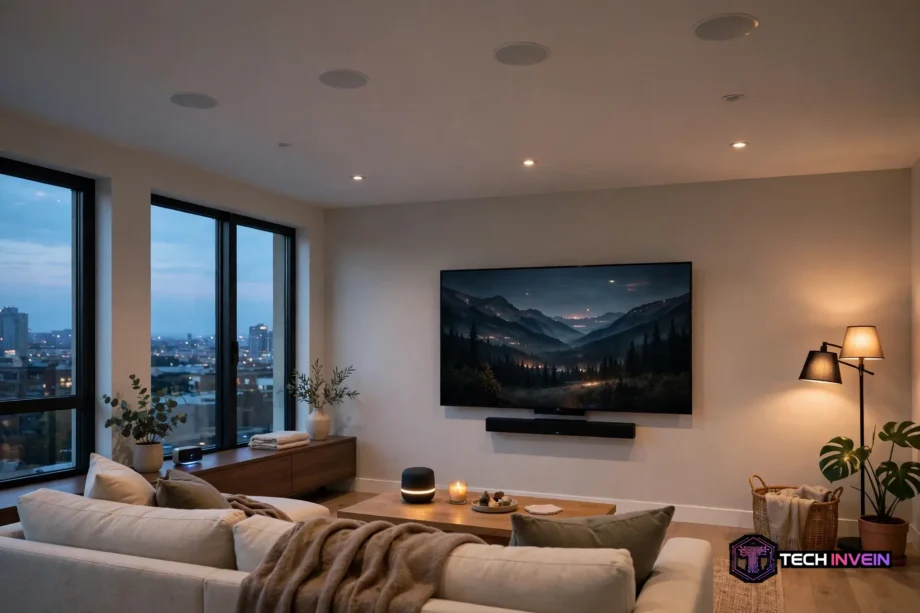
Dolby Atmos speakers add height to your home theater sound, so rain falls from above and a plane seems to pass overhead. They work with a matching receiver and Atmos content to place sounds in three dimensions. This guide shows the types, the layouts, and the setup steps that fit a real living room.
- What Dolby Atmos Speakers Actually Do
- The Three Types of Atmos Speakers
- 5.1 vs 5.1.2 vs 7.1.4: Read the Numbers
- What Else You Need Besides the Speakers
- The Best Stereo Receiver Question, Answered Honestly
- How to Choose Speakers for Your Room
- Placement That Makes the Height Effect Work
- Subwoofer and Soundbar Choices Around Atmos
- A Simple One-Evening Test Before You Commit
- Step-by-Step Setup for a 5.1.2 System
- FAQs
- Do Atmos speakers need a special ceiling?
- Is 5.1.2 enough for a living room?
- Can I add Atmos speakers to my current 5.1 system?
- Does a soundbar give real Dolby Atmos?
- Why does my system not show the Atmos label?
- Do I need a new receiver for Dolby Atmos?
- What to Do Next
What Dolby Atmos Speakers Actually Do
Most surround sound moves audio around you at ear level. Dolby Atmos speakers add a third layer above you, so sound can come from the ceiling as well as from the front and the sides.
Older formats send audio to fixed channels, so a sound belongs to one speaker. Atmos treats many sounds as objects with a position in space, and your receiver maps each object to the speakers you own.
Dolby says an Atmos mix can hold up to 128 audio objects at once. Ten form a base bed for dialogue and ambience, while the rest move freely through the room. That is why a helicopter can cross from front to back and above you, instead of jumping from one speaker to the next. Dolby’s own setup guide explains the layouts and the angles in full.
You still need Atmos content to hear the effect. Many films on Blu-ray and streaming apps now carry an Atmos track, but a plain stereo source only gets upmixed, and the result will not match a true Atmos mix. So check the film page for the Atmos label first.
The Three Types of Atmos Speakers
Not every Atmos speaker looks the same. The three main types solve the height problem in different ways, and the right pick depends on your ceiling and your budget.
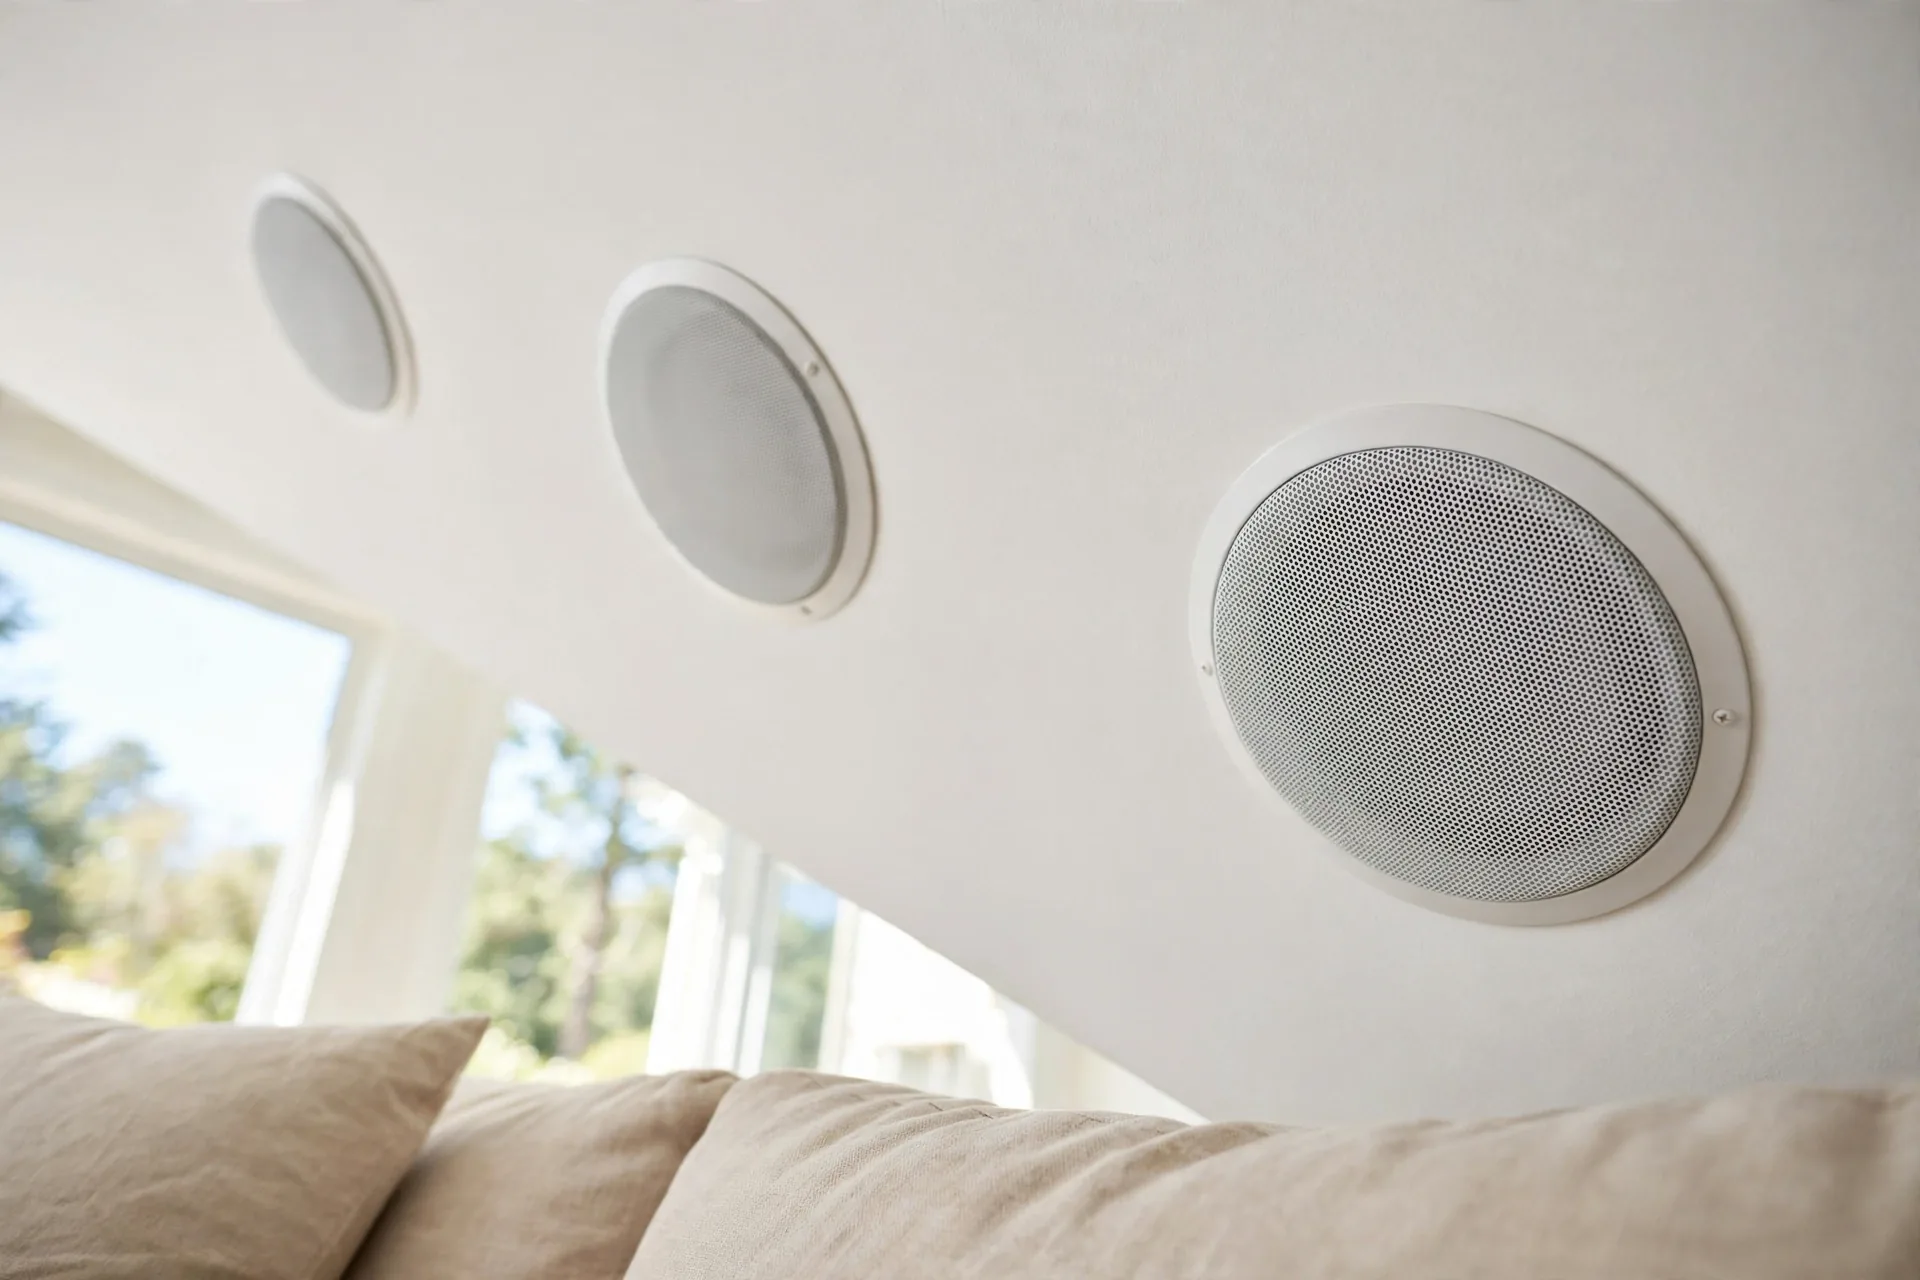
Ceiling Speakers
Ceiling speakers fire straight down from above you. They give the cleanest height effect, because the sound starts where your ears expect it to start. They suit a dedicated room, where you can run wires through the ceiling first. The catch is the install: you need to cut holes and run speaker wire.
Upward-Firing Modules
Upward-firing modules sit on top of your front speakers and bounce sound off the ceiling, so your brain reads the reflection as overhead audio. This is the easiest way to add Atmos to a system you already own. They work best with a flat, hard ceiling between 8 and 14 feet high. A vaulted ceiling, a beam, or a soft tile can scatter the bounce and weaken the effect.
Dolby Atmos Compatible Soundbars
A dolby atmos compatible soundbar packs upward-firing drivers into one long bar under your TV. It’s the simplest route of all: you plug in one box and you’re done. Some models add wireless rears and a subwoofer for a fuller surround field. The trade is scale. A soundbar can’t match separate speakers for width or separation, but for a small room or a renter, it often beats a poorly placed set of wired speakers.
5.1 vs 5.1.2 vs 7.1.4: Read the Numbers
Atmos layouts use three numbers. The first counts ear-level speakers, the second counts subwoofers, and the third counts height speakers. Once you know that code, every product page gets easier to read.
Table: Common Dolby Atmos layouts at a glance
| Layout | Ear-level speakers | Subwoofers | Height speakers | Best fit |
|---|---|---|---|---|
| 5.1 | 5 | 1 | 0 | Good surround sound, no height |
| 5.1.2 | 5 | 1 | 2 | First step into Atmos |
| 5.1.4 | 5 | 1 | 4 | Strong overhead movement |
| 7.1.4 | 7 | 1 | 4 | Large rooms, two rows of seats |
A 5.1 system has five speakers and one subwoofer, but no height layer. It still sounds good, and most films are mixed with it in mind. A 5.1.2 system adds two height speakers to that base, and that small step is where Atmos starts.
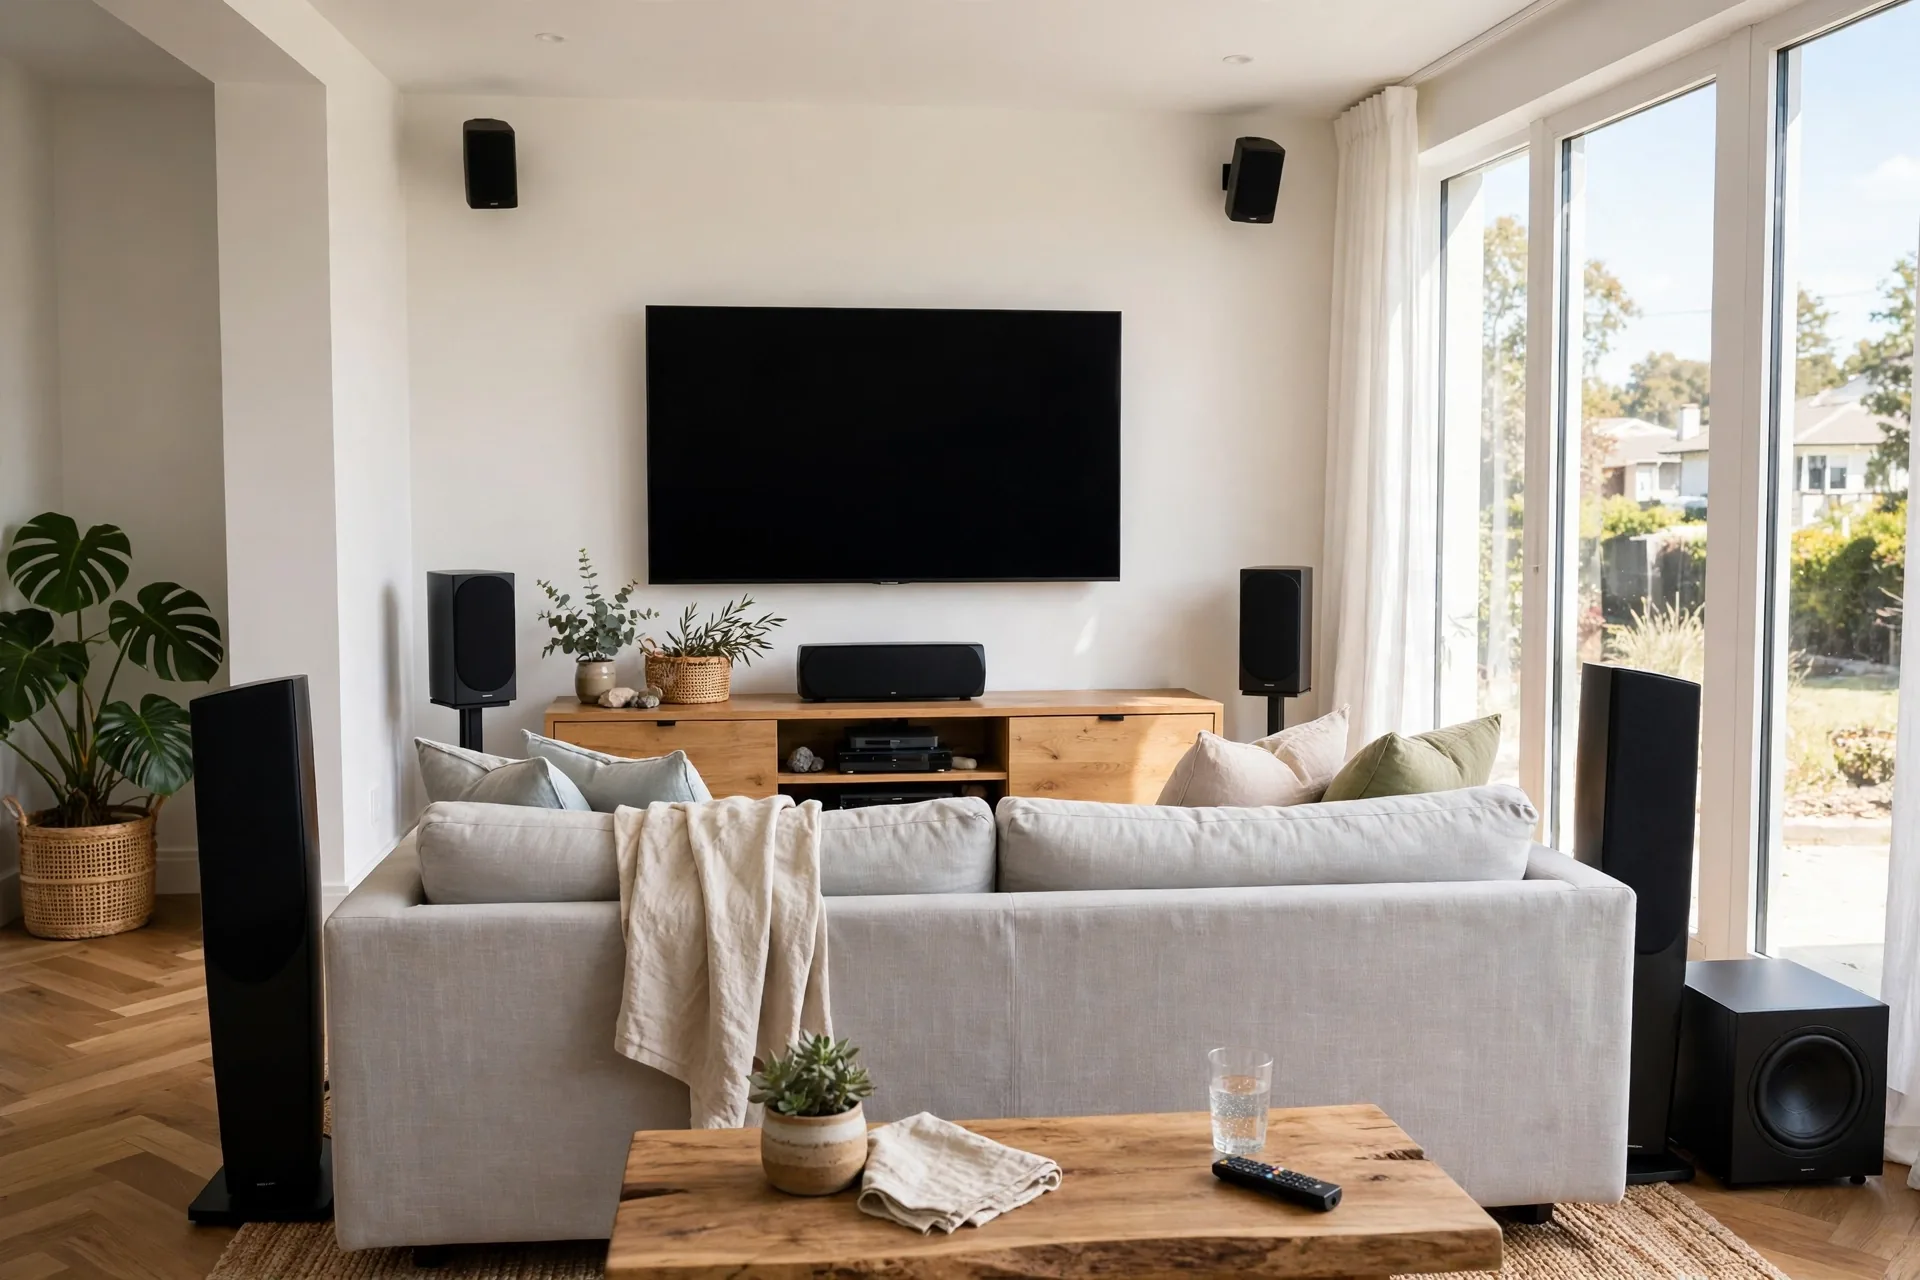
A 5.1.4 system adds four height speakers, so sounds can travel overhead from front to back. A 7.1.4 system adds two more ear-level speakers as well, but it needs more wire, more amp channels, and more space behind your seat. Start with 5.1.2 if your room is under about 200 square feet.
What Else You Need Besides the Speakers
Speakers alone can’t play Atmos. You need a chain of parts that all support the format, and one weak link can mute the whole effect.
First, you need an AV receiver that decodes Dolby Atmos. It reads the Atmos metadata, sends each object to the right speaker, and powers the speakers, so its channel count must match your layout. A 5.1.2 layout needs seven powered channels, while a 7.1.4 layout needs eleven.
Next, you need a source that sends Atmos audio: a Blu-ray player, a streaming stick, a games console, or a smart TV app. It must pass the Atmos signal through HDMI to the receiver. Some TV apps send Atmos only through eARC, so check your TV manual for the exact port.
Then you need the right HDMI path. Plug the source into the receiver first, then run one HDMI cable from the receiver to the TV. If you plug the source straight into the TV, the TV may strip the Atmos signal. Finally, you need content with an Atmos track, so look for the Atmos badge on the film page.
The Best Stereo Receiver Question, Answered Honestly
Shoppers often search for the best stereo receiver when they start a home theater build. A stereo receiver is a fine tool, but it’s the wrong tool for Atmos. It powers two channels, and Atmos needs at least seven. So a stereo receiver cannot run a 5.1.2 layout, no matter how good it sounds with music.
That doesn’t make stereo receivers useless. They suit a music-first room or a second zone where you play records or stream songs, and they are often cheaper and simpler than a full AV receiver.
For films, pick an AV receiver instead. Look for Atmos and DTS:X support and enough channels for your planned layout. Also pick room calibration with a mic. It measures your room and fixes small placement errors. Also count the HDMI inputs. A console, a streaming stick, and a Blu-ray player need at least three, plus one more for growth.
How to Choose Speakers for Your Room
Room shape matters more than brand here. A great speaker in the wrong room will lose to a fair speaker in the right spot, so measure first, then shop.
Start with the ceiling. Flat and hard is best for upward-firing modules, because the bounce stays clean. A ceiling under 8 feet can make the bounce too short, while a ceiling over 14 feet can make it too weak. If your ceiling is vaulted or beamed, ceiling speakers will serve you better than bounce modules.
Next, measure the seat. Dolby puts seated ear height at about 3.9 feet from the floor. Your front left and right speakers should sit near that height, angled in toward your seat. That small step, called toe-in, builds a clear sweet spot where all the speakers blend.
Then check the walls and the wires. Speakers placed tight in a corner can boom, because the corner loads the bass, so pull the front speakers a little way out from the wall. A wired 5.1.2 system also needs cable runs to every speaker, so plan them before you buy.
Placement That Makes the Height Effect Work
Placement is where most Atmos setups win or lose. Good speakers, a good receiver, and a full Atmos mix can still feel weak if the angles are wrong.
Put the front left and right speakers at 22 to 30 degrees off the center line from your seat. Keep the center speaker close to ear level, just below or above the TV, so dialogue stays clear and locked to the screen.
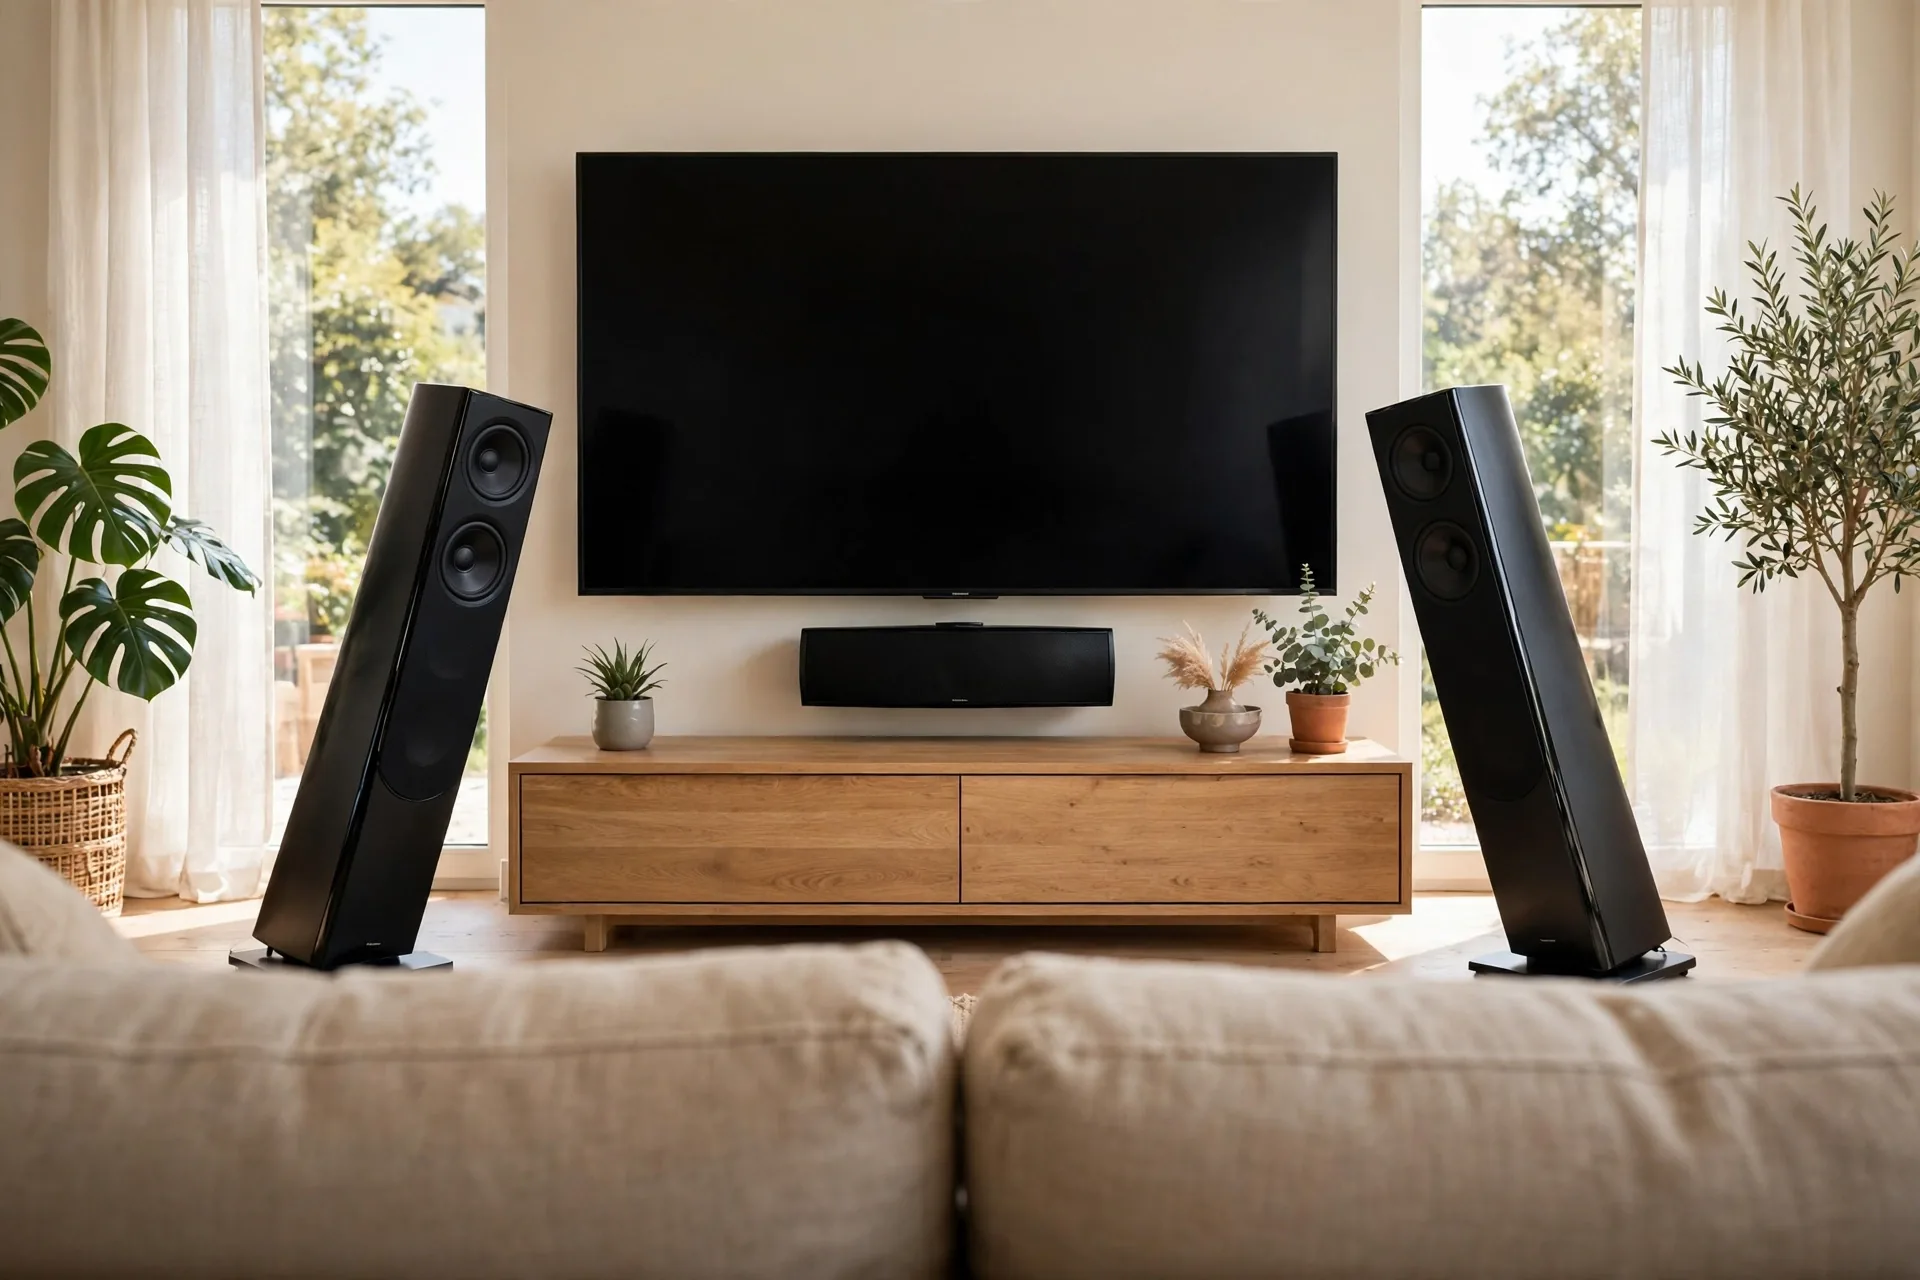
Place the surround speakers to the sides of your seat, not behind it, at about 110 to 120 degrees from the center line. Mount them a little above ear level and angle them down, so the surround field wraps around you.
For a 5.1.2 layout, put the two height speakers in the front part of the ceiling, above and slightly in front of your seat. For a 5.1.4 layout, add a rear pair as well. If you use upward-firing modules, set them on top of the front speakers.
Our guide to 5.1 speaker placement walks through these angles with room diagrams, so use it as a check after you place your speakers.
Then run the receiver calibration. Plug in the mic at ear height in your main seat and let the receiver play its test tones. It sets the distance, level, and crossover for each speaker. After that, play a scene with rain or a flyover, and listen for sounds that clearly come from above.
Subwoofer and Soundbar Choices Around Atmos
The subwoofer carries the bass that small speakers cannot reach, and it shapes how big the whole system feels. A weak one can make a good Atmos system sound thin, because the low end drops out just when a scene needs weight.
Place the subwoofer by ear, not by looks. The corner may be tidy, but it may also boom. Try two or three spots with the same bass-heavy scene, and pick the spot where the bass sounds tight and even.
A 5.1 channel soundbar takes a different route. It puts the front three channels, the surrounds, and often the height drivers into one bar, sometimes with a wireless subwoofer and rear speakers. It sets up in minutes, but the left and right channels sit close together, so the soundstage stays narrow.
If your room is small and your budget is tight, a soundbar can still be the smart pick. If your room is large, separate speakers will use the space better. If you want a deeper plan for the whole room, our DIY home theater guide covers seating, screen size, and wiring in one place.
A Simple One-Evening Test Before You Commit
Here is a test you can run in one evening with gear you already own. Play a film scene with steady rain, sit in your main seat, and close your eyes for a minute. Note where the rain seems to come from: above you, or at the TV? Then move one seat to the side and repeat it. Bounce speakers often sound best in one sweet spot and fade as you move. Ceiling speakers hold up better across seats.
Next, clap once under the ceiling spot where the bounce would hit. A sharp echo suggests a hard ceiling that will reflect well, while a dull thud suggests a soft surface that will soak up the bounce. Write down what you heard in each seat. That note is worth more than a dozen reviews, because it describes your room, not a test lab.
Step-by-Step Setup for a 5.1.2 System
This is the layout most first-time buyers should build: seven receiver channels, five ear-level speakers, one subwoofer, and two height speakers. Follow the steps in order, and test as you go.
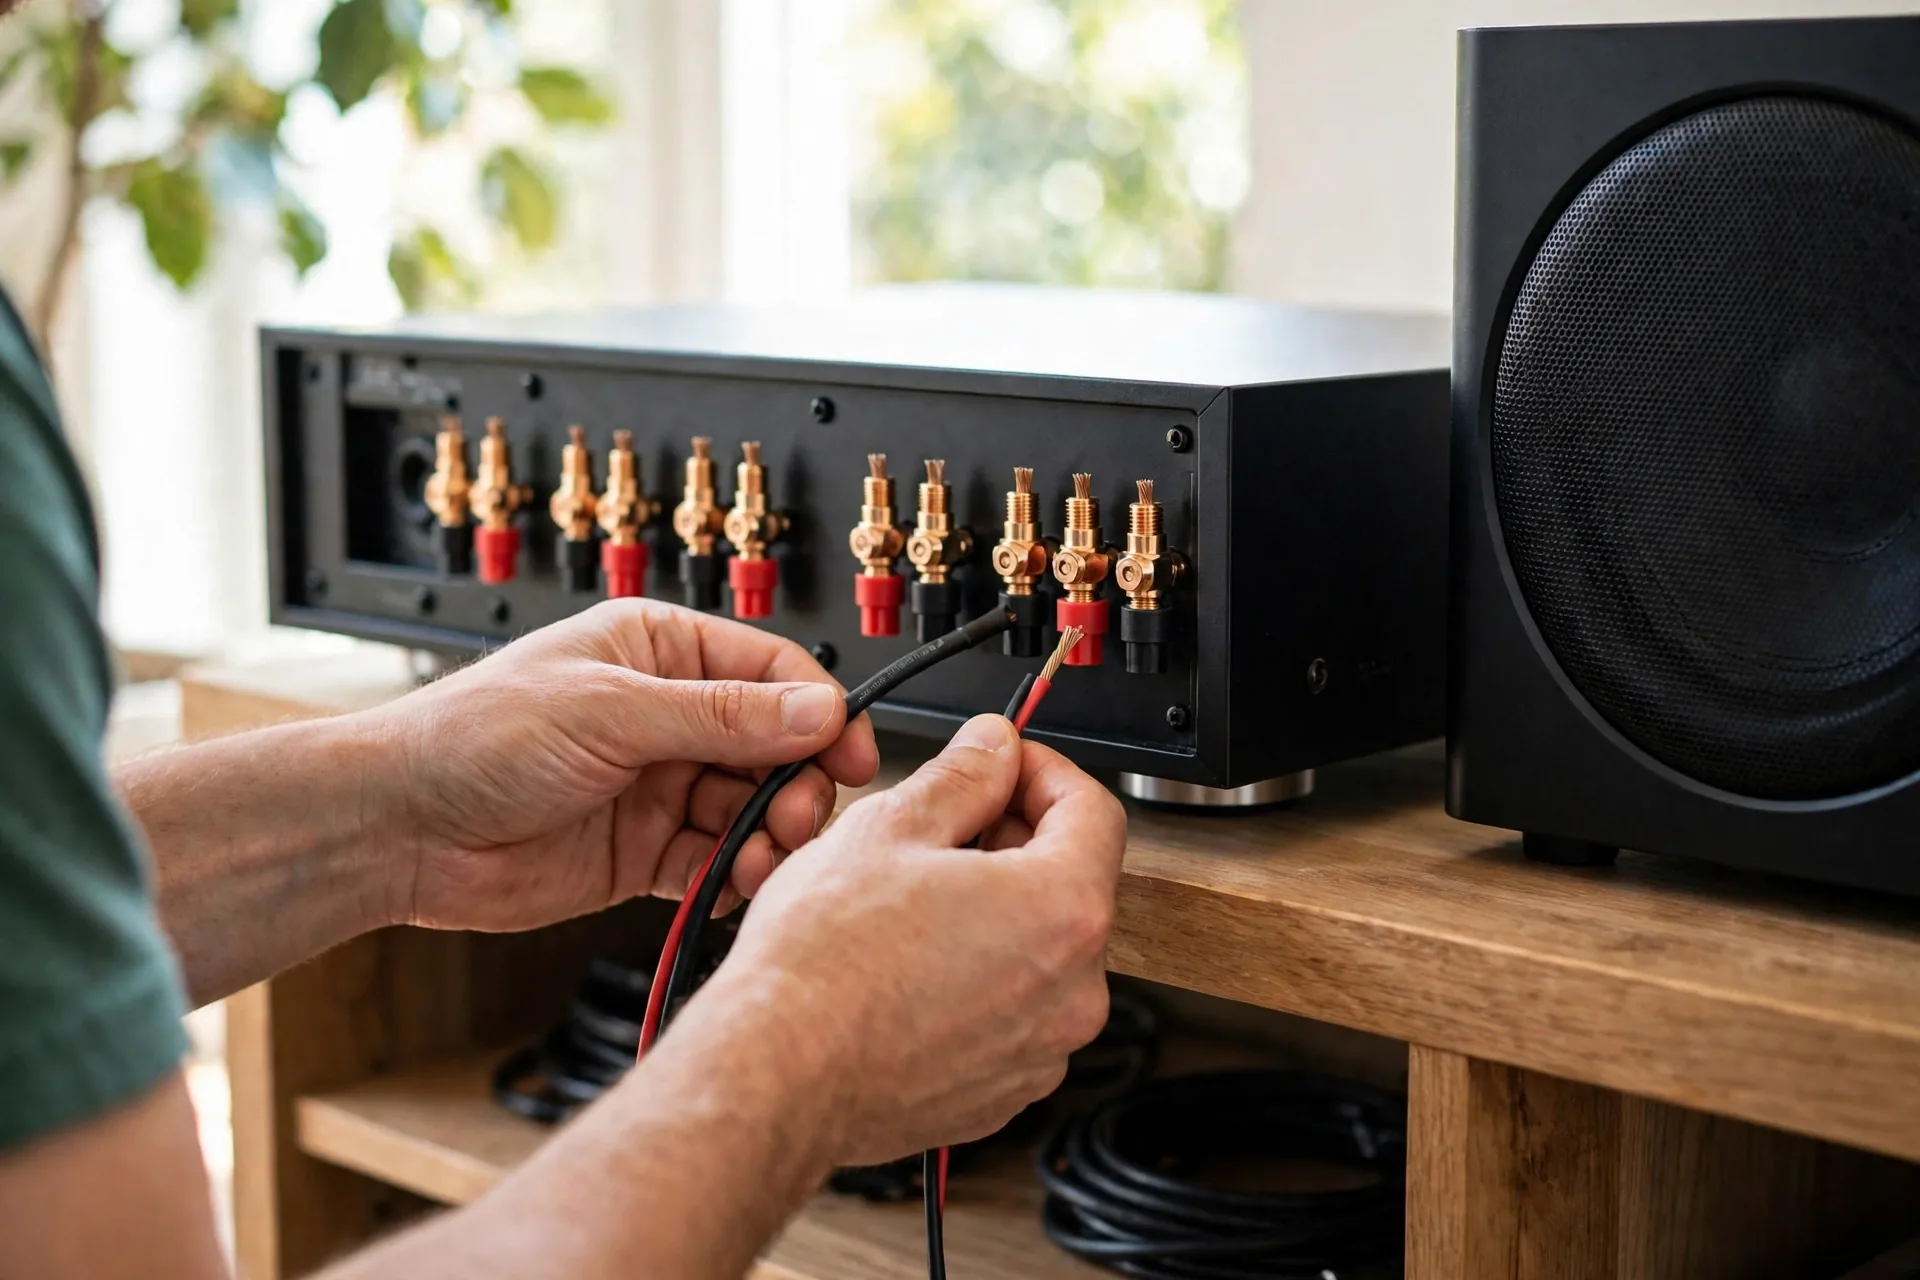
- Place the TV and the main seat first, then mark the speaker spots on the floor with tape.
- Run speaker wire to each spot before you mount anything, and label both ends of every cable.
- Mount the front three speakers at ear height, with the center just below or above the TV.
- Place the surrounds to the sides of the seat, a little above ear level, angled down toward you.
- Set the height modules on the front speakers, or mount the ceiling speakers at 45 degrees from your seat.
- Put the subwoofer where the bass sounds tightest, then connect it with a single subwoofer cable.
- Plug every source into the receiver, then run one HDMI cable from the receiver to the TV.
- Run the receiver calibration with the mic at ear height in your main seat.
- Play an Atmos film scene and check that height sounds come from above, not from the front.
- Fine-tune the center level by one or two steps if dialogue feels buried under effects.
If the bass sounds boomy after calibration, move the subwoofer before you touch the receiver settings. Our subwoofer placement guide shows how to test a few spots by ear.
If the height effect feels weak, check the ceiling, the film track, and the receiver display for the Atmos label.
For the wires and the TV hookup, our guide on how to connect speakers to a TV covers the common ports and the mistakes to avoid.
FAQs
Do Atmos speakers need a special ceiling?
Ceiling speakers need no special ceiling, since they fire down from mounts in the ceiling itself. Upward-firing modules are pickier, because they bounce sound off the ceiling. They work best with a flat, hard ceiling between 8 and 14 feet high. Vaulted, beamed, or soft ceilings weaken the bounce.
Is 5.1.2 enough for a living room?
Yes, 5.1.2 is enough for most living rooms, and it is the best first step into Atmos. It adds two height speakers to a proven 5.1 base, so you get real overhead sound without a large room or a big receiver. Move to 5.1.4 only if your room has space for a rear height pair.
Can I add Atmos speakers to my current 5.1 system?
Yes, if your receiver supports Atmos and has two spare channels for height speakers. Add upward-firing modules on your front speakers for the easiest upgrade, or mount ceiling speakers for a stronger effect. Then run the receiver calibration again so the new speakers blend with the old ones.
Does a soundbar give real Dolby Atmos?
A soundbar can give a real Atmos signal, but the effect is smaller than separate speakers give. Upward-firing drivers in the bar bounce height sound off the ceiling, and some bars add wireless rears. It suits small rooms well, yet it cannot match the width and separation of a wired 5.1.2 system.
Why does my system not show the Atmos label?
The label is missing when one link in the chain drops Atmos, so check each part in turn. Confirm the film carries an Atmos track, plug the source into the receiver first, and check that the receiver display shows Atmos while the film plays. Also confirm the TV port supports eARC if the source runs through the TV.
Do I need a new receiver for Dolby Atmos?
Yes, in most cases you need a receiver that decodes Dolby Atmos and powers enough channels for your layout. A stereo receiver cannot run Atmos, and an old surround receiver may lack the decoding or the channels. Pick one with Atmos support, room calibration, and at least one spare channel for growth.
What to Do Next
Dolby Atmos speakers are worth it when your room, your receiver, and your content all line up. Start with a 5.1.2 layout, spend first on the center and the subwoofer, and run the calibration before you judge the sound.
If you want the room plan to match, read our home theater design guide next, then sketch your speaker spots on paper before you buy anything.